

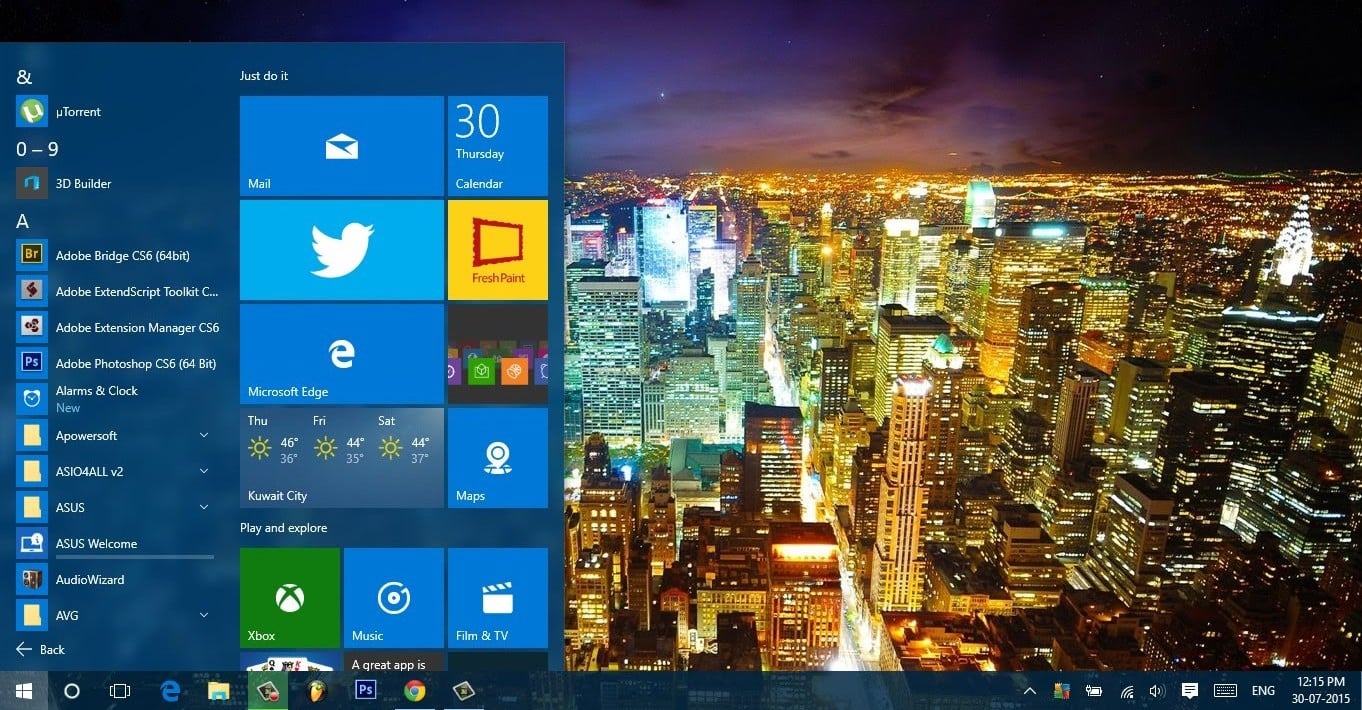
Windows 10 is pretty awesome! Microsoft brought back the Start menu and introduced tons of new and exciting features, including Cortana, an intelligent personal assistant for Windows, and a new browser, Microsoft Edge. Here are some cool Windows 10 tips and tricks if you just upgraded your PC.
offlineinstallersoft.blogspot.com
Windows 10 tips & tricks
How to manually connect to a Wi-Fi network
If you can’t connect to a Wi-Fi network automatically for some reason, you can do it manually. Here is how.
In the notification panel located in the bottom-right corner, click on the icon in the form of the antenna. If you install a Wi-Fi driver, but the adapter is turned off, the icon will have a red cross. If there is an available Wi-Fi network, it will be marked with an asterisk. Click on the icon and then click on “Available.” Next, click on the network you wish to connect to and the “Connect” button. If a password is required, enter it and then click Next. If you are connected to your home network, click Yes when asked if you want your computer to be part of the Home network.
How to forget a Wi-Fi network
Forgetting a Wi-Fi network in Windows 10 is a straightforward thing to do. Just follow these steps.
Click on the Wi-Fi icon in the system tray. Right above the network, you’ll see Network Settings. Just click on that option, and Windows 10 Wi-Fi settings will open. Scroll down and click on “Manage Wi-Fi settings,” find the network, select it, and then click Forget.
How to disable Wi-Fi sense
Wi-Fi sensing is enabled by default. It allows your computer to acquire Wi-Fi passwords from your friends and shares your password with them. Here's how you can turn this option off.
- Click on the Start button and then click on Settings
- Go to Network & Internet
- Click on Wi-Fi
- Scroll down and click on Manage Wi-Fi
- Disable the options “Connect to suggested open hotspots” and “Connect to networks shared by my contacts.”
How to Find Your Wi-Fi Password in Windows 10
If you forgot your Wi-Fi password, here is how you can find it.
In the taskbar, click on the Wi-Fi icon and see “Network Settings.” Click on it. Next, click on Network and Sharing Center. Find the network you are connected to, click on it with the right mouse button, and click Wireless Properties. Now click on the Security tab and check the option “Show characters.”
How to increase microphone volume
To increase microphone volume in Windows 10, follow the steps below:
- In the Windows 10 taskbar, click on the volume icon with the right mouse button
- Click on Recording devices
- Double click on the Microphone
- Select “Levels”
- Move the sliders to the right and adjust the settings according to your desires.
Windows 10 not recognizing the headphones
What do you need to do here if Windows 10 is not recognizing the headphones?
Method 1: Audio driver update
- In the search field in the bottom-left corner, type Device Manager, and when it shows up on the list, click on it.
- Click on Sound, video, and game controllers.
- Select VIA HD Audio and tap on the right mouse button
- Now, click on Update Driver Software
Method 2: Change the default sound format
- With the right mouse button, click on the volume icon in the bottom-right corner
- Next, click on Playback Devices
- Double click on Speakers
- Click on the Advanced tab, and under Default format, set the sample rate to the highest value
Method 3: Uninstall the last headphone driver
If the problem occurred when you installed the driver, perhaps the latest driver is causing the problem. Here is what you need to do:
- With the right mouse button, click on the volume icon in the bottom-right corner
- Click Playback devices
- Click on Headphones and then click on Properties
- Click on Driver under Controller information and choose Roll Back Driver.
How to disable Windows defender
Windows comes with an antivirus software called Windows defender. If you want to use another antivirus program, Windows defender will be disabled automatically, but sometimes you have to do this on your own. Here is how.
Method 1: Disable it temporarily
To disable it temporarily, follow these steps: click on Start > Settings > Updates & Security > Windows Defender and turn off Real-time protection. After 15 minutes, it will turn back on.
Method 2: Disable it permanently
- First, you need to open “Run” with the combination of keys Win + R
- Next, type gpedit.msc and click OK
- Now, click on Computer Configuration > Administrative Templates > Windows Components > Windows Defender
- Double click on Real-time protection and select the enabled option to turn it off
- Click OK.
How to remove Windows.old folder
When you upgrade your OS to a new version, you’ll notice Windows.old folder on disk C: and it’s useful if any error appears after installing the new system. However, this folder takes up a lot of space and will be automatically deleted after 28 days. You can delete it manually. Here is how:
- Use the combination of keys Win + R to open “Run”
- Then, type cleanmgr
- Select Drive C and click OK
- When the Disk Cleanup window opens, select Clean up system files, and then Disk Cleanup will open again
- Select Disk C and click on OK
- After a brief scan, select the folder Previous Windows installation(s) and click OK.
How to restore old Windows photo viewers
One of the first things many noticed once we installed Windows 10 was that there were no old photo viewers. There is a modern app called Photos. If you want, you can restore the old photo viewer. Here is how.
- First, you need to download this file: Photo_Viewer_Windows_10.zip
- Extract the file and run it
- Files will be added to the registry
- Once you click on the context menu “Open with” when you want to open a photo, you will be able to select Windows photo viewer.
How to use Cortana
Personal Windows 10 assistant Cortana can do many things for you. To use it, you must adjust the privacy settings in Speech, Inking & Typing. Add information about your location.
Cortana can remind you to do something, send an email, play music, give information about the weather, and much more. You will see a search box “Ask me anything,” and you can type a question. You can use your microphone as well. Just say “Hello” followed by a command. Type Cortana in the search box, and then click on Cortana Search & Settings to learn more. It’s all very simple!
How to disable automatic updates
Updates are important because they fix the errors and glitches the users may be experiencing. However, automatic updates can be disabled.
Method 1: Group Policy Editor
This can only be applied to Windows Pro and Enterprise. In the search bar, type gpedit.msc, and when the window opens, go to Computer Configuration > Administrative Templates > Windows components > Windows Update and then double click on Configure Automatic Updates. In the Settings window, select Disable. Click Apply and close the editor. Go to System settings and start checking for updates for the change to take effect.
Method 2: Services
If you have a Home version of Windows 10, type services.msc in the search box and click on Services. Double-click on Windows update, then click Stop and select the startup type “Disabled.” Apply the changes.
Method 3: Use limited internet connectivity
“In Windows 10, there is another possibility to disable updates – using Wi-Fi Limited connection. This option controls data usage, and it will not be able to download updates: Open the Settings and go to the “Network and Internet” section; click on the Wi-Fi section, open “Advanced Settings,” find “Metered connection,” and switch to On.”
How to roll back builds and uninstall updates
Both regular updates and builds (large updates) are important because the updates bring improvements and fixes. Sometimes after the update, some issues may appear that you want to roll back builds and uninstall updates.
To roll back builds, follow these steps:
- Click on Start
- Go to Settings > Update and Security > Recovery
- Next, click on Get started and click on Go back to an earlier build.
To remove typical Windows 10 updates, follow these steps:
- Click on Start
- Go to Settings > Update and Security > Windows Update > Advanced Options > View Your History
- You will see a list of recently installed updates
- Click on the update and click Uninstall updates.
How to enable hibernate mode
Here is the simplest way to enable hibernate mode in Windows 10.
- Click on the search box in the bottom-right corner, type Command Prompt and when it shows up on the list, click on it
- Next, type powercfg –h on to enable the hibernate mode
- To disable it, open Command Prompt and type powercfg –h off.
How to use battery saver
You can use the battery saver option to increase the battery life on your laptop. If the battery on your device is low, this mode will turn on automatically, but you can also turn it on manually. Here is how:
- On the taskbar, click on the battery icon
- Click on Battery saver
To adjust the Battery Saver settings according to your desire, do the following:
- Click on Start
- Click on Settings > Battery Saver > Battery saver settings
How to configure the Do not disturb mode
The notifications and sounds can be pretty annoying, but in Windows 10, you can turn on quiet hours and mute the notification alerts.
To enable quiet hours, right-click the notification icon in the taskbar and click on Turn on quiet hours
If you want to mute notification alerts, go to Settings > System > Notifications & actions and turn off the following: “Show notifications on the lock screen” and “Show alarms, reminders, and incoming VOIP calls on the lock screen.”
If you don’t want to turn off the notifications for all the apps, go to Settings > System > Notifications & actions, scroll down to “Show notifications from these apps,” and leave the notifications on for the apps you want.
How to find and set screensavers
Follow these steps:
- With the right mouse button, click on the desktop
- Click on Personalize
- Click on the Lock screen
- Now click on Screen saver settings
- Choose the screen saver you want, set the “Wait” time, click Apply, and then click OK.
How to boot your computer into Safe mode
To boot your computer into Safe mode, follow these steps:
- Press these keys Win + R
- Enter msconfig in the field and press Enter
- Open the “Boot” tab
- Check “Safe boot”
- You will see several options (minimal – normal safe boot, network – safe mode with networking, alternate shell – safe mode with command prompt, and active directory repair – refers to server restore);
- Choose one of the options
- Click on Apply
- Click on OK
- Restart your computer
- Your computer will boot into safe mode
To go back to the normal mode, navigate to the Boot tab (as shown above), uncheck “Safe boot,” and restart your computer.
How to disable OneDrive
You can disable it if you don’t want to use Microsoft’s cloud storage.
To disable it, click the right mouse button on the OneDrive icon in the notification bar in the bottom-right corner and then click on Settings. Under the Account tab, cancel the synchronization. In the Settings tab, you can uncheck the option for OneDrive to start when you sign in to Windows.
How to disable the login screen
It can be quite annoying to type your username and password every time you turn your computer on. You can disable this option. Here is how:
- In the search box at the bottom-left, type Netplwiz and when it appears on the list, click on it
- Select your account
- Uncheck the option “Users must enter a username and password to use this computer”
- Click Apply
- Restart your computer
How to change the display language
If you want to change the display language in Windows 10, follow the steps below.
First, you need to download and install the language you want:
- Click on Start > Settings > Time and Language
- Next, click on Region and Language
- Click on (+)
- Browse the language and select the one you want, and the download will start
Now, to set the language as default, do the following:
- Click on Start
- Go to Settings > Time & Language > Region and Language.
- Select “Set as default” and restart your computer.
How to disable AutoPlay
When you insert a memory card, a DVD, or any other removable device into your computer, you’ll see “AutoPlay” and be asked what action you want to perform. If you don’t like this feature, you can turn it off.
- Click on Start
- Go to Settings > Devices
- Scroll down, choose AutoPlay and turn it off for all the devices
- If you don’t want to turn off the option for all the devices, you can customize the settings under Choose AutoPlay Defaults.
How to add a PIN-code to your account
To add a PIN-code to your account:
- Click on Start
- Go to Settings > Accounts > Sign-in Options, and click on the Add button in the PIN section
- If required, verify your password
- Next, enter the numbers into the box – at least four digits. No letters are allowed
- Confirm the PIN
- Click OK.
To change your PIN code:
- Click on Start
- Go to Settings > Accounts > Sign in Options > Change
- Enter your current PIN-code
- Enter the digits in the field “New PIN”
- Click OK.
To reset the PIN-code:
- Click on Start
- Go to Settings > Accounts > Sign in Options > I forgot my PIN
- Verify the password for your account and follow the steps to set up a new PIN-code.
How to disable Quick Access in File Explorer
When you open File Explorer in Windows 10, you will first see Quick Access.
To go back to this PC view, do the following:
- Open the File Explorer
- Click on “File” in the top-left corner
- Click on the Change folder and search options
- Under General tab select “Open File Explorer to”
- Now replace Quick Access with This PC
To add your favorite folders to the sidebar, do the following:
- Open the File Explorer
- Click on “File”
- Click on the Change folder and search options
- Under the General section in the Privacy box, uncheck the following “Show recently used files in Quick access” and “Show frequently used folders in Quick access”
- Click on Apply.
How to keep your personal data private
Here are some tips and tricks to keep your personal data private on Windows 10.
First, go to Settings > Privacy. You will notice that many options are enabled by default. Go through those options and turn the ones you want off.
Cortana is one of the coolest features in Windows 10, but remember all your inquiries, and it will offer you suggestions based on those inquiries. Turn it off if your privacy is more important to you than this feature.
You can use a local Windows account, where you won’t have as rich synchronization between devices. On the other hand, with a local account, Microsoft can’t use your data.
“Adverts on Windows 10 work by offering you personalized ads every time you log into your Microsoft account. It is effortless to turn off such adverts – just visit an external site and mark “off” on both options for personalized adverts.”
Image Source: YouTube / MPlugz
