This article is brought to you in partnership with Movavi.
About a third of Americans always or often leave subtitles on for TV and movies, according to an AP-NORC poll, and the share is higher among adults under 45. The habit likely carries over to the vlogs, Reels and Shorts people watch on their phones. If you film yourself talking, some of your viewers will read you before they hear you. Here is how to add subtitles and captions automatically, so viewers know what you're saying with or without sound.
Why captions matter for creators
Captions began as an accessibility feature, and that reason still holds: about 16% of American adults reported some difficulty hearing in 2024, according to the CDC. For them, a video without captions is only partly a video.
Captions have become a habit for viewers without hearing difficulties, too. In a May 2026 study by XR (Extreme Reach), nearly half of U.S. viewers said they use captions always or often, and 42% said they prefer them even when the audio is perfect. Following dialogue and catching details are the top reasons people give, and 36% say captions help them pay closer attention to the screen.
That matters most if you film yourself talking. A vlog or a skincare routine carries most of its information in your voice, and if the viewer's phone is muted, captions are the only thing delivering it. YouTube has picked up on that habit: since February 2026, its mobile app switches captions on automatically when a viewer mutes a video (Shorts excluded).
How to add subtitles automatically
The workflow barely changes from app to app: the software drafts the text from your audio, you fix it, and you export or post.
Movavi Video Editor
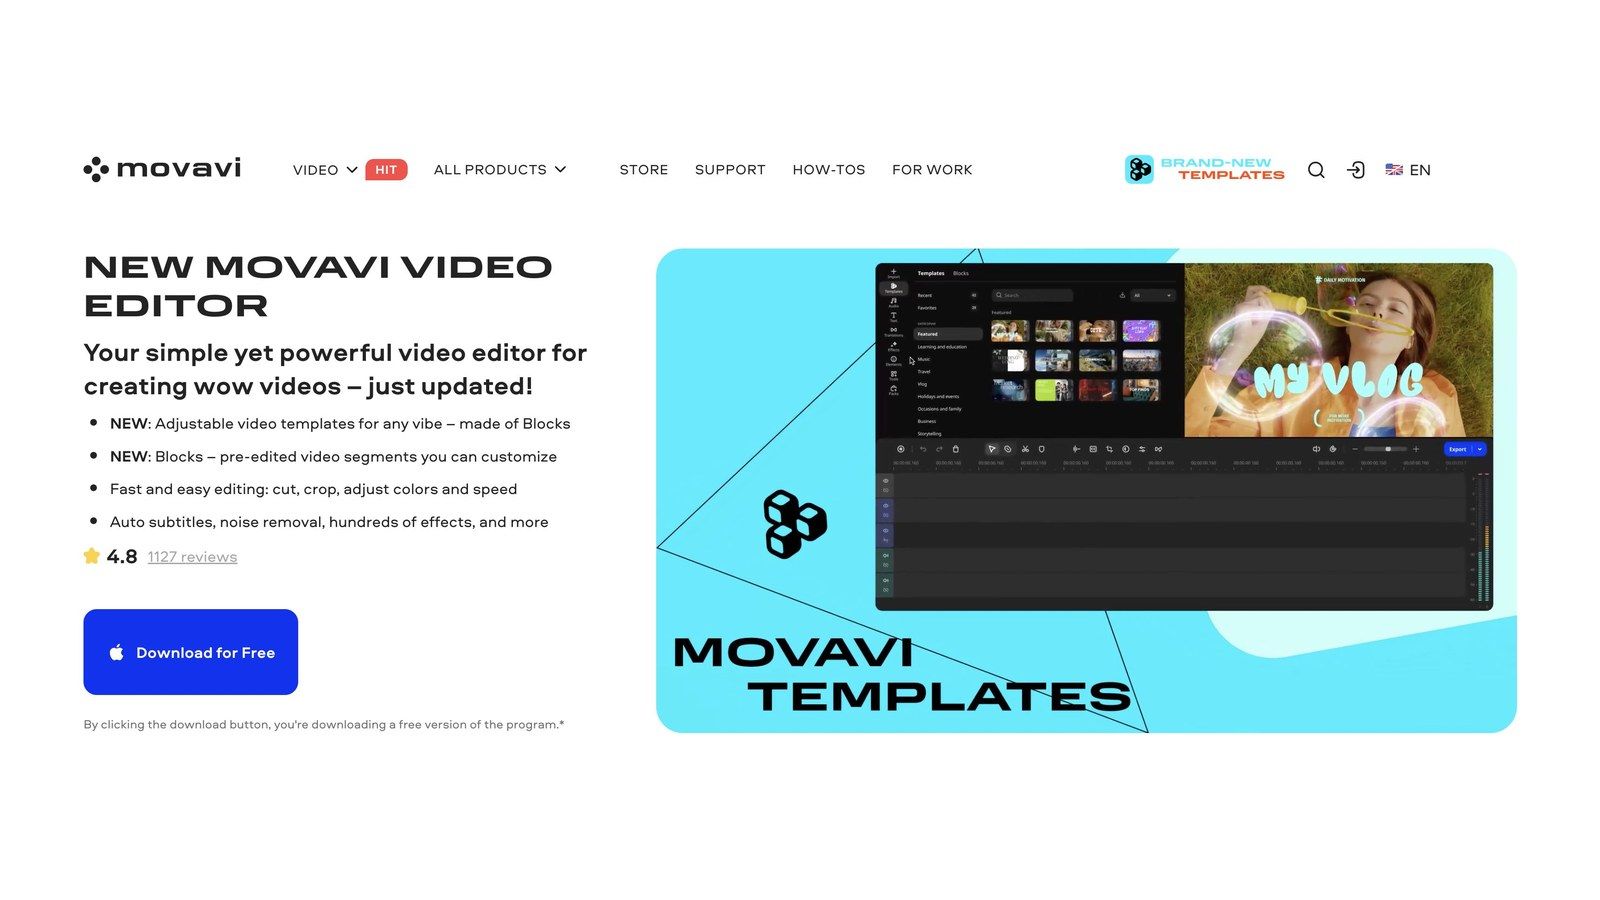
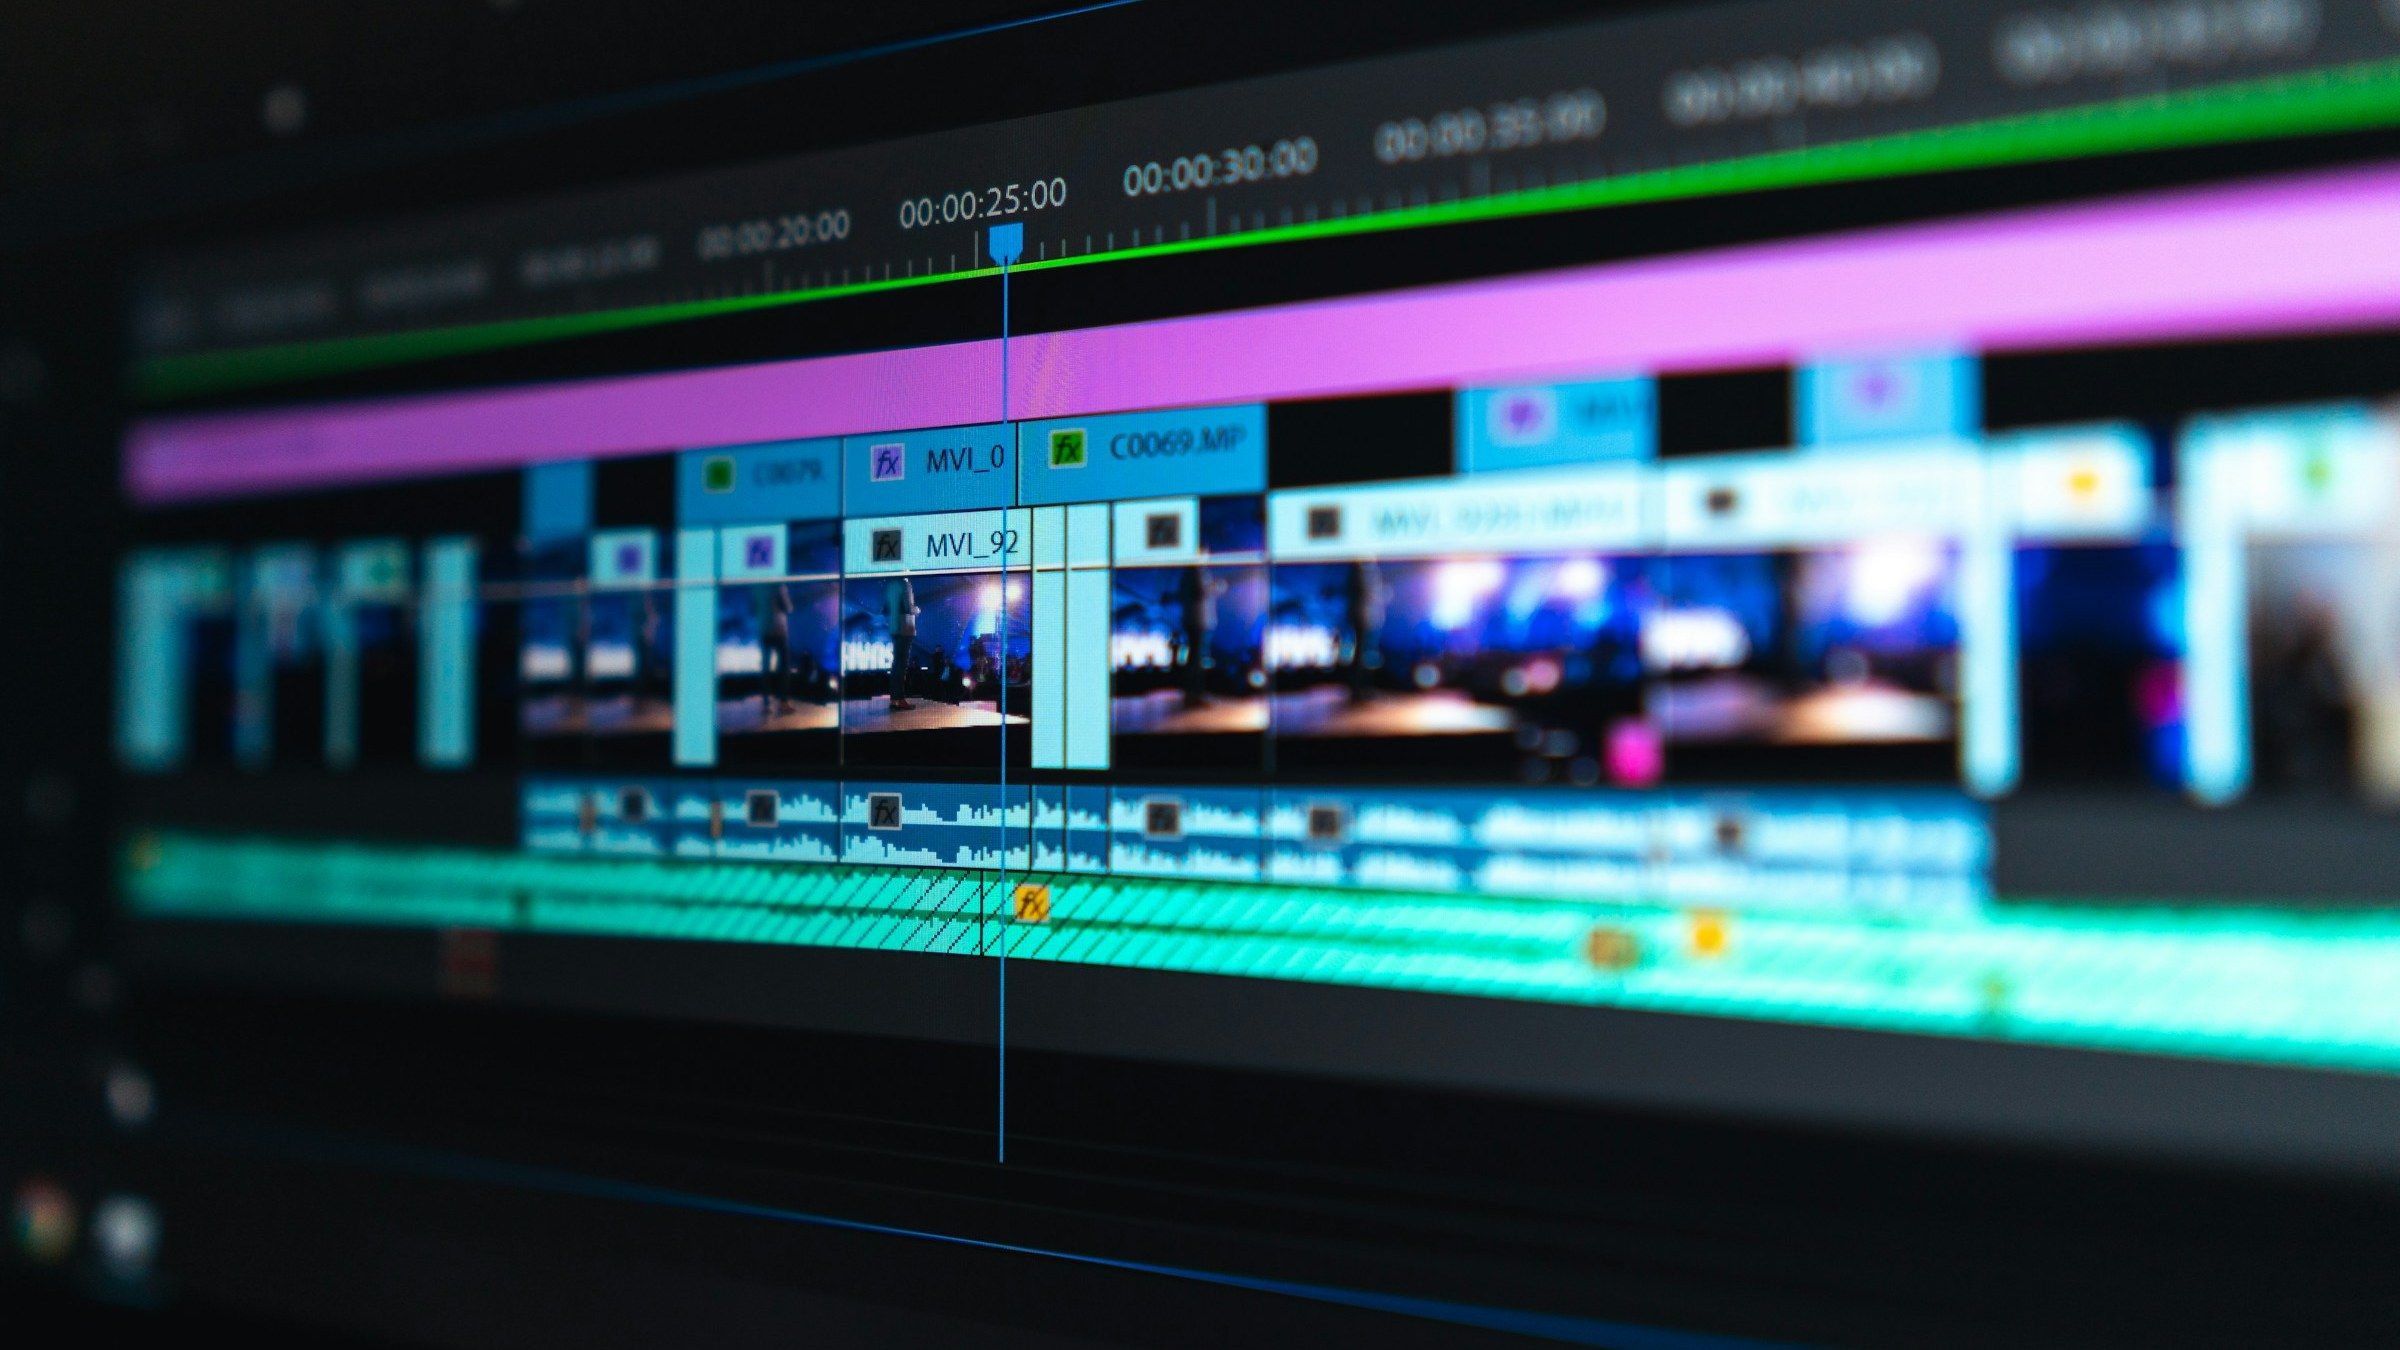
Movavi Video Editor is an intuitive video editor with customizable video templates, one-click AI tools, and hundreds of drag-and-drop effects. It is desktop software for Windows and macOS, and its auto subtitle generator recognizes speech in more than 100 languages. Auto subtitles show up on the timeline already timed to your voice, so you edit them next to your cuts and music.
- 1.Click Add Files, pick your video and drag it onto the timeline.
- 2.Open Tools, go to the Audio tab and click Auto subtitles.
- 3.Choose the spoken language from the dropdown. Tick the translation option if you need one, then click Generate. The captions appear on the timeline.
- 4.Open the Phrases tab and fix any names or slang the AI captions got wrong.
- 5.Open Styles and pick a preset. The Design tab handles alignment, color, background and outline, and you can switch on Highlight active word there too.
- 6.Click Export, choose a format and click Start. The captions are burned into the file.
For closed captions, right-click the subtitle track after step 3 and choose Export to .SRT.
CapCut
CapCut is made by ByteDance, the company behind TikTok, and comes in desktop, online, tablet and phone versions. The desktop editor for Windows and macOS adds keyframes, a color wheel and a media search that finds clips by object, dialogue or person. Its auto captions can also produce bilingual subtitles and highlight keywords automatically. The steps below follow the desktop app.
- 1.Start a new project and click Import to add your video.
- 2.Drag the clip onto the timeline.
- 3.Open the Captions tab at the top and click Auto captions.
- 4.Pick the language of the audio and click Generate.
- 5.Fix wrong words in the Captions panel on the right. The look is under Text and Animation.
- 6.Click Export in the top right corner, set the resolution and format, then click Export again.
Clipchamp
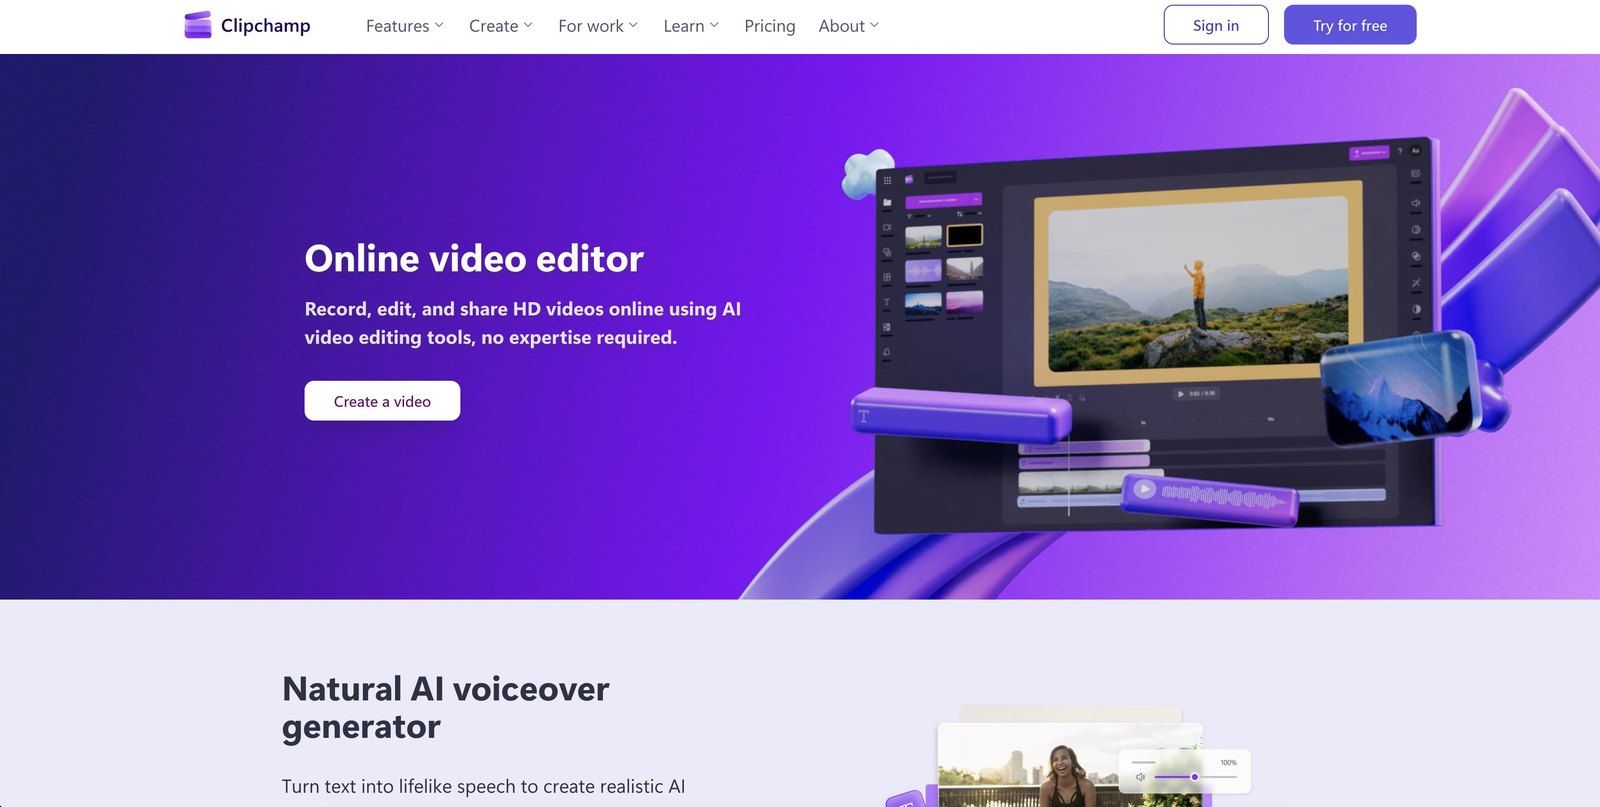
Clipchamp is a Microsoft video editor that runs in a browser and as a Windows app. It includes a webcam and screen recorder, so you can film a talking-head clip and caption it in the same place. Automatic captions are free for every user, including those on the free plan, but the transcription happens online and covers one spoken language per video.
- 1.Import your video and add it to the timeline.
- 2.Open the Captions tab, or click the captions icon in the preview.
- 3.Turn on automatic captions, select the spoken language and click Transcribe media when prompted.
- 4.Read the transcript and correct any mistakes.
- 5.Click Download captions if you want an SRT file.
- 6.Preview, adjust how the captions look, and export.
Built-in platform tools
If you do not want to install an editor, YouTube, TikTok and Instagram can add captions after you upload or record a video.
YouTube Studio
YouTube adds automatic captions to videos on its own, in the default language of the upload. They are worth checking before you rely on them.
- 1.Sign in to YouTube Studio and select Languages in the left menu.
- 2.Click your video and choose Edit subtitles.
- 3.Pick Edit timing, click any line to correct the text, and adjust the timestamps if the captions drift from the audio.
- 4.Click Publish.
If you already have an SRT file from your editor: under Languages, click Upload manual, select With timing, click Continue and choose the file.
TikTok
TikTok generates captions in the mobile app. Record or upload your video, then choose Captions from the editing tools. Tap the text to fix mistakes, split long lines or change the style. Drag the captions to a spot that stays off the speaker's mouth, then post.
Start a new Reel and add your video, then tap Captions among the editing tools. Instagram transcribes the audio and places the text on screen. Tap a caption to fix the wording or change its color, drag it to a better spot, and pull the edges of a caption on the timeline to keep it on screen longer or shorter. Tap Next, write your post caption and tap Share.
Tips for better captions
Read the result with the sound on. Names, numbers and brand names are where automatic captions slip, because of accents, mispronunciations and background noise. A wrong quantity in a recipe changes the dish, and a misheard product name in a skincare routine sends people to the wrong serum.
Clean up the audio before you generate anything. Poor sound quality and overlapping speech are among the most common reasons captions fail.
On a 9:16 video, the app's buttons, your username and the description can cover part of the frame, so keep captions to one or two lines and leave room around the edges. White text over a bright beach needs a dark box or a thick outline.
If you burn captions into the video, check whether the platform adds its own. If it does, turn them off so the two sets don't overlap.