To fix an iPhone 17 that cannot complete data transfer, restart both phones, update their software, and retry Quick Start with Wi-Fi, Bluetooth, and power connected. If the transfer fails again, switch to a wired connection or restore a backup. Keep your old phone and its backup intact until you have checked the transferred data on your iPhone 17.
The short version
- Start with Quick Start: Keep the phones nearby and powered, with the old iPhone connected to Wi-Fi and Bluetooth enabled.
- Update before retrying: Install the latest software supported by each phone.
- Change the transfer method: Try a compatible cable, an iCloud backup, or a computer backup when direct transfer keeps failing.
- Protect your data: Preserve the source phone and back up anything needed on the destination before erasing it.
- Check actual progress: Use the Apple logo recovery procedure only after its progress bar has remained stationary for at least one hour.
| Fix | When to use it | Main requirement |
|---|---|---|
| Retry Quick Start | Wireless transfer fails or its prompt disappears | Nearby phones with power and connectivity |
| Update iOS | Software needs updating or a backup requires newer iOS | Backup, Wi-Fi, and power |
| Restart setup | The destination is already configured | Preserve needed data before erasing |
| Use a cable | Wireless migration repeatedly fails | Cable matching the old iPhone |
| Restore from iCloud | Direct transfer does not complete | Completed backup and reliable Wi-Fi |
| Restore from a computer | You have or can create a computer backup | Finder or Apple Devices and USB |
| Troubleshoot Wi-Fi | The phone also has connection problems | Access to network settings |
| Retry Android migration | The source phone runs Android | Uninterrupted transfer and sufficient destination space |
| Use recovery mode | The Apple logo progress bar stops moving | One hour without progress and a computer |
Retry Quick Start with both phones ready
Connect your old iPhone to Wi-Fi, enable Bluetooth, unlock it, and leave its Home Screen showing. Turn on the iPhone 17 and place it nearby, then follow setup, connect it to a network, and choose direct transfer. Keep both phones close together and connected to power until both finish.
Quick Start requires the source iPhone to run iOS 11 or later. When you transfer data between two iPhones, wait for both devices to finish before using them. Do not force a restart while the transfer is still progressing.
If the setup prompt disappears, restart both phones and try again. On a responsive iPhone 17, hold either Volume button and the Side button until the power-off slider appears, drag the slider, and wait 30 seconds. Hold the Side button until the Apple logo appears to turn it back on.
Repeat the restart on your old phone using its model's button combination; iPhone 6 through 8 and iPhone SE models from the second and third generations use the Side button alone to display the slider. For an unresponsive iPhone 17, force restart the frozen iPhone by quickly pressing and releasing Volume Up, quickly pressing and releasing Volume Down, then holding the Side button until the Apple logo appears. That final hold can take longer than 10 seconds.
Update the software before another attempt
Back up your source iPhone before updating it, then connect it to power and Wi-Fi. Open Settings > General > Software Update and tap Download and Install. Install the latest version supported by that model, and repeat on the iPhone 17 when you can access Settings.
If the update requests temporary app removal, those apps will be removed and reinstalled after updating. Tap Continue to allow that removal and proceed with the update.
If an update lacks space, offloading unused apps removes the apps while preserving their documents and data. To free storage on your iPhone, open Settings > General > iPhone Storage and tap Enable beside Offload Unused Apps.
Deleting a failed update download removes that downloaded update. Select it in Settings > General > iPhone Storage and tap Delete Update. Return to Settings > General > Software Update and download it again.
If wireless updating still fails, connect the iPhone to a Mac running macOS Catalina or later whose internet connection does not come from that iPhone. Select the phone in Finder, open General, click Check for Update, then click Download and Update. Enter the phone's passcode if requested.
If an iCloud backup requires newer iOS and the restore offers an update, install it first. Otherwise, at Transfer Your Apps & Data, tap Don't Transfer Apps & Data, finish setup, and update iOS; Apple permits skipping account, biometrics, and passcode setup for this process. After the phone restarts, follow the destination erasure steps below, then restore the backup during setup.
Restart setup safely when the destination is already configured
Erasing your iPhone 17 deletes its destination content, so back up anything you need from it and preserve the old phone and its backup before proceeding. To erase the destination iPhone safely, open Settings > General > Transfer or Reset iPhone > Erase All Content and Settings. Tap Continue, and choose to retain the eSIM if you are keeping its activated plan.
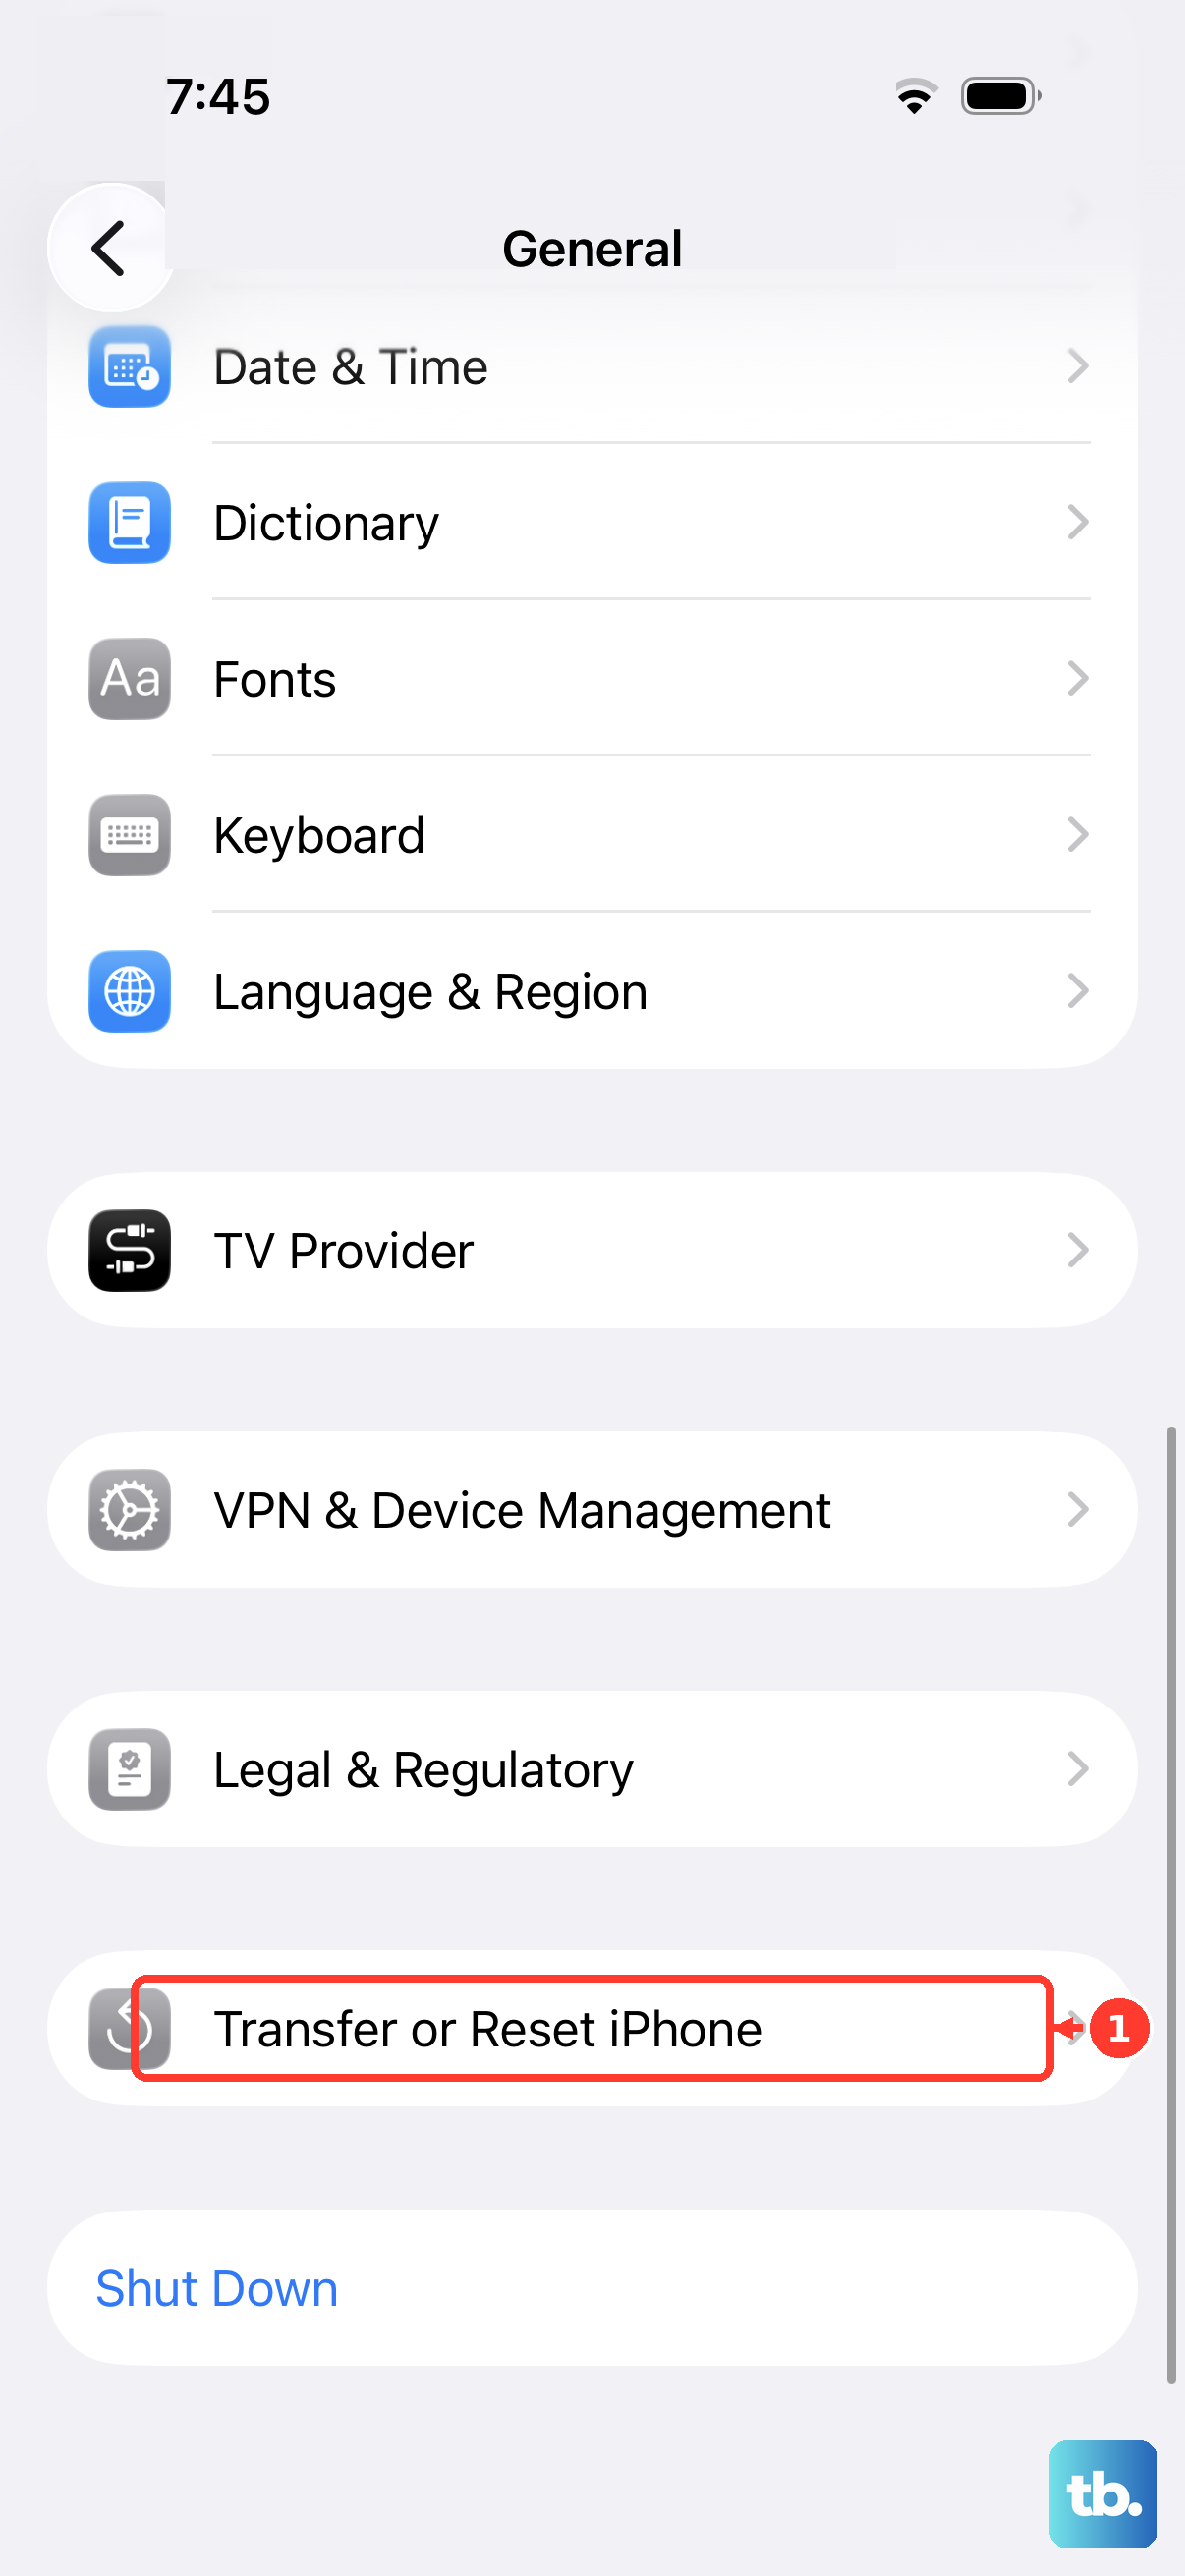
Enter the requested passcode and Apple Account password, then tap the keyboard's done button. Wait for the Hello screen before starting setup again. Use this setup flow for an iCloud restore or another migration attempt.
Switch to a wired iPhone transfer
For an old iPhone 15 or later with USB-C, connect it to the iPhone 17 using a USB-C Charge Cable. For an iPhone 14 or earlier with Lightning, use a USB-C to Lightning Cable.
Turn on both phones and follow setup on the destination. Connect the iPhone 17 to Wi-Fi or cellular, complete activation and Face ID setup, and wait until both phones finish transferring. If the wired attempt also fails, move to a backup restore.
Restore an iCloud backup instead
On the old iPhone, connect to Wi-Fi and open Settings, tap your name, then open iCloud > iCloud Backup. Tap Back Up Now and stay connected until it finishes. Check the displayed last-backup time before moving on.
If you bought a new iPhone and lack enough iCloud storage for the old phone's backup, open Settings > General > Transfer or Reset iPhone on the source. Under Prepare for New iPhone, tap Get Started. If prompted, tap Turn On Backup to Transfer, then tap Continue when extra storage is offered, and wait for completion.
To check a backup capacity problem, open Settings, tap your name, then open iCloud > Storage or Manage Account Storage > Backups and select the source device. Compare Next Backup Size with your available storage. If the backup will not fit, use temporary transfer storage when eligible or obtain more storage.
When the source backup itself fails, update the old phone and try another Wi-Fi network. For a slow backup, leave the source connected to power and Wi-Fi for 24 hours. Finish creating the backup before attempting to restore it.
To restore your iPhone from a backup, begin at the Hello screen. At Transfer Your Apps & Data, tap From iCloud Backup, sign in to the Apple Account containing the backup, and select the appropriate recent backup. Leave the iPhone 17 on Wi-Fi and power during restoration and subsequent background downloads.
An iCloud restore requires Wi-Fi; cellular internet cannot perform it. If restoration reports an error, try another Wi-Fi network or tap Show All Backups to choose another backup. Missing apps and other content after setup may still be downloading.
Use an encrypted computer backup
Use Finder on macOS Catalina 10.15 or later, or Apple Devices on Windows 10 or later, to create and restore a computer backup. On Windows, get Apple Devices through Apple's download page and install or update it through Microsoft Store.
Connect the old iPhone by USB, select it in Finder or Apple Devices, and open General. Turning on encryption immediately overwrites and encrypts that phone's previous computer backups, so first click Manage Backups, right-click any existing backup you need to keep, choose Archive, and click OK. Under Backups, select Encrypt local backup, create a password, and retain it for restoration. After you confirm the password, click Back Up Now if the backup has not already started. When it finishes, check Manage Backups for its date and lock indicator.
Restoring replaces the destination's content with the backup, so back up any needed destination data first. Connect the iPhone 17 by USB, select it in the sidebar, and click Restore Backup. Choose the backup by date and size, enter its encryption password when requested, and click Restore. Leave the phone connected through restart and synchronization.
If the backup or restore fails, update the computer and Apple Devices, reconnect by USB, and restart the devices. Free computer disk space if the error requests it. Try another computer or an iCloud backup if the error persists. If a backup remains corrupt or incompatible after updating, choose an alternative backup.
Fix confirmed Wi-Fi problems before retrying
Use network troubleshooting when the iPhone also has trouble connecting. Open Settings > Wi-Fi, turn on Wi-Fi, and select your network, then turn off Airplane Mode. On iOS 27, open Wi-Fi and turn off Connectivity Assist.
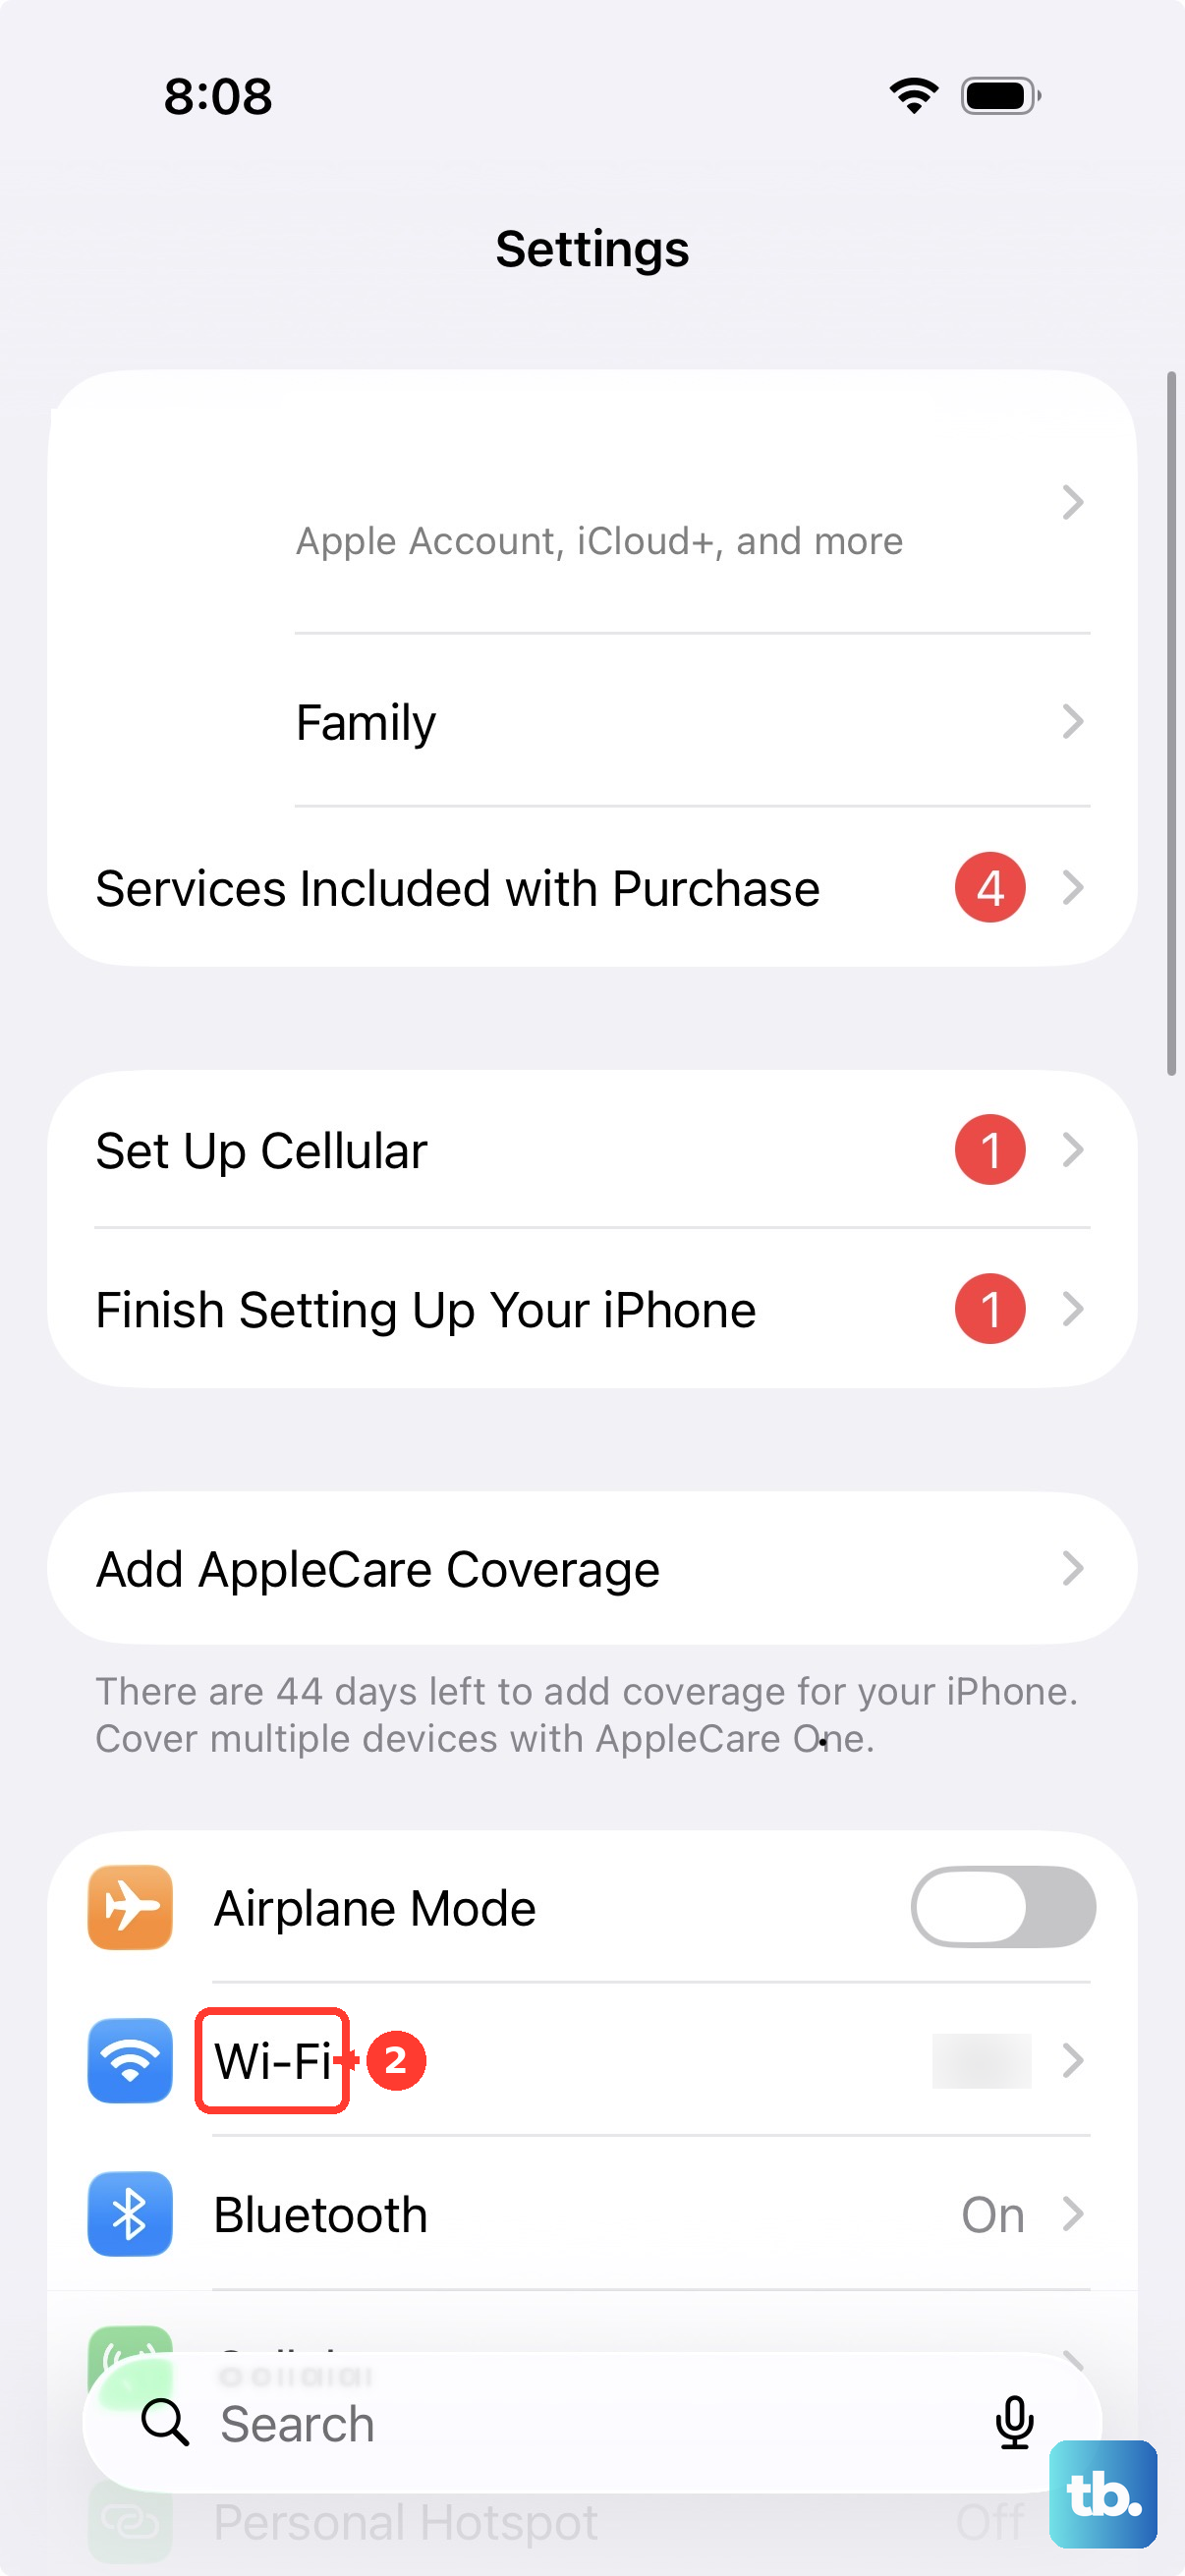
Move within router range, test another network or band, and restart your router or modem. Install router firmware updates if available, then retry the transfer once the connection works reliably. Reserve a network reset for persistent connection trouble after these simpler measures fail, and consult your administrator if you use managed networks.
Resetting network settings removes saved Wi-Fi networks and passwords and resets cellular, VPN, and APN settings. Open Settings > General > Transfer or Reset iPhone > Reset, then tap Reset Network Settings. Reconnect to Wi-Fi afterward before retrying migration or restoration.
Retry an Android transfer without interruptions
When the source is Android, keep Move to iOS onscreen throughout the transfer and avoid calls or switching to other apps. Disable Android cellular data and Wi-Fi-switching features. Android setting names vary by manufacturer.
Forgetting saved Wi-Fi networks removes their saved connection details. Forget those networks on Android, restart both phones, and retry with both connected to power. Make sure the selected content fits on the iPhone 17; a USB-C cable is another transfer option.
If automatic migration continues to fail and you want to keep the iPhone's existing setup, move content manually instead. Add your existing email accounts to recover supported mail, contacts, and calendars. Copy Android photos and videos, which most devices store in the DCIM folder, to a computer, then sync them using Finder or Apple Devices.
Transfer music and documents through the computer, or install their existing cloud-service apps and sign in. Reinstall available apps from the App Store and contact their developers about app-specific data. This moves selected content rather than a complete device clone.
Recover a phone stuck on the Apple logo
Use this recovery procedure when the migration or restore progress bar has not moved for at least one hour. Connect the iPhone 17 to a computer and open Finder or Apple Devices. Quickly press and release Volume Up, quickly press and release Volume Down, then hold the Side button through the Apple logo until recovery mode appears.
Choose Update in Finder or Apple Devices first. Choosing Restore instead erases the phone. Allow the update attempt to complete before considering a full restoration.
If updating fails and recovery restoration is necessary, restoring erases the destination's data and reinstalls iOS, so back up any accessible destination data you need and preserve the source phone and its backup first. Re-enter recovery mode using the same button sequence, select the phone in Finder or Apple Devices, and choose Restore. If the software download takes more than 15 minutes and the phone exits recovery mode, let the download finish, then re-enter recovery mode.
Persistent recovery failures or a required button that does not work need service. Open Apple's recovery help and select Get service. Describe the transfer error and the recovery attempts you completed.
Frequently Asked Questions
How long can you keep the temporary iCloud transfer backup?
Restore the temporary backup within 21 days. If you qualify for an extension, open Settings on the old iPhone and tap Keep My Backup Longer.
Does an encrypted computer backup include passwords and Health information?
Yes, encryption includes additional data such as saved passwords and Health information. It does not preserve Face ID or the device passcode.
What if you forgot the encrypted backup password?
Use an existing iCloud backup, or create a replacement computer backup if the original data remains on an accessible source iPhone running iOS 11 or later. Resetting all settings resets the source phone's settings and backup password; it cannot unlock the previous backup. Open Settings > General > Transfer or Reset iPhone > Reset, tap Reset All Settings, enter the device passcode, then tap Reset All Settings again. Create a new encrypted computer backup with a new password.
Why does the iPhone ask for several account passwords during an iCloud restore?
Purchases associated with different accounts can trigger separate password prompts. Enter each requested account's password, or tap Skip this Step when you do not have that password.
What if activation fails before the data transfer starts?
Check iOS Device Activation on Apple's System Status page, restart the iPhone, and retry using reliable Wi-Fi; if the activation server is unavailable, wait and retry. An updated, internet-connected computer can also activate the phone. Contact your carrier if setup reports an invalid or incompatible SIM or eSIM. For invalid activation-information errors, Apple directs you to recovery-mode restoration, which erases the destination, so preserve needed data and your source backup before following those steps.
Can work or school management block migration?
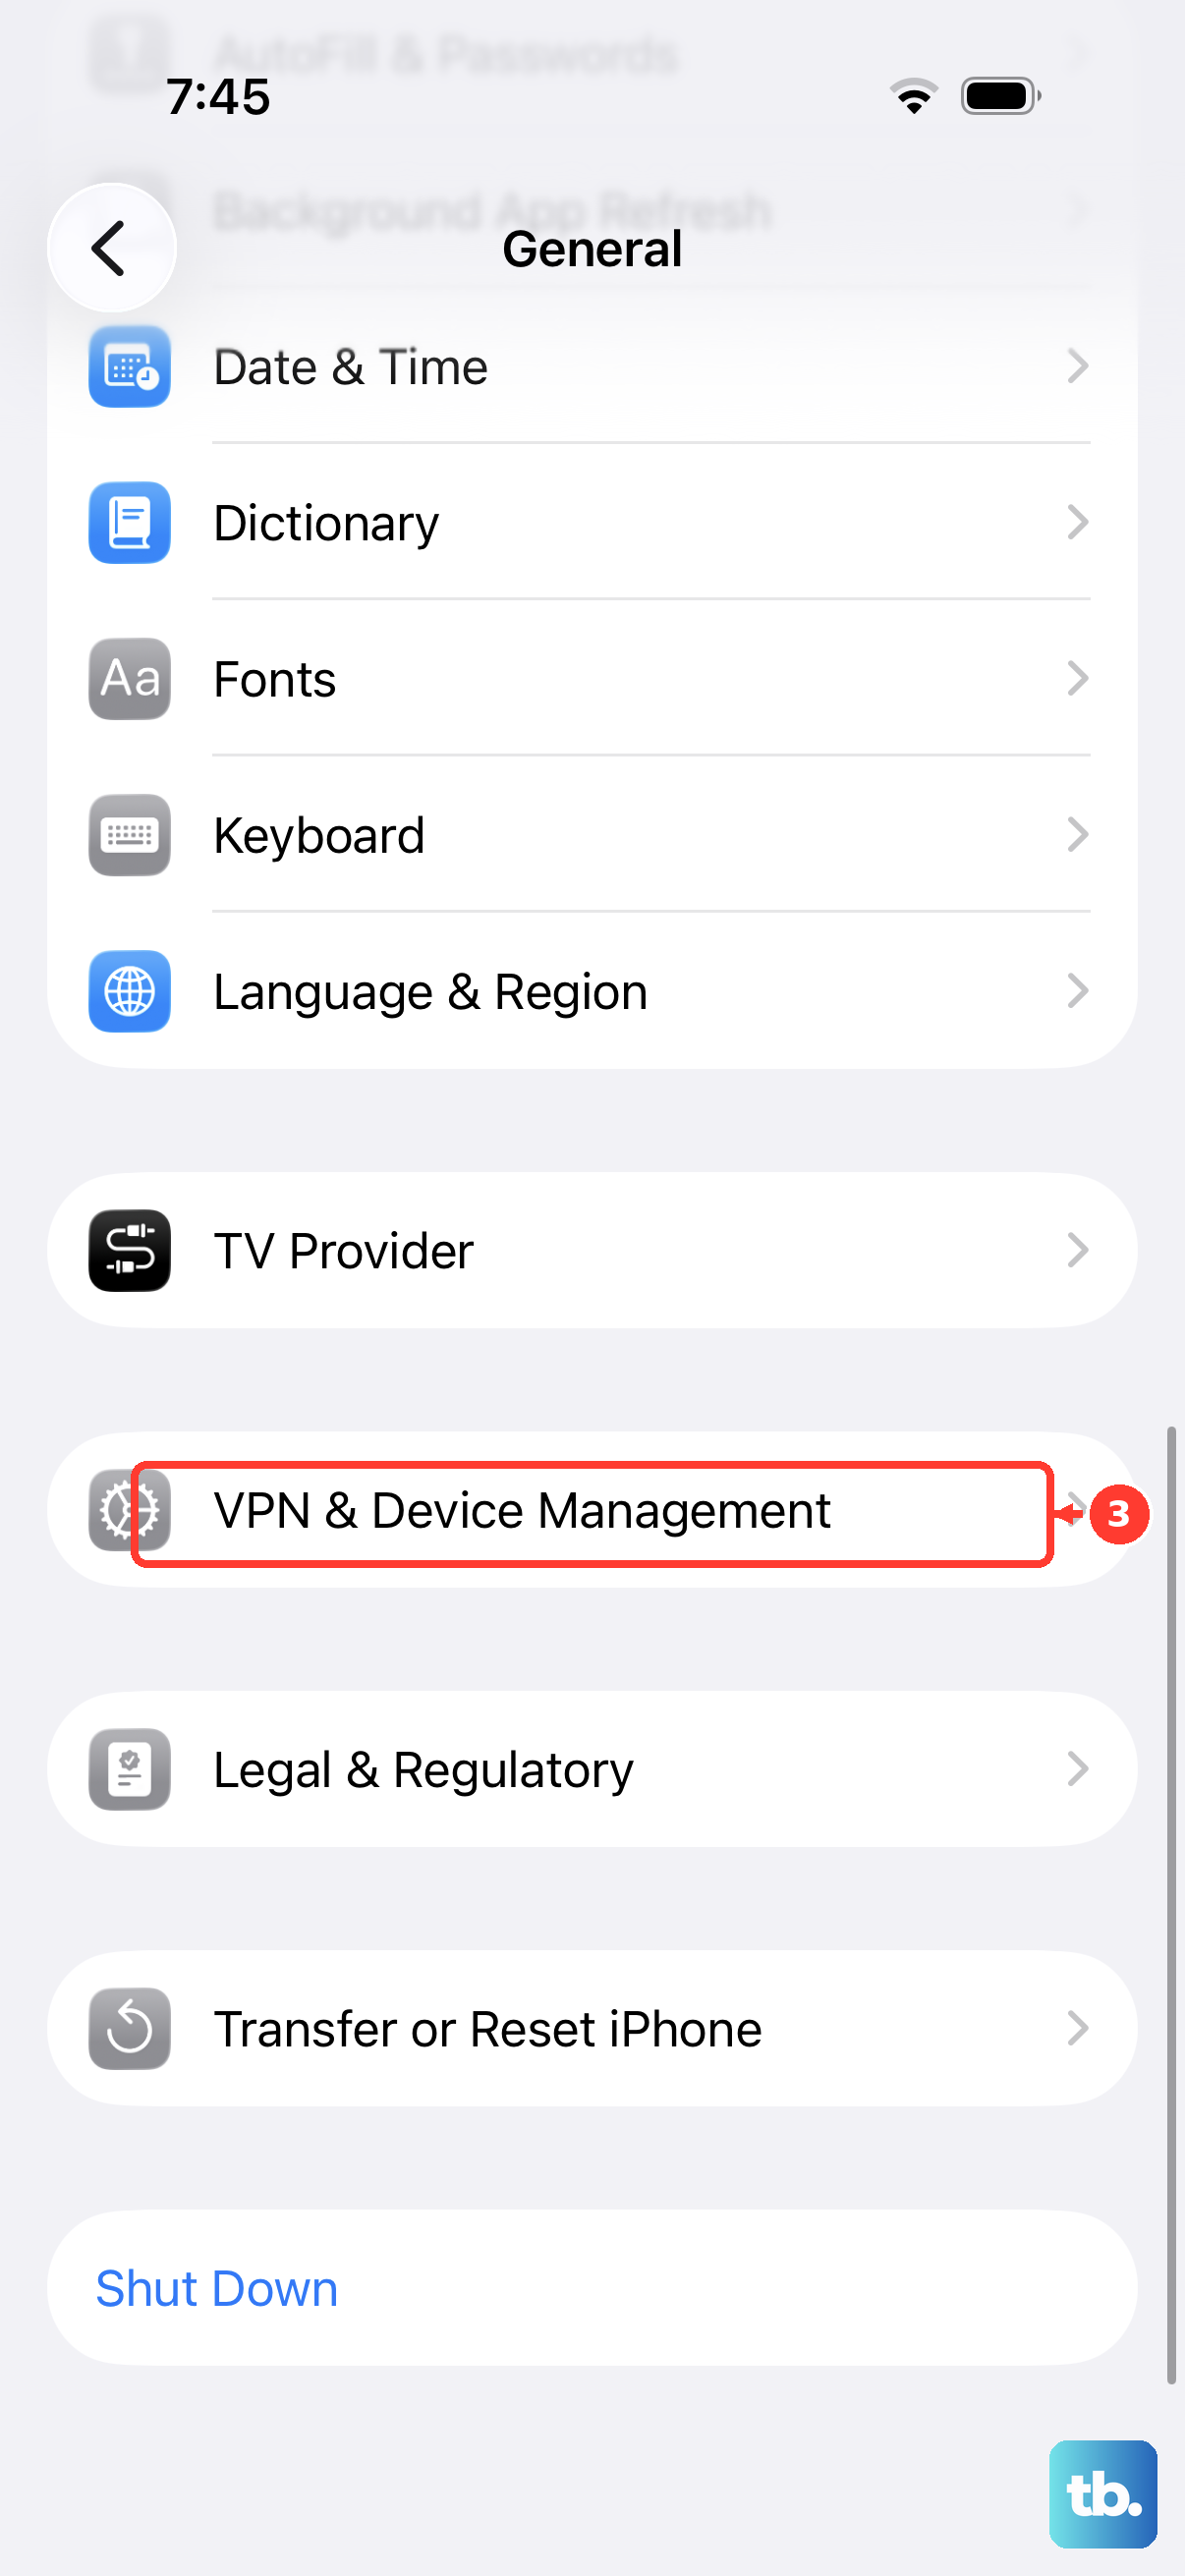
Yes, Apple says Quick Start transfer is unavailable when the destination is enrolled in Apple School Manager or Apple Business, so ask its administrator for the supported migration route. If iCloud Backup is unavailable on a managed phone, open Settings > General > VPN & Device Management to check for a restricting profile and contact the administrator.