


To fix the lock screen slideshow on Windows 11, select Slideshow in the lock screen settings, check that your chosen pictures are readable, and test with Windows + L. Start with these checks before moving to policy changes or Windows repairs. These steps use Windows 11 menus.
The short version
- Check the selection: Choose Slideshow under Personalize your lock screen and select a picture folder.
- Test the right screen: Press Windows + L and leave the lock screen displayed.
- Check picture access: Confirm that your images open and download online-only OneDrive pictures before testing.
- Watch for interruptions: Screen timeouts, sleep, and a screen saver can interrupt your test.
- Escalate gradually: Install updates before trying system repairs or diagnosing startup software.
| Check or fix | When to use it | What it addresses |
|---|---|---|
| Select Slideshow | Start here | Lock screen background selection |
| Press Windows + L | After each change | Actual lock screen playback |
| Inspect your pictures | Selected pictures do not display | Readable images in the selected folder |
| Download OneDrive pictures | Source images are online-only | Local picture availability |
| Adjust lock screen display and sleep timeouts | The display goes blank early | Interrupted viewing |
| Inspect the screen saver | A screen saver appears instead | Separate idle behavior |
| Enable the sign-in background | The issue concerns sign-in controls | Background picture sharing |
| Disable the slideshow restriction | A local policy blocks slideshows | Policy on supported editions |
| Change the device management policy | Your organization controls the restriction | Centrally enforced slideshow settings |
| Review other lock screen policies | The lock screen or personalization is restricted | Related administrator controls |
| Install Windows updates | Basic checks do not help | Available Windows fixes |
| Run DISM and SFC | The problem persists | Damaged Windows components |
| Perform a clean boot | Startup interference is suspected | Software conflict diagnosis |
| Try another Windows profile | The cause remains unclear | Account-specific versus device-wide behavior |
| Reinstall through Windows Update | Persistent system problems remain | Repair that preserves apps, files, and settings |
| Use Microsoft's Windows download page | You need a separate installation procedure | Official downloads with device restrictions |
Select Slideshow and test the lock screen
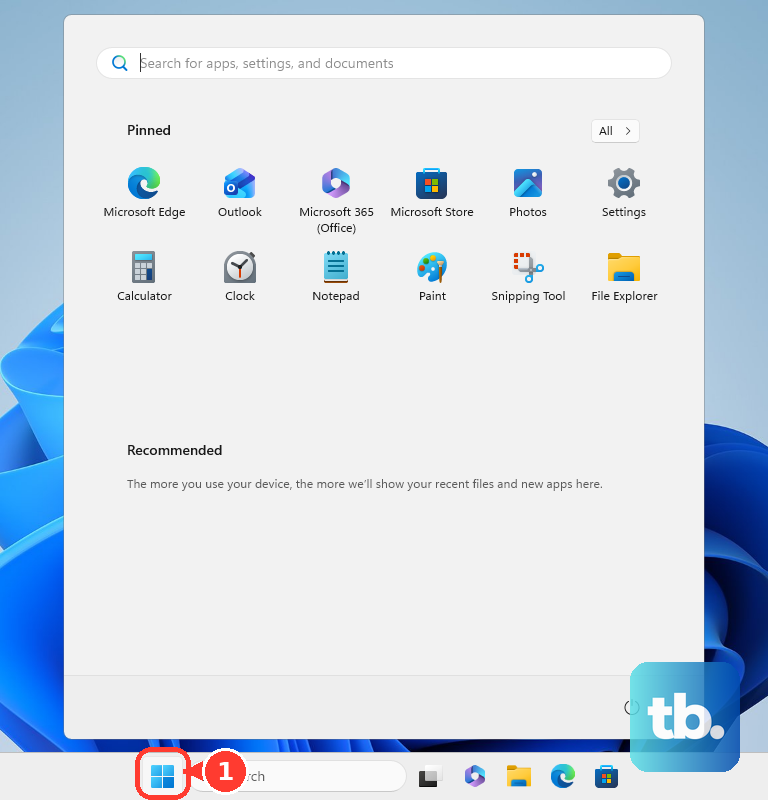
Open Start > Settings > Personalization > Lock screen. Under Personalize your lock screen, select Slideshow, then select a folder containing your pictures. Confirm that the selected folder is the one you want Windows to use.
Press Windows + L and leave the lock screen displayed while you check playback. Opening the sign-in controls immediately does not test sustained slideshow playback. You can also select Start > Power > Lock; earlier Windows 11 versions placed Lock in the account menu.
Check your pictures and folder access
Open your selected picture folder in File Explorer and confirm that the images are present and readable. For a diagnostic test, use JPEG or PNG pictures directly inside the folder. A Microsoft External Staff moderator recommends these checks for slideshow problems, but they are not a guaranteed fix.
For online-only pictures stored in OneDrive with Files On-Demand, right-click their folder in File Explorer and select Always keep on this device. Wait for the download to finish, then test the lock screen again. Downloading makes the pictures available locally, but it does not guarantee that every OneDrive folder location will be accepted by the slideshow.
Check what interrupts or replaces the slideshow
If the display goes blank, open Start > Settings > System > Power & battery and select the screen, sleep, and hibernate timeouts section. Find Make my device sleep after and increase that interval for the power state you are testing. Microsoft notes that the regular display-off timeout applies while you are signed in and idle, not when the PC is locked.
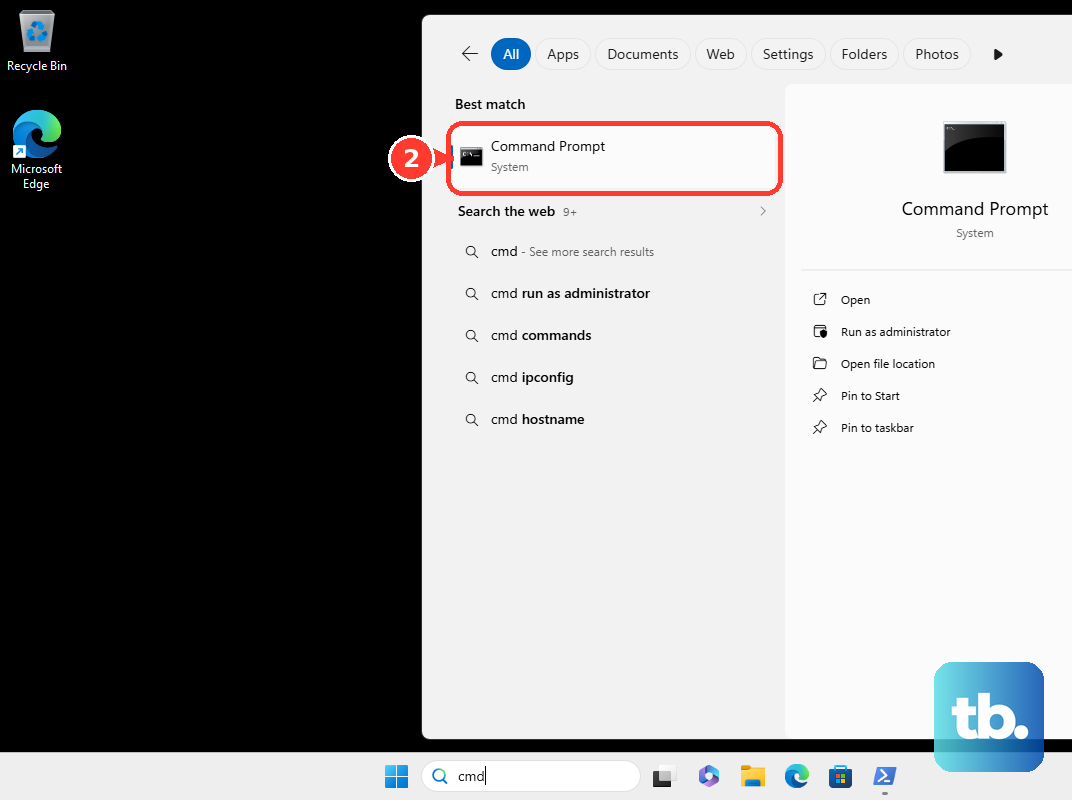
By design, Windows turns off the display after 60 seconds of inactivity at the lock screen, and this timeout is not configurable in the Windows interface by default. To lengthen it, open Command Prompt with administrator privileges and run the following commands, replacing <time in seconds> with the interval you want. These commands set the timeout used when the PC is plugged in.
powercfg.exe /setacvalueindex SCHEME_CURRENT SUB_VIDEO VIDEOCONLOCK <time in seconds>
powercfg.exe /setactive SCHEME_CURRENT
To set the timeout used on battery power, run the first command with /setdcvalueindex instead of /setacvalueindex.
Battery-specific controls depend on your device, and earlier Windows 11 releases can use different section labels. If the section name differs, find the sleep interval within Power & battery. Retest with the longer timeouts to check whether blanking or sleep was cutting playback short; these changes diagnose an interruption rather than repair image rotation.
If a screen saver appears instead, open Settings > Personalization > Lock screen. Under Related settings, select Screen saver. In Screen Saver Settings, inspect the selected screen saver and its Wait value, which sets how many minutes of inactivity pass before the screen saver activates.
If your complaint concerns the background behind the sign-in controls, return to Settings > Personalization > Lock screen. Turn on Show the lock screen background picture on the sign-in screen. Microsoft describes this as background-picture sharing, so use the actual lock screen to check continuous slideshow playback.
Check policies that restrict the lock screen
If your organization manages the PC, have its administrator check the controlling policies. The slideshow restriction applies to Windows 11 Pro, Enterprise, Education, and supported IoT Enterprise editions. Local Group Policy Editor is not supplied with Home, so Home users can continue with Windows updates.
As an administrator on a supported edition, open gpedit.msc. Go to Computer Configuration > Administrative Templates > Control Panel > Personalization, then open Prevent enabling lock screen slide show. Select Disabled, then select Apply and OK.
For a managed device, the administrator can disable or remove ./Device/Vendor/MSFT/Policy/Config/DeviceLock/PreventLockScreenSlideShow in the management configuration. The management-console steps depend on the provider. A centrally enforced restriction needs to be changed centrally.
In the same Personalization policy folder, review Do not display the lock screen, Prevent changing lock screen and logon image, and Force a specific default lock screen and logon image. Where an unwanted policy applies, select Not Configured, then select Apply and OK. Policy support varies by edition; Microsoft limits the forced default-image policy to Enterprise, Education, and Server, so do not assume it applies to Pro or Home.
Install available Windows updates
Select Start > Settings > Windows Update > Check for updates. Install applicable updates and complete any required restart, then test the lock screen again. Update availability depends on your hardware, Windows release, and management policies.
Updating is a general troubleshooting step, not a guaranteed slideshow repair. If the pictures remain readable and the slideshow still fails, continue with Windows component repair.
Repair Windows components with DISM and SFC
You can repair Windows using Command Prompt, starting with DISM and then running SFC. These tools address damaged Windows components and system files, but they do not guarantee a fix for every slideshow problem.
Open Command Prompt with administrator privileges. Run the following command and wait for it to finish before continuing.
DISM.exe /Online /Cleanup-Image /RestoreHealthOnce DISM completes, run SFC to repair system files with the command below. Keep the window open until verification completes.
sfc /scannowTest the slideshow again after completing the repairs. If it still does not work, check for startup software interference and then an issue limited to your Windows account.
Check for interference with a clean boot
A clean boot helps you check whether startup software is interfering with Windows. As an administrator, search for msconfig and open System Configuration. On Services, select Hide all Microsoft services, then select Disable all and Apply.
Open Startup and select Open Task Manager. Record which startup items are enabled, then disable those items so you can test without them and restore their previous state afterward. Close Task Manager, select OK in System Configuration, and restart the PC.
Test the slideshow in this clean boot state. If it works, re-enable items in groups to identify the interference. Restore the items you disabled after testing; if clean boot makes no difference, continue with a separate Windows profile.
Try a separate Windows user profile
A separate profile helps distinguish an account-specific issue from one affecting the whole device. Open Settings > Accounts > Other user. Under Add other user, select Add account.
To create a local test account, select I don't have this person's sign-in information, then select Add a user without a Microsoft account. Complete the account setup and sign into that account. Configure its lock screen slideshow using accessible local pictures.
If the slideshow works in the separate account, that points toward an issue specific to your original profile. If it fails there too, the problem may affect the device more broadly. A Windows repair is a later option for persistent system problems.
Reinstall the current Windows version as a last step
For persistent system problems after the earlier checks, you can reinstall Windows 11 while keeping files through Windows Update. This is a broader repair option, not an established cure for every slideshow failure. It requires the Windows 11 2022 annual update or later and the February 2024 optional update or later.
This process reinstalls the current Windows version while preserving your apps, files, and settings. Keep the PC connected to power and the internet, then open Start > Settings > System > Recovery. Under Fix problems using Windows Update, select Reinstall now, then select OK.
After installation finishes, restart the PC and test the slideshow again. If the repair option is missing, check for applicable updates because the method requires the updates listed above. The option can also be unavailable when your organization manages updates; in that case, have your administrator review the update configuration.
A manual Windows download is unnecessary for this repair method. If you need a separate installation procedure, use Microsoft's Download Windows 11 page and select an option appropriate to your device architecture and intended procedure. Check the option's eligibility restrictions before proceeding.
Frequently Asked Questions
Can the lock screen slideshow use pictures from more than one folder?
Yes, Windows 11 supports adding multiple picture folders to the lock screen slideshow. You can select additional folders instead of gathering all your slideshow pictures into one folder.
Can you run DISM and SFC on Windows 11 Home?
Yes, both tools apply to all consumer editions of Windows 11, including Home. You need administrator access to run them.
Which downloads does Microsoft's Windows 11 download page offer?
Microsoft lists installation-assistant, installation-media, and ISO options. Architecture and eligibility restrictions vary by option, so your choice needs to match the compatible device and installation procedure.
How can an administrator identify the managed slideshow restriction?
Microsoft specifies ADMX-backed SyncML configuration for the device management policy. Its registry mapping is HKLM\Software\Policies\Microsoft\Windows\Personalization, with the value NoLockScreenSlideshow. Have the administrator change the controlling policy rather than treating that mapping as a separate registry repair.