

To create a recovery drive, search for Recovery Drive in Windows, open it, select Back up system files to the recovery drive, and follow the wizard to create your USB. These steps work in Windows 11 and Windows 10 and create recovery media for the PC you use to make it. Creation erases the USB drive, so use an empty one.
The short version
- Start here: Search for Recovery Drive and open the matching tool.
- Include Windows files: Select Back up system files to the recovery drive to include the system file backup needed for a self-contained Windows reinstall.
- Choose carefully: Creating the recovery drive erases the selected USB drive.
- Another way in: Run
recoverydrive.exeto open the same graphical wizard.
| Method or option | When to choose it | What it opens or creates |
|---|---|---|
| Windows search | Start the standard creation process | Recovery Drive wizard |
| Run command | Open the tool with a keyboard shortcut | The same Recovery Drive wizard |
| Control Panel | Open the tool through Windows controls | The same Recovery Drive wizard |
| Tools only USB | Access recovery tools without a system file backup | USB with recovery tools |
| Windows 11 installation USB | Create media when the affected PC cannot start | Installation media for Windows 11 x64 |
| S mode policy file workaround | Address the missing policy file boot problem | Repairs the existing recovery USB |
Open Recovery Drive on your PC
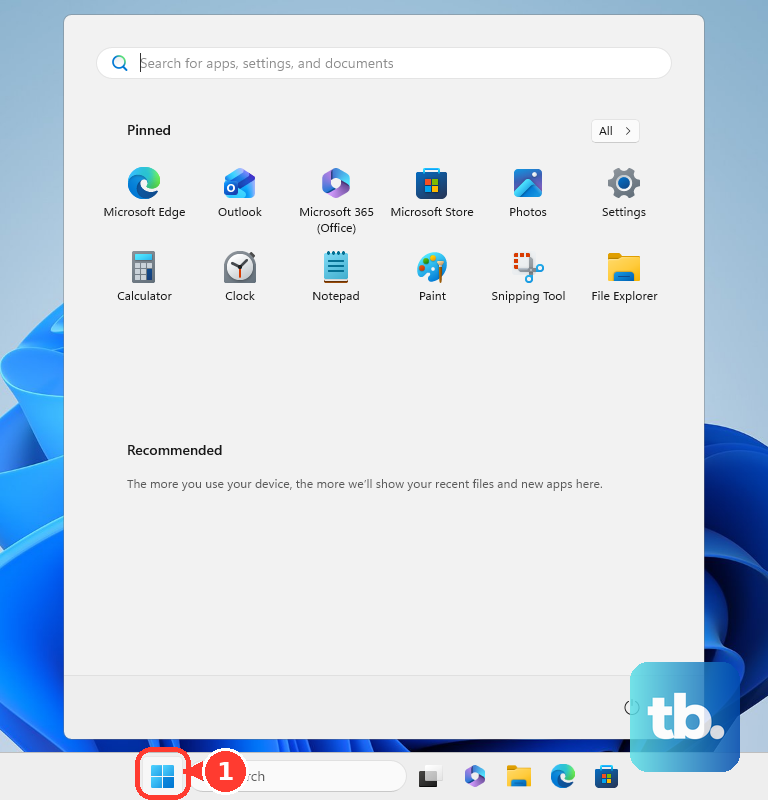
Use the PC you want to create recovery media for. Open Start or the taskbar search, search for Recovery Drive, and open it. If User Account Control asks for approval, select Yes; administrator approval may be required.
On Windows 10, use the same search route and open Recovery Drive. Continue with the system file selection and USB creation steps below, which also apply to that version.
Choose whether to include system files
Select Back up system files to the recovery drive, then select Next. Keep this option selected when you want the USB to include the system file backup needed for a self-contained Windows reinstall.
For a USB that provides recovery tools without that system file backup, uncheck Back up system files to the recovery drive before selecting Next. You can use the resulting USB to access the Windows Recovery Environment, but it does not include the system file backup needed for a self-contained reinstall.
Select the USB and create the drive
Connect an empty USB drive and select it in the wizard. Check that you have selected the USB you intend to use, then select Next.
Creating the recovery drive erases everything on the selected USB drive. Select Create and wait for the process to complete. When the wizard finishes, select Finish.
Your completed USB is recovery media for the originating PC. When you need to recover Windows using a USB drive, follow the recovery steps for the completed media.
Open the same wizard another way
You can also open Recovery Drive through the Run shortcut in Windows 11 and Windows 10. Press Windows + R, then enter this command:
recoverydrive.exePress Enter to open the graphical wizard. Continue with the system file selection and USB creation steps above. This command opens the same tool; it is not an unattended backup command.
For the Control Panel route, open Control Panel, search for Recovery, and select Create a recovery drive. Select Back up system files to the recovery drive, then select Next. Continue with the USB selection and creation steps above.
Create installation media if the PC cannot start
When the affected PC cannot start, you can create a Windows 11 installation USB using a working PC. This creates installation media rather than a backup of the originating computer. Microsoft's Media Creation Tool supports Windows 11 x64 and does not create ARM64 installation media.
On the working PC, open the Windows 11 download page and select Download Now under Create Windows 11 Installation Media. Run the downloaded tool as administrator and select Accept. Choose Create installation media for another PC, then select Next.
Choose the language and edition, then select USB flash drive. Use a blank USB drive with at least 8 GB of space and complete the wizard.
Fix the missing policy file problem in S mode
If your Windows 11 PC in S mode has the recovery drive boot problem caused by a missing policy file, inspect USB:\EFI\Microsoft\Boot on the recovery USB for winsipolicy.p7b. If you find it, copy it to USB:\EFI\Boot.
If the file is absent, obtain winsipolicy.p7b from C:\Windows\Boot\EFI on another Windows computer. Copy it into USB:\EFI\Boot on the recovery USB.
Frequently Asked Questions
Can you open Recovery Drive through Windows Tools?
Yes, on Windows 11, open Start, open the apps list, select Windows Tools, then select Recovery Drive. The presentation of the apps list can vary between Windows releases.
Is a system repair disc the same as a recovery drive?
A system repair CD or DVD supplies recovery tools rather than a Windows reinstall image. You can create this type of disc in Windows 11 or Windows 10 on a PC with a CD or DVD writer.
Can a Surface use a downloaded factory recovery image?
If your Surface model has a downloadable recovery image, you can identify the matching image using its serial number. The available image and Windows version depend on the model. Microsoft recommends the newest image when several are offered, and its Surface recovery USB procedure normally calls for a 32 GB drive.
What should you use for a Windows 11 ARM64 PC?
Microsoft recommends manufacturer recovery media for the most reliable device-specific recovery. You can also use an official Windows 11 ARM64 ISO, subject to device-specific driver requirements. Snapdragon X Series devices can boot that ISO without injected drivers, while earlier Snapdragon generations require appropriate manufacturer drivers. Additional drivers may still be needed after installation.