Your microphone can go silent even when the hardware is fine. The usual causes are a muted headset, the wrong input device, a blocked privacy permission, a browser-level denial, or an app using the wrong mic. Start with the checks that take seconds, then move into app settings and Windows repair tools when the basic path is clean.
1. Rule out the simple hardware block
Confirm the USB, 3.5 mm, headset, webcam, or Bluetooth microphone is connected correctly.
Check the headset or microphone for a physical Mute button and turn mute off.
Position the microphone correctly before testing again.
On a Chromebook with a physical microphone switch, turn the switch on.
A loose plug, a muted headset, or a mic pointed away from you can look exactly like a software failure. If a Bluetooth microphone is missing on Windows, open Start > Settings > System > Sound > Input, select Add device, then follow the prompts.
2. Pick the right input and test it
The selected input matters more than the volume slider when your computer has a laptop mic, webcam mic, headset, and monitor audio device.
- 1.On Windows 11, open Start > Settings > System > Sound > Input.
- 2.Under Choose a device for speaking or recording, select the microphone you want.
- 3.Select the arrow next to the device.
- 4.Under Input settings, select Start test.
- 5.Speak normally, select Stop test, then select Play.
- 6.Raise Input volume if the recording is too quiet.
On a Mac, open Apple menu > System Settings > Sound > Input, select the microphone, then drag the input volume slider.
On a Chromebook, select the time at the bottom right, select Audio settings next to the volume slider, then adjust the microphone slider under Input.
For the full Chromebook panel, open Settings > Device > Audio > Input, then check Volume, Device, and Mic test.
3. Open microphone access for your app
A working mic still stays silent when the operating system blocks the app.
On Windows 11, open Start > Settings > Privacy & security > Microphone, turn on Microphone access, turn on Let apps access your microphone, then turn on the app under Choose which apps can access your microphone.
For desktop apps, also turn on Let desktop apps access your microphone.
On a Mac, open Apple menu > System Settings > Privacy & Security > Microphone, then turn access on for each app that needs the microphone.
Quit and reopen the app if macOS asks or the permission does not apply immediately.
On a Chromebook, select the time at the bottom right, open Settings > Privacy and security > Privacy controls, then turn on Microphone access.
Check the system permission before reinstalling anything.
4. Reset the browser site permission
Browser access is its own layer: a meeting site can be allowed in Windows or macOS and still be blocked inside Chrome, Firefox, Edge, or Safari.
In Chrome, open More > Settings > Privacy and security > Site settings > Microphone.
Choose the default behavior, review allowed and blocked sites, and select the correct default microphone from the dropdown.
In Firefox, open the site, select the permissions icon in the address bar, then click X next to the current microphone permission so Firefox asks again.
You can also open Settings > Privacy & Security > Permissions > Microphone > Settings..., set the site to Allow, then select Save Changes.
In Microsoft Edge, open Settings and more > Settings > Cookies and site permissions > Microphone, then turn on Ask before accessing.
For one site, open Site Permissions > All sites, select the website, then set Microphone to Allow.
In Safari, open Safari > Settings > Websites > Microphone, then choose Ask, Deny, or Allow for the site.
5. Test the mic inside the meeting or chat app
Most calling apps have their own device picker and test tool.
If the system and browser are set correctly, move to the app that is actually using the mic.
In Google Meet, open the meeting preview tile, select More options > Settings > Audio, select Microphone, then speak and watch the mic bar.
During a meeting, select the arrow next to the microphone icon, then choose the microphone from the dropdown.
In Microsoft Teams, open Settings and more > Settings > Devices > Manage devices > Audio > Audio settings, choose the mic from the Microphone dropdown, then select Make a test call.
The test call runs in the Teams desktop app only; it is unavailable on Teams for web, and it is currently available in English only.
In Zoom, open the desktop app, select your profile picture, then open Settings > Audio > Microphone > Test microphone.
Watch the input volume bar, listen to the playback, and select another microphone from the menu if Zoom is using the wrong one.
In Discord, check the mic and headset icons.
If either icon is slashed, unmute or undeafen.
Then open User Settings > Voice & Video, verify Input Mode, select the correct Input Device, adjust Input Volume, and run Mic Test > Let's Check.
For Zoom, use the official test meeting before an important call: open zoom.us/test, launch Zoom, then follow the prompts to test video, audio, and microphone.
6. Run Windows repairs after permissions pass
Use these only after the mic is connected, selected, and allowed. That order saves time because driver work does not fix a blocked privacy switch or a muted headset.
Open Settings > System > Sound > Advanced > Troubleshoot common sound problems > Input devices.
Microsoft also recommends the automated audio troubleshooter in the Get Help app.
Update drivers through Start > Settings > Windows Update > Check for updates.
Install available updates, then restart.
To update through Device Manager, open Start, type Device Manager, select Device Manager, expand Sound, video and game controllers, right-click the audio device, select Update driver, choose Search automatically for drivers, follow the prompts, then restart.
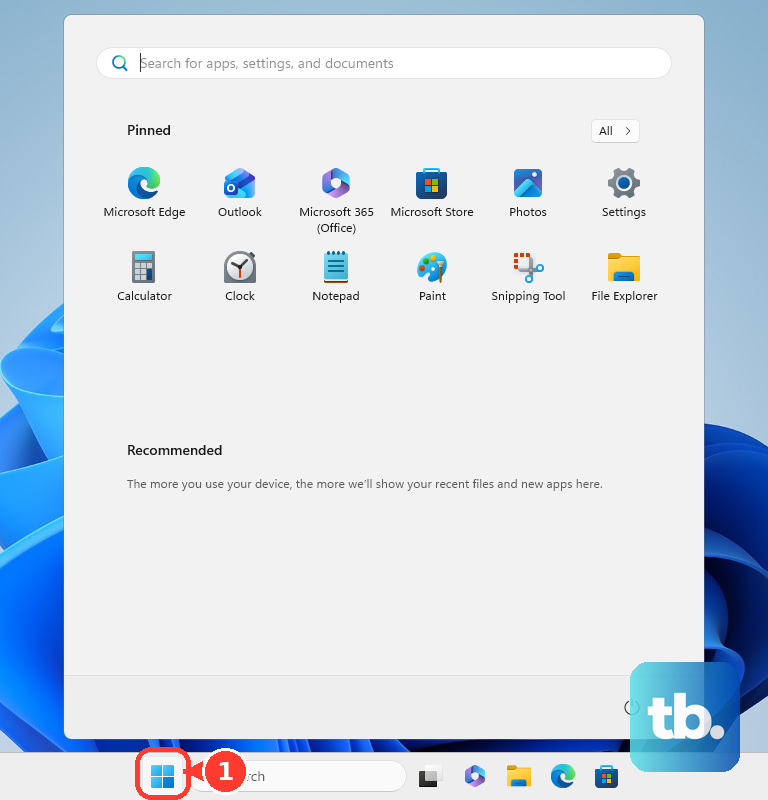
To reinstall the driver, right-click Start, open Device Manager, expand Sound, video and game controllers, right-click the audio device, select Uninstall device, check Attempt to remove the driver for this device if prompted, select Uninstall, then restart.
If Windows does not reinstall the driver, return to Device Manager, right-click Sound, video and game controllers, then select Scan for hardware changes.
When a microphone problem starts right after a Windows update, roll back the audio driver if Windows has a previous driver available.
Open Device Manager, expand Sound, video and game controllers, right-click the audio device, select Properties > Driver > Roll Back Driver, follow the prompts, then select Yes.
7. Disable processing that distorts your voice
Look at audio processing when people can hear you but your voice sounds clipped, quiet, or distorted.
On Windows, open Start > Settings > System > Sound, select your microphone under Input, then open Device Properties > Additional device properties.
On the Enhancements tab, select Disable all enhancements or Disable all sound effects, then select OK.
If that tab is not shown, open Advanced and clear Enable audio enhancements.
In Discord, open User Settings > Voice & Video and turn off Noise Suppression when Krisp makes your microphone audio worse.
On supported Chromebooks and input types, open Settings > Device > Audio > Input, then adjust supported options such as Noise cancellation or Bluetooth Super Resolution after the main input settings are correct.
8. Spot managed device restrictions
Work and school devices can lock microphone settings.
Windows privacy options can be controlled by policy.
Chrome and ChromeOS can be managed by an administrator.
Edge audio capture can be governed by enterprise policy.
Managed Macs can have microphone access restricted by device management, which denies specified apps access to the microphone.
When microphone controls are grayed out or the browser says it is managed, stop reinstalling apps and contact the work or school administrator.
On a Mac, also check the orange recording indicator next to Control Center; open Control Center to identify recent or active microphone use, then close that app or adjust its microphone access.
Frequently Asked Questions
Why does my microphone work in one app but not another?
That app has its own microphone permission, input device choice, or mute state. Confirm the operating system permission first, then check the microphone setting inside the specific app or browser tab.
Why can a website not hear me after I allowed the microphone on my computer?
Website microphone access is controlled separately in the browser. Open the site's permission settings in Chrome, Firefox, Edge, or Safari, allow microphone access, and select the correct default microphone.
Should I reinstall Zoom or Discord to fix microphone problems?
Reinstall only after the microphone passes the hardware, input selection, operating system permission, browser permission, and in-app test checks. For reinstalling, use the official Zoom or Discord download page.
What should I do when microphone settings are grayed out?
A work or school administrator may control microphone access. Managed Windows, Chrome, Edge, ChromeOS, and macOS devices can block local permission changes.