

To stream Nintendo Switch gameplay on Discord, connect your docked console to a compatible HDMI capture card, open its gameplay preview on your computer, then share that window in a Discord call. Configure game audio too, since an OBS projector or camera feed needs a separate audio route.
This capture setup works with the original Nintendo Switch, Switch OLED, and Switch 2 using their powered docks. Switch Lite lacks TV Mode, so use a phone or webcam pointed at its screen. The Windows permission steps below use Windows 11 menus.
The short version
- Connect the hardware: Connect the powered Switch dock to a compatible HDMI capture card, then connect the card to your computer.
- Prepare the picture: Open the card in OBS Studio or compatible capture software and display the gameplay preview.
- Route the sound: Configure game audio separately when using an OBS projector or a camera feed.
- Start sharing: Join a Discord call, select your preview window, and choose Go Live.
| Sharing method | What to select | Audio consideration |
|---|---|---|
| OBS projector | A gameplay source or scene projector | Configure a separate audio route |
| Direct device sharing on Mac | The capture device in Discord | Check that your audience hears game audio |
| QuickTime preview on Mac | The live QuickTime window | Local monitoring alone does not establish shared audio |
| Capture card as a camera | The card in Discord’s camera settings | Route game audio separately |
| OBS Virtual Camera | The virtual camera in Discord | Supply audio through a separate device or mixer |
| Phone or webcam filming the screen | The camera in a Discord call | The microphone can pick up the game’s speakers |
Connect the Switch dock and capture card
Start with a powered dock, a compatible HDMI capture card, and a computer that meets the card’s requirements. A USB capture card connects to the computer over USB, while an internal capture card requires a compatible PCIe slot in a desktop computer.
Dock the console and connect the dock’s HDMI output to the capture card’s HDMI input. Connect the card’s USB output to your computer, then connect its HDMI output to your TV or monitor if the card supports passthrough. For an installed internal card, connect the dock to the card’s HDMI input. Connect the card’s HDMI output to your display only if that model provides HDMI passthrough.
With an original Switch or Switch OLED and Game Capture Neo, open System Settings > TV Settings. Set TV Resolution to 1080p or 720p, and set TV Sound to Stereo. Elgato also recommends turning off Match TV Power State for that setup.
For Switch 2, connect the capture card to the powered dock’s HDMI output rather than directly to the console’s USB-C port. Supported resolution, HDR, and frame rate depend on the complete capture setup.
Create a gameplay preview in OBS Studio
Download OBS Studio for your computer and open it. These capture-source steps apply to Windows and macOS; on Windows, your device needs DirectShow-compatible drivers. On Linux, use the Video Capture Device (V4L2) source instead.
In Sources, select + > Video Capture Device. Open the source’s Properties and choose your capture card under Device. The preview displays the gameplay signal received through the card. For supported Blackmagic or AJA hardware, add the dedicated Blackmagic Device or AJA Device source instead.
If automatic video negotiation fails, set Resolution/FPS Type to Custom and choose a supported Resolution and FPS. When the card exposes its audio separately, check Use custom audio device and choose the matching Audio Device.
Right-click the gameplay source and select Windowed Projector (Source) to create a clean window for Discord. Choose Windowed Projector (Scene) instead when you want to share the complete scene. Keep that projector window open for the screen-sharing step.
Send game audio into Discord
An OBS projector provides the picture, but you need to configure its audio separately. A virtual audio cable can carry the capture-card sound and your microphone together through Discord’s voice input. The endpoint names below apply to Windows; compatible macOS audio software uses different names.
Download the Windows package from VB-Audio’s VB-CABLE page, extract it, run setup as administrator, and restart the computer after installation. Reopen OBS and go to Settings > Audio. Set Monitoring Device to CABLE Input (VB-Audio Virtual Device).
Next, open Edit > Advanced Audio Properties and uncheck Active Sources Only. Set Audio Monitoring to Monitor and Output for the capture-card audio. Apply the same setting to any microphone you want included in the mix.
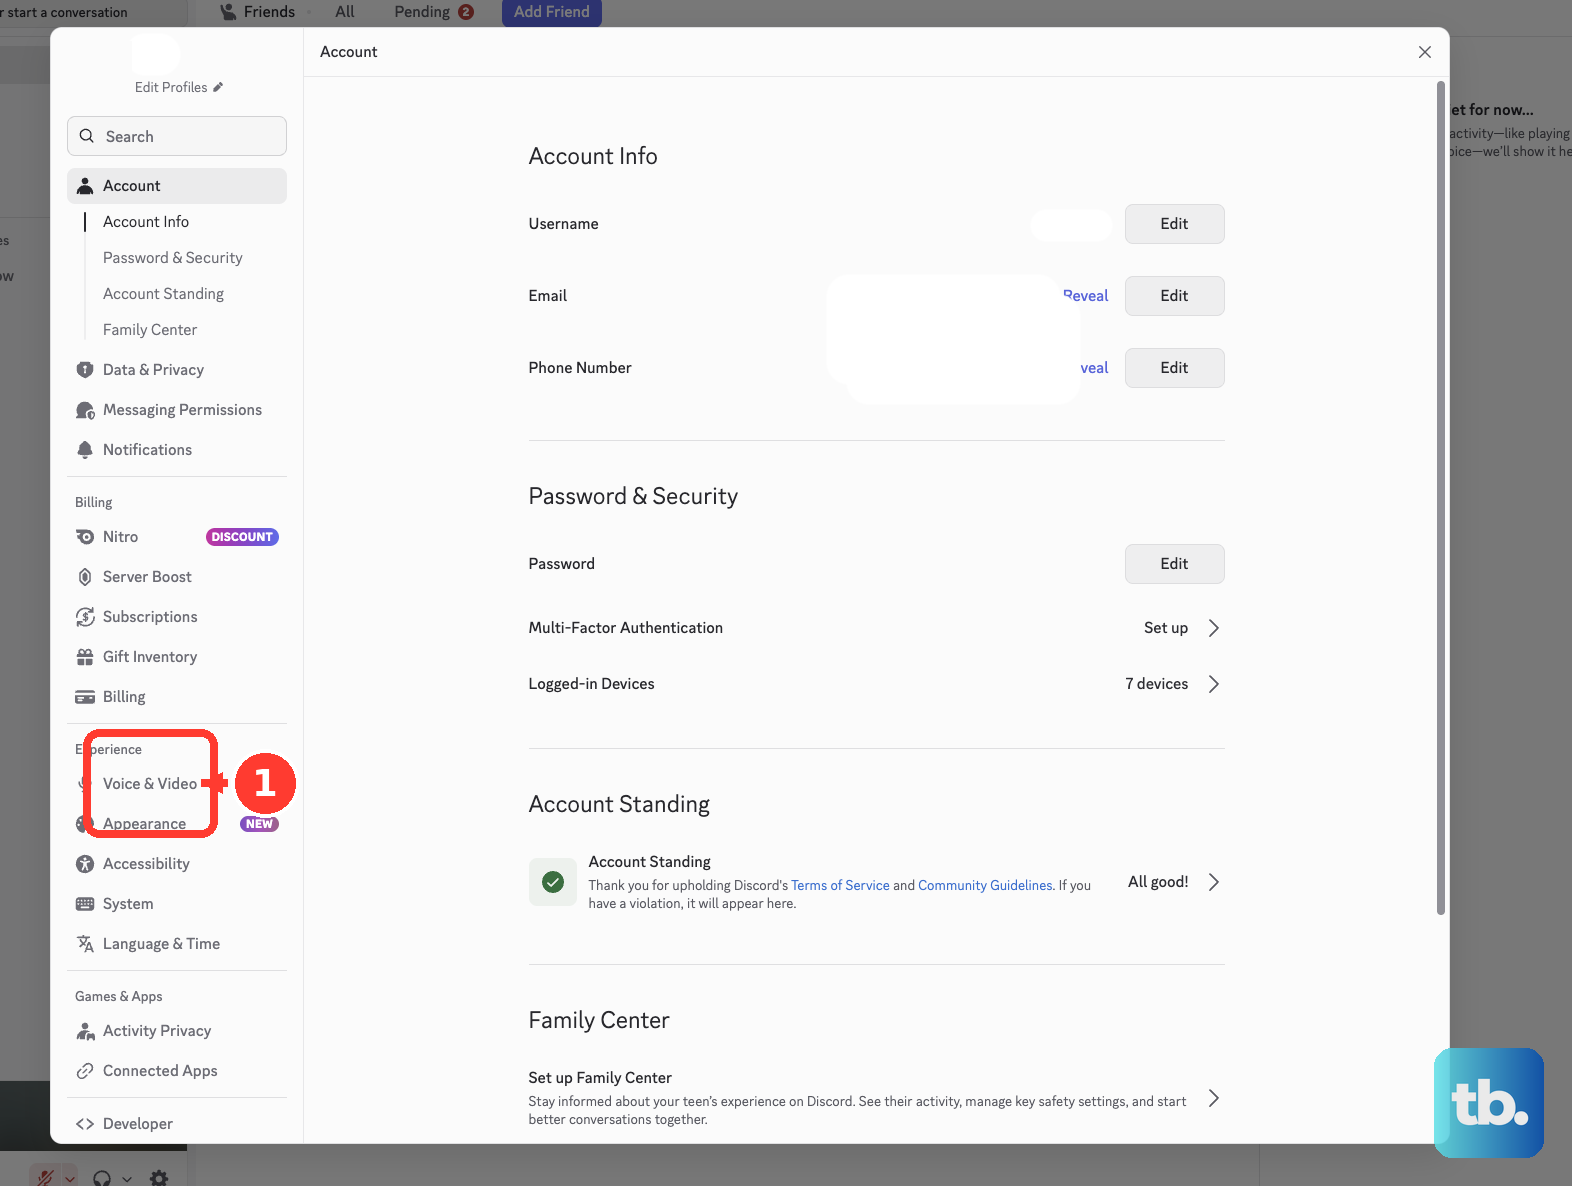
In Discord, open User Settings > Voice & Video and set Input Device to CABLE Output. Discord now receives the OBS mix through its voice input, including your microphone if you added it to that mix.
Share the preview in a Discord call
Install or update the desktop app from the official Discord download page, then open Discord. Keep OBS, its projector window, and your audio route running before starting the stream.
For a server stream, join a voice channel and select the screen streaming icon. Choose the gameplay projector window, then select Go Live. Sharing that window shows the gameplay without the OBS editor.
For a direct message or group direct message, start a call using the phone or video icon. Select Share Your Screen, choose Application and the projector window, then select Go Live.
To adjust the picture while streaming in the desktop app, open the stream’s gear or down-arrow menu and select Stream Quality. Change Frame Rate and Resolution there. Free accounts support up to 720p at 30 fps, while eligible Nitro subscriptions allow higher settings.
Share a capture device or QuickTime window on Mac
In the current Discord Mac desktop app, you can share a compatible capture device directly. Join a voice channel, select Screen Share, then choose Or share a device. Select the connected capture device, then complete the sharing dialog.
For an application preview instead, choose share a window or share an app, select Next > Make Selection, and choose the preview. Discord’s interface varies with your macOS version.
To create a preview in QuickTime Player, connect a compatible camera-style capture card and open File > New Movie Recording. Open the Capture Device Selection Menu and select the card under Camera and Microphone. Raise the preview volume control to monitor game sound locally.
Share the live QuickTime window in Discord without recording a file. Local monitoring alone does not establish what the Discord audience hears, so configure shared audio as well.
Use a camera feed or film the screen
A compatible capture card exposed as a video device can appear as your Discord camera. Open User Settings > Voice & Video, choose the card in the Camera dropdown, and select Test Video. Join a voice channel or start a direct message call, then select Turn on Camera. If you use Discord in a browser and receive a camera permission prompt, select Allow.
To send your OBS scene as a camera feed, select Start Virtual Camera in OBS’s Controls. Choose OBS Virtual Camera in Discord’s camera settings and enable video in the call. Both camera methods require separate game-audio routing; select Stop Virtual Camera in OBS when finished.
Without HDMI capture hardware, aim a phone or webcam at the Switch screen or TV and enable the camera in a Discord call. On mobile, select Video in the call controls. This works with Switch, Switch OLED, Switch 2, and Switch Lite.
Let the microphone pick up the game’s speakers if acoustic game audio is acceptable. Camera image quality, reflections, and microphone processing limit the picture and sound your friends receive.
Fix a missing picture or missing game sound
When the gameplay picture is missing, check that the powered dock feeds the capture card’s HDMI input and that the card connects to the computer. If OBS cannot negotiate the picture automatically, open the capture source’s Properties and select a supported resolution and frame rate.
For Switch 2 with Elgato hardware, try a manually selected supported TV resolution when video fails. Disable HDR or 120 Hz output that the capture setup cannot handle, and check the card’s EDID settings. Change only the settings needed for your card and display combination.
Missing HDMI audio on a docked original Switch or Switch OLED can come from headphones connected to the console. Unplug them from the Switch headphone port to restore HDMI game audio, then listen through the display or computer’s audio output. For Switch 2 with Elgato hardware, open HOME Menu > System Settings > Audio > TV Sound and select Stereo.
If the preview has sound but Discord does not, check your selected audio route. With the Windows OBS cable setup, OBS’s Monitoring Device is CABLE Input (VB-Audio Virtual Device), Discord’s Input Device is CABLE Output, and the capture audio must use Monitor and Output. Selecting a capture card or virtual camera as the camera alone does not carry game audio.
Fix permissions that block sharing
On Windows 11, open Start > Settings > Privacy & security > Camera. Enable Camera access and Let desktop apps access your camera so desktop software can access camera-style capture hardware.
For an audio-input problem on Windows 11, open Settings > Privacy & security > Microphone. Enable Microphone access and Let desktop apps access your microphone. Microsoft Store apps may also have individual permission switches.
On current macOS, open Apple menu > System Settings > Privacy & Security > Screen & System Audio Recording. Enable the screen and audio access needed by Discord or your browser, using Add if you need to add the app. Older macOS releases use different permission-page names, and a managed device may require an administrator to change the policy.
If you manage the Discord server’s permissions, open Server Settings > Roles, select the relevant role, then enable Video under Voice Channel Permissions. For a channel override, right-click the voice channel and open Edit Channel > Permissions > Voice Channel Permissions, then allow Video for the relevant role or member. If you lack permission-management authority, ask a server administrator to make that change.
Frequently Asked Questions
Can the console’s capture button start a Discord stream?
Holding Capture saves up to the preceding 30 seconds in supported games. It does not start a live stream.
Can Nintendo GameChat send Switch 2 gameplay to Discord?
The C button opens Nintendo GameChat, whose screen sharing is with Nintendo Switch 2 friends. Nintendo does not document GameChat as a bridge to Discord.
Can you stream Switch gameplay through Discord in a browser?
You can open Discord in Chrome and use the call’s screen-sharing control to share a capture-preview window, completing the browser’s source picker. Discord supports application-audio sharing in Chrome, while other browsers and Linux lack that supported audio-sharing path. Browser streams do not expose adjustable stream quality.
Why does an older Discord app fail to join calls or stream?
Since March 2, 2026, direct message calls, group calls, ordinary voice channels, and Go Live require clients that support Discord’s end-to-end encryption. Update Discord because there is no opt-out switch that restores unsupported older clients.
Should you follow an older Elgato Sound Capture tutorial?
Elgato marks Sound Capture as Legacy and names Wave Link 3.0 or Wave Cast as replacements. Wave Link 3.0 can combine capture-card audio and a microphone into a named mix for Discord, and it requires Windows 11 or macOS 15 or later.