


To install WSL on Windows 11, open PowerShell as administrator, run wsl --install, restart Windows, then launch Ubuntu and create your Linux username and password. This installs Ubuntu using WSL 2 by default. The steps below use Windows 11 menus.
The short version
- Start here: Run
wsl --installin administrator PowerShell, then restart Windows. - Finish setup: Launch Ubuntu and create its Linux username and password.
- Choose another distribution: List the online distributions, then install one using its listed name.
- Stalled download: Use the web download installation option if installation stays at 0.0%.
- Check prerequisites: WSL 2 requires virtualization, including Virtual Machine Platform.
| Method or option | When to use it |
|---|---|
| Default PowerShell installation | Install WSL 2 with Ubuntu |
| Named distribution installation | Choose another distribution or continue when the install command displays help |
| Platform only installation | Install WSL now and choose a distribution separately |
| Microsoft Store distribution | Get Ubuntu through the Store after enabling WSL |
| Offline MSI installation | Install WSL using files obtained before disconnecting |
| Distribution image in File Explorer | Install a downloaded .wsl image by double-clicking it |
| Distribution image in PowerShell | Install a downloaded .wsl image with a command |
| Web download installation | Continue when Store delivery fails or installation stays at 0.0% |
| Windows Features prerequisite | Enable Virtual Machine Platform when needed |
| Firmware virtualization | Enable virtualization on a PC that requires it |
| WSL update | Update an existing installation, with optional GitHub delivery |
Install WSL from PowerShell
Open PowerShell using Run as administrator. Run the following command to install WSL with the default Ubuntu distribution:
wsl --installRestart Windows after installation, then launch Ubuntu. You can use the same installation command in an administrator Command Prompt if you prefer.
If the command displays help instead of installing a distribution, use the named distribution procedure below. Microsoft deprecated the installation mechanism used by old lxrun /install tutorials, so use the current WSL installation commands.
Finish Ubuntu setup and check the installation
When Ubuntu launches, create your Linux username and password to complete its first-run setup. Then return to PowerShell and run the following command to check the installed distribution and its WSL version:
wsl --list --verboseFor the default installation, check that Ubuntu is listed with version 2. If you installed only the WSL platform, install a distribution through the command line, Microsoft Store, or a downloaded image before checking it.
Choose a different Linux distribution
You can choose another distribution instead of Ubuntu or add more distributions to an existing WSL installation. Start by running this command in PowerShell to see the available names:
wsl --list --onlineChoose a name from the results, then run the installation command below. Replace <DistroName> with that listed name, without the angle brackets:
wsl --install -d <DistroName>Launch the installed distribution and complete its account setup. This is also the route to use when running wsl --install by itself displays help.
The available distributions and supported architectures vary. Choose a distribution compatible with your PC's x64 or Arm64 architecture.
Get Ubuntu through Microsoft Store
Microsoft Store provides a graphical way to install Ubuntu once WSL is enabled. If WSL is not already installed and you want to choose the distribution separately, run this command in administrator PowerShell:
wsl --install --no-distributionRestart if required, then open Microsoft Store and search for Ubuntu. Open the desired Ubuntu distribution's listing and select Get. Launch the distribution and create its Linux username and password.
The platform only command leaves distribution installation for you to complete separately. If Store delivery fails, use the web download route below to install a named distribution.
Install WSL using downloaded files
For an offline installation, obtain both the WSL installer and a Linux distribution image before disconnecting. Open Microsoft's WSL releases, choose a stable release, and download the MSI that matches your PC's x64 or Arm64 architecture.
Download a compatible image from Ubuntu's WSL download page as well. Transfer the files to the destination PC if needed, then install the WSL MSI.
Next, open PowerShell using Run as administrator. Run this command to enable Virtual Machine Platform:
dism.exe /online /enable-feature /featurename:VirtualMachinePlatform /all /norestartRestart Windows, then double-click the downloaded .wsl image in File Explorer. Complete the distribution's first-run username and password setup. Canonical's modern distribution format requires WSL 2.4.10 or later.
As an alternative to double-clicking the image, you can install it through PowerShell without Microsoft Store access. With WSL installed and enabled, open PowerShell in the download folder and run the following command, replacing <image>.wsl with the actual filename:
wsl --install --from-file <image>.wslComplete the distribution's first-run username and password setup after installation. You can then check the installed distribution with wsl --list --verbose.
Use a web download when installation stalls
If installation stays at 0.0%, Microsoft recommends the web download option. This route also helps when Microsoft Store delivery fails, and it requires an internet connection.
Open administrator PowerShell and run the following command using a distribution name from wsl --list --online. Replace <DistroName> with the name you chose:
wsl --install --web-download -d <DistroName>Restart Windows if required, then launch the installed distribution and complete its account setup. If WSL 2 still needs virtualization enabled, complete the prerequisites below.
Enable virtualization when WSL 2 needs it
WSL 2 requires virtualization, and Virtual Machine Platform is a Windows prerequisite. Open Start, search for Windows features, and select Turn Windows features on or off. Check Virtual Machine Platform, select OK, and restart if required.
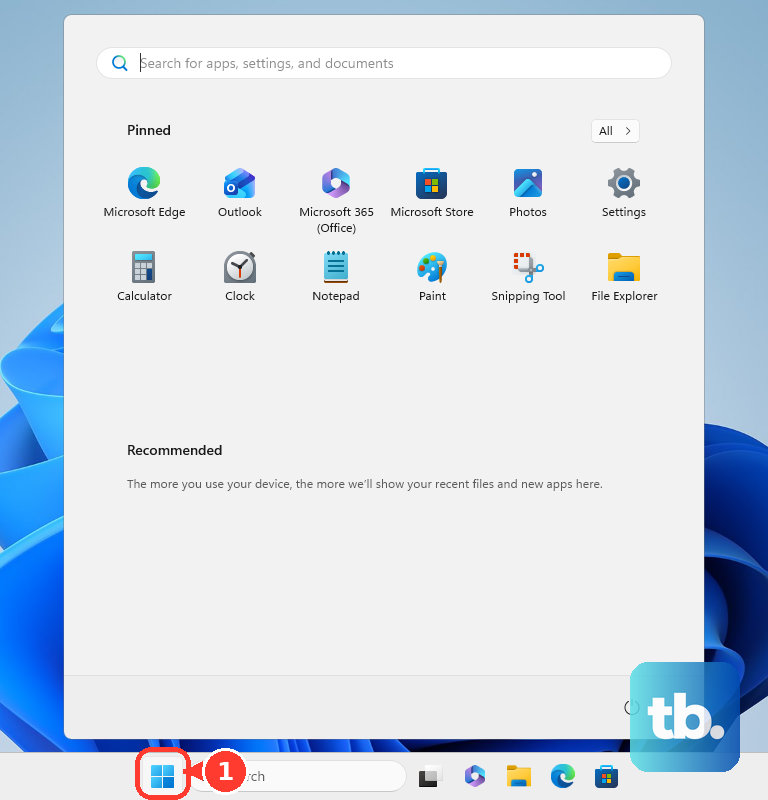
Enabling that feature does not install a Linux distribution. Afterward, complete the WSL and distribution installation using your chosen route.
If your PC requires firmware virtualization to be enabled, open Settings > System > Recovery. Under Recovery options, beside Advanced startup, select Restart now to open Advanced Startup on Windows 11.
In recovery, select Troubleshoot > Advanced options > UEFI Settings > Restart to get to your PC's BIOS. Follow your PC manufacturer's virtualization instructions, save the changes, and restart. Microsoft says Surface devices already have virtualization enabled.
Update WSL after installation
Once WSL is installed, you can update it from PowerShell. Run the following command to update WSL, including an installation using the older Windows component servicing model:
wsl --updateFor delivery through GitHub, use the web download update option instead. Run this command on a PC where WSL is already installed:
wsl --update --web-downloadFrequently Asked Questions
Can you install WSL on Windows 11 Home?
Yes, you can use the recommended installation on Windows 11 Home as well as other Windows 11 desktop editions. Your PC still needs virtualization enabled for WSL 2.
Can you use WSL 1 instead of WSL 2?
Yes, you can use WSL 1 on Windows 11 without WSL 2's virtualization architecture. You must enable the Windows Subsystem for Linux optional component for WSL 1 support. Enabling that support does not automatically convert your existing distributions.
Can you choose where a Linux distribution is installed?
Yes, you can choose an installation directory with the --location option on a current WSL command line that supports it. You can also add --no-launch to postpone the distribution's first launch.
Where can you configure WSL after installing it?
Open WSL Settings from Start on a current WSL installation. You can use it for post-install configuration after completing the installation.