

To access Minecraft screenshots, open your Java Edition screenshots folder, select Profile > Screenshot Gallery in Bedrock Edition, or check your device’s capture library if it saved the picture. Minecraft captures and device screenshots have separate destinations, so start with the method you used to take the picture. Java’s default screenshot key is F2, while Windows shortcuts, console capture buttons, and phone controls use their own systems.
The short version
- Java Edition: Look in the screenshots folder inside the game directory used by your installation.
- Bedrock Edition: Open Profile > Screenshot Gallery for pictures stored in the game’s gallery.
- Device captures: Check your computer’s screenshot folder, phone’s photo library, or console’s capture gallery if the picture was saved; for clipboard-only captures, use the clipboard instructions below.
- Other capture tools: Pictures taken through Steam, NVIDIA, or AMD belong in that tool’s capture library or save folder.
| Capture method | Where to look |
|---|---|
| Java Edition on Windows with the default game directory | %AppData%\.minecraft\screenshots |
| Java Edition on Mac with the default game directory | ~/Library/Application Support/minecraft/screenshots |
| Java Edition on Linux with the default game directory | ~/.minecraft/screenshots |
| Bedrock in-game gallery | Profile > Screenshot Gallery |
| Windows Game Bar | Videos > Captures, unless relocated |
| Windows full-screen shortcut | Pictures > Screenshots |
| Windows 11 Snipping Tool | Screenshots folder or the destination in its settings |
| Windows clipboard capture | Paste into an image editor or document while the image remains on the clipboard |
| Mac system capture | Desktop or the destination under Options |
| Mac clipboard capture | Paste into an app that accepts images |
| GNOME screenshot tool | Pictures > Screenshots in your home folder |
| Chromebook capture | Downloads or your selected folder |
| iPhone capture | Photos > Collections > Media Types > Screenshots |
| iPad capture | Open Collections in Photos, swipe up, then select Media Types > Screenshots |
| Android with Google Photos | Collections > On this device > Screenshots |
| Samsung Galaxy capture | Gallery > Albums > Screenshots, or open My Files and select Images |
| Xbox console capture | Captures app or the controller’s default Share shortcut |
| Xbox capture backup | OneDrive or external storage configured through Captures |
| PS5 capture | Media Gallery or the latest capture’s thumbnail through the create button |
| PS5 USB copy | Media Gallery > More > Copy to USB Drive |
| PS4 capture | Capture Gallery, with sorting through OPTIONS and copying to USB storage |
| Original Nintendo Switch family capture | Album on the HOME Menu |
| Original Switch family phone transfer | Sharing and Editing > Send to Smartphone |
| Original Switch family computer transfer | Copy to a Computer via USB Connection under screenshot management |
| Nintendo Switch 2 capture | Album on the HOME Menu |
| Switch 2 app upload | Upload to Smart Device, then Album in Nintendo Switch App |
| Prism Launcher instance | Screenshots in the instance’s editing window |
| Steam overlay capture on desktop | View > Recordings & Screenshots |
| Steam overlay capture on Steam Deck | Media in the Steam menu |
| NVIDIA overlay capture | Gallery in the overlay |
| AMD Software capture | Folder shown under Media Save Location |
| OneDrive backup or upload | Sign in on the web and select My files |
| iCloud Photos copy | Library or an album in the account that synchronized the image |
| Google Photos device-folder backup | The same Google Account on another device after backup completes |
Open your Java Edition screenshots folder
On Windows with the default Java game directory, press Windows + R to open Run. Paste the following path, press Enter, then open the image you want:
%AppData%\.minecraft\screenshotsFile Explorer’s address bar accepts the same path. These are the pictures taken with Java’s default F2 shortcut, although your screenshot key may differ if you reassigned it.
For Java on a Mac with the default game directory, open Finder and choose Go > Go to Folder. Enter the following path, press Return, then open your screenshot:
~/Library/Application Support/minecraft/screenshotsOn Linux with the default Java game directory, open the following folder in your file manager, then open the image you want. The leading ~ means your home directory:
~/.minecraft/screenshotsA custom game directory, modpack, Flatpak installation, or another launcher can put your pictures somewhere else. If you use Prism Launcher, use its instance-specific screenshot manager as described below.
Browse the Bedrock Screenshot Gallery
In Bedrock Edition with the profile and screenshot-gallery features available, launch Minecraft and select Profile > Screenshot Gallery. Browse your pictures there; screenshots taken with your device’s controls have their own destinations.
For Windows Bedrock, start with that gallery if an older tutorial directs you to a UWP folder. Windows Bedrock’s content storage moved beginning with version 1.21.120, replacing the previous UWP content root.
Find Windows captures outside Minecraft
For Game Bar screenshots taken on Windows 10 or Windows 11 with Windows + Alt + Print Screen, open File Explorer and go to Videos > Captures. Open the PNG you want; a relocated Captures folder will have a different destination.
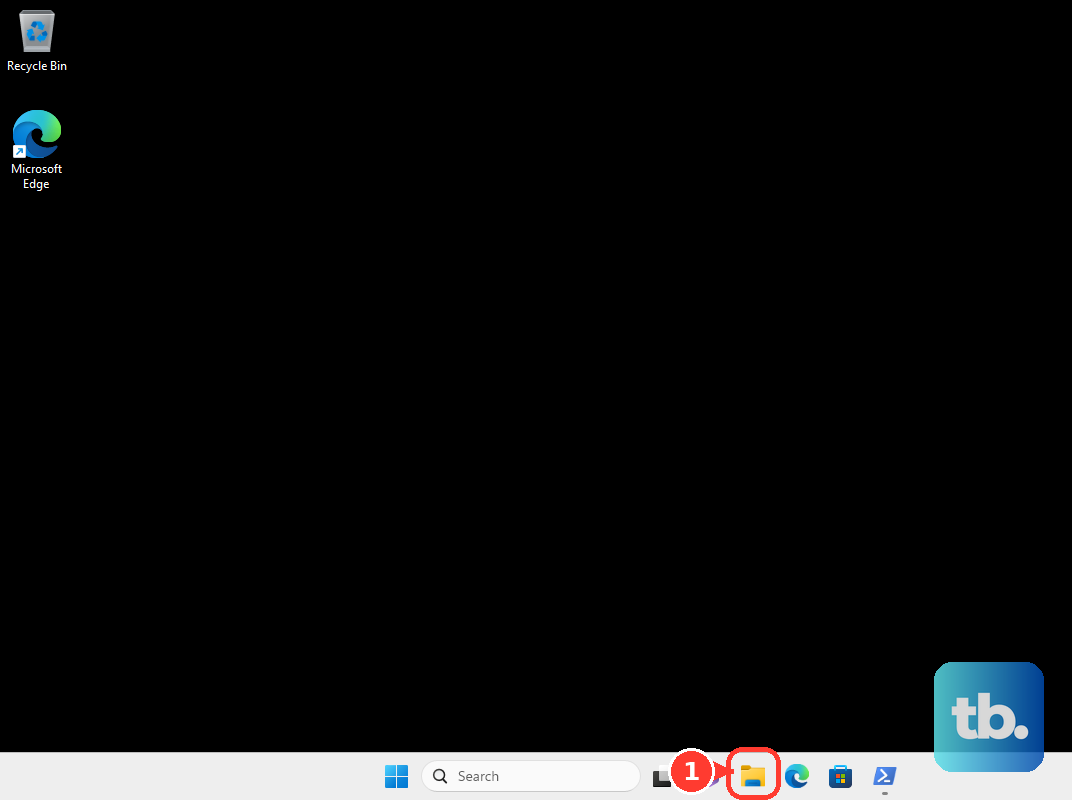
Pictures taken with Windows + PrtScn go to Pictures > Screenshots in File Explorer. Open the image you want there, separate from Java’s screenshot folder and Game Bar’s capture folder.
On Windows 11, check your Screenshots folder for automatically saved Snipping Tool captures, including those started with Windows + Shift + S. To inspect the destination and automatic-save behavior on Windows 11, open Snipping Tool and select See More > Settings.
If the picture is still open in Snipping Tool on Windows 11, select Save as, choose a filename and destination, then select Save. For a Windows capture copied to the clipboard, open an image editor or document and press Ctrl + V while the image remains on the clipboard, then save the pasted image.
Check other computer screenshot locations
On a Mac, check Desktop for system screenshots taken with Shift + Command + 3 or Shift + Command + 4. In macOS Mojave 10.14 and later, press Shift + Command + 5 and open Options to inspect or change the destination.
If you held Control while taking a Mac screenshot, paste the image into an app that accepts images. For future captures, you can also drag the screenshot thumbnail directly into another folder.
With the current GNOME desktop screenshot tool on Linux, open Pictures > Screenshots in your home folder. Other Linux desktop environments can use different destinations, so this location applies specifically to GNOME.
On a Chromebook, open Files and check Downloads, or the folder you selected for screenshots. To choose a destination for future captures, press Shift + Ctrl + Show windows, then select Settings > Select folder.
Find screenshots on your phone or tablet
On an iPhone using the current Photos interface, open Photos and select Collections > Media Types > Screenshots, then select your image. On an iPad, open Photos and select Collections, swipe up, then select Media Types > Screenshots and open the picture.
On Android with Google Photos, open Photos and select Collections > On this device > Screenshots. On supported Samsung Galaxy phones and tablets, open Gallery and select Albums > Screenshots, or open My Files and select Images. Select the picture you want to view.
These locations hold pictures captured through your device’s screenshot controls. If you need to create a new picture before looking for it, follow the matching instructions to take a screenshot on your device.
Open Xbox and PlayStation captures
On Xbox One or Xbox Series X|S, press the Xbox button, then select My games & apps > See all > Apps > Captures to browse your pictures. With a compatible controller’s default mapping, double-pressing the Share button also shows your recent captures.
To preserve Xbox captures, open the Captures app, select Manage, choose the captures you want, then select Upload to OneDrive or Copy to external storage. Captures uploaded to the Xbox network may be deleted after 90 days. To back up future captures to OneDrive automatically, press the Xbox button and go to Profile & system > Settings > Preferences > Capture & share > Automatic uploads > To OneDrive.
On PS5, select Media Gallery from games home, open Albums, and select Minecraft. Choose a thumbnail to view it, or press the create button and select the latest capture’s thumbnail for a quicker look at a recent picture.
For a PS5 screenshot you want on another device, connect USB storage, select the capture in Media Gallery, then choose More > Copy to USB Drive. On PS4, open Capture Gallery from the content area and browse your Minecraft pictures. Press OPTIONS to sort your pictures by name or date; Capture Gallery also lets you copy screenshots to a USB storage device.
View and transfer Nintendo Switch screenshots
On Nintendo Switch, Switch Lite, Switch OLED, or Switch 2, select Album on the HOME Menu and open your screenshot. On Switch 2, press the A button to open the selected image’s menu.
For the original Switch family, choose a picture in Album, then select Sharing and Editing > Send to Smartphone. Choose Only This One or Send a Batch, then scan the displayed QR code with your phone’s camera and complete the connection to display the images. Each transfer supports up to ten screenshots.
To transfer original Switch-family captures to a Windows computer, open HOME Menu > Settings > Data Management > Manage Screenshots and Videos > Copy to a Computer via USB Connection. Connect a data-capable USB cable directly between the console and computer, then select the screenshots to transfer. Other computer operating systems require compatible MTP support.
On Switch 2, select a screenshot in Album, press A, then select Upload to Smart Device, choose the user account, and select Upload. In Nintendo Switch App with the same Nintendo Account, select Album, tap the image, and select Save. Server storage is limited to 100 files and 30 days.
Look in your launcher or capture overlay
Prism Launcher keeps screenshots tied to the relevant Java instance. Open that instance’s editing window and select Screenshots to browse its images.
For pictures captured through a working Steam overlay while running Minecraft through Steam, open the desktop client and select View > Recordings & Screenshots. On Steam Deck, open the Steam menu and select Media. These captures are separate from Minecraft’s F2 files.
On a supported Windows PC with NVIDIA app capture configured, press Alt + Z and select Gallery. Browse the captures grouped by game, then select an image to enlarge it or access its file.
With supported AMD Software capture features installed, open AMD Software, search for Record, and select Record & Stream Settings. Inspect Media Save Location, then open that folder in File Explorer to find pictures captured through AMD Software.
Check copies saved to a cloud account
For screenshots previously uploaded to OneDrive, sign in on the web and select My files to browse their folders. With a personal Microsoft account, select Photos to browse images by date. If you deleted an uploaded picture, check Recycle bin.
For screenshots already synchronized to iCloud Photos, sign in to iCloud Photos with your Apple Account, select Library or an album, then select the image. This does not automatically include Java screenshots stored outside the Photos library.
For future access to Android screenshots through Google Photos on another device, select your profile picture, then Photos settings > Backup > Back up device folders. Enable backup for the folder containing your screenshots, then use the same Google Account to view the backed-up images elsewhere.
Frequently Asked Questions
Can you display a Bedrock screenshot on your profile?
Select Profile > Screenshot Gallery > Manage Showcase, then select an empty showcase slot and choose an existing screenshot. Your showcase can hold up to four screenshots.
Can you use a Bedrock screenshot as a world image?
Select Play > Worlds, select the pencil icon beside the world, then select the pencil icon on its world image. Choose an existing picture from Screenshot Gallery.
How can you send an existing PS5 screenshot to PlayStation App?
For supported PS5 captures, open Media Gallery from games home, highlight the capture, press the options button, and select Upload to PlayStation App. Access the uploaded picture in the app’s capture library. Eligible captures remain available in the app for 14 days, and this feature applies in supported regions.
Where should you look for a backed-up screenshot missing from Google Photos?
Sign in to Google Photos on the web with the account that received the backup, then browse or search your photos. Check Archive for a screenshot absent from the main view. On Android, local device folders are under Collections > On this device.