

To compress a video on your iPhone, open it in iMovie and export a copy at a lower resolution, such as 720p, 540p, or 360p. You can also use a dedicated compression app or a browser compressor that lets you enter a target file size. For videos you have not recorded yet, lower the recording settings in Camera.
The short version
- Existing videos: Export a lower-resolution copy from iMovie.
- Older iPhones: Compress Videos & Resize Video supports iOS 13 or later.
- Size targets: FreeConvert lets you enter a desired file size in megabytes.
- Future recordings: Use High Efficiency and lower resolution and frame rate settings.
| Method | What you can change | Main catch |
|---|---|---|
| iMovie export | Resolution and applicable frame rate settings | Current download requires iOS 27 |
| iMovie trimming | Clip length before exporting | Removes footage from the exported movie |
| Photos trimming | Beginning and ending footage | Keeping both copies increases total storage use |
| Compress Videos & Resize Video | Dimensions and frame rate | Free version handles one video at a time |
| FreeConvert | Target file size in megabytes | Uploads the video to an online service |
| Camera settings | Format, resolution and frame rate | Affects future recordings |
| iCloud Photos optimization | Local storage use | Does not create a smaller export |
| iMovie sharing to Mail or Messages | Creates a small video for sending | Uses 360p at 30 fps |
| Files compression | Packages the video in a ZIP archive | Substantial size savings should not be assumed |
| Google Photos backup quality | Resolution of cloud backups | Leaves the local original unchanged |
| QuickTime Player | Export resolution or HEVC format | Requires a Mac and exports MOV |
Export a smaller video with iMovie
Start with iMovie to lower an existing video's resolution. Apple's compression steps apply to iPhone 12 or later with iOS 26 or later, but the current iMovie download requires iOS 27. Previously installed versions may differ; if your phone cannot install the current version, use Compress Videos & Resize Video on iOS 13 or later.
Open iMovie and tap Start New Project > Movie > Media > Video. Select your video so its checkmark appears, then tap Create Movie. Tap Done to move to the project screen.
Tap the Share button, choose Save or Share Video, then tap Options. If the sharing option reads Share Video, choose that, then tap Options. Choose a lower resolution from 720, 540, or 360, then tap Done > Save Video. For a copy saved in Files instead, choose Save to Files, select a destination, then tap Save.
Reduce the iMovie export further
If you need a smaller copy, you can also lower the export frame rate for applicable footage. Open the project, tap the Share button, then choose Share Video > Options. Choose a lower available frame rate, tap Back or Done, then tap Save Video.
The controls depend on the source footage, so use the resolution choices if frame rate controls are not offered. For applicable footage, you can also turn off HDR in the export options to create an SDR video. Apple describes SDR export primarily as a compatibility option, so do not count on that change alone to make the file smaller.
Trimming removes footage from the exported movie. To trim before exporting, open the movie project, tap its clip in the timeline, and drag either yellow edge toward the center. Then export using the lower-resolution steps above.
Shorten a video in Photos
Use Photos when you only need to cut unwanted footage from the beginning or end. Trimming removes footage from the shorter copy; choose Save Video as New Clip to retain the original. This changes the video's length rather than giving you resolution or bitrate controls.
Open Photos, open the video, and tap the Edit button. Drag the timeline's end sliders inward to select the portion you want to keep, then tap Done > Save Video as New Clip. Share that shorter copy, keeping in mind that retaining both versions increases total storage use.
Use a dedicated video compression app
For direct control over dimensions and frame rate, get Compress Videos & Resize Video, published by New Marketing Lab, Inc. The app supports iOS 13 or later and is a free download with in-app purchases. Its free version handles one video at a time, while Pro supports multiple videos.
Open Compress Videos and grant access to the relevant videos. Tap Select Videos to Compress, choose a video, then tap Next. Under Compression Settings, lower Frame Rate, Video Dimensions, or both.
Tap Compress to create the result. The app saves it in Photos and the Compressed Videos album. If you need to specify a size in megabytes instead of adjusting these settings, use FreeConvert.
Enter a target file size in your browser
FreeConvert lets you enter a desired size in megabytes. Open its Video Compressor in your iPhone browser. Your video uploads to the service for processing, and the free product has a 1 GB input limit.
Select Choose Files and choose your video, then open Advanced Settings. Set Compression Method to Target a file size (MB) and enter the desired size. Select Apply Settings > Compress Now, then download the completed result.
If your input exceeds the free upload limit, use iMovie or Compress Videos & Resize Video instead, subject to their iOS requirements. Those workflows let you reduce resolution or dimensions without using this browser service.
Record smaller videos next time
Changing Camera settings affects future recordings, so use an export method above for videos already on your phone. On HEVC-capable iPhones, starting with iPhone 7 running iOS 11 or later, open Settings > Camera > Formats and select High Efficiency. Future videos use HEVC instead of the H.264 format selected by Most Compatible.
Next, open Settings > Camera > Record Video and select a lower resolution and frame rate from your model's options. Higher resolutions and faster frame rates create larger files. You can also open Camera, select Video, and tap the resolution and frame rate values at the top of the screen to choose lower available values.
On an HDR-recording-capable iPhone, open Settings > Camera > Record Video and turn off HDR Video or HDR, depending on your model, for consistently smaller future recordings. On a ProRes-capable model, open Settings > Camera > Formats and turn off Apple ProRes. ProRes creates larger files, so choose High Efficiency for ordinary HEVC capture.
Reduce local storage use with iCloud Photos
If your main goal is to free up space on iPhone, use iCloud Photos optimization to keep smaller device copies as needed. Full-resolution originals remain in iCloud. You need sufficient iCloud storage, and this setting does not shrink the cloud original or create a smaller export.
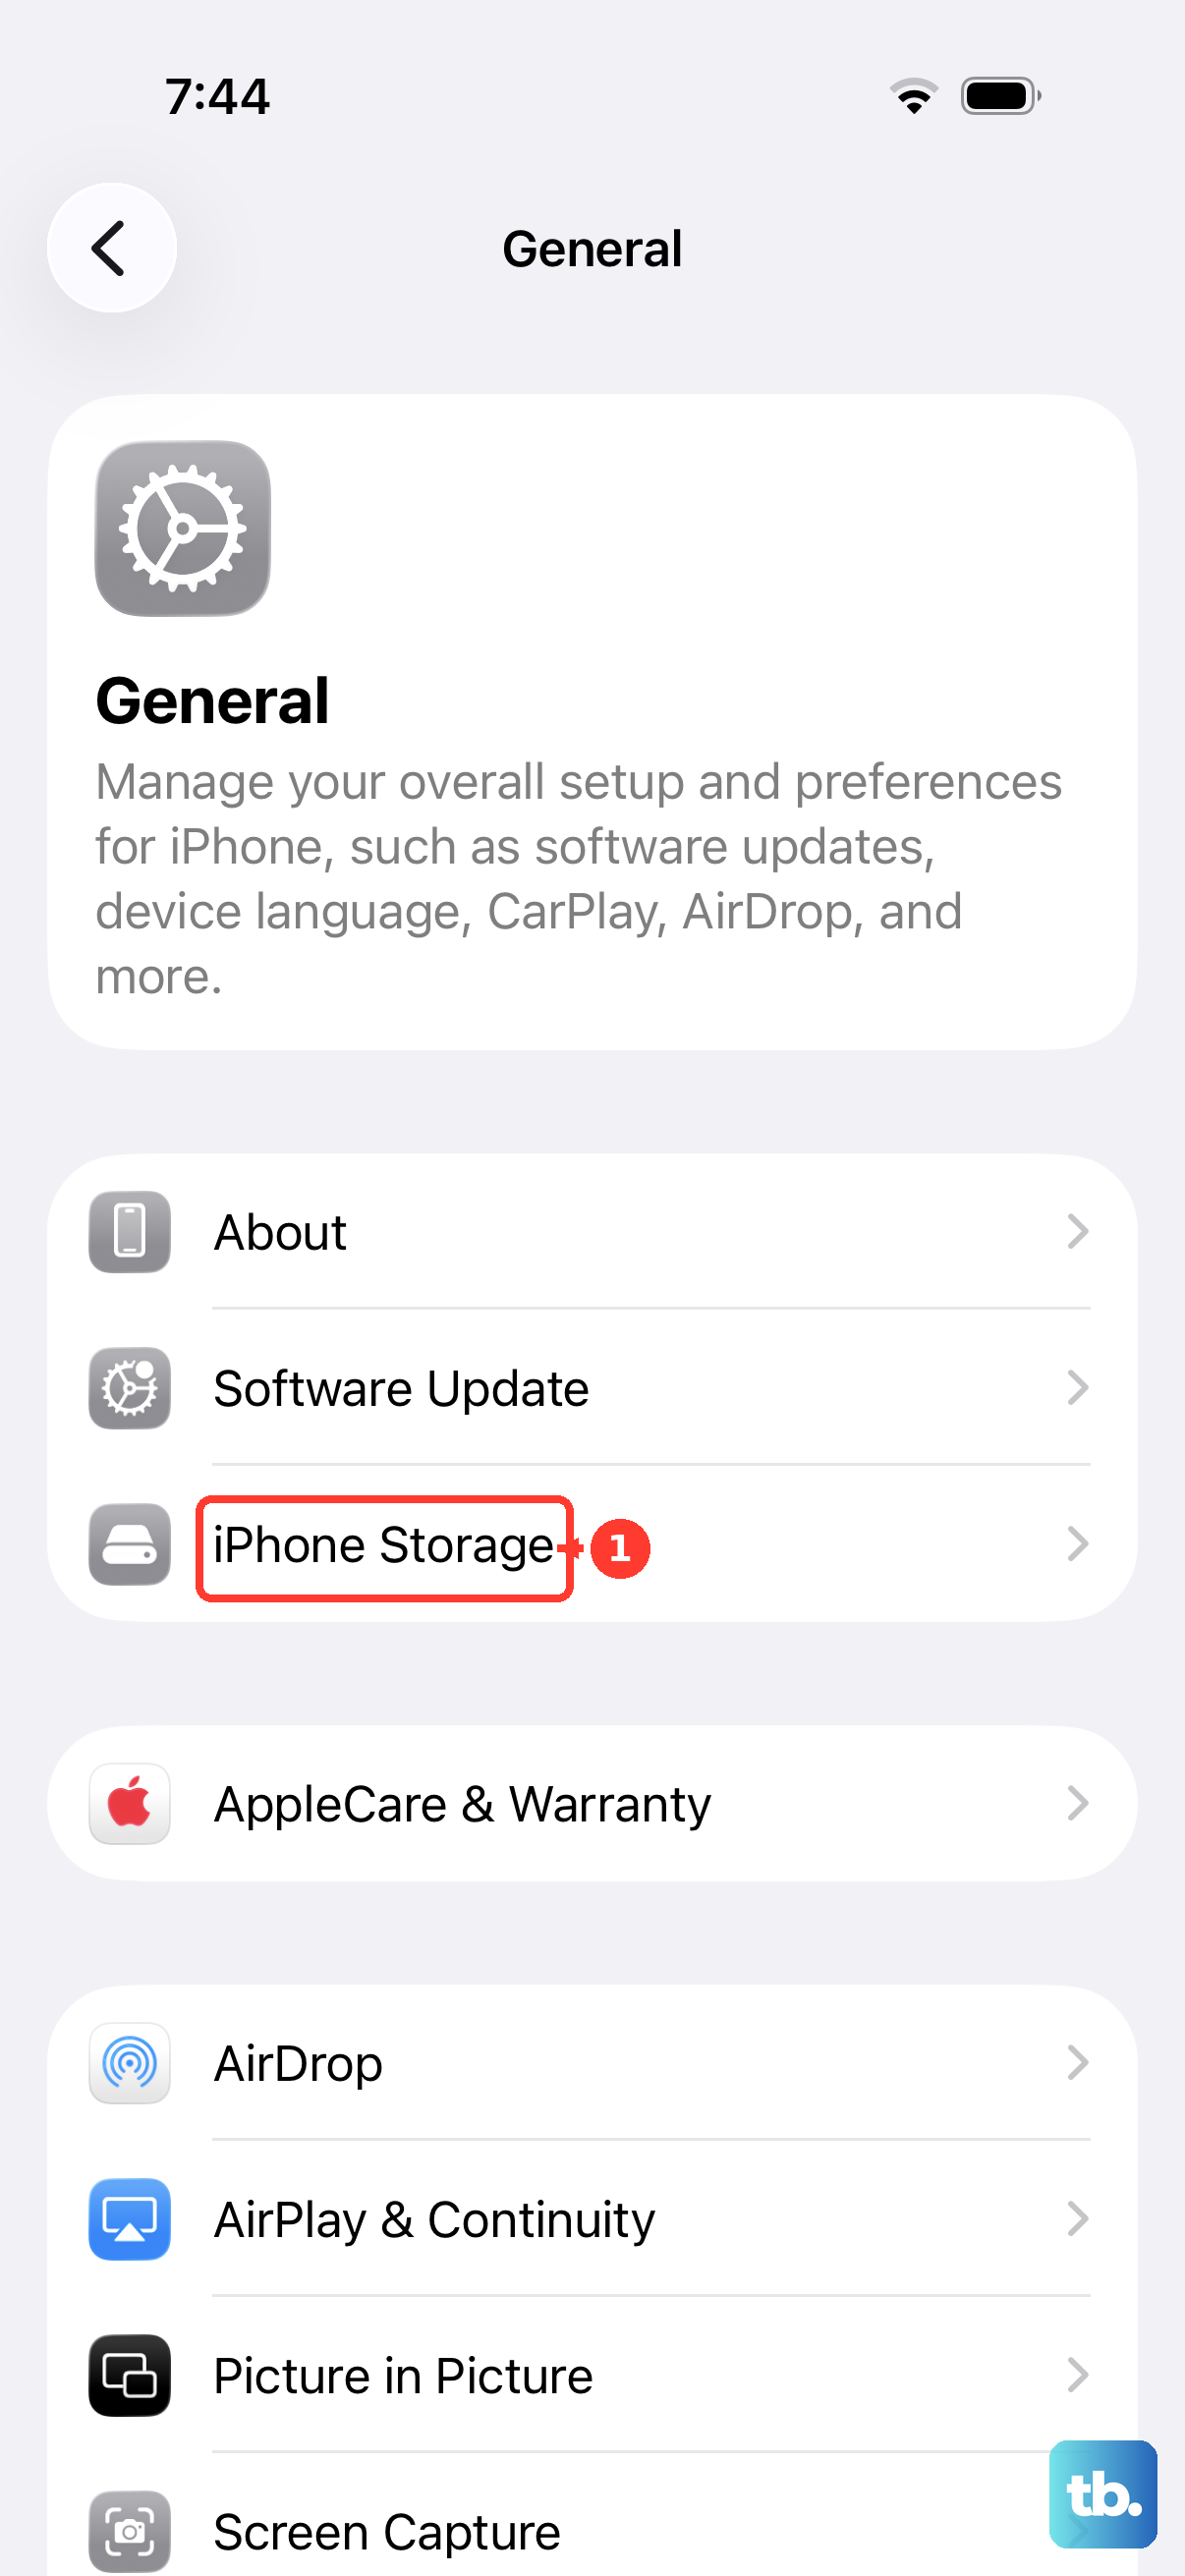
Open Settings, tap your name, then choose iCloud > Photos and turn on Sync this iPhone. On iOS 27 or later, tap iPhone Storage, then enable Optimize iPhone Storage. On earlier versions, enable Optimize iPhone Storage directly in the iCloud Photos settings.
Frequently Asked Questions
Can iMovie automatically make a small video for a message?
Yes, sharing directly from iMovie to Mail or Messages creates a 360p video at 30 fps. In iMovie, select the project, tap the Share button, choose Share Video, then choose Mail or Messages. Address and complete the email or message, then tap Send.
How do I create a ZIP archive of a video in Files?
Open Files and the video's folder, then tap the More button and choose Select. Select the video, tap the lower-right More button, then tap Compress. This creates a ZIP archive rather than re-encoding the video, so substantial savings on an already-compressed video should not be assumed.
How do I make Google Photos video backups smaller?
Open Google Photos and sign in, then tap your profile picture and choose Google Photos settings > Backup > Photos & videos quality > Storage saver. Videos above 1080p are reduced to 1080p in the backup without overwriting your local iPhone original. Where offered, Express reduces videos above 480p to 480p. Availability depends on your region, and some files cannot be compressed.
Can I use a Mac to make an iPhone video smaller?
Yes, transfer the video to a Mac, open it in QuickTime Player, and choose File > Export As > 720p or 480p. Alternatively, choose 1080p or 4K, then choose Format > Smaller File Size for HEVC. Enter a filename and destination, click Save, and transfer the result back to your iPhone if needed. QuickTime exports MOV rather than MP4.