


To back up Google Photos to a hard drive, export your library with Google Takeout and save every downloaded archive part to the drive. For individual photos or videos, download them from Google Photos and copy the files to your drive. Use a desktop browser for the complete library export; the Windows copying steps below use Windows 11 menus.
The short version
- Whole library: Select only Google Photos in Google Takeout and download every archive part.
- Individual items: Select a photo or video in Google Photos, then choose More > Download.
- Drive destination: Save downloads directly to the hard drive or copy them there afterward.
- Repeat backups: Scheduled Takeout exports still need to be downloaded to your hard drive.
| Method | Use it for | How to finish |
|---|---|---|
| Google Takeout | Your complete Photos library | Save every archive part to the drive |
| Chrome download location | Saving directly to external storage | Choose a writable folder on the drive |
| Windows File Explorer | Downloads already on your PC | Copy the files to the external drive |
| Mac Finder | Downloads already on your Mac | Drag the files to the external drive |
| Google Photos website | Individual photos or videos | Save or copy each download to the drive |
| Android through a computer | Transferring local files by USB cable | Copy through Windows or a Chromebook |
| iPhone with external storage | Photos downloaded to your iPhone | Export through Apple's Photos app |
| Scheduled Takeout exports | Repeated library exports | Download each resulting export |
| Takeout through Google Drive | Receiving archives in Drive | Download the delivered archives |
| Takeout through Dropbox, OneDrive or Box | Receiving archives in another cloud account | Download and copy the archives to your drive |
Choose where your downloads will go
Connect your hard drive before downloading if you want the archives to go straight to it. The drive must be recognized by your computer and writable. You can also download to your computer first, then copy the completed files to the drive.
In desktop Chrome on Windows, macOS or Linux, open More > Settings > Downloads. Beside the download location, click Change and choose a folder on the hard drive. Chrome will use that location for your downloads.
Alternatively, turn on Ask where to save each file before downloading in the same Chrome settings. Choose the hard drive when saving a Google Photos file or Takeout archive. This lets you choose the destination for each download.
Export your complete library with Google Takeout
Open Google Takeout in a desktop browser and sign in. Leave only Google Photos selected, then select Next step. You can create and retrieve the export through this portal without installing a desktop export application.
Select Send download link via email as the delivery method. Choose ZIP and an archive size, then select Create export. When the notification email arrives, select Download archive.
Save every archive part to the hard drive, using the destination you configured or choosing the drive when prompted. If the export contains multiple parts, download all of them to complete the backup. If the downloads went to your computer instead, copy the completed archives to the external drive using the Windows or Mac steps below.
Copy the downloads to your hard drive
On Windows 11, connect the external drive and open File Explorer. Locate the downloaded photos, videos or Takeout archives, then select the files or folders you want to copy. Right-click the selection and choose Show more options > Send to, then select your external drive's name.
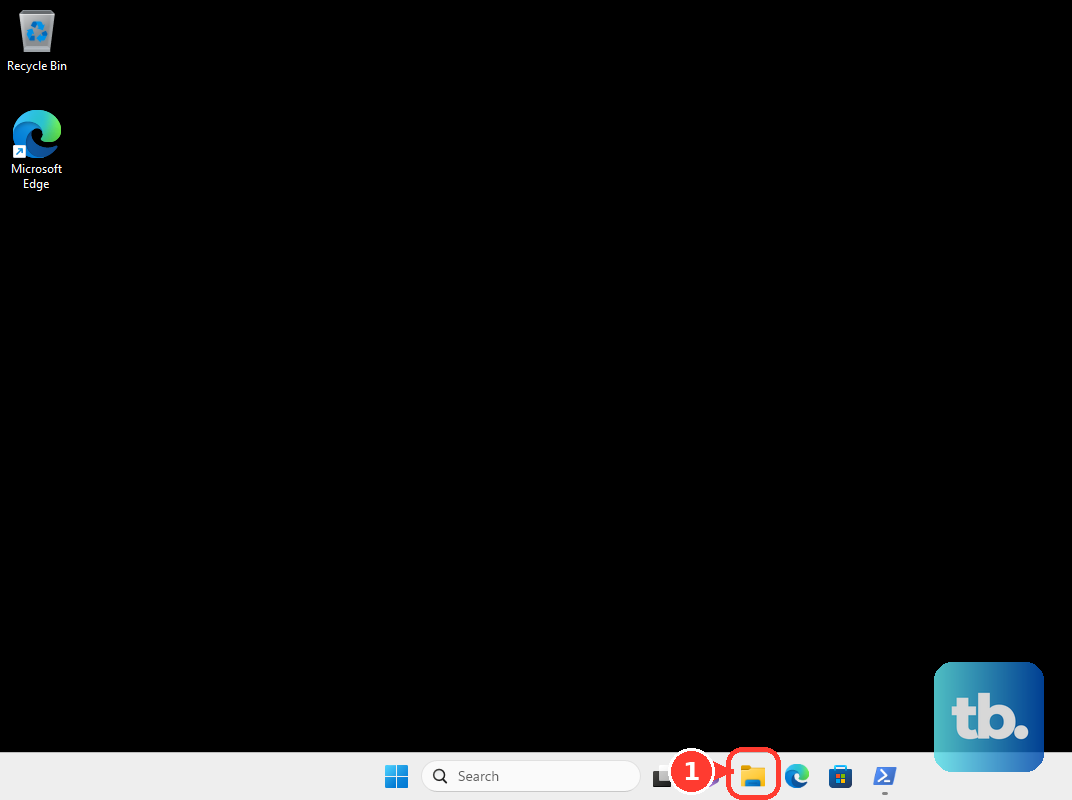
Wait for the copy to finish, then verify the copied files on the drive. Select Eject before disconnecting it.
On a Mac, connect the external drive and open Finder. Select the downloaded files or folders, then drag them to the drive under Locations in the sidebar. Once copying finishes, select the drive and choose File > Eject.
Download individual photos or videos
For individual items, open photos.google.com on your computer and select a photo or video. Click More > Download. Save the file directly to the hard drive, or copy the completed download there afterward.
Repeat those steps for the other items you want to save. If you want your complete library, use the Google Takeout export instead.
Copy downloaded photos from Android
On Android, open Google Photos and select a photo or video. Tap More > Download, then repeat for the required items. If Download is absent because the item is already stored on your device, proceed with copying that local file.
To copy the downloaded files to your hard drive, transfer them through a Windows computer or Chromebook. Unlock your Android device and connect it to the computer with a data-capable USB cable. Tap Charging this device via USB, then under Use USB for, select File transfer.
Use the computer's file manager to copy the downloaded media, then copy those files to the hard drive. USB wording can vary by phone manufacturer, and Google says some current transfer instructions require Android 14 or later. If you cannot complete the phone transfer, use Takeout in a desktop browser to export the library.
Export downloaded photos from an iPhone
In Google Photos on your iPhone, select a photo or video and tap More > Download. Downloading is unavailable when the item already exists in the camera roll. In that case, use the existing local item for the export.
Connect compatible external storage using your iPhone's Lightning or USB-C connection. An external hard drive may require a powered hub or adapter. If the drive needs additional power, use a compatible powered connection before continuing.
Open Apple's Photos app and select the downloaded items. Tap Share > Export Unmodified Original, then under Locations, select the storage device and tap Save. This exports the unmodified version of each selected item.
Schedule exports for future backups
To repeat the export, select only Google Photos in Takeout and select Next step. Configure scheduled exports, the delivery destination and archive format, then select Create export. Google provides scheduled exports every two months for one year.
A Photos-only option also lets you export new and updated data. Download each resulting export to your hard drive to keep the local backup current. Scheduling an export still requires you to download the resulting files.
Scheduled exports are unavailable for accounts enrolled in Advanced Protection. For those accounts, use the individual Takeout export workflow instead. Each time you create an export, save every resulting archive part to the hard drive.
Download archives delivered to cloud storage
You can have Takeout deliver archives to Google Drive, Dropbox, OneDrive or Box before downloading them to your hard drive. The destination account needs sufficient storage. Complete the download and hard-drive copy after the archives arrive.
For Google Drive, select Add to Drive as the export destination, then select Create export. From the notification email, select View in Drive, then select Download. Save the archives to the hard drive, or copy them there after downloading.
For another destination, select Add to Dropbox, Add to OneDrive or Add to Box. Select Link accounts and create an export, then sign in to the destination account. For Dropbox, select Allow; for OneDrive, select Yes; for Box, select Grant access to Box. Download the delivered archives and copy them to the hard drive.
On the OneDrive website, select the archive files and select Download. If prompted, choose Save or Save As and select the hard drive. Otherwise, copy the completed browser downloads to the drive.
Fix blocked exports on a work or school account
If your work or school account blocks Google Photos exports, an authorized administrator can allow access through the Google Admin console. This requires the relevant administrator privileges. Once export access is allowed, you can follow the normal Takeout workflow.
If you are the authorized administrator, open Admin console > Menu > Data > Data import & export > Google Takeout > User access to Takeout for Google services. Select the relevant organizational unit, check Google Photos, then click Allow. Google says setting changes can take up to 24 hours.
Frequently Asked Questions
Is the Google Photos desktop app intended for downloading my cloud library?
Google describes the desktop app as backing up photos from your computer to Google Photos. For a copy of your cloud library on a hard drive, use Google Takeout.
Can the old Google Photos folder in Google Drive keep my backup current?
Google ended automatic synchronization between Photos and Drive in July 2019. Historical files may remain in that Drive folder, but it does not receive subsequent Google Photos additions.
Can I follow older Drive for desktop instructions for Google Photos backup?
Google ended Drive for desktop support for Google Photos backup on August 10, 2026. That feature uploaded computer folders to Photos; it was not a whole-library download feature.
Why might an older Google Photos downloader stop accessing my library?
Google removed the broad Library API permissions that some older downloaders and synchronization tools relied on. Current Library API access is restricted to app-created content, while the Picker API supports content you select. These changes do not establish whether every third-party tool works.