
If your iPhone 17 is completely black and won't respond, the first thing to try is a force restart. This is different from just turning it off and on, and it can clear out temporary software glitches that cause a freeze. Press and quickly release the Volume Up button, then quickly press and release the Volume Down button. Immediately after, press and hold the Side button. Keep holding it until you see the Apple logo appear, then you can let go.
Check Your Charger and Cable
Your phone might just be out of battery. Plug it into a wall outlet using the USB-C cable and a power adapter, then leave it to charge for one hour before trying again. A completely drained battery can sometimes take a few minutes before it shows any sign of life on the screen.
Use the cable that came with your iPhone 17 or try another USB-C charging cable. Check the cable and adapter for damage, and don't use damaged accessories. Try a different power adapter or wall outlet, and make sure all connections are firm. For fast charging, the iPhone 17 can reach up to 50% charge in 20 minutes with a 40W or higher adapter.
Take a close look at the USB-C port on the bottom of your phone. Lint from your pockets can get packed in there over time, preventing the cable from making a solid connection. Use a dry, soft-bristled brush to gently clean it out.
Inspect Your Battery Settings
If your phone turns on but stops charging before it's full, go to Settings > Battery > Charging. Here, you might find that a charge limit is enabled, which can stop charging at a selected level from 80% to 100% in 5% steps.
While this feature is great, if you weren't expecting it, your phone might seem like it's not charging fully. Choose 100% here if you need a full charge. Optimized Battery Charging is available at that limit; when enabled, it learns your routine and can delay charging past 80% until you need to use the phone.
Try Wireless Charging
If you're having trouble with the USB-C port, your iPhone 17 supports both MagSafe and the newer Qi2 standard for wireless charging. Place it on a compatible charger. For MagSafe charging up to 25W, use a compatible MagSafe charger with a 30W or higher power adapter. Qi2 charging also supports up to 25W with a compatible charger.
Remove your case, especially if it's very thick or has a metal ring or plate. Proper alignment is key for wireless charging to initiate. With a magnetic charger, you may feel it snap into place. Look for a charging indicator on your screen, though a drained battery may need time before the screen responds.
Update or Restore via Computer
Sometimes, a software update can get interrupted or corrupted, leaving your phone in an unresponsive state. This is where a computer becomes essential. Connect your iPhone 17 to a Mac or PC using a USB-C cable.
Open Finder on a Mac with macOS Catalina or later, or the Apple Devices app on a PC. To enter recovery mode, quickly press and release Volume Up, then Volume Down, then hold the Side button past the Apple logo until the "Connect to computer" screen appears. Choose "Update" first to reinstall iOS without erasing your data. If the download takes more than 15 minutes and the phone exits recovery mode, let it finish, then repeat the button steps.
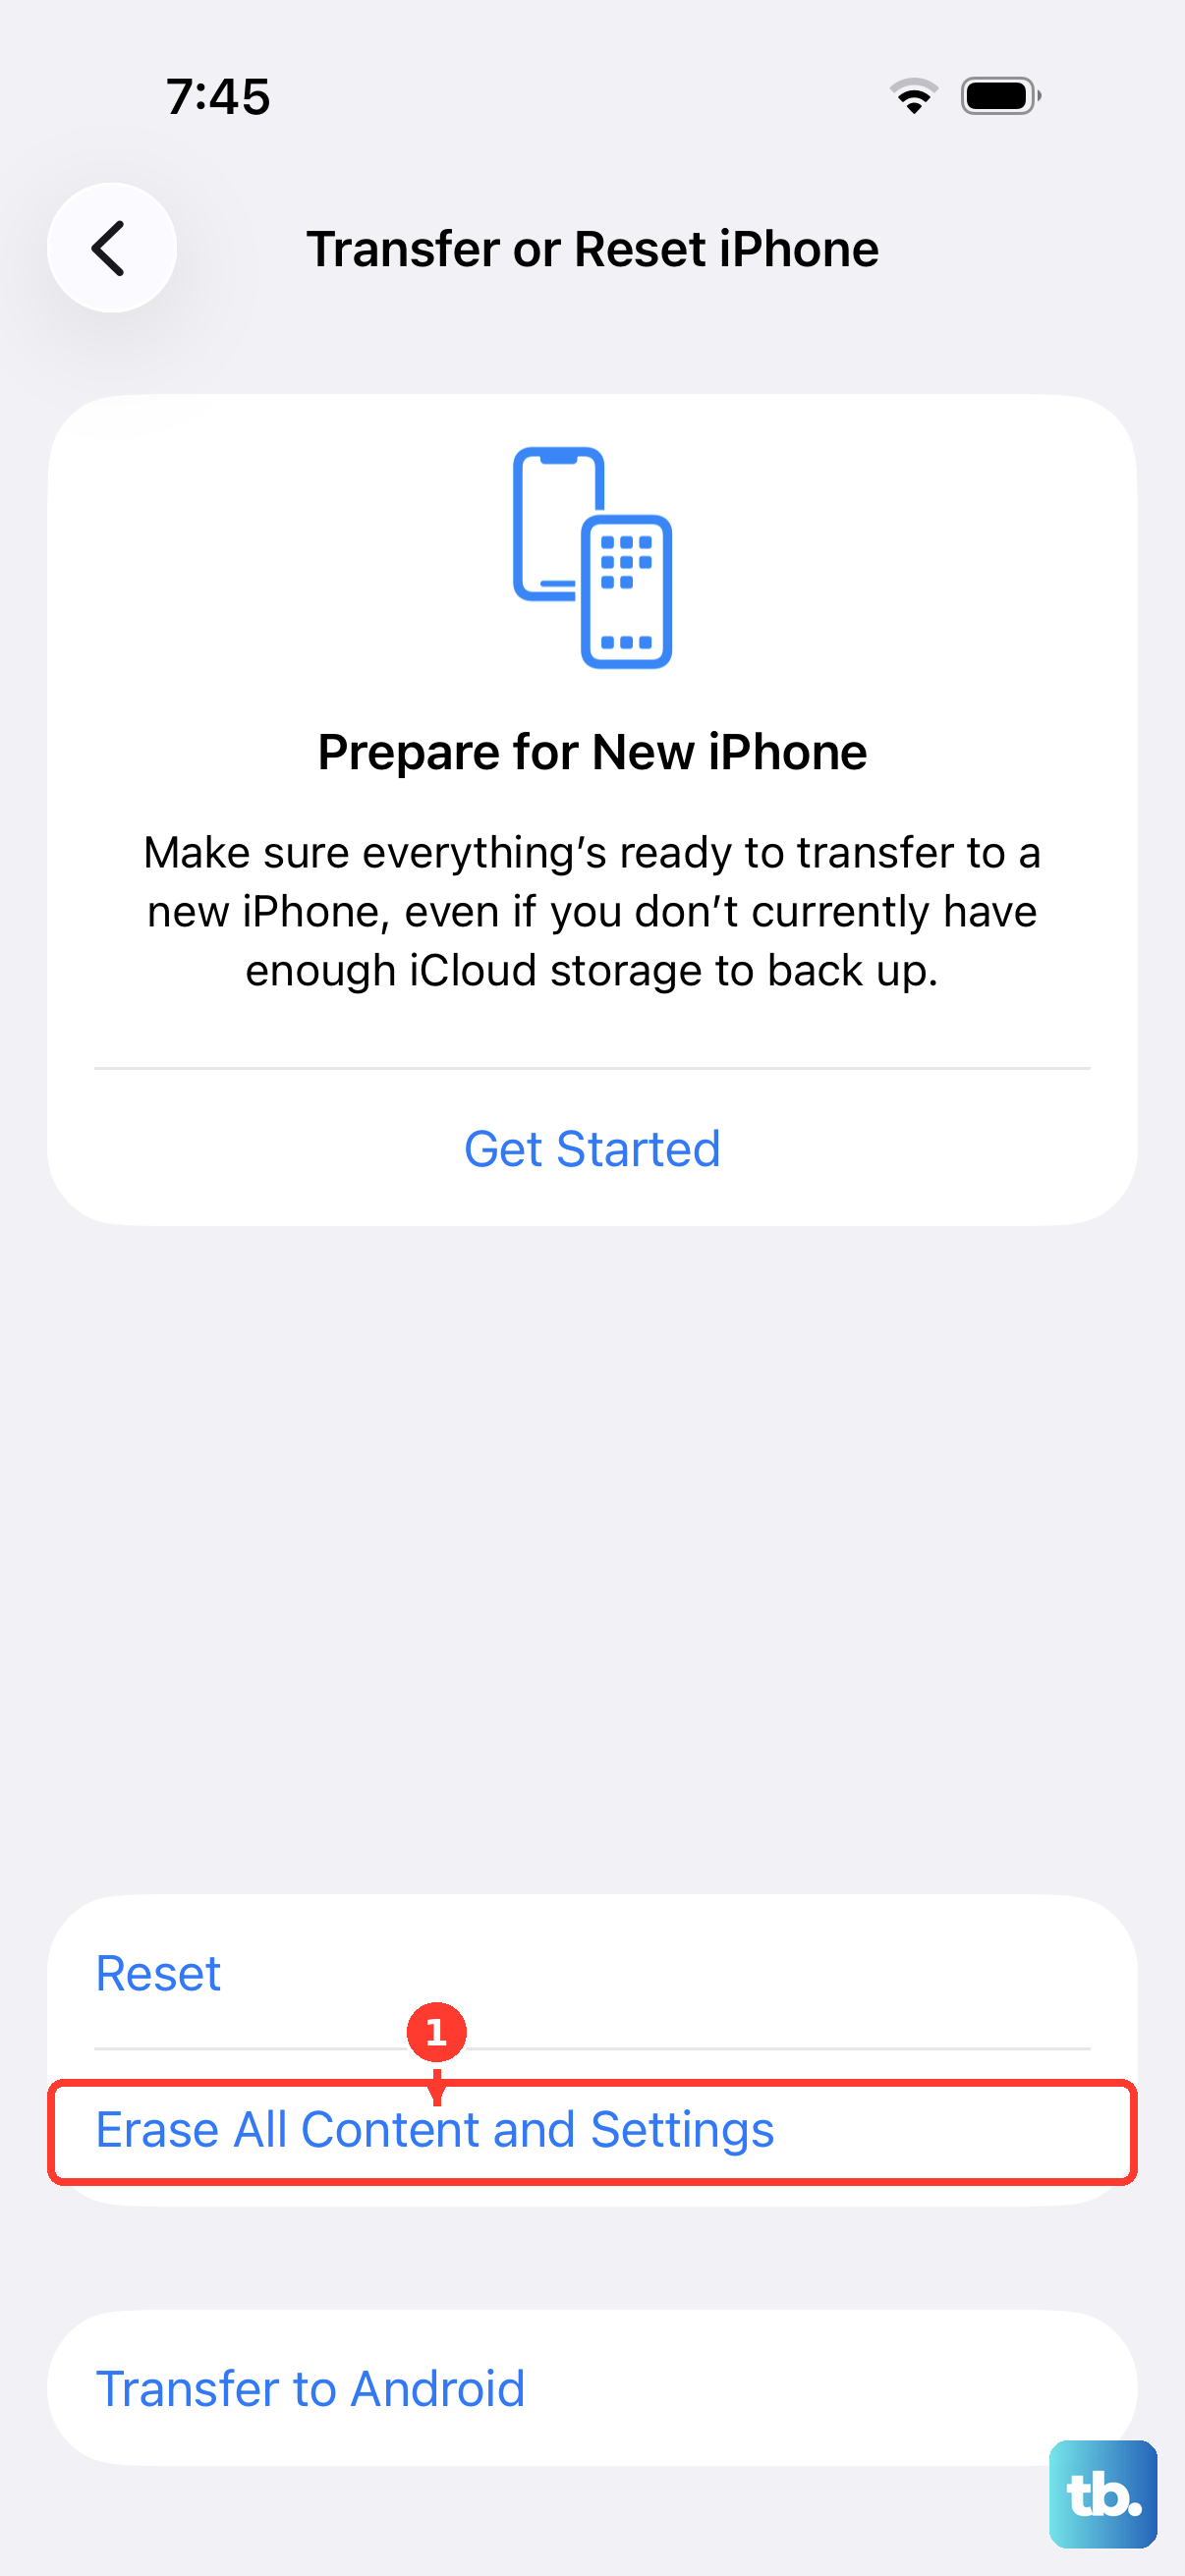
If the update fails or isn't an option, you may need to choose "Restore." This will install a fresh copy of iOS, but it will erase all content and settings on your device. Make sure you have a recent backup in iCloud or on your computer before proceeding with a restore.
Look for Physical or Liquid Damage
If your phone has been dropped recently or exposed to liquid, that could be the root cause. Even with its water resistance, significant impact or liquid ingress can damage internal components, including the logic board or battery connector.
Check for any visible cracks, especially around the edges of the screen or the camera module. If your regional model has a SIM card tray, look in its slot for the Liquid Contact Indicator, which is normally white or silver. If it's red, the phone has been in contact with liquid.
In these cases, the fixes move beyond simple troubleshooting. A technician may need to inspect the phone to identify the problem, whether it's a damaged display assembly, a disconnected battery cable, or a more serious logic board issue.