

To use Quick Assist, open it on both Windows PCs, have the helper generate a code, then enter that code on the PC receiving help and approve screen sharing. Keyboard and mouse control also requires your approval. These connection steps work in the current Quick Assist app on Windows 11 and Windows 10.
The short version
- Open the app: Press Ctrl + Windows + Q on each PC.
- Generate a code: Select Help someone on the helper’s PC, sign in if requested, and send the code privately.
- Share your screen: Enter the helper’s six-digit code, select Submit, then approve the connection.
- Stay in control: Select Cancel control to revoke keyboard and mouse access, or select Leave to end the session.
| Task | Where it applies | What to use |
|---|---|---|
| Open with the keyboard | Windows 11 and Windows 10 | Ctrl + Windows + Q |
| Open through search | Windows 11 | Start, search for Quick Assist |
| Open from the app list | Windows 11 | Start > All apps > Quick Assist |
| Install through Microsoft Store | Windows 11 and compatible Windows 10 installations | Search for Quick Assist, select Get or Install |
| Install from the product page | Windows PCs eligible through Microsoft Store | View in store, Install, then Open |
| Generate a connection code | Helper’s PC | Help someone |
| Share the screen | PC receiving help | Enter the helper’s code, select Submit, then approve the connection |
| Revoke control or end assistance | Connected session | Cancel control or Leave |
| Check for app updates | Store-delivered Quick Assist | Microsoft Store > Downloads or Library |
| Fix a missing WebView2 component | PC reporting the component error | Microsoft Edge WebView2 download and installation |
| Deploy on managed devices | Administrators with appropriate Intune licensing and access | Microsoft Intune |
Open Quick Assist on both PCs
Press Ctrl + Windows + Q to open Quick Assist on Windows 11 or Windows 10. Both you and the person helping need the app open to begin the connection.
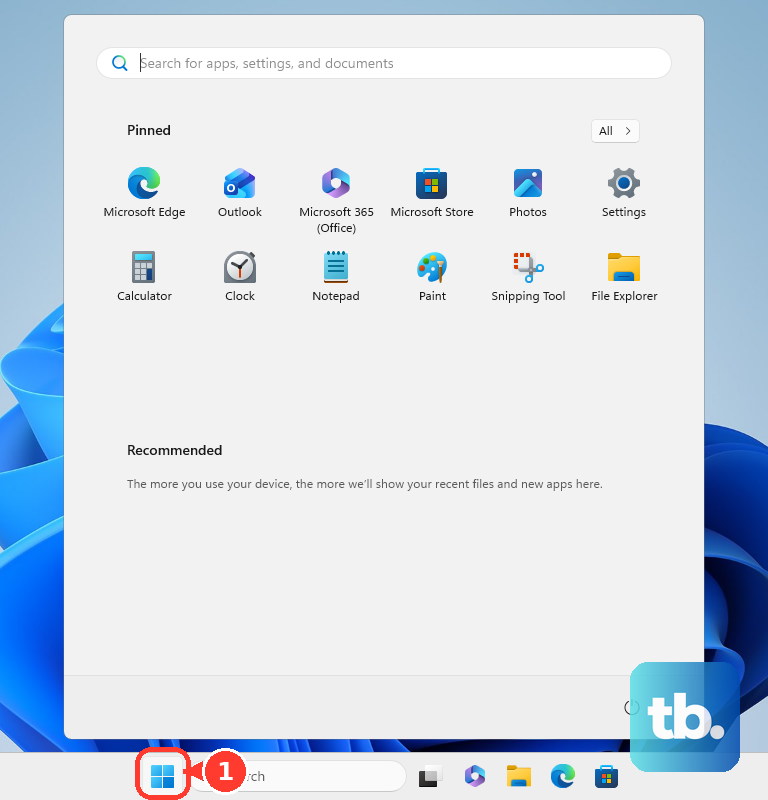
On Windows 11, you can also select Start, type Quick Assist, then select Quick Assist from the search results. Another Windows 11 route is Start > All apps > Quick Assist, although the app-list presentation can vary with Start menu updates. If you cannot find the app, install it through Microsoft Store.
Install Quick Assist if you need it
Open Microsoft Store and search for Quick Assist. Select Get or Install, then select Open once installation finishes. This route applies to Windows 11 and compatible Windows 10 installations.
You can also open the official Quick Assist download page, select View in store, then select Install and Open. Microsoft Store determines whether your PC is eligible for installation.
Create a code on the helper’s PC
If you are providing help, select Help someone in Quick Assist. Sign in if requested using a Microsoft account or Microsoft Entra ID, then send the generated code privately to the person receiving help.
If you are receiving help, wait for the helper to send you the code before continuing. You do not need to sign in to receive assistance.
Enter the code and approve screen sharing
On the PC receiving help, enter the helper’s six-digit code in the code box, then select Submit. Your approval is required before screen sharing begins.
Only trust an expected helper with screen access. Keyboard and mouse control also requires your approval.
Choose whether to allow remote control
Keyboard and mouse control lets the helper operate your PC directly, and the helper cannot take it without your approval. If you prefer to perform the actions yourself, do not approve control; the helper can still see your screen and guide you.
Stop control or end the session
Select Cancel control when you want to revoke the helper’s keyboard and mouse access. When you are finished receiving help, select Leave to end the session. If you are the helper, you can also select Leave when the assistance is complete.
Fix installation and startup problems
If Quick Assist is missing, install it through Microsoft Store using either installation route above. On an organization-managed PC, restrictions may prevent Store installation. An administrator with the appropriate Intune licensing and administrative access can deploy Quick Assist through Microsoft Intune.
For an app that is already installed, Microsoft Store updates eligible apps automatically. To check for updates manually, open Microsoft Store and go to Downloads or Library.
If Quick Assist reports a missing WebView2 component, open Microsoft’s Microsoft Edge WebView2 download page and use its download and installation option. Once the component is installed, reopen Quick Assist. Windows 11 normally includes this runtime, so use this fix when the component is missing or has failed.
Frequently Asked Questions
Can you use Quick Assist in a browser to help a friend?
Browser-based assistance is restricted to verified Microsoft Support interactions. You cannot use it for ordinary friend-to-friend browser sessions, so use the Windows Quick Assist app for those connections.
Can you use a Mac to help someone through Quick Assist?
Quick Assist on macOS is exclusively for Microsoft Support interactions, not general assistance between friends. During a Microsoft Support interaction, follow the agent’s instructions to obtain and install the app.
How do you uninstall Quick Assist?
Uninstalling removes the Quick Assist app from your PC. On Windows 11, open Settings > Apps > Installed apps, find Quick Assist, select its ellipsis menu, then select Uninstall.
Should you install Quick Assist through Optional Features?
Use the Microsoft Store app for current Windows 11 installations. Microsoft states that the older Quick Assist Feature on Demand is no longer available, so do not use the old Optional Features installation instructions.
Where can you inspect Microsoft Store update scheduling?
In Microsoft Store, select your profile picture, then select Store Settings. Under App updates, Microsoft’s current Store update controls let you pause updates for one to five weeks.