SSH setup usually breaks in one of two places: the device you are typing from does not have a working SSH client, or the device you want to reach does not have its SSH server turned on. Pick the section that matches the device you are setting up, then add an SSH key if you want cleaner sign-ins without typing the account password every time.
Choose the SSH setup you actually need
Start here when you are not sure whether to install something, enable something, or just connect. SSH needs a client on the device you use and a server on the device you want to reach.
On Windows, Microsoft offers OpenSSH Client and OpenSSH Server as optional features. The client lets you run ssh from Command Prompt, PowerShell, or Windows Terminal. The server lets another device connect into the Windows PC.
On macOS, Terminal can connect to another SSH server. Turning on Remote Login makes the Mac accept incoming SSH connections.
On Ubuntu, install openssh-client to connect out. Install openssh-server when other devices need to connect to that Ubuntu machine.
For a Raspberry Pi, NAS, router, or cloud VM, SSH is usually enabled from that device's control panel, setup tool, or cloud console. Once the server is on, connect with ssh username@hostname.
Make your first SSH connection
This fixes the basic connection step once the remote device already has SSH enabled.
Open Terminal on macOS or Linux.
On Windows, open Command Prompt, PowerShell, or Windows Terminal.
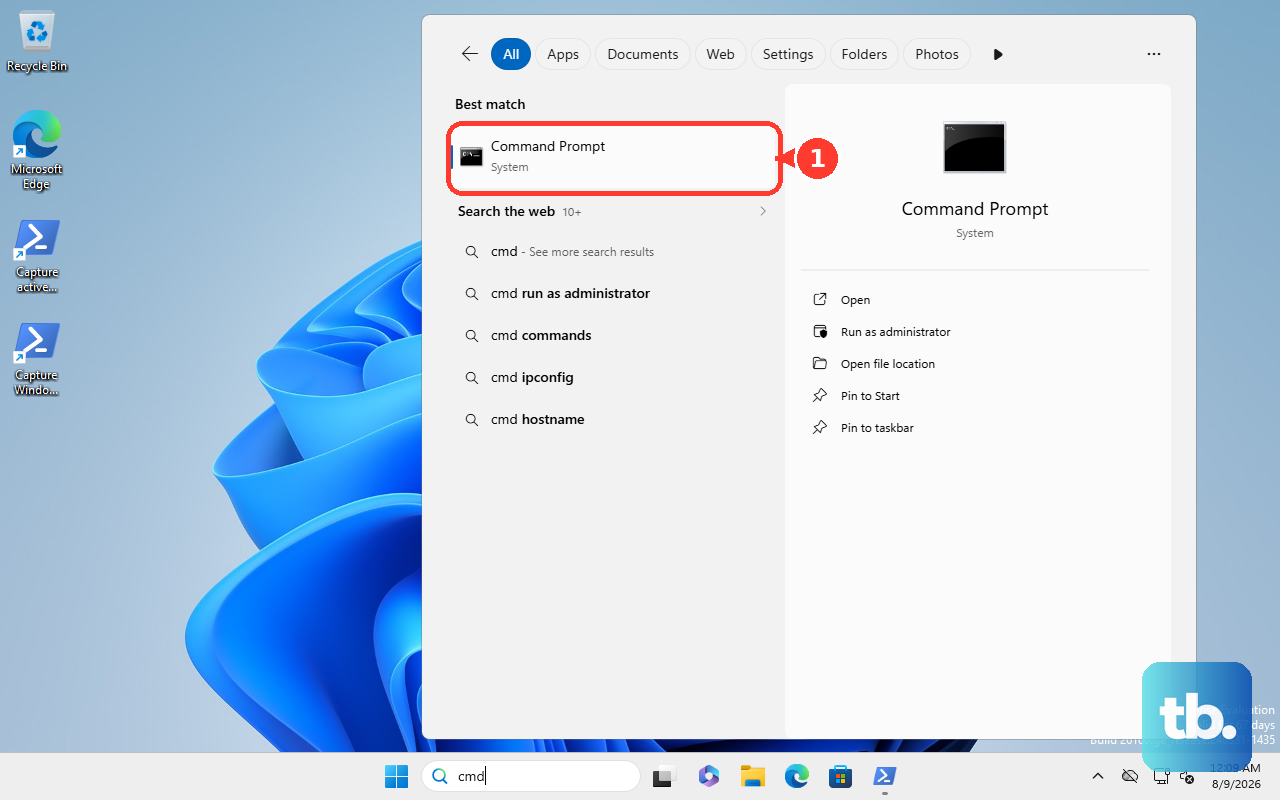
Type ssh username@hostname, replacing username with the remote account name and hostname with the computer name, domain, or IP address.
Press Return on macOS or Enter on Windows or Linux.
Enter the account password when prompted.
In Windows Terminal, create a saved SSH profile by adding a profile object in settings.json with name and commandline set to your ssh user@machine command.
Turn on SSH server access on Windows, Mac, or Ubuntu
The most common cause of a failed first setup is installing the SSH client while the SSH server is still off on the device you want to reach.
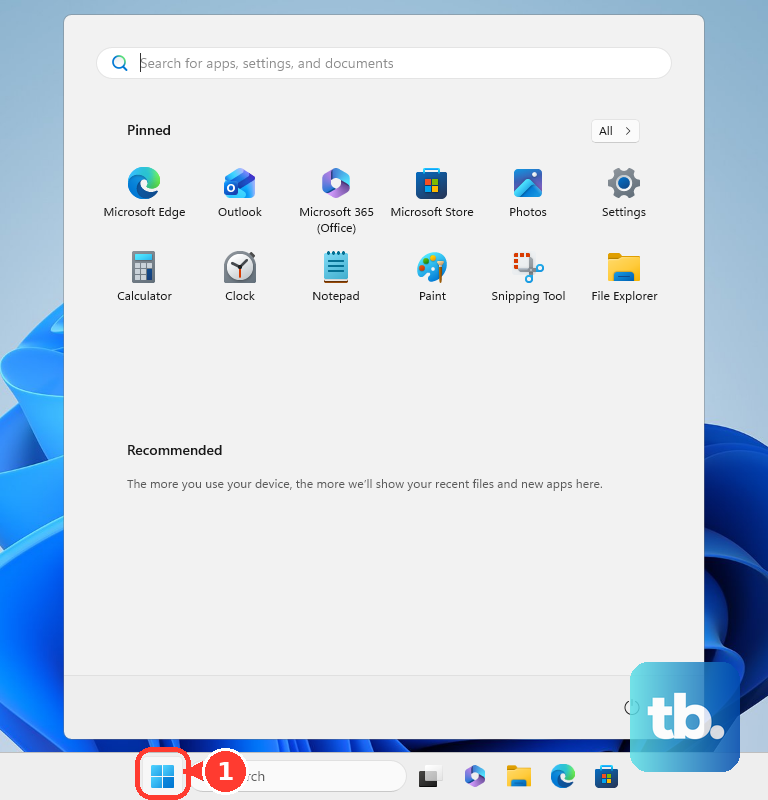
On Windows 10, Windows 11, and Windows Server 2019 or 2022, open Start, type Optional Features, open Optional Features, choose View features, search for OpenSSH Server, select it, and choose Add. To install the client, search for OpenSSH Client, select it, and choose Add.
On Windows Server 2025, OpenSSH is already installed but not enabled, so skip the install step: open Server Manager, select Local Server, find Remote SSH Access in the Properties pane, and select Enabled.
After installing the Windows server, open Start, type services.msc, open Services, select OpenSSH SSH Server, open General, set Startup type to Automatic, choose OK, then choose Start.
In PowerShell as Administrator, run Get-WindowsCapability -Online | Where-Object Name -like 'OpenSSH*', install the needed capability with Add-WindowsCapability, start the server with Start-Service sshd, set it to start automatically with Set-Service -Name sshd -StartupType 'Automatic', and make sure the OpenSSH-Server-In-TCP firewall rule exists for TCP 22.
On a Mac, open the Apple menu, go to System Settings, choose General, open Sharing, select the info button next to Remote Login, then turn on Remote Login. Choose All users or Only these users, then use the add button and Select when you want to limit SSH access to specific users.
On Ubuntu, open Terminal and run sudo apt install openssh-client for the client. Run sudo apt install openssh-server to let other devices connect to that Ubuntu machine.
Create an SSH key for easier sign-ins
Use a key when you sign in often, connect to Git hosting, or want a cleaner login than entering the account password each time.
- 1.Open Terminal, Git Bash, or another OpenSSH-compatible command line.
- 2.Run ssh-keygen -t ed25519 -C "[email protected]". Use RSA 4096 only when you need compatibility with a system that does not accept Ed25519.
- 3.Accept the suggested file location or choose your own location, then enter a passphrase when prompted.
- 4.Copy the public key to the remote machine with ssh-copy-id username@target_machine from macOS, Linux, or Git Bash. Windows' built-in OpenSSH client does not ship ssh-copy-id, so when you are connecting from that client, copy the key with scp or append it over SSH: read it with Get-Content -Path $env:USERPROFILE\.ssh\id_ed25519.pub, then run ssh with a remote Add-Content command that writes it to authorized_keys in the user's .ssh folder, or to C:\ProgramData\ssh\administrators_authorized_keys for an administrator account.
- 5.On the remote machine, run chmod go-w .ssh/authorized_keys so authorized_keys is not writable by group or others.
For GitHub setup, start ssh-agent and add the private key. On macOS Monterey 12.0 and later, use ssh-add --apple-use-keychain ~/.ssh/id_ed25519. On Windows, set the ssh-agent service startup type, start ssh-agent, then run ssh-add with the path to your private key.
Add your SSH key to GitHub, GitLab, or Bitbucket
For GitHub, sign in and open your profile picture, then go to Settings, Access, and SSH and GPG keys. Choose New SSH key or Add SSH key, enter a title, choose whether the key is for authentication or signing, paste the public key into Key, then choose Add SSH key and confirm access when prompted.
For GitLab, sign in, open your avatar, choose Edit profile, then open Access and SSH keys from the left sidebar. Choose Add new key, paste the public key, enter a title, set an optional Expiration date, and choose Add key.
For Bitbucket Cloud, open the settings cog in the top navigation bar, choose Personal Bitbucket settings, then go to Security and SSH keys. Choose Add key, add a label, paste the public key, and choose Add key.
GitHub CLI can add a key from the command line with gh ssh-key add KEY-FILE --type authentication, or with --type signing for signing keys. Add --title "personal laptop" when you want a clear label in your account.
Enable SSH on a Raspberry Pi, NAS, or router
Small home devices keep SSH in their own control panel or setup tool, so use the path for the hardware in front of you.
- 1.On Raspberry Pi OS desktop, open Preferences, Control Centre, and Interfaces, set SSH to Enabled, then choose OK.
- 2.For a headless Raspberry Pi setup, open Raspberry Pi Imager, go to Customisation and Remote Access, turn on Enable SSH, choose password authentication or public key authentication, then continue with Next.
- 3.On a QNAP NAS, sign in as administrator, open Control Panel, Network & File Services, and Telnet/SSH, enable Allow SSH connection, then choose Apply.
- 4.On a Synology NAS, open Control Panel, Terminal & SNMP, and Terminal, enable SSH service, set the port number, and save the setting.
- 5.On supported ASUS routers, open the router settings page, go to Administration, System, and Service, enable SSH, choose LAN only or LAN & WAN, then choose Apply.
On Raspberry Pi OS Terminal, another current route is sudo raspi-config, then Interfacing Options, SSH, Yes, Ok, and Finish. Raspberry Pi OS also supports creating an empty file named ssh in the boot partition at /boot/firmware/ssh, then rebooting.
Use SSH in cloud dashboards and developer tools
Use these options when the target is a cloud VM or when you want a browser or editor to handle part of the connection setup. They still use SSH, but the dashboard helps fill in the VM, username, key, and address.
In Google Cloud, open Compute Engine and VM instances, then click SSH in the VM row for SSH in the browser.
From Google Cloud Shell, open Activate Cloud Shell and run gcloud compute ssh --project=PROJECT_ID --zone=ZONE VM_NAME.
For a standard Google Cloud OpenSSH connection, find the VM's external IP address in VM instances, then run ssh -i PATH_TO_PRIVATE_KEY USERNAME@EXTERNAL_IP from your local terminal after the SSH key has been added to the VM.
In AWS, open the Amazon EC2 console, go to Instances, select the instance, choose Connect, open EC2 Instance Connect, select Connect using a Public IP, confirm the IP address and username, then choose Connect.
For a local AWS terminal command, use the SSH client tab and follow the shown command with the instance private key, username, and public DNS or IP address.
In Azure, open Virtual machines, select the VM, choose Connect from the left menu, choose Native SSH or another listed connection option, then follow the generated command. Use Azure Bastion for VMs without a public IP.
In VS Code, open Extensions, install Remote - SSH, click the bottom-left remote status bar item, choose Remote-SSH: Connect to Host..., and enter user@hostname. The extension requires a running SSH server and a local OpenSSH-compatible client; PuTTY is not supported for this extension.
Pick an SSH app when Terminal is not enough
Open the official PuTTY latest release page and choose the Windows Installer package for your architecture when you prefer a Windows GUI SSH client or need PuTTY tools such as Pageant or PuTTYgen.
Open PuTTY, choose Session, enter the host in Host Name (or IP address), leave Port at 22 unless your device uses a different port, set Connection type to SSH, then choose Open.
On a Chromebook that supports Linux, open the shelf time, go to Settings, About ChromeOS, Developers, and Linux development environment, then choose Set up.
Open Linux Terminal on the Chromebook and connect with ssh username@host.
Chrome users can install Secure Shell, open Secure Shell, create a connection with the username, hostname or IP address, port, and identity when needed, then connect.
Tip: turn off the SSH server when you no longer need incoming access; on Windows Server, use Server Manager, Local Server, Properties, Remote SSH Access, and Disabled.
Frequently Asked Questions
Do I need an SSH client or an SSH server?
You need an SSH client on the device you type from and an SSH server on the device you connect to. Many people only need the client.
What command do I use to connect with SSH?
Use ssh username@hostname, replacing the username and hostname with the account and address for the device or server.
Which SSH key type should I create?
Use Ed25519 for a new OpenSSH key. Use RSA 4096 only when you need compatibility with a system that does not accept Ed25519.
Can I use PuTTY with VS Code Remote SSH?
No. VS Code Remote - SSH requires a local OpenSSH-compatible client and does not support PuTTY as the SSH client.