

Face ID should unlock your iPhone, approve purchases, fill passwords, and open supported apps without sending you back to your passcode every time. When it is not set up, missing from an app, or suddenly failing to recognize you, start with the exact setting or condition that controls it. Use the steps below to set it up, turn it on where you need it, and fix the common blockers Apple documents for current iPhone models.
1. Confirm Your iPhone Supports Face ID
This fixes the first question: whether your iPhone can use Face ID at all.
Confirm you have a Face ID iPhone, such as iPhone X or later Face ID models, including the iPhone 11, 12, 13, 14, 15, 16, and 17 families, iPhone Air, iPhone XS, iPhone XS Max, and iPhone XR.
Skip Face ID troubleshooting on iPhone SE and other Touch ID-only iPhones, because those models do not have the TrueDepth camera system Face ID needs.
Make sure your iPhone has a passcode. Face ID requires one.
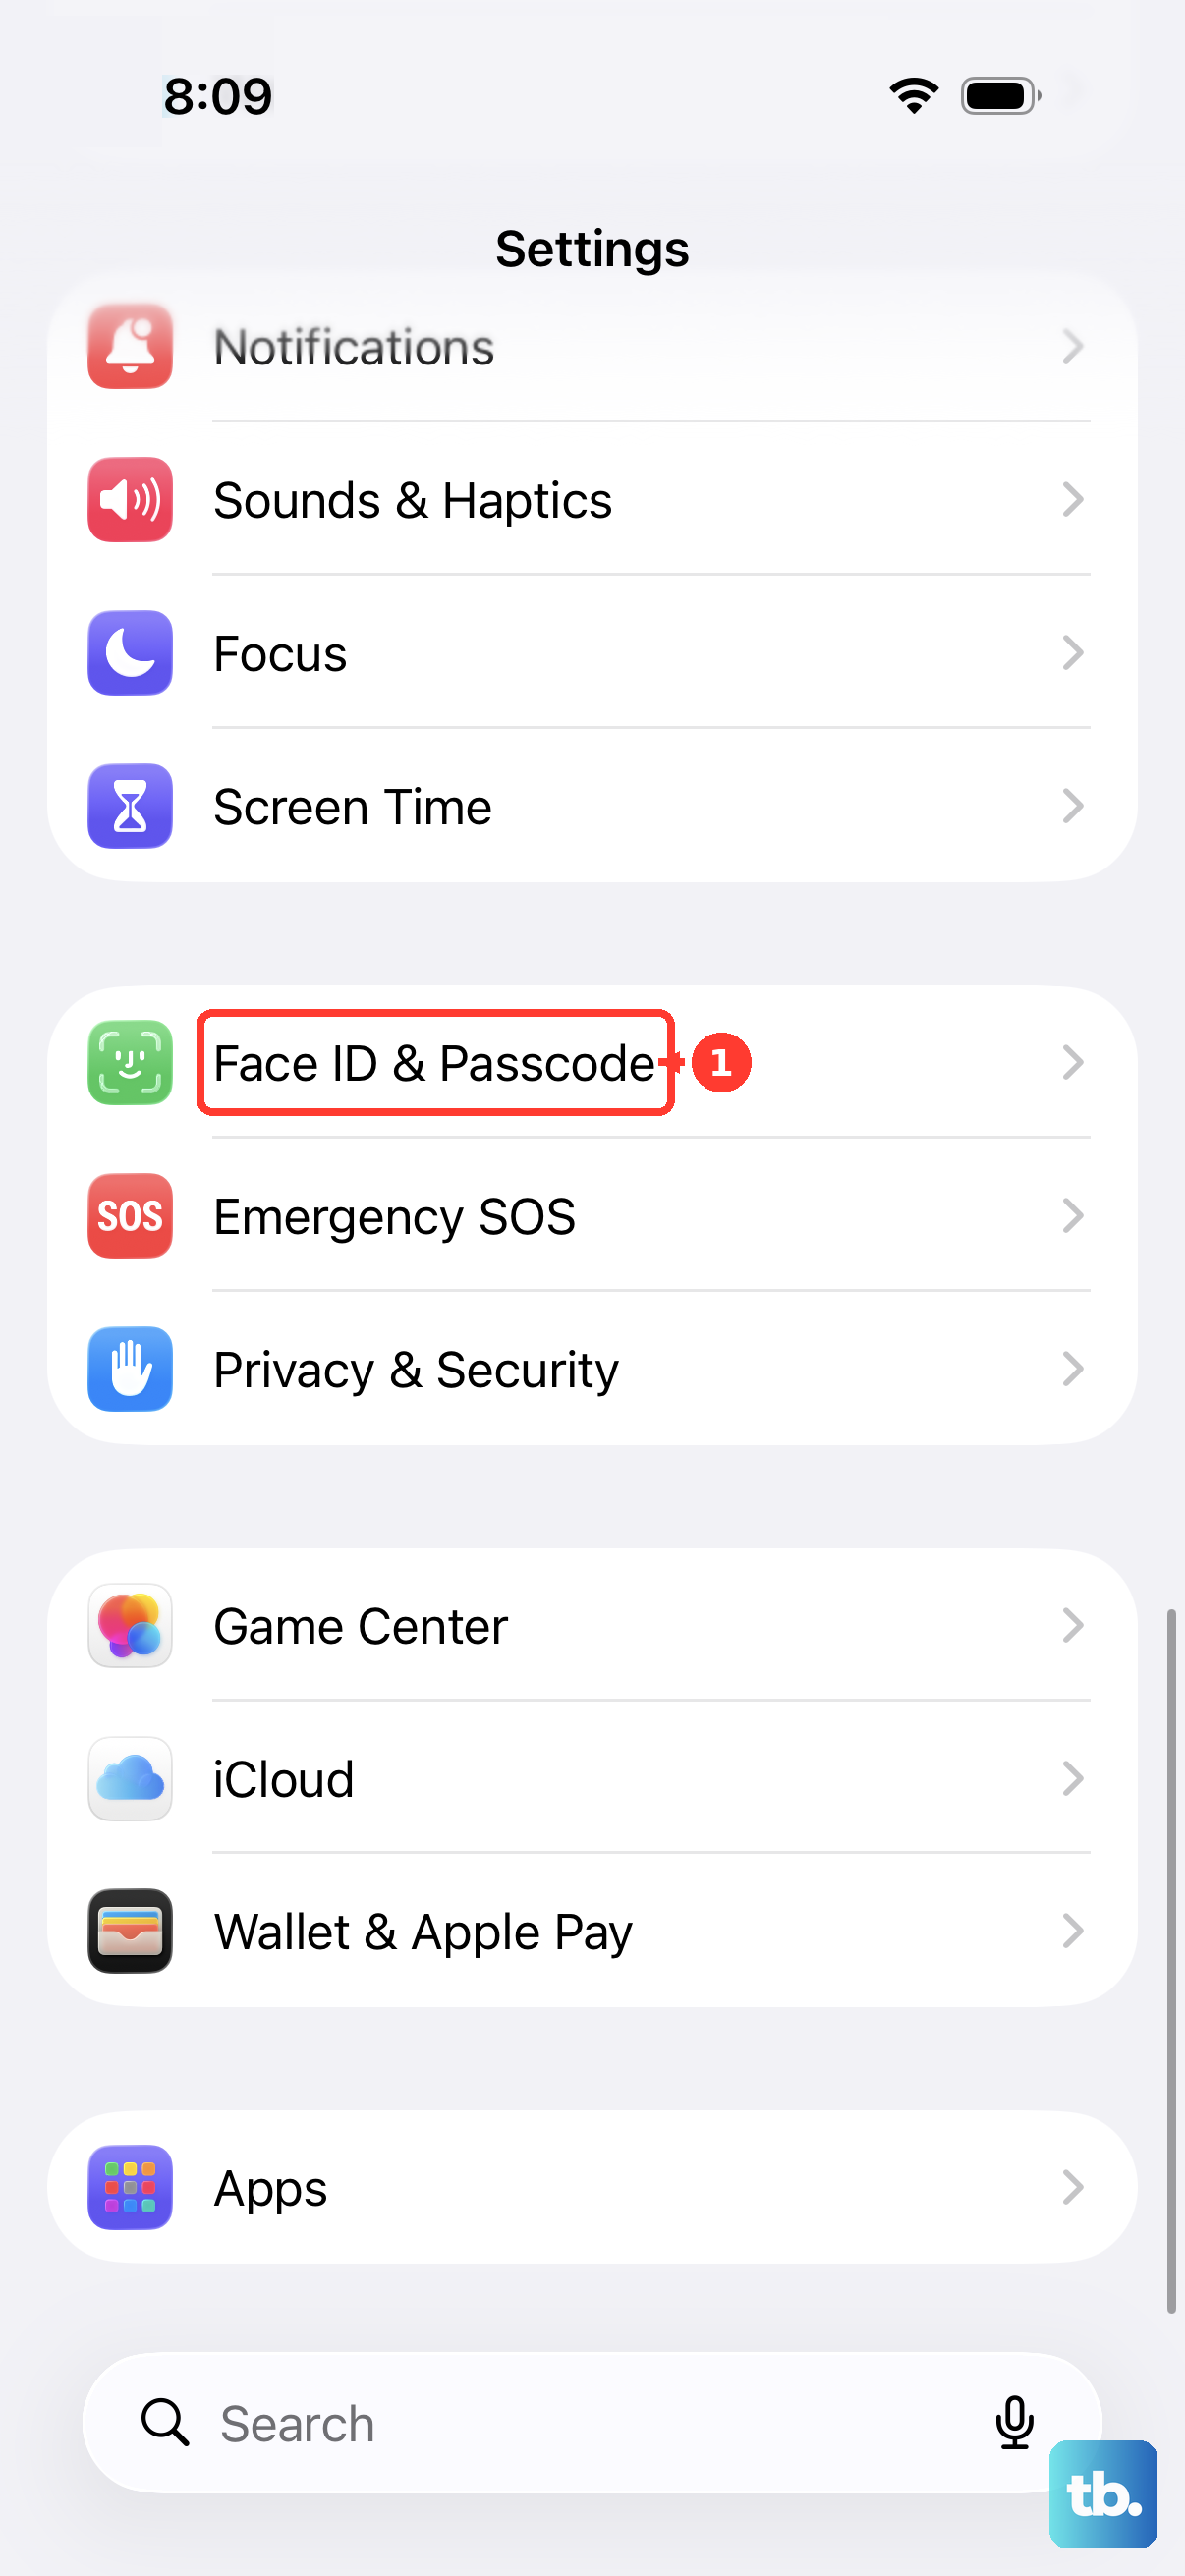
To create one, open Settings > Face ID & Passcode > Turn Passcode On, enter a six-digit passcode, or tap Passcode Options for another passcode type, then enter it again to confirm.
2. Set Up Face ID From Settings
Open Settings.
Tap Face ID & Passcode.
Enter your passcode when asked.
Tap Set Up Face ID.
Hold your iPhone in portrait orientation, then tap Get Started.
Position your face inside the frame and gently move your head to complete the circle.
Tap Continue.
Complete the second scan, then tap Done.
3. Choose Where Face ID Works
Open Settings > Face ID & Passcode.
Under Use Face ID For, turn on the options you want, such as iPhone Unlock, Apple Pay, iTunes & App Store, Password AutoFill, and Other Apps.
Tap Other Apps to turn Face ID access on or off for each supported app.
For App Store, iTunes Store, or Book Store purchases, turn on iTunes & App Store.
When buying, double-click the side button, glance at your iPhone, and wait for Done and the checkmark.
For Apple Pay, confirm Apple Pay is turned on, double-click the side button, glance at your iPhone, then hold the top of the iPhone near the reader for in-store payments.
For saved passwords in Safari, turn on Password AutoFill, then authenticate with Face ID when Safari prompts for a saved login.
If an app supports Face ID but does not prompt yet, sign in to that app manually once.
4. Improve Face ID With Masks Glasses and Attention
On iPhone 12 and later with iOS 15.4 or later, turn on mask support from Settings > Face ID & Passcode > Face ID with a Mask, then follow the onscreen scan.
If you wear transparent glasses, use Settings > Face ID & Passcode > Add Glasses; Face ID with a Mask supports up to four pairs of transparent glasses, not sunglasses.
To change attention behavior, open Settings > Accessibility > Face ID & Attention and adjust Require Attention for Face ID, Attention Aware Features, or Haptic on Successful Authentication.
5. Fix Face ID Recognition Problems
Open Settings > Face ID & Passcode and confirm Face ID is set up.
Turn on the feature you are trying to use, such as iPhone Unlock, Apple Pay, Password AutoFill, or Other Apps.
Remove anything covering the TrueDepth camera, including smudges, a case, or a screen protector.
Keep your eyes, nose, and mouth visible.
When using Face ID with a Mask, keep your eyes unblocked and keep the mask from sitting too high or too close to your eyes.
Try again without sunglasses, because some sunglasses block infrared light.
Face the TrueDepth camera and hold your iPhone at arm’s length or closer, about 10 to 20 inches from your face.
Use portrait orientation on earlier iPhone models.
On iPhone 13 models and later with iOS 16 or later, try portrait or landscape orientation. Face ID with a Mask is the exception: Apple says it works in portrait orientation only, so rotate back to portrait if you are wearing a mask.
6. Reset Face ID and Add Another Appearance
When settings, camera cleaning, position, and visibility checks do not fix the problem, use Settings > Face ID & Passcode > Reset Face ID, then tap Set Up Face ID and follow the onscreen instructions.
If your appearance can look substantially different, add another scan from Settings > Face ID & Passcode > Set Up an Alternate Appearance.
If head movement is limited during setup, start setup and tap Accessibility Options after Get Started.
7. Restart and Update Your iPhone
This fixes Face ID failures caused by device glitches or outdated iOS software.
For iPhone X, iPhone 11, iPhone 12, iPhone 13, or later, press and hold either volume button and the side button until the power-off slider appears.
Drag the slider, wait 30 seconds, then press and hold the side button until the Apple logo appears.
Enter your passcode after the restart, then try Face ID again.
Open Settings > General > Software Update.
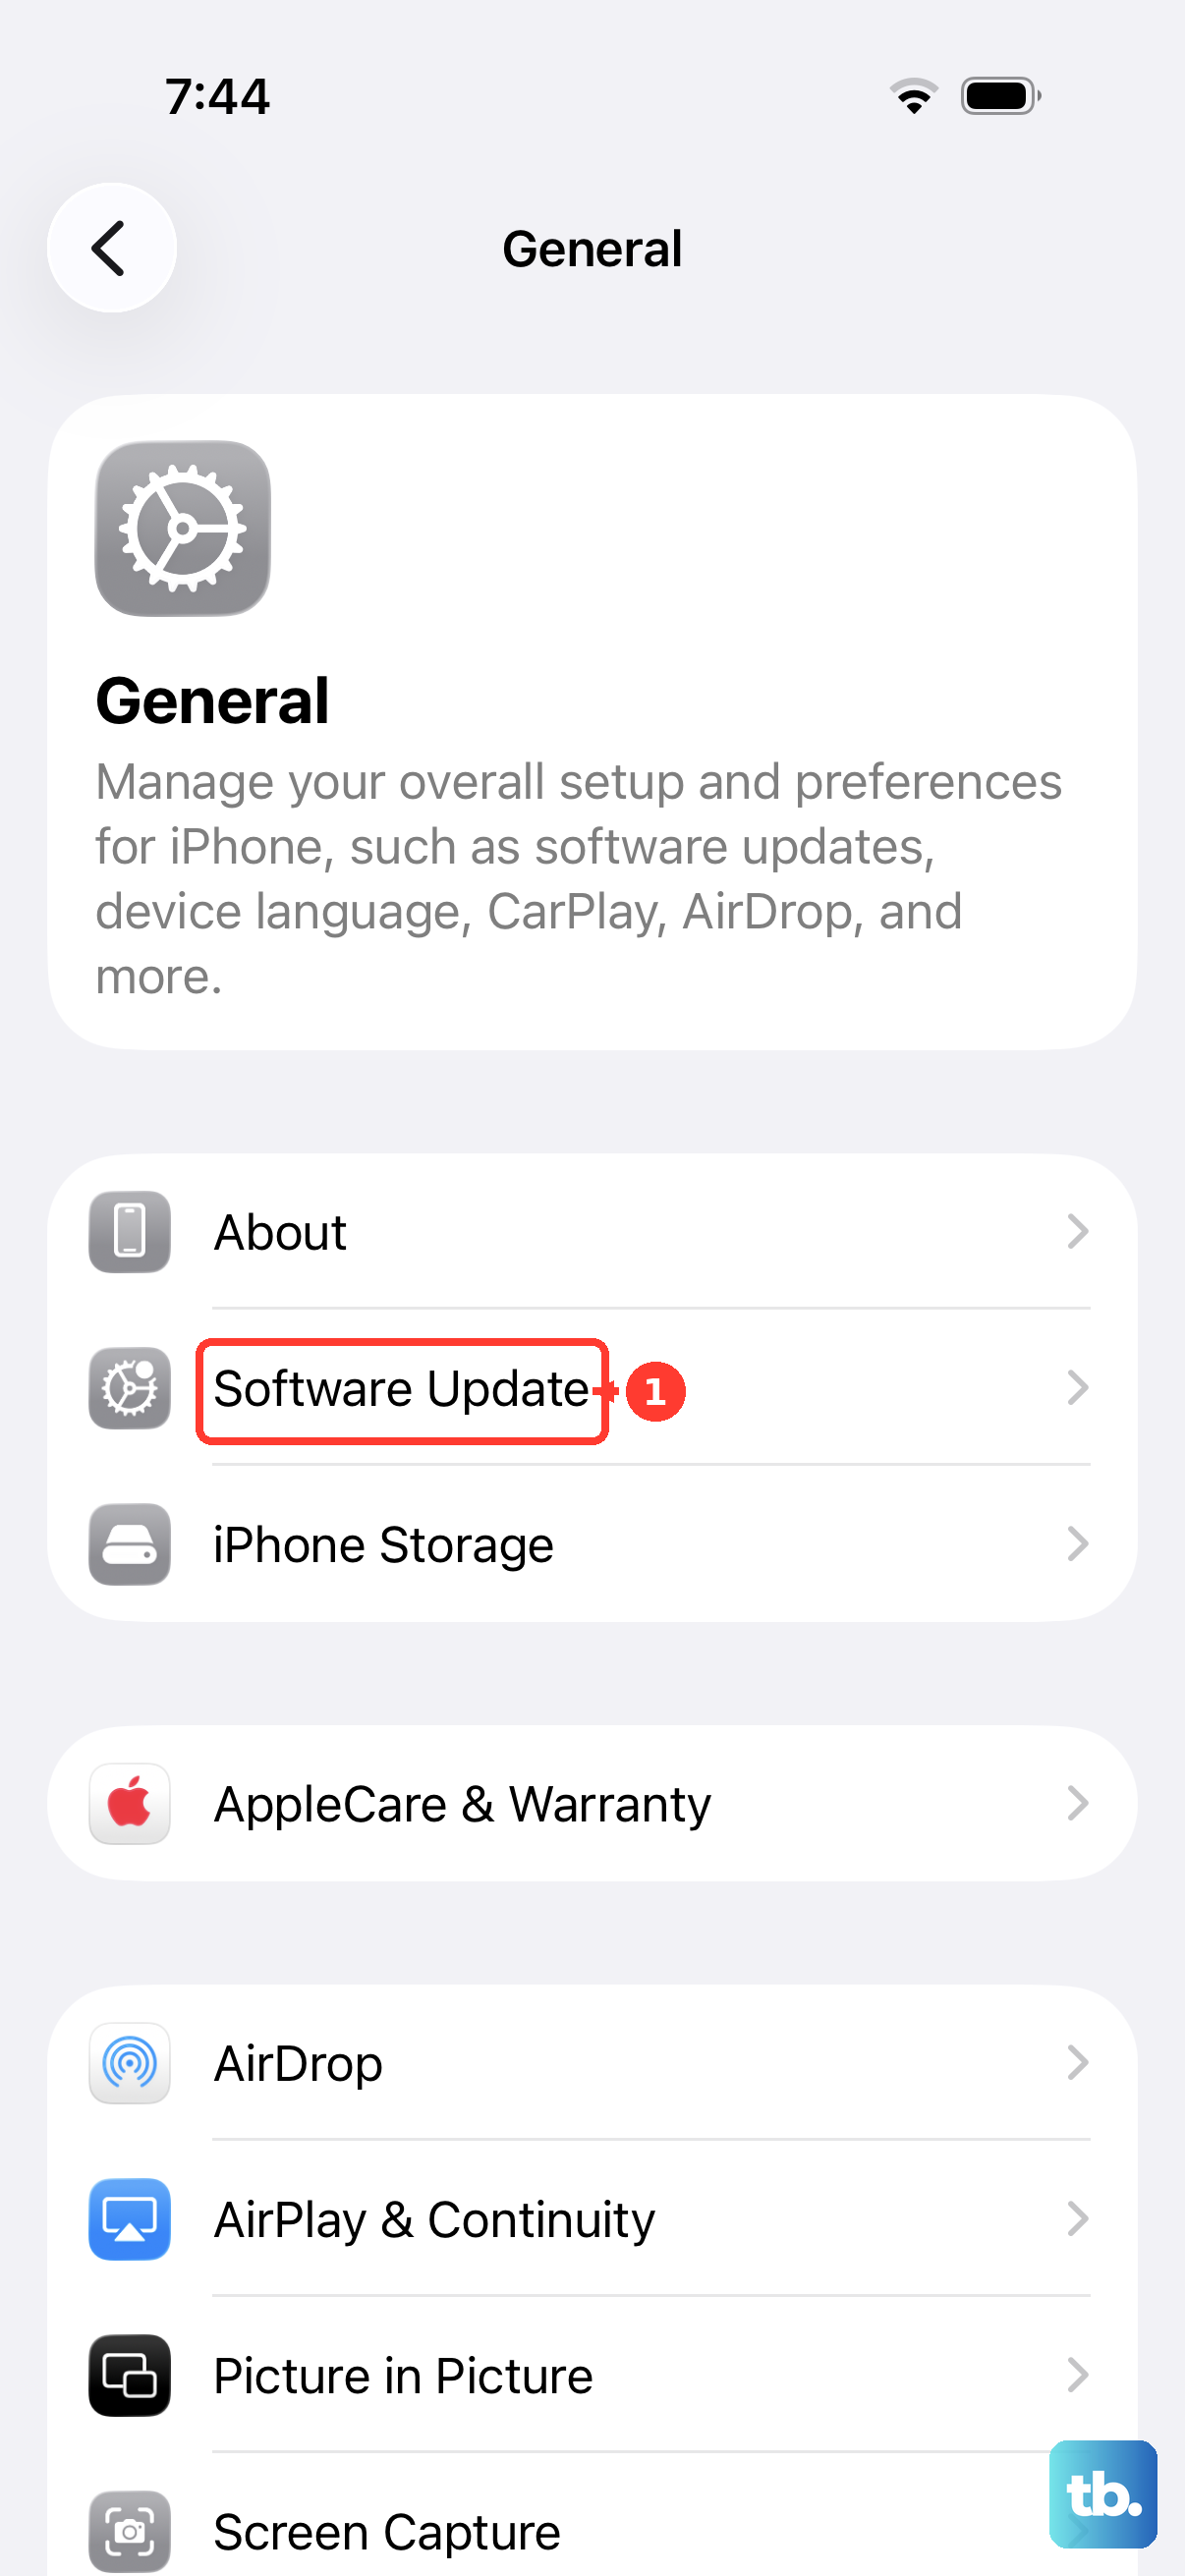
If an update is available, tap Download and Install and follow the onscreen instructions.
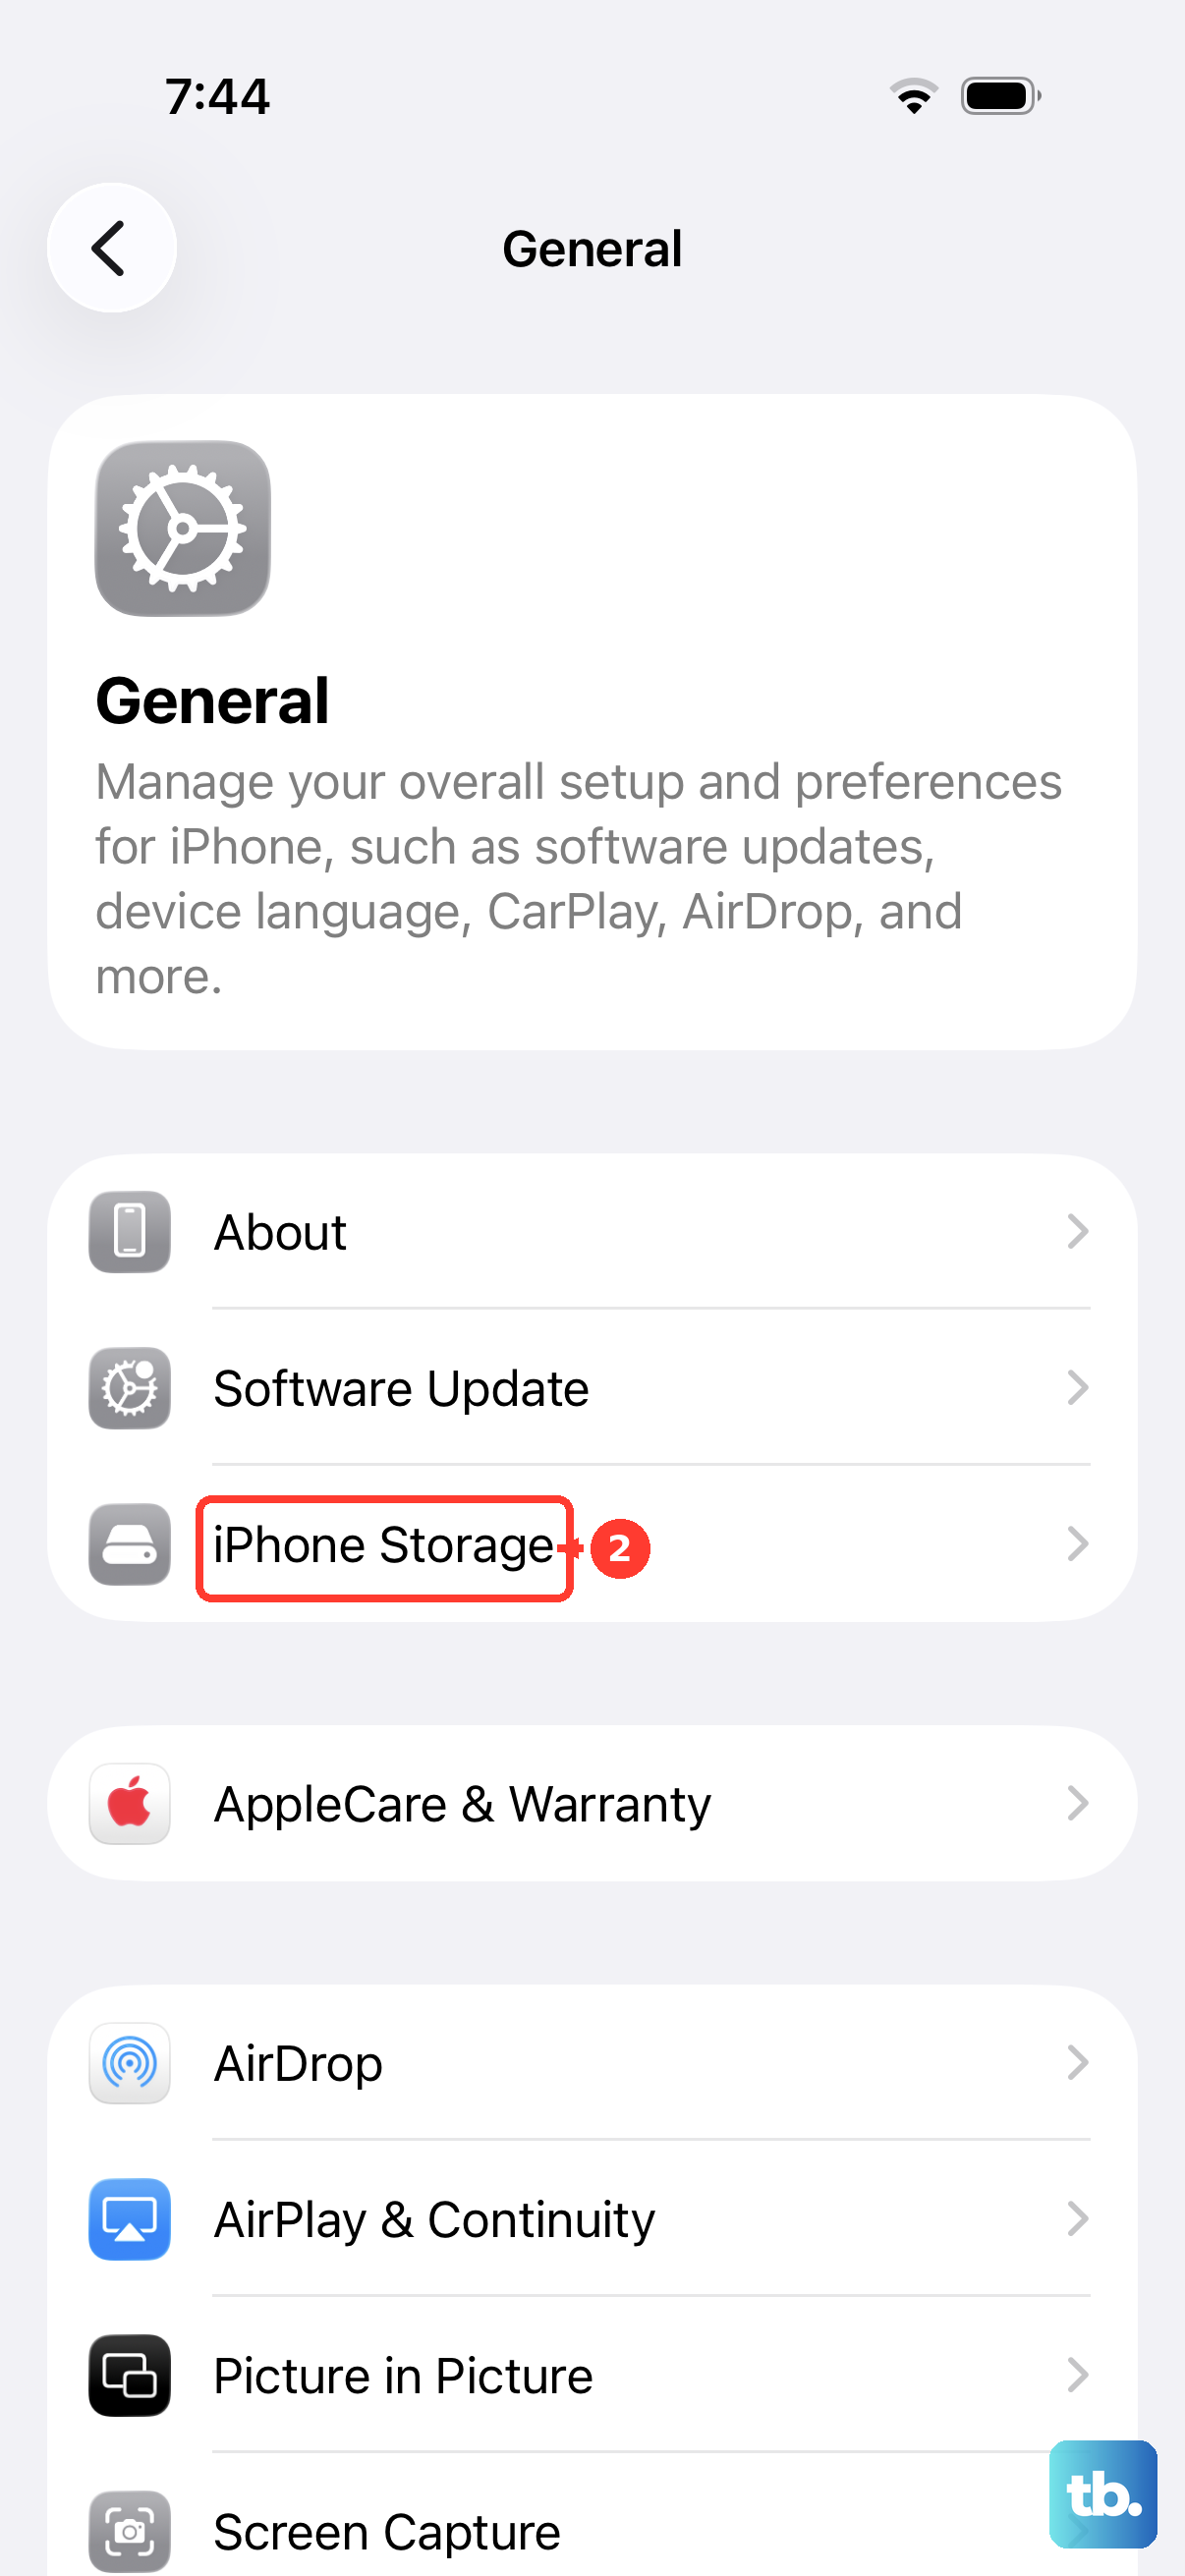
If the update will not install, open Settings > General > iPhone Storage, tap the update, tap Delete Update, then return to Settings > General > Software Update and download it again.
If your iPhone is unresponsive, press and quickly release volume up, press and quickly release volume down, then press and hold the side button until the Apple logo appears.
8. Recognize When Face ID Is Blocked
If you temporarily disabled Face ID by pressing and holding the side button and either volume button until the sliders appeared, unlock once with your passcode to turn Face ID back on.
If the iPhone was marked lost in Find My, Face ID cannot unlock it while lost mode is active.
If you use Unlock with Apple Watch, know what it does: it can unlock your iPhone while you wear a mask, sunglasses, or ski goggles, but it does not use Face ID to verify your identity.
Do not use Unlock with Apple Watch for Apple Pay, Keychain passwords, or password-protected apps. Apple documents it for unlocking the iPhone only.
On a managed work or school iPhone, your organization can require passcode unlock, prevent Face ID changes, or enforce biometric timeout rules.
Contact your device administrator when Face ID & Passcode settings are unavailable or keep changing.
9. Finish Repair or Get Apple Service
If Face ID cannot be set up and the camera is not working, use Apple’s Face ID troubleshooting service path.
Use trained service only, because Apple says only trained technicians should service the device.
After a supported TrueDepth or front camera repair, update your iPhone to the latest iOS version.
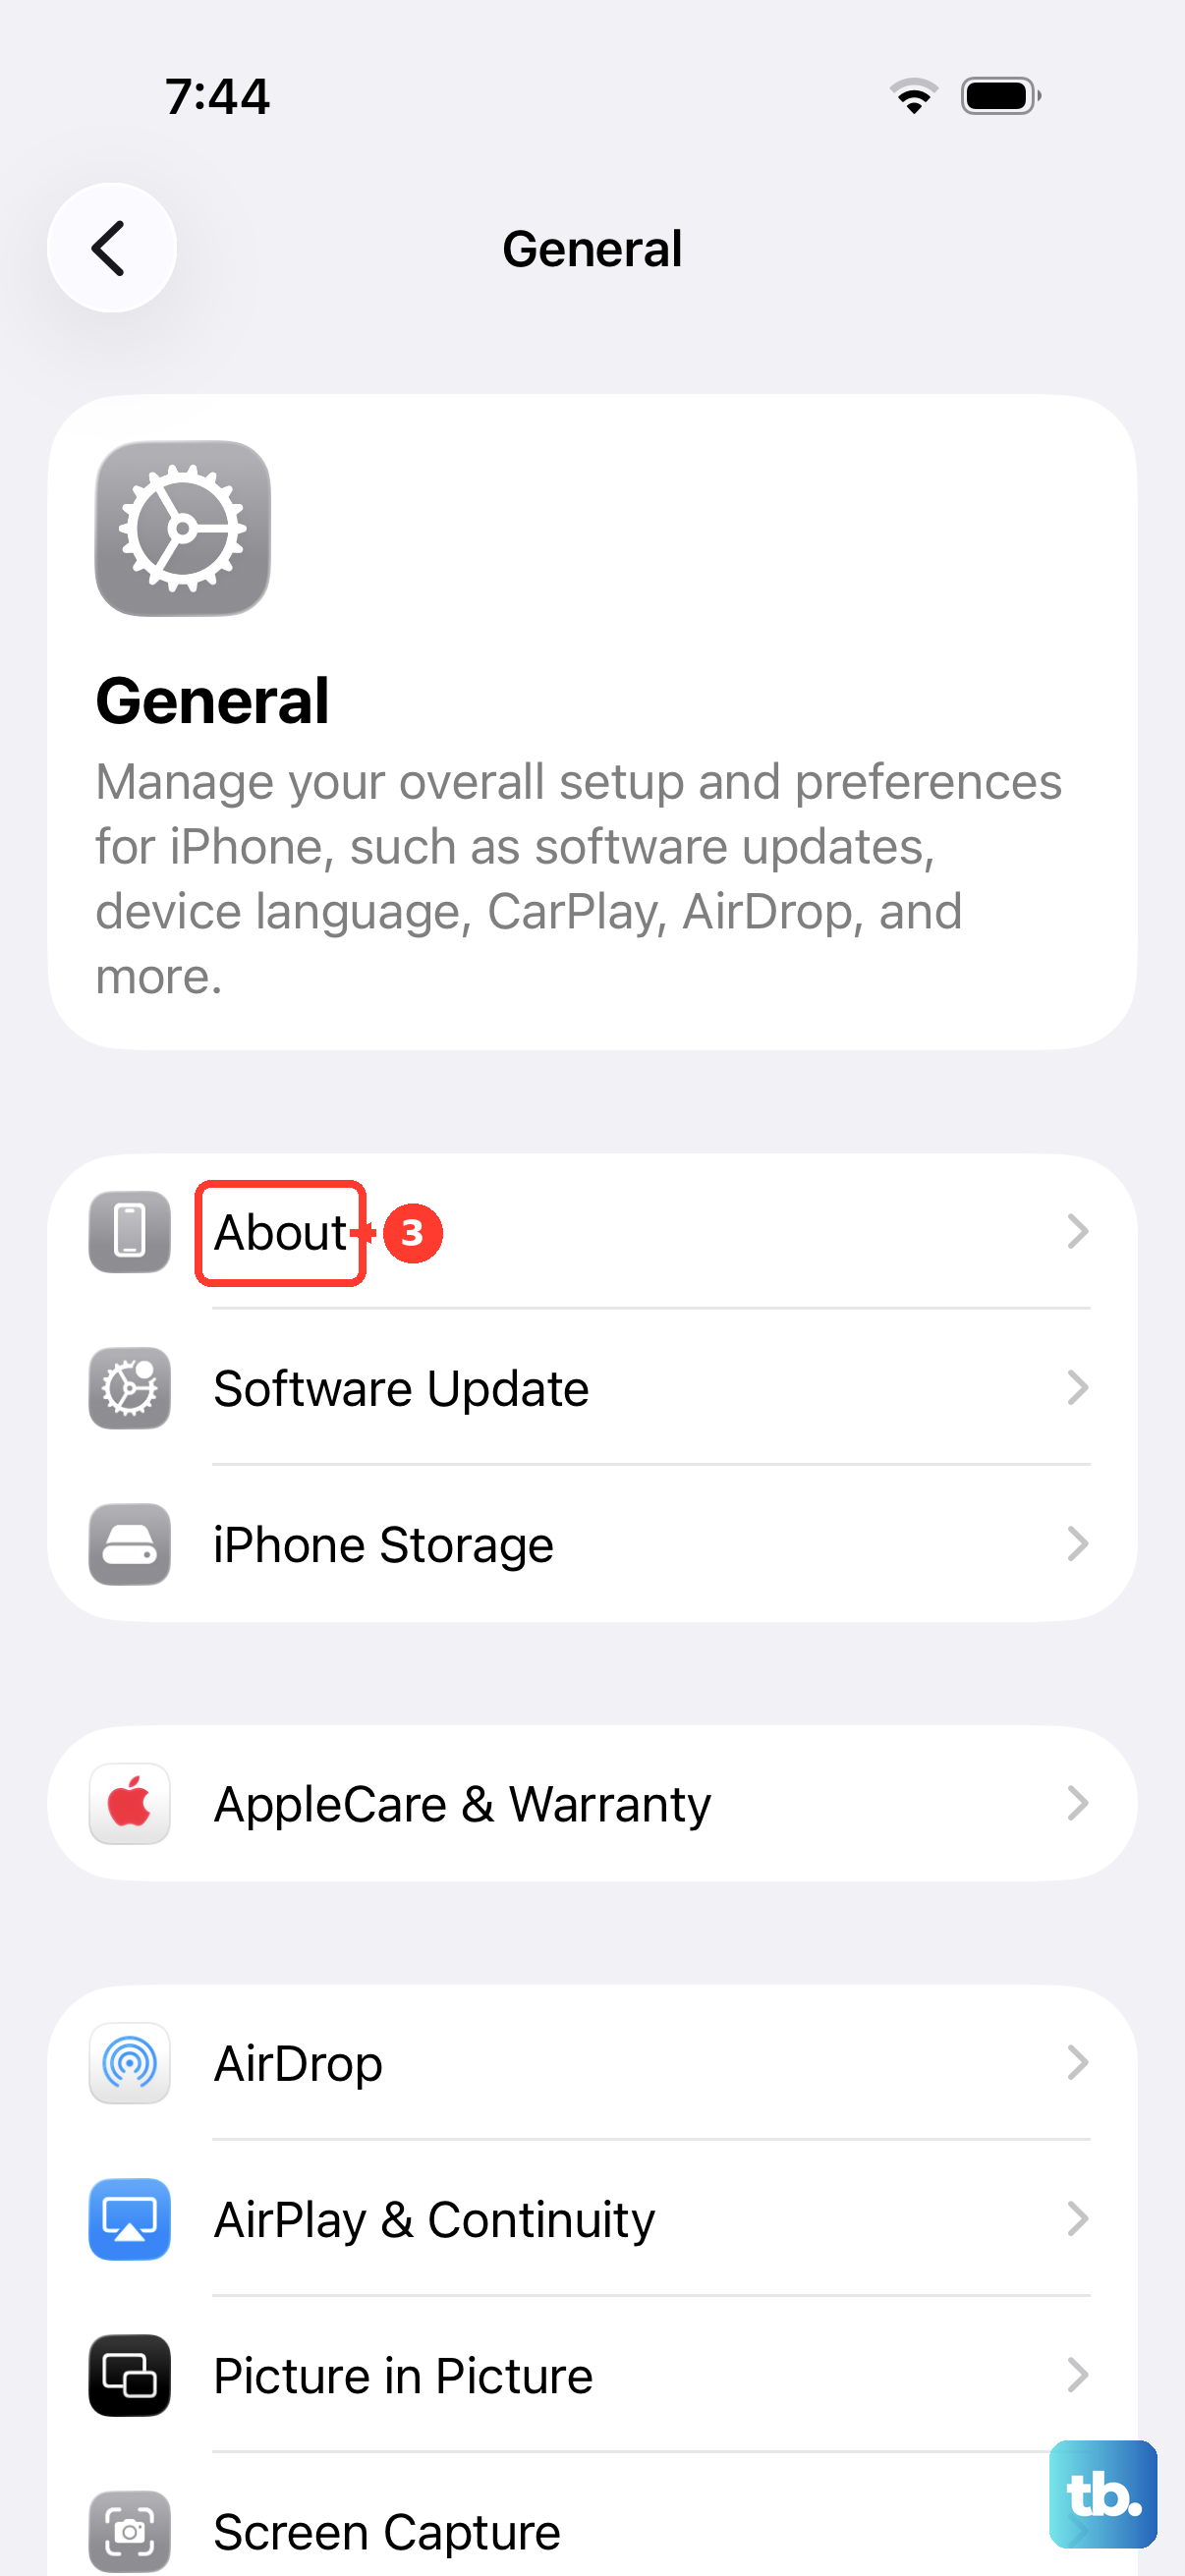
Open Settings > General > About > Parts & Service History > Restart & Finish Repair.
Follow the onscreen instructions.
If repair completion fails, connect to Wi-Fi, make sure the battery is over 20 percent, update iOS, restart, and try again.
Face ID will not unlock, pay, or sign in to apps on affected repaired devices until the required calibration is finished.
Frequently Asked Questions
Can I set up Face ID during first iPhone setup?
Yes. During Setup Assistant, choose Set up Face ID or Touch ID, follow the onscreen Face ID scan, then create a passcode.
Can I lock a single app with Face ID?
Yes. From the Home Screen, touch and hold the app icon, tap Require Face ID, then authenticate. Some built-in apps cannot be locked.
Can I hide an app behind Face ID?
Yes, for most apps you download from the App Store. Apps that come installed can’t be hidden, and neither can an app you set as your default web browser or, in the EU, an app marketplace. Touch and hold the app, tap Require Face ID, choose Hide and Require Face ID, authenticate, then tap Hide App.
How do I remove Face ID from a locked app?
Touch and hold the app on the Home Screen, tap Don’t Require Face ID, then authenticate. For hidden apps, open the Hidden folder in App Library first.