Windows Update files stick around after updates, feature upgrades, and broken update downloads, and they take space from the system drive. Start with the built-in Windows cleanup screens, then use Disk Cleanup, component-store cleanup, or update-cache repair only when that specific situation matches what you see on your PC.
1. Start in Temporary files
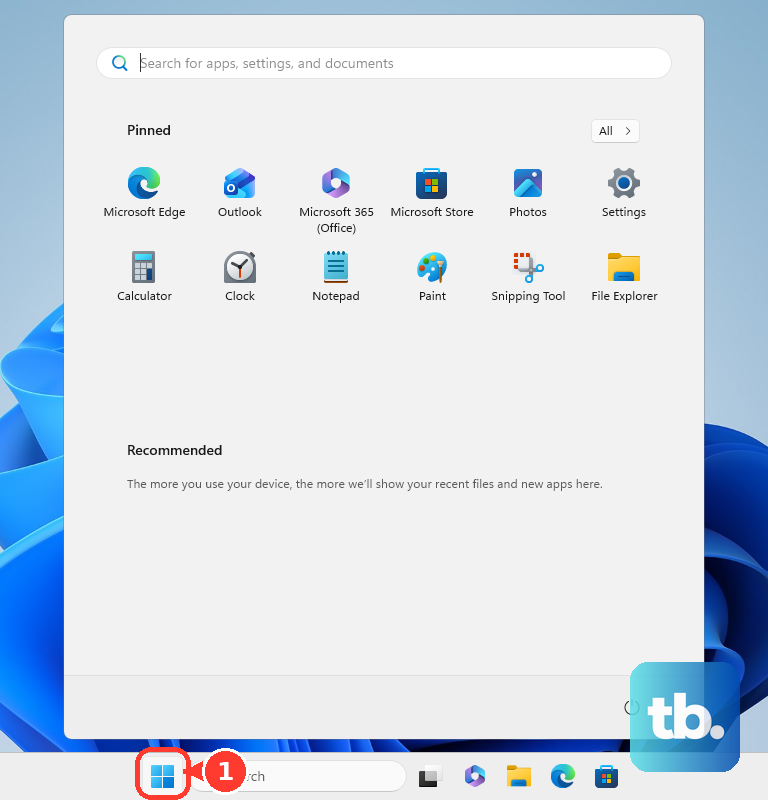
This is the main Settings path for removable update files in Windows. Select Start, open Settings, select System, select Storage, and then select Temporary files.
Select Windows Update Cleanup when it appears, then select Remove files. The Windows Update Cleanup checkbox appears only when Windows has removable update files. In 2026, Windows 10 consumer support has ended, so these cleanup steps mainly apply to version 22H2 PCs still covered by ESU and to supported LTSC or IoT LTSC releases on their own lifecycles.
2. Let Cleanup recommendations group the next targets
After Temporary files, open Start, then Settings, then System, then Storage, then Cleanup recommendations. Review the suggested file categories, select the items to remove, and then select Clean up.
On Windows 10, use this route on PCs whose Storage settings expose Cleanup recommendations.
3. Run Disk Cleanup for the classic system files list
Use the search box on the taskbar and type Disk Cleanup. Select Disk Cleanup, select the Windows drive, and then select OK. Next, select Clean up system files, select the Windows drive again, and select OK.
Select Windows Update Cleanup or another system-file category, select OK, and then select Delete files. Disk Cleanup remains documented and supported on Windows 11, Windows 10, and supported Windows Server releases. Microsoft positions Storage Sense as the modern path, but Disk Cleanup still gives you the older system-file cleanup window.
To clear Delivery Optimization cache files from the same tool, select Delivery Optimization Files on the Disk Cleanup tab. Select OK, then select Delete Files. Delivery Optimization handles Microsoft content such as Windows Update and Store app updates.
For the administrator PowerShell route, open PowerShell or Windows Terminal as administrator. Run Delete-DeliveryOptimizationCache -Force. To include pinned Delivery Optimization files, run Delete-DeliveryOptimizationCache -Force -IncludePinnedFiles.
4. Remove previous installation files after an upgrade
Remove this category only after you decide to stay on the current Windows version. Open Start, open Settings, select System, select Storage, and then select Temporary files.
Select Previous Windows Installation(s) or Previous version of Windows, then select Remove files. After a feature upgrade, Windows lists rollback files as Previous Windows Installation(s) or Previous version of Windows while that cleanup category is available. Removing it deletes the files used to go back to the previous Windows version.
5. Switch on Storage Sense to prevent another buildup
Open Start, then Settings, then System, then Storage. Set Storage Sense to On. To configure it, open Start, then Settings, then System, then Storage, then Storage Sense.
Set Run Storage Sense and choose your temporary-file cleanup preferences. Storage Sense works on the system drive only. It runs when you are signed in and online for more than 10 minutes.
6. Trim the component store with supported tools
The component store keeps Windows components that updates use. Windows includes a supported cleanup task for superseded component-store versions, and automatic cleanup waits at least 30 days after an updated component is installed.
For the no-command route, open Task Scheduler. Open Task Scheduler Library\Microsoft\Windows\Servicing\StartComponentCleanup. Under Selected Item, select Run.
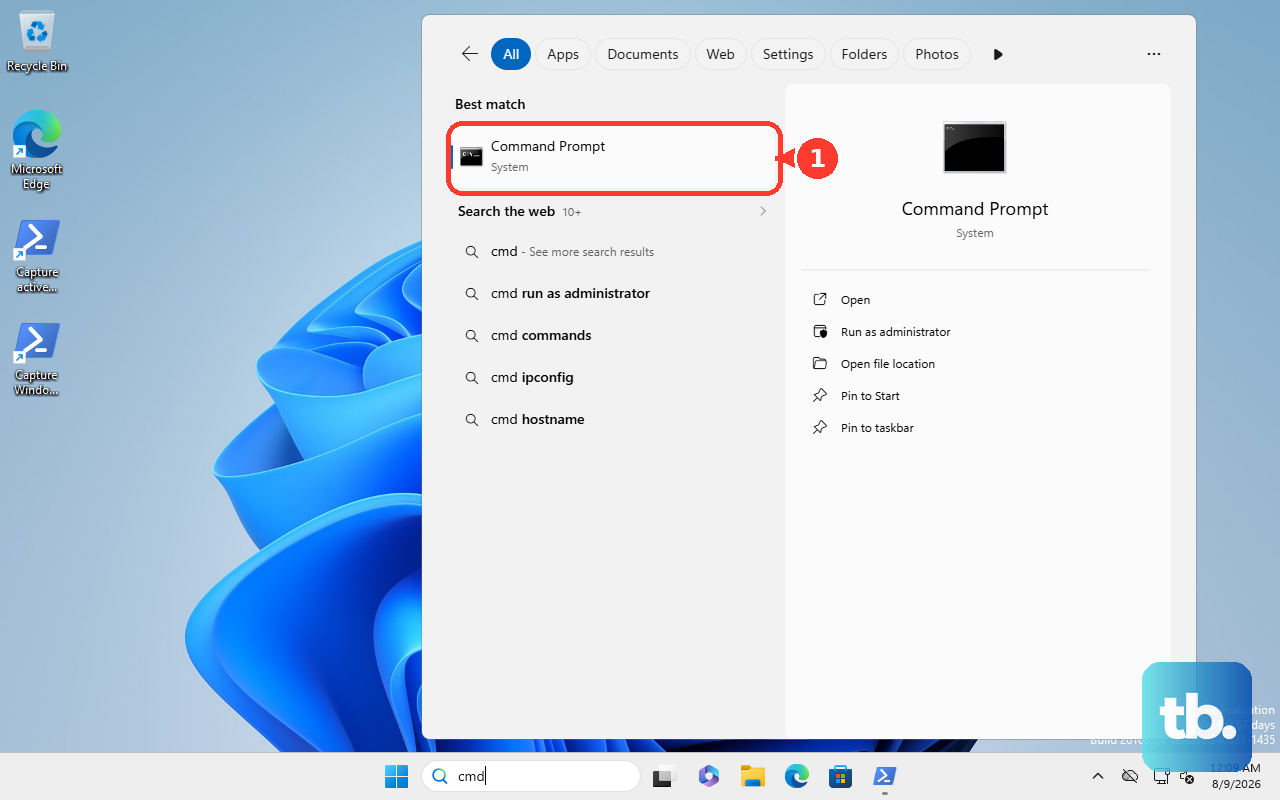
For immediate administrator cleanup, open Command Prompt or Windows Terminal as administrator. Run Dism.exe /online /Cleanup-Image /StartComponentCleanup. Use Dism.exe /online /Cleanup-Image /StartComponentCleanup /ResetBase only after accepting that update packages installed at completion cannot be uninstalled afterward.
7. Clear SoftwareDistribution only for stuck updates
Press Win + R, type services.msc, and press Enter. In Services, locate Windows Update, right-click Windows Update, and select Stop.
Open C:\Windows\SoftwareDistribution and delete all files and folders inside SoftwareDistribution. Return to Services, right-click Windows Update, and select Start. Deleting the contents of C:\Windows\SoftwareDistribution is a repair step for corrupt, missing, or stuck update-download files.
Use it for update errors, not routine space cleanup. For update errors rather than disk space, run the Windows Update troubleshooter.
On Windows 11, open Start, then Settings, then System, then Troubleshoot, then Other troubleshooters, then Windows Update, then Run. On Windows 10, open Start, then Settings, then Update & Security, then Troubleshoot, then Additional troubleshooters, then Windows Update, then Run the troubleshooter.
8. Avoid old advice and check managed PCs
Do not manually delete C:\Windows\WinSxS. Microsoft warns that manual deletion risks severe Windows damage, boot failure, and broken updating; use Settings, Disk Cleanup, Task Scheduler, or DISM component cleanup instead.
Skip service-pack cleanup commands on current Windows 10 and Windows 11 PCs. Those commands belong to older Windows releases with service packs, while Windows 10 and Windows 11 use cumulative updates.
On a work or school PC, use the normal Settings cleanup screens and contact IT before administrator commands. Organizations control Storage Sense and Delivery Optimization policy settings such as automatic cleanup cadence, temporary-file cleanup, cache age, cache size, and cache drive.
9. Clear Delivery Optimization files
Select Search on the taskbar and type Disk Cleanup. Select Disk Cleanup. On the Disk Cleanup tab, select Delivery Optimization Files, then select OK and Delete Files.
Delivery Optimization Files are cached Delivery Optimization downloads, which can include Windows updates, Microsoft Store apps, and other Microsoft product content. Clear them separately when you want to recover space tied to those downloads.
Frequently Asked Questions
Does PC Health Check delete Windows Update files?
No. PC Health Check routes you to Manage storage settings; the cleanup happens in Windows Storage settings.
Does Microsoft PC Manager have a verified Windows Update Cleanup button?
Microsoft describes storage management and Storage Sense for PC Manager, but its official page does not provide verified Windows Update Cleanup steps. Use Windows Settings or Disk Cleanup for that cleanup category.
Should I uninstall a Windows update to free space?
No. Uninstalling a Windows update removes an installed update for troubleshooting, not just cached download files. Some updates cannot be uninstalled.
How do I remove a bad update from recovery?
Open Windows RE, then select Troubleshoot, Advanced options, and Uninstall Updates. Choose Uninstall latest quality update or Uninstall latest feature update.
Is the cleanmgr command line still supported?
Yes. Open Command Prompt or Windows Terminal, run cleanmgr /sageset:n to choose cleanup categories, then run cleanmgr /sagerun:n to run that saved cleanup profile.