NVIDIA Control Panel can disappear from the desktop menu, fail to open from Start, or seem missing after a driver change. On Windows 10 and Windows 11 PCs, the fix usually comes down to the right launch path, the Microsoft Store app, or the NVIDIA display driver. The Windows 10 steps below still work, but Windows 10 reached end of support on October 14, 2025, so those PCs no longer receive security updates, feature updates, or Microsoft technical support unless they are enrolled in Extended Security Updates. Upgrading to Windows 11 is the supported path. Start with the fastest checks, then move to the repair steps that match what broke.
Open it from the desktop menu first
Right-click an empty area of the Windows desktop and select NVIDIA Control Panel.
On Windows 11, right-click the desktop, select Show more options, then choose NVIDIA Control Panel.
If the entry is not there, open it from Start or Windows Search next, because the app can still be installed even when its desktop context-menu entry is missing.
Launch it from Start when the right-click option is missing
This applies when the desktop menu does not show the NVIDIA entry, or when you want the fastest Windows path that does not depend on the right-click menu.
Select Start.
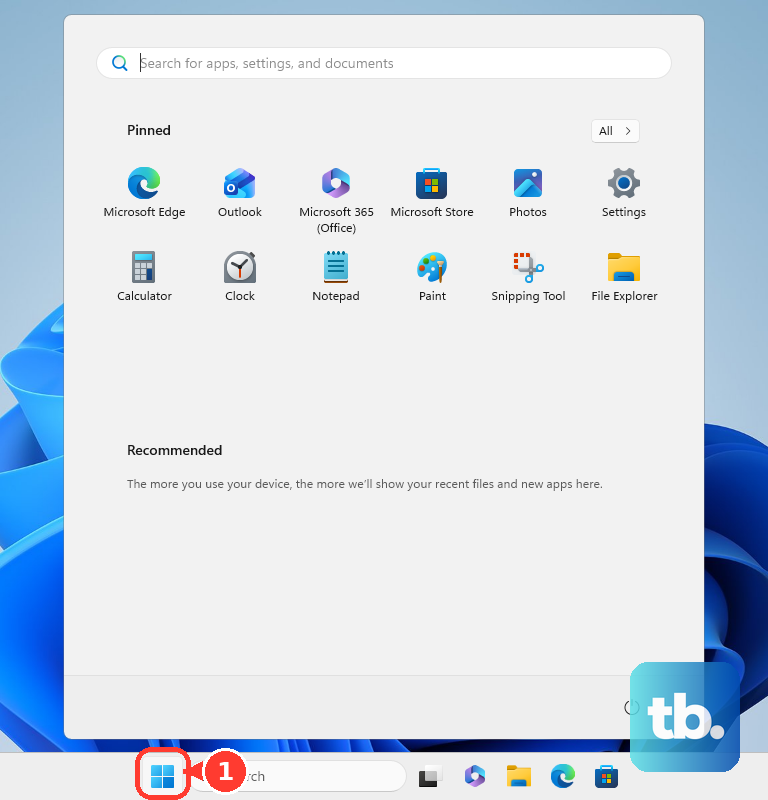
Type NVIDIA Control Panel.
Select the NVIDIA Control Panel app from the results.
You can also open Windows Control Panel, select Hardware and Sound, then select NVIDIA Control Panel when that applet is present.
Install the app from Microsoft Store
The most common cause of a missing panel on current systems is a DCH NVIDIA display driver without the Microsoft Store app installed.
Open the official Microsoft Store listing for NVIDIA Control Panel.
Select Get or Install.
After it installs, open it from Start or Windows Search.
DCH driver systems get NVIDIA Control Panel through Microsoft Store. Standard NVIDIA driver packages include the Control Panel with the driver package, so use Microsoft Store for the app package instead of third-party download portals.
Fix a blocked Store install
Start with Windows updates before retrying the Store install. On Windows 11, open Settings, go to Windows Update, and select Check for updates.
On Windows 10, open Settings, choose Update & Security, select Windows Update, and select Check for updates. Install available updates and restart when Windows asks.
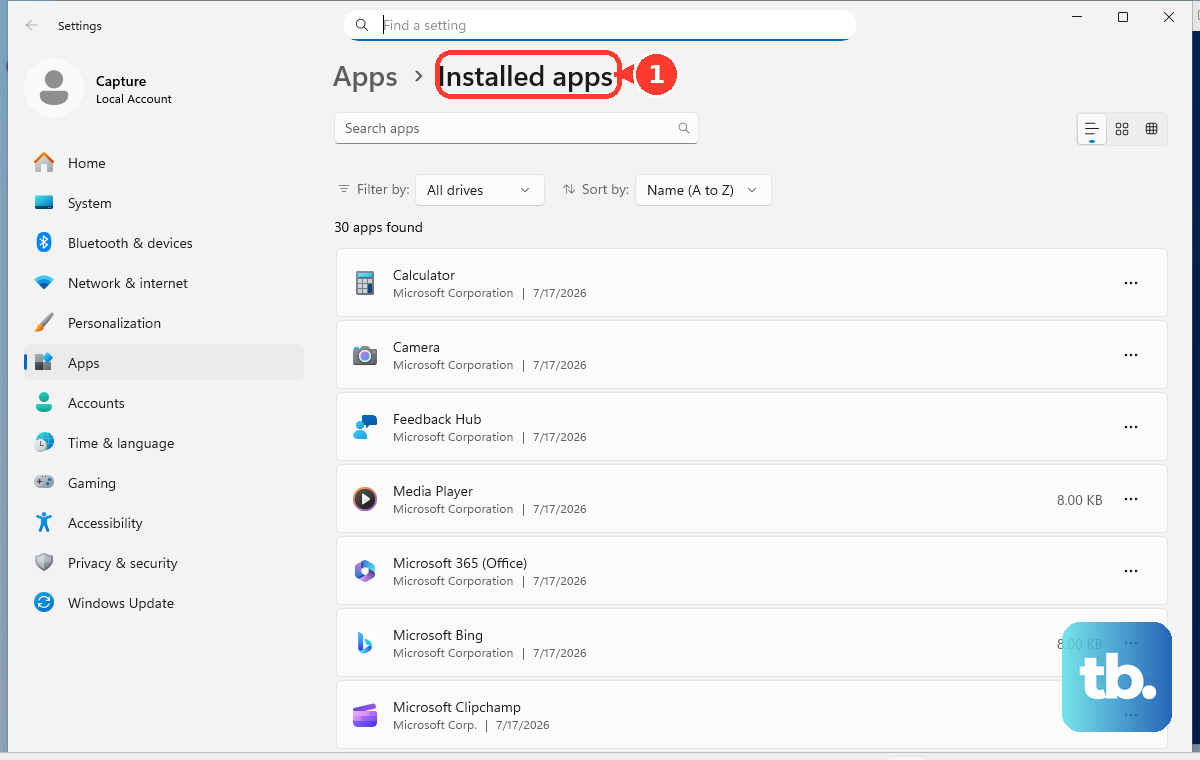
If Microsoft Store still will not download or open the NVIDIA app on Windows 11, go to Settings, Apps, Installed apps, select the More (three dots) icon next to Microsoft Store, choose Advanced options, then select Repair. If the Store still fails, return to the same screen and select Reset.
To reset the Store cache, press Windows logo key + R, type wsreset.exe, then select OK. Wait for Microsoft Store to reopen, then retry the NVIDIA Control Panel install.
Remove and reinstall NVIDIA Control Panel
Use this when the app is installed but will not open, crashes, or behaves like the Store package is damaged.
On Windows 11, open Settings, choose Apps, then Installed apps. Find NVIDIA Control Panel, select More, choose Uninstall, then reinstall it from Microsoft Store.
On Windows 10, open Settings, choose Apps, then Apps & features. Select NVIDIA Control Panel, choose Uninstall, then install it again from Microsoft Store.
If reinstalling the app does not fix it, repair the NVIDIA display driver next, because the Control Panel depends on a working NVIDIA driver.
Repair the NVIDIA display driver
Use the direct NVIDIA driver route when the panel vanished after a driver change or Windows no longer recognizes the GPU correctly.
- 1.Go to NVIDIA Driver Downloads.
- 2.Choose the product fields for your GeForce GPU and Windows version.
- 3.Download the current driver.
- 4.Run the installer.
- 5.Restart Windows when prompted, then open NVIDIA Control Panel.
Check Device Manager for driver problems
This fixes basic driver repair cases, failed adapter states, and recent driver updates that broke the panel.
Right-click Start and select Device Manager.
Expand Display adapters.
Right-click the NVIDIA GPU and select Update driver.
Select Search automatically for drivers.
If the problem started immediately after a driver update, right-click the NVIDIA GPU again.
Select Properties.
Open the Driver tab.
Choose Roll Back Driver when the button is available.
If the adapter entry looks corrupted, right-click the NVIDIA GPU.
Select Uninstall device.
Restart Windows.
Install the current NVIDIA driver if needed. Your display resolution can temporarily change until the driver is reinstalled.
Use NVIDIA App for current driver and graphics settings
NVIDIA App is NVIDIA's current companion app for GeForce users. Use it for driver updates and many graphics settings that older tutorials tied to GeForce Experience or NVIDIA Control Panel.
Install NVIDIA App from NVIDIA's official product page, open NVIDIA App, then use Drivers to install or update GeForce drivers. Use Graphics for game and app settings, and System for display, video, and GPU settings that the app exposes.
Older guides may point you to GeForce Experience or the old Run with graphics processor right-click option. For current Windows systems, use NVIDIA App for NVIDIA driver management and Windows Graphics settings for per-app GPU preference.
If NVIDIA App does not restore what you need, return to the Microsoft Store reinstall and NVIDIA driver reinstall paths above.
Set per-app GPU preference in Windows
Open Settings.
Select System, then choose Display.
Open Graphics on Windows 11, or Graphics settings on Windows 10.
Choose or add the app you want to control.
Select Options, choose the GPU preference, then select Save.
Tip: on a work or school-managed PC, Microsoft Store access can be blocked, so check Settings, Accounts, Access work or school and contact your administrator if Store-based NVIDIA Control Panel installation is unavailable.
Frequently Asked Questions
Why is NVIDIA Control Panel missing after installing a driver?
On DCH driver systems, NVIDIA Control Panel is delivered through Microsoft Store instead of a bundled Control Panel installer. Install it from the official Microsoft Store listing, then open it from Start.
Is NVIDIA App the same as NVIDIA Control Panel?
No. NVIDIA App is the current companion app for GeForce driver updates and many graphics settings. NVIDIA Control Panel still exists for advanced driver and display settings.
Should I download NVIDIA Control Panel from a third-party site?
No. Use Microsoft Store for the NVIDIA Control Panel app package and NVIDIA's official driver page or NVIDIA App for GeForce drivers.
What replaced the old Run with graphics processor menu?
Use Windows Graphics settings. Go to Settings, System, Display, Graphics, choose the app, open Options, select the GPU preference, and save it.