


To increase the Windows paging file size, open System Properties, go to the Virtual memory controls, turn off automatic management, select Custom size:, enter larger initial and maximum values, then select Set, select OK, and restart Windows. These steps apply to Windows 11 and Windows 10 and require the Create a pagefile right, which administrators have by default.
The short version
- Open the controls: Press Windows + R and run
SystemPropertiesAdvancedto reach the paging file settings. - Increase the values: Select Custom size: and enter larger sizes in MB, keeping the maximum at least as large as the initial size.
- Apply the change: Select Set, select OK, close the remaining dialogs, and restart Windows.
- Automatic alternative: Enable Automatically manage paging file size for all drives to let Windows adjust capacity as needed, without guaranteeing an immediate increase.
| Method or option | What it does | When it fits |
|---|---|---|
| Custom size: | Sets initial and maximum sizes manually | You want to enter larger values |
| Automatically manage paging file size for all drives | Lets Windows adjust paging capacity | You want automatic management |
| System managed size | Lets Windows size the file on a selected drive | You want automatic sizing on that drive |
| Another local drive | Adds a paging file while retaining the existing one | You have another suitable local volume with space |
| Run or Start search | Opens advanced system settings | You want the main route to the controls |
| Direct Performance Options command | Opens Performance Options | You prefer a direct command route |
| Performance Options search | Finds the controls through Start | You prefer searching to running a command |
| Windows + Pause/Break | Provides a keyboard route to advanced system settings on Windows 10 | You use Windows 10 and your keyboard has Pause/Break |
| PowerShell CIM | Updates an existing paging file entry | You need administrative commands |
| Create a pagefile permission | Controls who can create or resize paging files | You need to check administrative permissions |
Open the Virtual Memory controls
Press Windows + R to open Run. Enter the following command, then press Enter.
SystemPropertiesAdvancedIn System Properties, select the Advanced tab, then select Settings... under Performance. In Performance Options, select Advanced, then select Change... under Virtual memory.
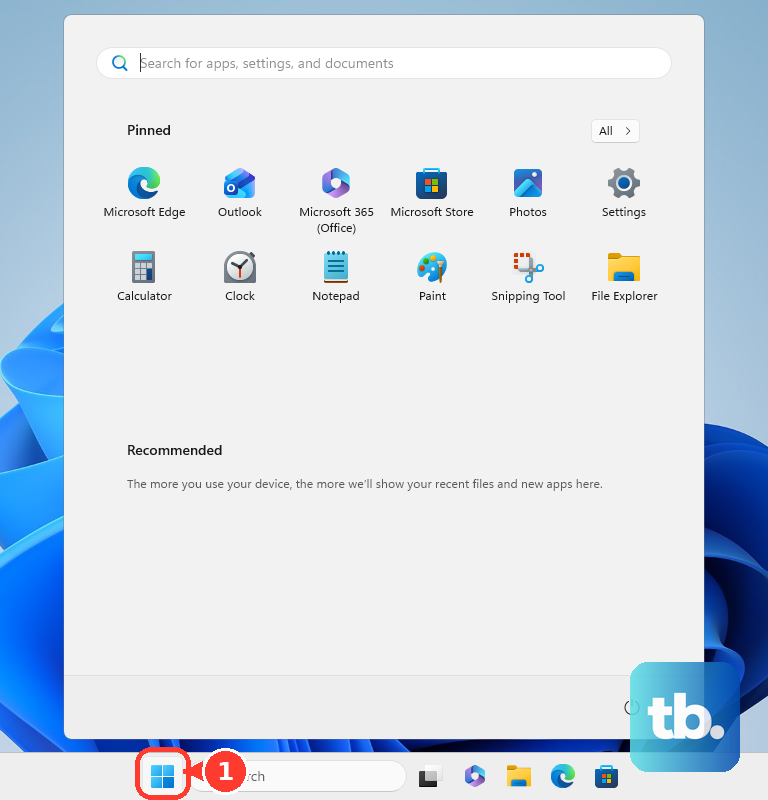
The same route works on Windows 11 and Windows 10. If you prefer searching, open Start, search for Advanced system settings, and open the matching result before continuing through the same controls.
Enter larger paging file sizes and apply them
Uncheck Automatically manage paging file size for all drives, then select the drive containing the paging file. Choose Custom size: to enter your own initial and maximum sizes.
Enter a larger value in Initial size (MB): and a larger value in Maximum size (MB):. Both fields use megabytes, and the maximum must be at least as large as the initial size.
Select Set after entering the new values, then select OK. Close the remaining dialogs and restart Windows to complete the change.
Let Windows manage the size instead
Choose automatic management if you want Windows to adjust paging capacity as needed. It does not guarantee an immediate increase, so choose Custom size: when you need to enter specific larger values.
Return to Virtual memory and check Automatically manage paging file size for all drives. Select OK and restart Windows.
To allow automatic sizing on a particular drive, uncheck Automatically manage paging file size for all drives and select the intended drive. Choose System managed size, select Set, then select OK and restart Windows.
Add paging capacity on another drive
If your PC has another suitable local volume with available space, you can add a paging file there. Retain the existing paging file when your goal is to increase total paging capacity.
Open Virtual memory, uncheck Automatically manage paging file size for all drives, and select the other drive. Choose Custom size: and enter the Initial size (MB): and Maximum size (MB): values, keeping the maximum at least as large as the initial size.
Alternatively, choose System managed size to let Windows size the new file on that drive. Select Set, select OK, and restart Windows.
Use another shortcut to the same settings
You can open Performance Options directly instead of starting in System Properties. Press Windows + R, enter the following command, and press Enter.
SystemPropertiesPerformance.exeSelect Advanced, then select Change... under Virtual memory. From there, apply your choice of custom sizing or automatic management.
For a search route, select Start and search for Adjust the appearance and performance of Windows. Open the matching result, select Advanced, then select Change... under Virtual memory.
On Windows 10, if your keyboard has Pause/Break, press Windows + Pause/Break to open System Properties, then select Advanced system settings. Continue through Settings... under Performance, select Advanced, and select Change... under Virtual memory. You can also reach these controls with SystemPropertiesAdvanced through Run.
Update an existing paging file with PowerShell
For command administration on Windows 11 or Windows 10, use an elevated Windows PowerShell or PowerShell session with CimCmdlets support. Inspect the existing paging file settings with this command.
Get-CimInstance Win32_PageFileSettingThe update requires an existing entry and must target its actual path. If the intended entry is missing, use the graphical controls to configure the paging file.
Before updating an existing entry, disable automatic paging file management. Run the following command in the elevated session.
Get-CimInstance Win32_ComputerSystem | Set-CimInstance -Property @{AutomaticManagedPagefile=$false}The following example updates an existing C:\pagefile.sys entry with initial and maximum sizes of 8192 MB and 16384 MB. Before running it, substitute the actual path and appropriate larger MB values, keeping the maximum at least as large as the initial size.
Get-CimInstance Win32_PageFileSetting | Where-Object Name -eq 'C:\pagefile.sys' | Set-CimInstance -Property @{InitialSize=8192;MaximumSize=16384}This command changes the matching entry; it does not create a new paging file entry. Restart Windows after applying the update.
Check permissions if you cannot resize the file
You need the Create a pagefile right to change paging file settings. This right permits creating or resizing paging files, and members of the Administrators group have it by default.
On Windows 11 and Windows 10 editions that provide Group Policy editing tools, inspect Computer Configuration > Windows Settings > Security Settings > Local Policies > User Rights Assignment > Create a pagefile. This policy controls permission rather than file size, and the Group Policy editing procedure does not apply to Home editions. Use an account that holds this right, such as an administrator account, to apply one of the sizing methods above.
Frequently Asked Questions
Do I need Windows Pro to increase the paging file size?
You can use the graphical sizing procedure on Windows 11 and Windows 10 without a Home or Pro restriction. You still need the Create a pagefile right, which administrators have by default, to make the change.
Can I open the paging file controls with sysdm.cpl?
Yes, search for sysdm.cpl and open it on Windows 11 or Windows 10. Select Advanced, select Settings... under Performance, then select Advanced and Change... under Virtual memory.
Can I use older Get-WmiObject instructions in PowerShell 7?
The older WMI cmdlets are unavailable natively in PowerShell 7. Use the PowerShell CIM interface there instead.
Why do older WMIC instructions differ from current Windows instructions?
Microsoft reports WMIC removal in the August 2026 preview updates for Windows 11 24H2 and 25H2 and the September 2026 preview update for Windows 11 26H1, including removal of the Feature on Demand installation route. Older or unpatched installations may differ. Use the graphical Virtual Memory dialog or PowerShell CIM for current Windows 11 instructions.