Need to erase a USB drive and get it ready to use again? Windows, Mac, Chromebook, and supported USB-C iPhones and iPads have built-in tools for the job. Start with the steps for your device, and use the partition fixes below if Windows shows unallocated space or a leftover recovery partition. Back up any files you need first, because formatting erases the drive's contents.
Format a USB drive in Windows 11
Connect your USB drive to the computer.
Open File Explorer.
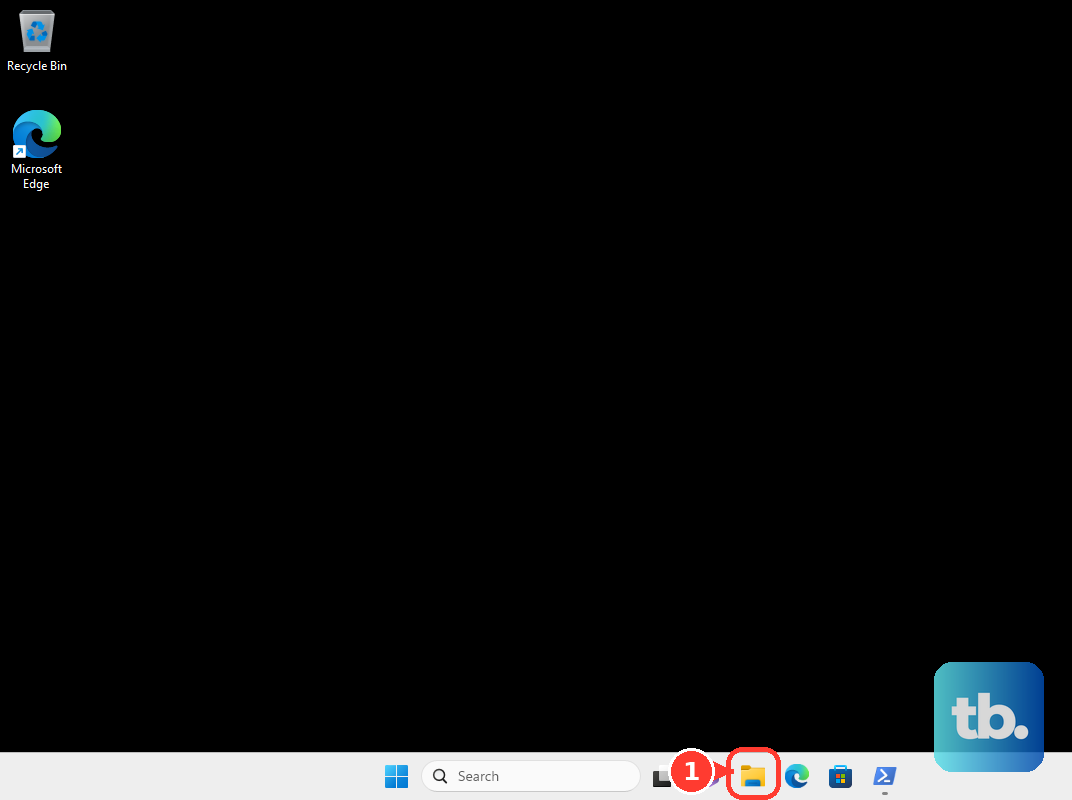
Select This PC.
Under Devices and drives, right-click your USB drive.
Choose Format.
Select the format you need from File system.
Leave Allocation unit size at its default unless you need a specific setting.
Enter a name for the drive in Volume label.
Select Quick format for a quick format, or clear it for a full format.
Check that you selected the correct USB drive.
Click Start.
Confirm the erase warning.
Tip: Keep your backup until formatting finishes and you've copied back the files you need.
Erase and reformat a USB drive on Mac
Disk Utility reformats the entire USB device, including its partition scheme.
Connect the USB drive to your Mac.
Open Applications > Utilities > Disk Utility.
Choose View > Show All Devices.
Select the physical USB device at the top of its hierarchy in the sidebar.
Click Erase.
Choose a partition scheme from Scheme. Apple's procedure uses GUID Partition Map; your choice must suit the device where you'll use the drive.
Select the filesystem from Format.
Enter a name for the drive.
Check that the selected device is your USB drive.
Click Erase to begin.
Click Done when it finishes.
Choose the right formatting settings
Stuck at the format options? Windows calls the filesystem setting File system, while Disk Utility on Mac calls it Format. Choose the filesystem required by the device where you'll use the drive.
In Windows, Volume label is simply the drive's name. Leave Allocation unit size at its default unless you need a specific setting.
A quick format does not securely sanitize a drive or guarantee that sensitive files are unrecoverable. Apple's Security Options overwrite controls work only on supported storage devices and are unavailable for SSDs. Don't expect those controls on a USB flash drive.
Use Files on a Chromebook
When ChromeOS cannot recognize or mount a USB drive, it offers a formatting prompt in Files.
Connect the USB drive to your Chromebook.
Open Launcher > Files.
For ordinary formatting, right-click the external storage device in the left pane.
Select Format device.
Complete the formatting dialog.
For an unrecognized or unmountable drive, select the external device in the left pane instead.
Click Format in the window that opens.
Format directly from a USB-C iPhone or iPad
Files formats external storage directly on supported USB-C iPhones and iPads.
Connect the USB drive to your iPhone or iPad.
Open Files.
Tap Browse on iPhone or the sidebar button on iPad.
Under Locations, touch and hold the storage device's name.
Tap Erase.
Select APFS, ExFAT, or MS-DOS (FAT).
Tap Erase again to confirm.
Create a volume when Windows shows unallocated space
Unallocated space has no partition to format, so you need to create a volume first.
Using an administrator account, right-click Start.
Select Disk Management.
Identify the USB disk carefully before making any changes.
Right-click its unallocated space.
Select New Simple Volume.
Click Next to begin the wizard.
Set the volume size.
Click Next.
Select a drive letter.
Click Next to reach Format Partition.
Retain or choose the formatting settings.
Click Next.
Select Finish.
Already have a USB volume? Right-click that volume in Disk Management instead.
Choose Format.
Select your formatting settings.
Click OK to accept them.
Click OK again to confirm.
Reclaim a Surface recovery USB drive
To restore a USB drive's full capacity after using it for Surface recovery, remove the recovery partition and create a new volume.
- 1.Using an administrator account in Windows 11, open Start > Settings > System > Storage > Advanced storage settings > Disks & volumes.
- 2.Locate the partition labeled RECOVERY, check that it belongs to the USB drive you intend to erase, and open its Properties.
- 3.Under Format, select Delete, then confirm with Delete volume.
- 4.Return to Disks & volumes.
- 5.Select Create volume on the USB drive's unallocated space, then choose Create Simple Volume.
- 6.Complete the prompts to create a usable volume.
Frequently Asked Questions
Is there a keyboard shortcut for formatting a USB drive on Mac?
In Disk Utility, select the intended USB device or volume and press Shift-Command-E to open Erase. Choose the formatting options and confirm. The shortcut opens the erase dialog; it does not immediately wipe the drive. Shortcuts vary with language and keyboard layout.
Do I need to download a USB formatting program?
Use your operating system's built-in tools for ordinary formatting. Kingston's older Format Utility was designed for one specific 2015 drive model, and Kingston advises against downloading it from third-party websites.
Why is formatting blocked on my work computer?
Managed Windows computers have a policy that controls who is allowed to format removable media. Ask your administrator to check your formatting permissions. Changing the policy does not itself format the drive.
Does erasing Chromebook recovery media leave a ready-to-use USB drive?
No. After completing Chromebook Recovery Utility's Erase recovery media operation, remove the drive, then format it with your operating system's formatting tool.