You run Windows Update Cleanup, and the same storage estimate is still there afterward. That number on its own doesn't mean nothing was deleted. Start by checking how much free space you actually have, then work through the built-in cleanup and repair tools below.
Check whether cleanup actually freed space
Open File Explorer and select This PC. Under Devices and drives, look at the available space on your Windows drive.

Note that figure before cleanup and check it again afterward. If available space went up, cleanup freed storage, whatever the remaining estimate says.
Don't expect the estimate to reach zero. Windows keeps the servicing and rollback components it needs, so a successful cleanup won't remove every update-related file.
When Windows is keeping older components
Often the cause is simple: Windows keeps previous component versions after an update, and normal retention looks like a failed cleanup.
Automatic component cleanup waits at least 30 days after an updated component is installed before it removes the previous version. Let your PC sit idle for a while with its normal cleanup task enabled.
If a cleanup attempt still leaves your available space unchanged, save your work and select Start > Power > Restart.
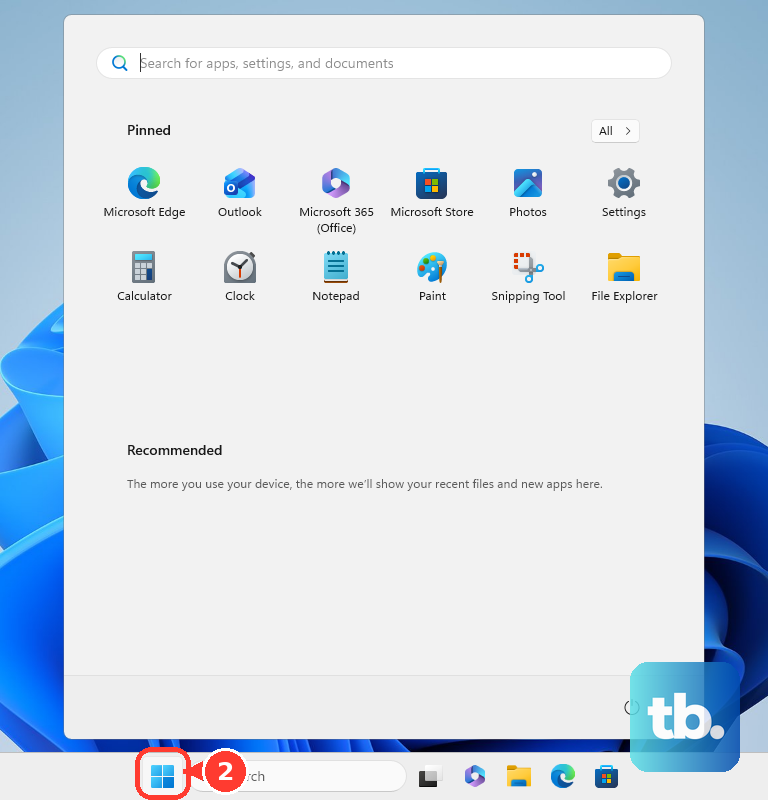
When Windows finishes restarting, run cleanup again and recheck the drive's available space.
Remove update files through Settings
This clears eligible update-related temporary files from Windows' storage settings.
Open Start > Settings > System > Storage > Temporary files.
Select Windows Update Cleanup if it's listed. This category is conditional and doesn't appear on every installation.
Review the other selected categories.
Leave Downloads unchecked unless you want to delete its contents.
Select Remove files.
Check your Windows drive's available space again in File Explorer > This PC.
Give Disk Cleanup access to system files
Microsoft still documents Disk Cleanup as a cleanup tool for Windows 11 and Windows 10. Its system-file option is how you reach eligible Windows update leftovers.
Search for Disk Cleanup and open it. Select your Windows drive, choose OK, then click Clean up system files. Select the Windows drive again and choose OK.
Under Files to delete, select Windows Update Cleanup if it's available. Select OK, then confirm with Delete files.
If that still doesn't free space, install the applicable Windows updates next. An incorrect cleanup estimate can also be a Windows reporting problem.
Install available Windows updates
On Windows 11, open Start > Settings > Windows Update.
On Windows 10, open Start > Settings > Update & Security > Windows Update. Whether updates keep coming depends on your installation's eligibility.
Select Check for updates.
Install the available updates.
Complete any restart Windows asks for.
Retry cleanup and compare your actual available space afterward.
For the older Windows 11 24H2 cleanup-estimate problem addressed in KB5044384, install the latest applicable cumulative update rather than hunting for that old preview update.
If Windows Update is also failing
If cleanup trouble comes with update errors, run the Windows Update troubleshooter. It diagnoses and repairs update problems, but it isn't a guaranteed way to remove retained components.
Open Get Help, type "windows update troubleshooter" in its Search bar, and follow the diagnostic and repair prompts. Restart when troubleshooting finishes.
On Windows 11 you can also go through Start > Settings > System > Troubleshoot > Other troubleshooters and select Run beside Windows Update. This route can now redirect you to Get Help.
If update errors continue, move on to the system repair commands below. If cleanup is your only problem, analyze the component store first to see whether Windows recommends removing more.
Analyze and clean the component store
This removes superseded Windows components when ordinary cleanup leaves reclaimable packages behind.
Search for Command Prompt.
Select Run as administrator.
Enter DISM.exe /Online /Cleanup-Image /AnalyzeComponentStore and press Enter.
Review "Actual Size of Component Store," "Number of Reclaimable Packages," and "Component Store Cleanup Recommended." File Explorer can overcount the WinSxS folder's size because of hard-linked files.
If cleanup is recommended, enter DISM.exe /Online /Cleanup-Image /StartComponentCleanup and press Enter.
Wait for the command to finish. Unlike the scheduled task, this cleanup has no 30-day grace period and no one-hour timeout.
Recheck your drive's available space.
Never delete files from WinSxS by hand. Microsoft warns against it, and Windows still needs some of those components for servicing and rollback.
Repair Windows files when cleanup keeps failing
Search for Command Prompt.
Select Run as administrator.
Choose Yes at the permission prompt.
Run DISM.exe /Online /Cleanup-image /Restorehealth.
Once DISM completes successfully, run sfc /scannow.
Wait for System File Checker to finish.
Retry Windows Update Cleanup.
These commands repair corruption rather than delete superseded updates, so judge the result by a successful cleanup and your actual free space, not by zero remaining bytes.
Frequently Asked Questions
Does deleting SoftwareDistribution fix Windows Update Cleanup?
SoftwareDistribution holds downloaded-update data, which is separate from the WinSxS component store. Clearing it resets update download data, but that doesn't mean Windows Update Cleanup components were removed.
Should I use DISM with ResetBase to reclaim more space?
ResetBase is an advanced cleanup option you can't undo. It permanently blocks uninstalling any update packages already installed when the command runs, though you can still uninstall future update packages. Weigh that before you use it.
Can I delete the previous Windows installation too?
Yes. With administrator privileges, open Settings > System > Storage > Temporary files, select Previous version of Windows, then select Remove files. Microsoft also calls this category Previous Windows Installation(s). Once it's removed, you can no longer go back to that previous installation.
Will Storage Sense fix a stuck Windows Update Cleanup category?
Storage Sense handles general temporary-file cleanup on the system drive. Microsoft doesn't promise that it fixes a stuck Windows Update Cleanup category.