


To fix the Samsung Email app not syncing, turn on Auto sync data in your Galaxy settings and Sync account for the affected account in Samsung Email. If both are already enabled, check your internet connection, background data permissions, and battery restrictions.
The short version
- Start with sync: Enable synchronization in both your device settings and the affected email account.
- Check webmail: Open your provider’s website to see whether new messages arrive there.
- Allow background access: Check data restrictions and remove Email from sleeping app lists.
- Save account resets for later: Preserve local-only mail before removing an account or clearing app data.
| Fix | When to use it |
|---|---|
| Enable Auto sync data | Device account synchronization is off |
| Enable Sync account | An individual mailbox is not syncing |
| Enable the Sync tile | Your Quick panel includes this shortcut |
| Restore internet access | Websites also fail to load |
| Enable Mobile data | A cellular device needs its mobile connection |
| Check webmail | You need to distinguish an account problem from an app problem |
| Allow background data | Email cannot retrieve mail over mobile data in the background |
| Disable Data saver or allow Email | Data saving restricts background access |
| Enable the app-level data exception | Your software shows Allow app while Data saver on |
| Allow both network types | Email is restricted to one connection type |
| Turn off Power saving | Battery saving restricts background activity |
| Remove Email from sleeping lists | Email appears in a sleeping app list |
| Add Email to Never sleeping apps or Never auto sleeping apps | Email is eligible for that list |
| Force-stop and reopen Email | The app still fails after checking its settings |
| Restart the device | Reopening Email has not helped |
| Clear Email’s cache | You need another app troubleshooting step before resetting data |
| Update through Galaxy Store | Galaxy Store offers an Email update |
| Update through Google Play | Google Play offers an Email update |
| Install a system update | Your Galaxy device has an update available |
| Extend Email sync period | Recent mail arrives but older messages are missing |
| Search the server | You need older messages and your account supports server search |
| Load more messages by scrolling | You need more mailbox history |
| Change Limit Retrieval Size | Message content is incomplete and the setting appears |
| Authenticate Gmail again | A personal Gmail connection fails after a password change |
| Enable Outlook.com IMAP | Your Outlook.com account uses an IMAP connection |
| Replace an iCloud app-specific password | Your iCloud connection needs a valid app-specific password |
| Remove the affected account | Earlier fixes fail and local-only mail is preserved |
| Run automatic account setup | You need to reconnect the removed account |
| Clear Email’s data | Reconnecting the account has not helped |
| Send an error report | A device-side failure persists |
Turn on device and account sync
Open Settings > Accounts and backup > Manage accounts, then turn on Auto sync data. Next, open Samsung Email, tap Menu (the three horizontal lines), and tap Settings (the gear). Select the affected email account and turn on Sync account. Repeat the account step for any other mailbox that has stopped syncing.
On Galaxy configurations with a Sync tile, you can also swipe down from the top-right corner to open the Quick panel and turn on Sync. If that tile is missing, use the Manage accounts path above. Continue with the connection checks if synchronization is already enabled.
Check your connection and webmail
Open a website in your phone’s browser to check internet access. If it fails to load, connect to a working Wi-Fi network and retry Email. On a cellular Galaxy device with active mobile-data service, you can instead open Settings > Connections > Data usage and turn on Mobile data.
Once browsing works, open your email provider’s website and sign in to check whether new messages arrive there. If webmail also fails, contact the provider. If webmail works, you can use it for temporary mailbox access while you continue checking Samsung Email.
Allow Email to use background data
On Galaxy devices with per-app mobile-data controls, open Settings > Apps > Email > Mobile data and turn on Allow background data usage. The app may be listed as Samsung Email instead of Email.
Next, open Settings > Connections > Data usage > Data saver. Turn off Turn on now, or keep Data saver enabled and turn on the switch next to Email in its list of apps allowed to use data. On software with the alternative app-level control, open Settings > Apps > Email > Mobile data and turn on Allow app while Data saver on.
Samsung says the availability of Data saver can depend on your SIM and network configuration, so skip that check if the setting is absent. On devices with Allowed networks for apps, open Settings > Connections > Data usage > Allowed networks for apps > Email. Select Mobile data or Wi-Fi to allow both connection types.
Remove battery restrictions on Email
Open Settings > Battery > Power saving and switch it off. Older Galaxy layouts place Battery under Battery and device care. In the simplified Maximum power saving interface, open More options and select Turn off Power saving.
Check the sleeping app lists next by opening Settings > Battery > Background usage limits. On the older layout, open Settings > Battery and device care > Battery > Background usage limits. Open Sleeping apps or Deep sleeping apps, then tap More options > Remove apps, select Email, and tap Remove to take it off that list.
To prevent Email from being put to sleep again, open Never sleeping apps (called Never auto sleeping apps on some devices) within Background usage limits, tap +, select Email, and tap Add. Use this option when Email is eligible for the list.
Restart Email and install updates
Open Settings > Apps > Email and tap Force stop, then reopen Email. If syncing still fails, open the Quick panel, tap the Power icon, and tap Restart twice. After the device restarts, check the mailbox again.
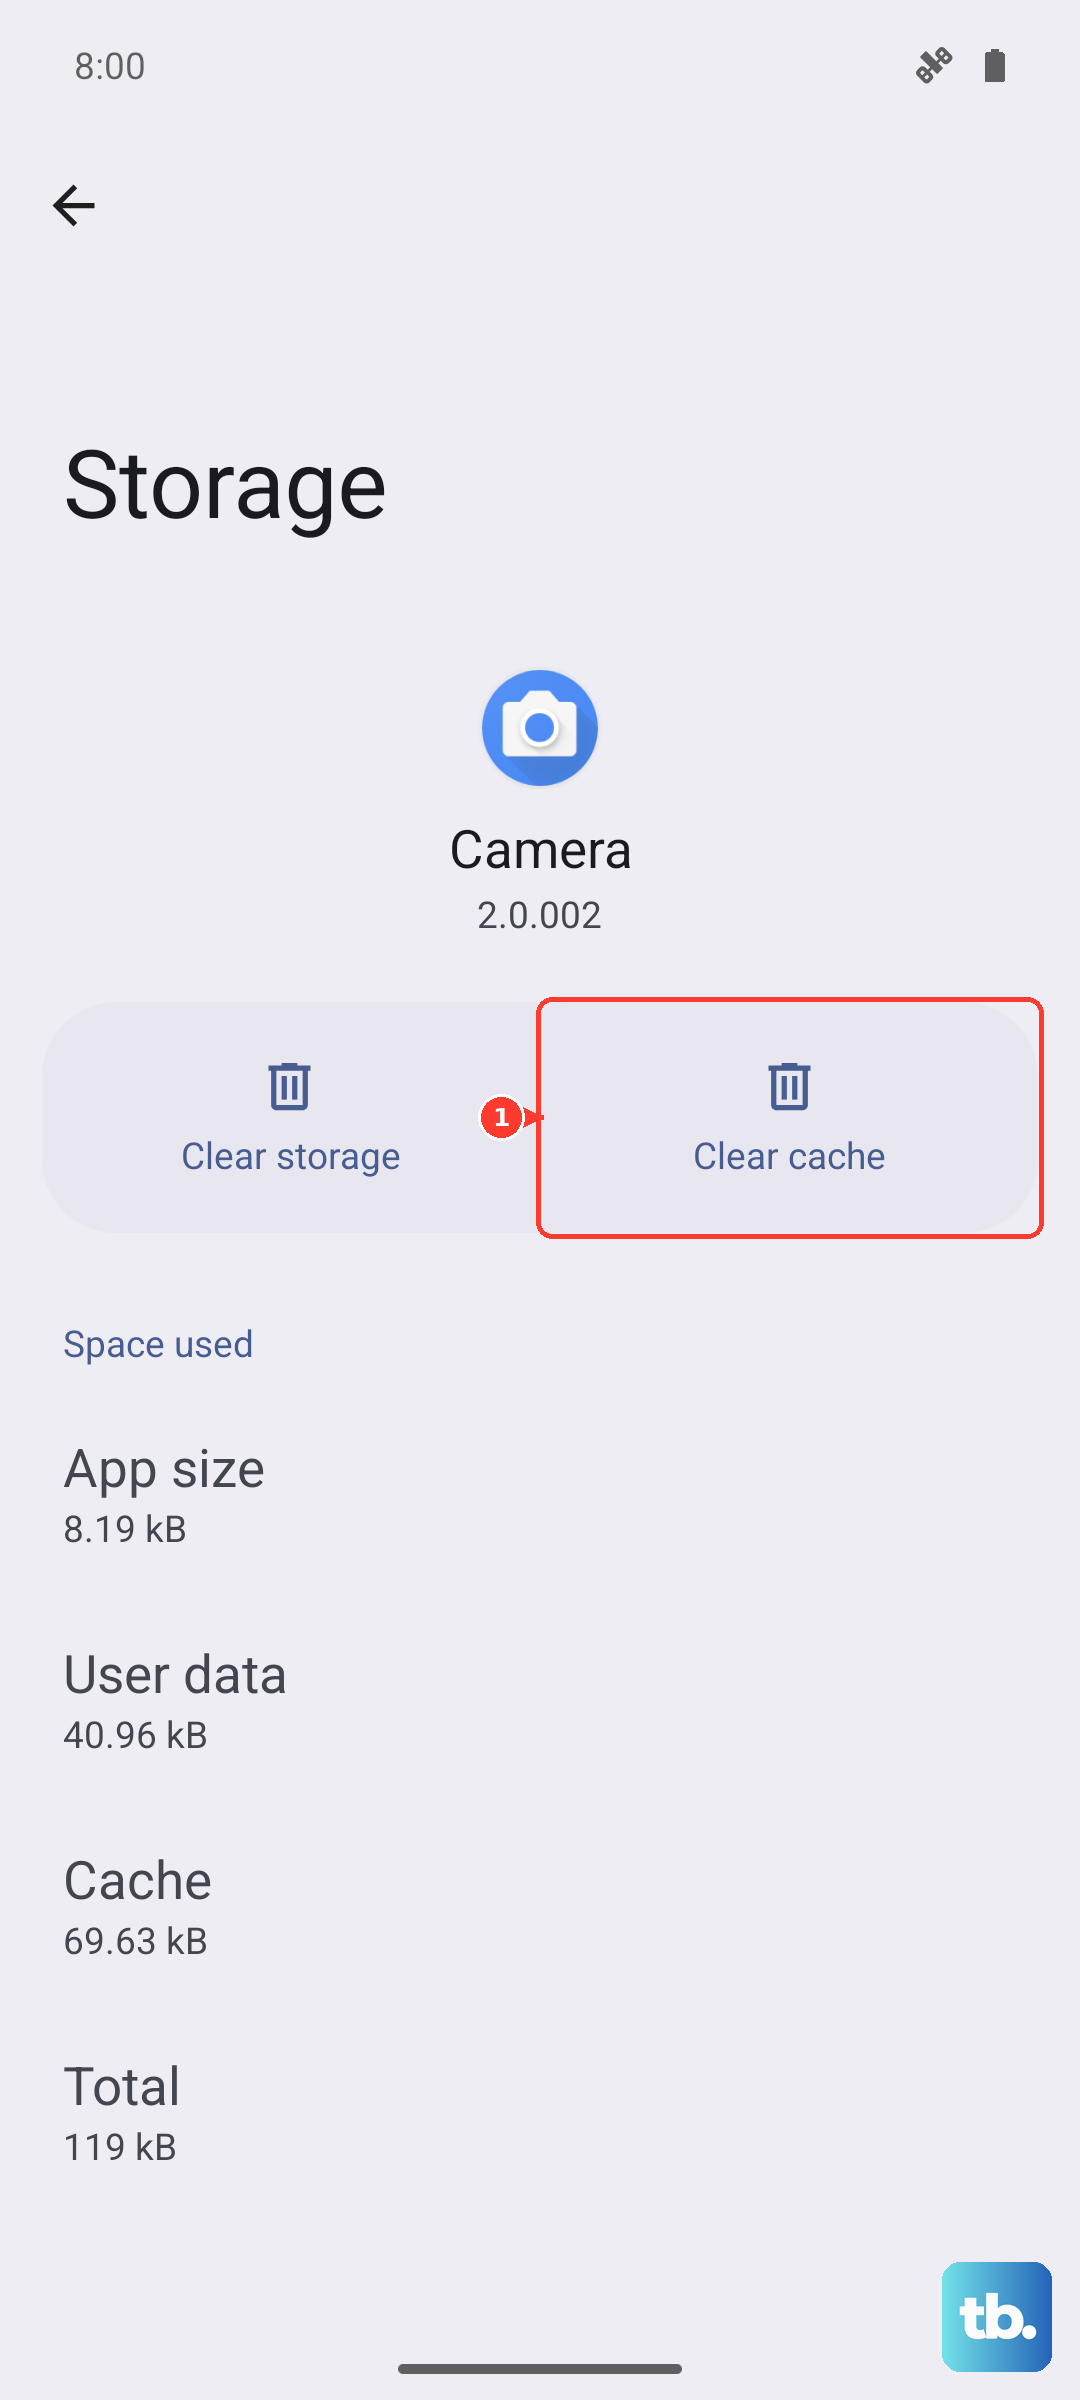
Clearing the app’s cache is another step to try before resetting account data. Open Settings > Apps > Email > Storage and tap Clear cache. Leave Clear data for the later reset step, which requires preserving important local mail first.
For an available Galaxy Store update, open Galaxy Store, select Menu > Updates, and tap the update arrow beside Samsung Email. When Google Play offers the update, open Play Store, tap your profile picture, and select Manage apps & device > Updates available. Tap Update beside Samsung Email.
Also open Settings > Software update > Download and install and install any available device update. Carrier versions may instead use System updates, Check for system updates, or Check for software updates. Update availability depends on your model, region, and carrier.
Adjust retrieval when only some mail is missing
When recent messages arrive but older mail is missing, extend the downloaded history. Open Samsung Email, tap Menu > Settings, select the account under Accounts, and choose Email sync period. Select a longer duration; Samsung illustrates this procedure on the Galaxy S25.
For an account that supports server search, tap the Search icon in the message list and enter a subject or keyword to retrieve matching older messages. You can also go to the bottom of the mailbox and swipe upward to load older mail. These steps address message history rather than a failure to receive new messages.
Incomplete message retrieval has a separate account setting on configurations that expose it. Open Email > Menu > Settings, select the account, and set Limit Retrieval Size to No Limit. If your account does not show that control, continue with the provider checks.
Check your email provider’s sign in requirements
A failed connection after a password change may need fresh authentication. Use the automatic account setup below and complete your provider’s authentication flow. Sign in only through Samsung Email or your email provider’s official sign-in page or website, and never share a code, password, or remote access with someone who contacts you.
For personal Gmail, re-enter your account information or repeat setup after a Google password change if the connection fails, choosing Sign in with Google. Google directs you to this supported sign-in instead of an ordinary username-and-password-only connection through less secure apps. You can also skip the old Enable IMAP instruction for personal Gmail because Google now keeps IMAP enabled.
For Outlook.com accounts configured through IMAP, open Outlook.com and select Settings > Mail > Forwarding and IMAP. Under POP and IMAP, turn on Let devices and apps use IMAP, then select Save. You do not need this setting for an Exchange ActiveSync connection.
For iCloud accounts using app-specific authentication, changing your main Apple Account password revokes existing app-specific passwords. Sign in at your Apple Account, open Sign-In and Security > App-Specific Passwords, and select Generate an app-specific password. Complete the displayed steps and use the generated password in Email; this requires Apple two-factor authentication.
Reconnect the account or reset Email data
Removing an account removes it from the device and can put local-only mail at risk, so preserve local-only messages and your account credentials first. Open Settings > Accounts and backup > Manage accounts and select the affected email account. Tap Remove account, then confirm with Remove account or Remove, matching the button displayed.
Return to Manage accounts and select + Add account > Email, then choose your provider. Enter the account details and tap Sign in when the provider’s setup offers it. Complete the provider-specific authentication flow, choosing Sign in with Google for personal Gmail.
Clearing Email’s data removes local app configuration and data, so preserve important local mail first. If reconnecting the affected account has not helped, open Settings > Apps > Email > Storage, tap Clear data, and tap OK. Set up your email accounts again using the automatic setup path above.
Send Samsung an error report
For a persistent device-side failure, especially one associated with an update, touch and hold the Samsung Members icon and tap Error reports. Choose the relevant category and describe the failure. To include diagnostic logs, select Send system log data, then tap Send.
If messages also fail to arrive in webmail, contact your email provider about that account-side problem. A factory reset erases local data and cannot resolve a provider outage or an account policy.
Frequently Asked Questions
Why do messages arrive without an email notification?
Missing alerts are a separate problem from mailbox synchronization. Open Settings > Notifications > App notifications > Email and enable Allow notifications. For individual notification categories, first open Settings > Notifications > Advanced settings and enable Manage notification categories for each app, then return to Email’s notification settings, open Notification categories, and enable the relevant categories.
Can Do not disturb stop Samsung Email from syncing?
Turning off Do not disturb addresses suppressed alerts, not mailbox synchronization. If mail arrives but alerts are suppressed, open Settings > Notifications > Do not disturb and turn off Do not disturb.
How do you change the email retrieval interval on a Galaxy Tab A11 Wi-Fi?
Open Email, tap the side menu icon and settings icon, then select the account and open Email sync schedule > Set sync schedule. Choose the automatic retrieval interval you need. Available intervals depend on the account and protocol, so push delivery is not guaranteed for every account.
What can you do when the phone does not respond to Restart?
On a Galaxy device with these hardware keys, hold Side + Volume down together for more than seven seconds, until the device restarts. Use this hardware restart when the normal restart controls do not respond.