An HP monitor shows Check Video Cable when it is powered on but is not receiving a usable video signal from the computer. Start with the cable and input source, then move into sleep, Windows, or Mac display settings if the message stays on screen.
Reconnect the video cable first
Turn off the computer.
Connect the video signal cable securely between the computer and the HP monitor.
Use the matching port type for your setup, such as VGA to VGA, HDMI to HDMI, DisplayPort to DisplayPort, or USB Type-C on HP models that support it.
For USB Type-C video, confirm that the computer’s USB Type-C port supports DisplayPort Alt Mode, and use the HP-approved USB Type-C cable supplied with the monitor. A data-only USB-C port carries no video signal.
Turn the monitor back on.
Turn the computer back on and wait for it to send a video signal.
Check both ends of the cable, because a cable can look connected while sitting slightly loose in the port.
Choose the correct input
This fixes cases where the HP monitor is watching the wrong port.
Press the monitor’s Menu button, or press the center of the OSD controller.
Open Input.
Select the port that matches the cable you are using, such as HDMI, DP, DisplayPort, VGA, or USB Type-C.
Wait a few seconds for the picture to appear.
If the monitor keeps scanning sources, open Input again.
Set Auto-Switch Input to Off.
Manually select the working input again.
Wake the computer before blaming the monitor
A sleeping computer can leave an HP monitor showing Check Video Cable, No input signal, or a sleep message even when the cable is seated correctly.
Press any key on the keyboard or move the mouse. If nothing changes, briefly press the computer’s Power button to wake the PC.
When monitor sleep behavior keeps confusing the diagnosis, and your model includes Auto-Sleep Mode (select HP products only), open the HP monitor menu with Menu or the center OSD controller, then go to Power, Auto-Sleep Mode, and choose Off. This does not repair a disconnected cable, but it can stop repeated sleep messages while you troubleshoot.
Unlock the monitor menu
The most common cause here is OSD Lockout, which blocks the HP monitor menus you need for input changes.
Press and hold the monitor’s Menu button for 10 seconds to disable OSD Lockout.
On some HP models, press and hold the left OSD control button or Left button for 10 seconds instead.
If the monitor shows Power Button Lockout or the power button has no effect, press and hold the Power button for 10 seconds to unlock it.
Run the HP monitor self test
The HP monitor self-test separates a monitor problem from a computer, cable, or video-output problem.
Turn off the monitor.
Disconnect all cables except the power cord.
Turn the monitor back on and confirm that the power-on image and monitor status message appear.
Reconnect a video source and try again.
If this method fails, try another cable, another video output port, or another computer to isolate the part that is not working.
Swap the cable or port
The most common cause is a loose, failed, or unsupported connection between the computer and the HP monitor.
Make sure the cable from the PC to the external monitor is secure at both ends.
Try a different cable.
Connect the HP monitor to a different system.
If the computer has more than one video output, plug the monitor into another port such as HDMI, VGA, DVI, or DisplayPort.
Fix Windows display detection
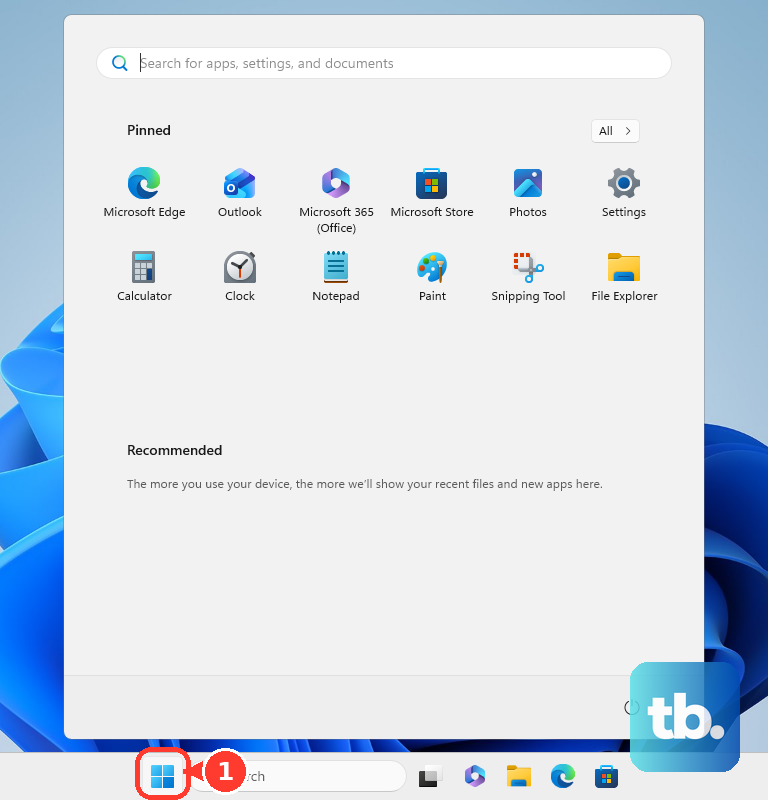
Open Start, then Settings.
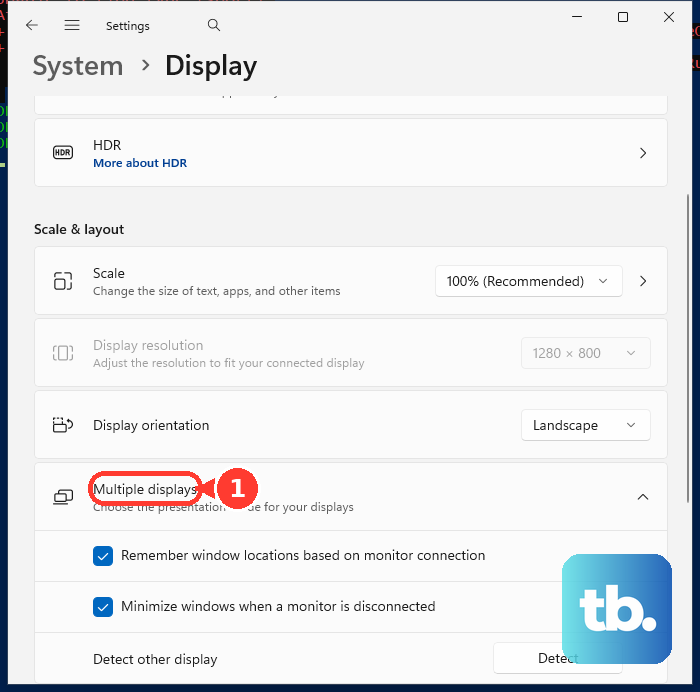
Go to System, then Display.
Open Multiple displays and select Detect.
Press Windows + P and choose Duplicate, Extend, or Second screen only.
If the screen is blank, press Windows + P.
Tap P again.
Press Enter to cycle display modes.
For a display that worked before but suddenly went blank, press Windows logo key + Ctrl + Shift + B.
If the shortcut works, you may hear a beep or see the display flicker.
Use the Windows 11 display paths above for current consumer troubleshooting; Windows 10 support ended on October 14, 2025 unless the PC is covered by an applicable paid or organizational support program.
Repair Windows drivers and refresh rate settings
Restart the PC from Start, Power, Restart. If that does not help, choose Start, Power, Shut Down, then turn the device back on.
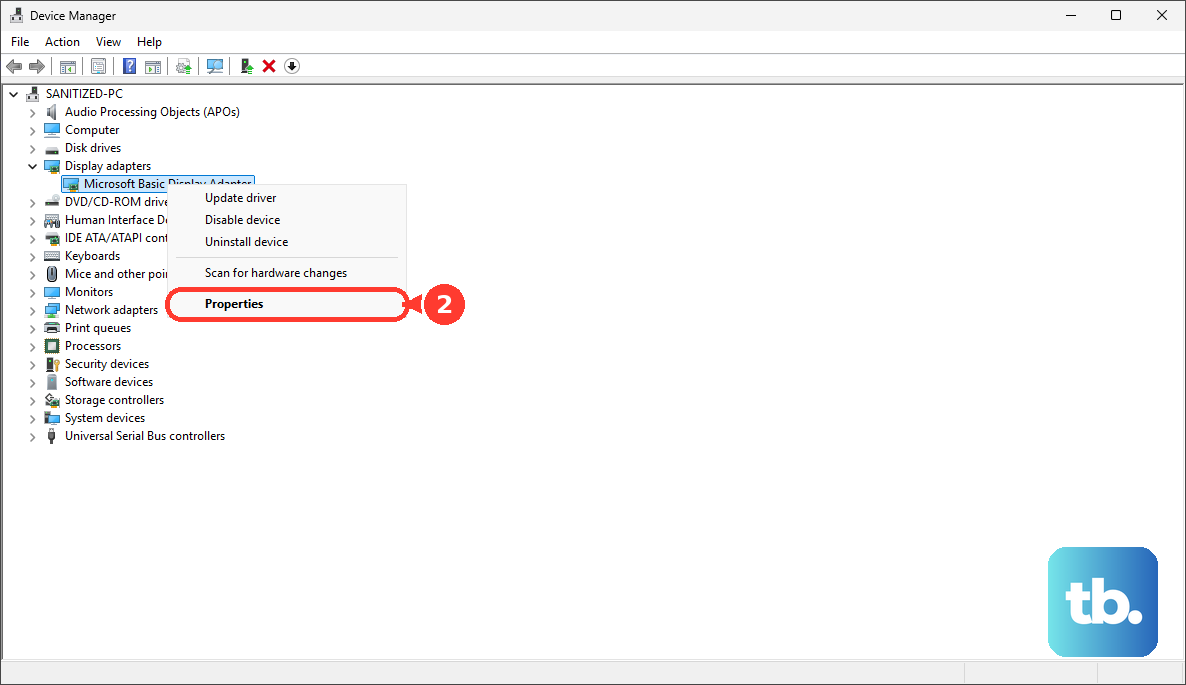
When the HP monitor receives no signal after a driver or system change, open Device Manager, expand Display adapters, right-click the GPU, and choose Update driver. If the problem started after an update, open Properties, Driver, and choose Roll Back Driver.
For an Input Signal Out of Range message, blanking, or unstable video, go to Start, Settings, System, Display, Advanced display. Select the HP monitor, then under Choose a refresh rate, pick a rate supported by the display.
On HP Windows PCs, open HP Support Assistant, go to My Dashboard, find your computer, and click Updates. Install listed HP updates and restart when prompted, or use HP’s official drivers page for relevant graphics, BIOS, chipset, dock, monitor firmware, or software updates. HP Support Assistant is not available for Windows in S mode and is not supported on ARM devices, so on those systems use Windows Update and HP’s drivers page instead.
Fix the Mac connection
For a Mac connected to an HP monitor, make sure the external display power cable and video cable are connected securely and correctly at both ends.
If you use a hub or dock, connect the HP monitor directly to a port on the Mac. Make sure the cable or adapter supports the monitor’s resolution and refresh rate, then check the Mac model’s Display Support or Video Support specifications.
To force detection, choose Apple menu, System Settings (named System Preferences on older macOS releases), then Displays. Hold the Option key to show Detect Displays, then click Detect Displays.
On a Mac laptop with Apple silicon, allow the accessory or display to connect when macOS asks. If this method fails, disconnect the display from the Mac and power source, reconnect it, sleep and wake the Mac, restart it, install the latest macOS updates, and check HP for current display firmware.
Frequently Asked Questions
Why does my HP monitor say Check Video Cable when the cable is plugged in?
The monitor is powered on but is not receiving a usable video signal. The usual causes are a loose cable, the wrong input source, a sleeping computer, a bad cable, or a computer video output that is not active.
Which input should I choose on my HP monitor?
Choose the input that matches the physical cable connected to the monitor, such as HDMI, DisplayPort, VGA, or USB Type-C on supported models.
What should I do if my HP monitor menu will not open?
Hold the Menu button for 10 seconds to disable OSD Lockout. On some HP monitors, hold the left OSD control button or Left button for 10 seconds instead.
Can Windows cause the Check Video Cable message?
Yes. Windows can be set to the wrong projection mode, fail to detect the monitor, or use a problematic display driver, any of which can leave the HP monitor without a usable signal. An unsupported resolution or refresh rate is a separate case: HP monitors report that one as Input Signal Out of Range, not Check Video Cable.