A monitor showing only half the screen usually comes down to a loose connection, the wrong resolution, a refresh rate mismatch, GPU scaling, or a split-screen mode on the monitor itself. Start with the quick checks first, then move through the display settings that actually control how the image fills the panel.
These fixes cover external monitors on Windows PCs and Macs, including HDMI, DisplayPort, Thunderbolt, and USB-C displays.
Start with the cable and dock check
This fixes half-screen, cropped, dark, or unstable images caused by a weak connection or unsupported adapter.
Turn off the monitor and the computer.
Firmly reconnect the monitor power cable at the display and wall outlet.
Firmly reconnect the video cable at the monitor and computer.
Bypass the hub, dock, or adapter by connecting the monitor directly to the computer.
Use a cable or adapter that supports the monitor's resolution and refresh rate.
Set Windows to the recommended resolution
The most common Windows cause is a resolution that does not match the monitor's native size.
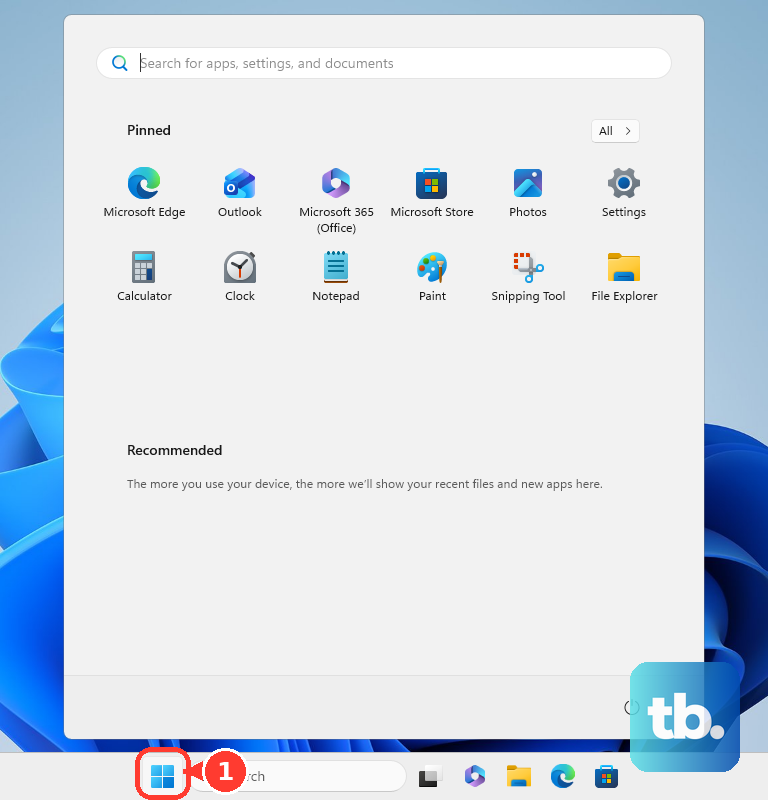
Open Start, go to Settings, choose System, then select Display.
Under Rearrange your displays, select the monitor showing the problem.
Open Display resolution and choose the option marked Recommended.
Check Display orientation on the same page and choose Landscape for a normal widescreen monitor.
Fix refresh rate problems in Windows
A bad refresh rate can make the picture look cut off, scrambled, or unstable.
Open Start, then go to Settings, System, Display, and Advanced display.
Select the affected monitor when more than one display is connected.
Next to Choose a refresh rate, pick a supported rate for that monitor.
Avoid refresh rates marked with an asterisk when you want Windows to keep the same resolution.
On supported Windows 11 hardware, turn off Dynamic refresh rate when a game or app starts showing the problem.
Clean up multiple monitor modes
When Windows extends the desktop in the wrong way, part of the workspace can look missing instead of broken. Press Windows key + P, then choose PC screen only, Duplicate, Extend, or Second screen only.
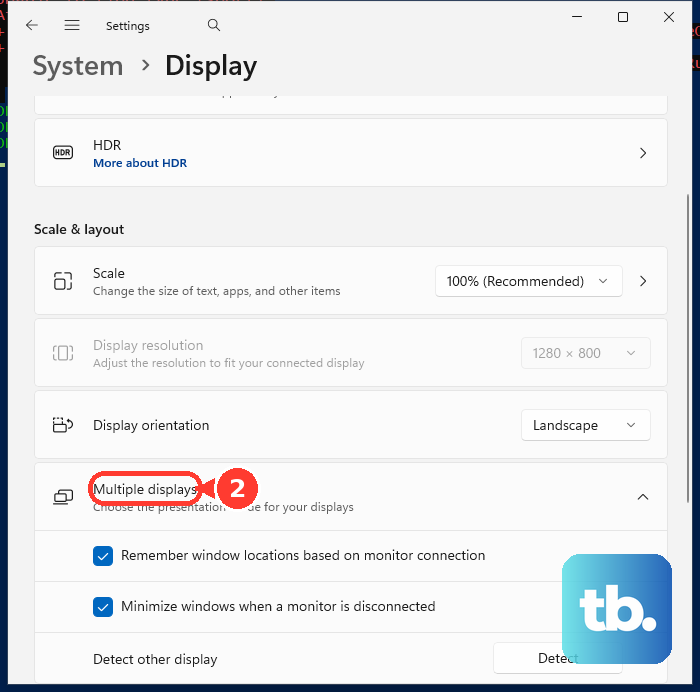
For a full layout reset, open Start, Settings, System, then Display. Select Identify to show display numbers on each screen.
When a monitor is missing, open Multiple displays and select Detect. Drag the displays into the correct arrangement and select Apply.
Reset display settings on a Mac
This fixes a Mac monitor that looks cropped, low-resolution, rotated, black after a change, or stuck in the wrong display mode.
Open the Apple menu, choose System Settings (shown as System Preferences on older macOS versions), then select Displays.
Select the affected display and choose Default or another supported resolution.
Set Refresh rate to a supported value.
Open Rotation and choose Standard to return the picture to normal.
Use the Mac display detection and arrangement controls
For an external display that is dark, low-resolution, or not detected, open Apple menu, System Settings, then Displays. Hold Option to show Detect Displays, then select Detect Displays.
When the desktop is on the wrong screen, stay in Displays, click the display name, then open Use as. Choose the correct mode, including Mirror, Extend, or Main display.
Use Arrange to drag connected displays into position. For Apple displays, install available updates through Apple menu, System Settings, General, then Software Update, because macOS updates also deliver Apple display firmware.
Adjust GPU scaling for cropped HDMI or game screens
Use your graphics app when the operating system settings look right but the monitor still shows a cropped, stretched, or side-missing image.
On AMD systems, open AMD Software, search for Display, open Display Settings, enable GPU Scaling, then choose Preserve aspect ratio, Full panel, or Center.
For AMD over HDMI, apply the native resolution and refresh rate first, then use the HDMI Scaling slider.
On Intel systems that have Intel Graphics Command Center, open it, select Display, choose the affected external monitor, open General, set Scale to Custom, then adjust the sliders.
Intel now ships feature and stability updates through Intel Graphics Software, the current app for Intel Xe Plus Graphics v11 and Intel Arc systems, while Intel Graphics Command Center gets critical legacy fixes only. On those newer systems, use the display and scaling controls in Intel Graphics Software instead. The scaling options that appear depend on your hardware and the resolution you pick, so switch off the recommended resolution when the options you need are hidden.
For older games on Intel graphics, choose a resolution different from the recommended resolution, set Scale to Stretched, then match the game's Aspect Ratio and Resolution settings.
On NVIDIA systems, open NVIDIA Control Panel, choose Adjust desktop size and position, set Perform scaling on to GPU, select Apply, then reboot Windows.
Turn off monitor split screen and picture size modes
This applies when the monitor itself is dividing the panel, showing one input on only part of the screen, or treating an HDMI computer like a TV signal.
On Samsung monitors with a JOG-button menu, open the on-screen display, go to Screen, then PIP/PBP, then PIP/PBP Mode, and choose Off.
On ASUS monitors that support PIP/PBP, open the monitor on-screen display, go to PIP/PBP, then set PIP/PBP Mode to Off.
For HDMI monitors and TVs, open the display's picture or aspect menu and choose Auto, Just Scan, Screen Fit, Screen Fill, Format, or Computer mode.
On a Mac connected to a TV or projector, open Apple menu, System Settings, then Displays, select the TV, and adjust Underscan when the control appears.
Update or reinstall the display driver
A driver problem can cause flickering, scrambled output, external monitor problems, or a half-screen image after an update. In Windows 11, start with Start, Settings, Windows Update, then Check for updates.
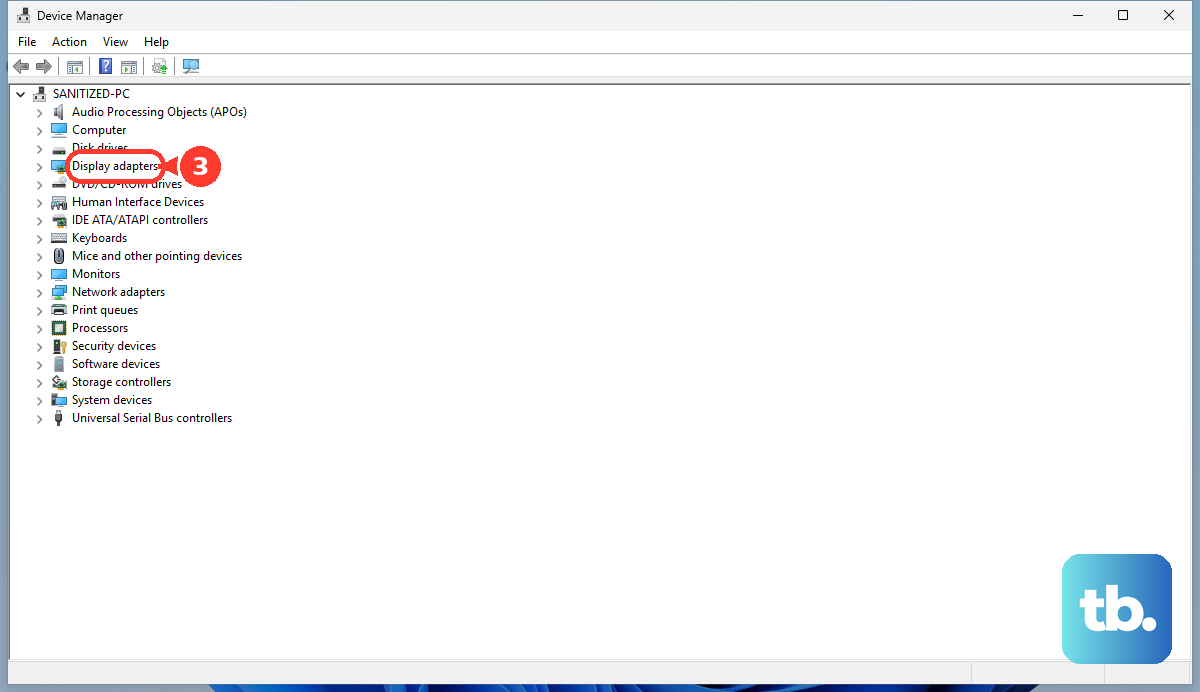
To update the display driver manually, type device manager in the taskbar search box and open Device Manager. Expand Display adapters, right-click the adapter, choose Update driver, and follow the prompts.
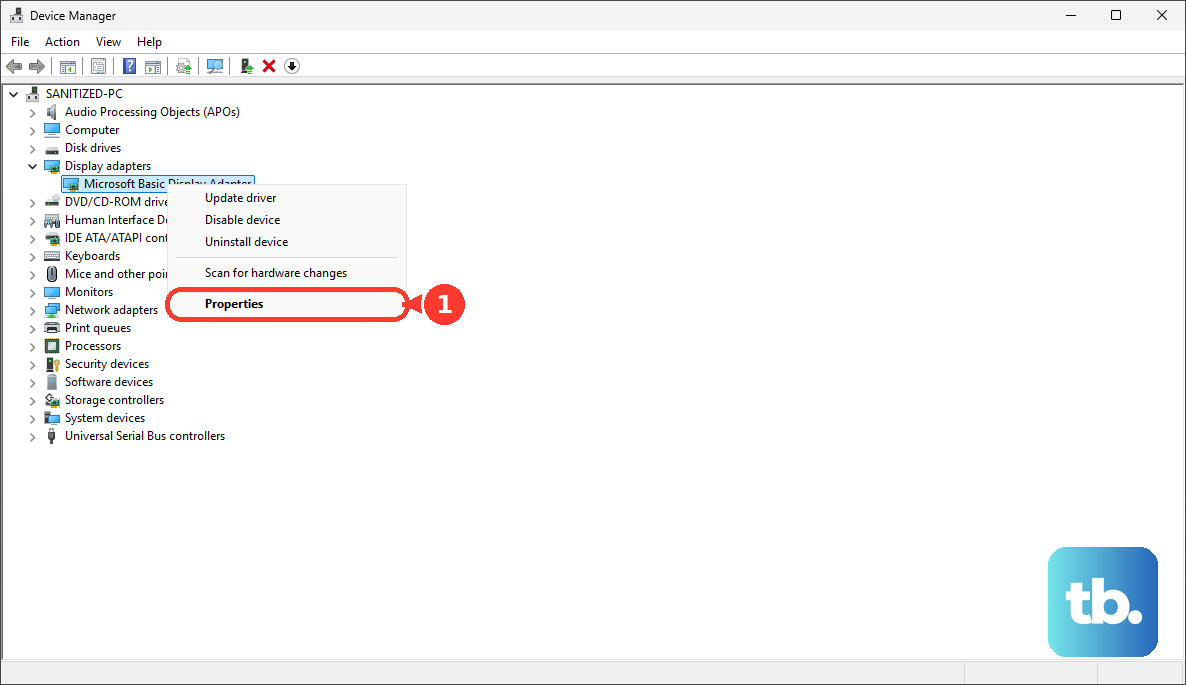
When the issue started right after a driver update, open Device Manager, expand Display adapters, right-click the adapter, then choose Properties, Driver, Roll Back Driver, and Yes. Restart the PC after the rollback.
If the rollback is not available or the screen still looks wrong, uninstall the adapter from Device Manager, select Attempt to remove the driver for this device, then restart so Windows can reinstall it. If that fails, install the current graphics driver from AMD Drivers and Support, Intel Download Drivers & Software, or NVIDIA Drivers, using the vendor's clean installation option only after a normal update fails.
Frequently Asked Questions
Why is my monitor showing only the left or right half?
The usual causes are an incorrect resolution, the wrong refresh rate, a scaling setting, a loose cable, or a monitor PIP/PBP split-screen mode. Start by reseating the cable and setting the display to its recommended resolution.
Can a bad HDMI cable cause a half-screen monitor problem?
Yes. A weak or unsupported HDMI, DisplayPort, Thunderbolt, or USB-C connection can cause external display problems. Reconnect both ends, bypass docks or adapters, and use a cable that supports the monitor's resolution and refresh rate.
Why does the problem happen only in one game or app?
On Windows 11, app-specific graphics settings can affect games and windowed apps. Open Settings, System, Display, Graphics, select the app or game under Custom options for apps, then select Options. In Graphics preference, turn off Optimizations for windowed games or choose Don't use Auto HDR, select Save, then restart the app. Turning on Auto HDR switches the optimization on automatically, so turn Auto HDR off first if you want the optimization off.
Do I need admin access to fix this on a work PC?
For basic display settings, usually no. For rolling back or uninstalling a display driver in Device Manager, Windows requires administrator privileges, so a managed work PC may need IT help.