

To enable IPv6 on Windows 11, open your connection’s Properties in Control Panel, check Internet Protocol Version 6 (TCP/IPv6), and select OK. The steps below use Windows 11 menus. Start with the adapter checkbox, then check addressing if the connection still needs attention.
The short version
- Main setting: Check Internet Protocol Version 6 (TCP/IPv6) in the properties of the adapter you use.
- Command alternative: You can enable the same adapter binding through Windows PowerShell with administrator privileges.
- Automatic addressing: Automatic IPv6 configuration requires an enabled adapter binding and IPv6 availability from your network.
- Separate restrictions: A system-wide IPv6 restriction can remain in effect independently of the adapter checkbox.
| Method or setting | What it does | When it fits |
|---|---|---|
| Control Panel adapter checkbox | Enables the same IPv6 binding | Direct setup for Wi-Fi or Ethernet |
| PowerShell adapter binding | Enables IPv6 by adapter name | Administrator command alternative |
| Command Prompt registry change | Removes a DisabledComponents restriction | Existing system-wide IPv6 restriction |
| Registry Editor change | Changes the same restriction | Existing system-wide IPv6 restriction |
| Automatic assignment in Settings | Sets the connection’s IP and DNS settings automatically | Networks supplying IPv6 configuration |
| Automatic protocol properties | Sets automatic IPv6 addressing and DNS | Classic adapter configuration |
| Manual IPv6 in Settings | Applies supplied static values | Networks requiring static addressing |
| PowerShell router discovery and DHCP | Restores automatic configuration mechanisms | Previously disabled IPv6 configuration |
Router discovery through netsh | Restores router discovery | Previously disabled router discovery |
| Static address through PowerShell | Adds an IPv6 address | Advanced static configuration |
| DHCPv6 renewal | Renews automatic IPv6 configuration | Enabled adapters on DHCPv6 networks |
Enable IPv6 in Control Panel
Open Control Panel > Network and Sharing Center > Change adapter settings. Right-click the Wi-Fi or Ethernet connection you want to configure, then select Properties. Administrator authorization may be required.
Check Internet Protocol Version 6 (TCP/IPv6), then select OK. Repeat this for other adapters you use. If the box is already checked, continue to the addressing checks below.
Enable the adapter binding with PowerShell
You can enable the adapter’s IPv6 binding through Windows PowerShell with administrator privileges. Open Windows PowerShell using Run as administrator. To identify the adapter name and its current enabled state, run this command:
Get-NetAdapterBinding -ComponentID ms_tcpip6Find the adapter you want to configure and note its name. Replace Wi-Fi in the following command with that adapter name. The adapter may briefly restart when you run it:
Enable-NetAdapterBinding -Name "Wi-Fi" -ComponentID ms_tcpip6Run the status command again to verify the binding. Check the Enabled value for the adapter you changed:
Get-NetAdapterBinding -ComponentID ms_tcpip6Restore automatic IPv6 addressing
Enabling the adapter binding and configuring its address are separate tasks. Use automatic addressing when your network supplies IPv6 configuration. It requires IPv6 to be enabled on the adapter and available from the network.
For Wi-Fi, open Settings > Network & internet > Wi-Fi > Manage known networks, then select your network. For Ethernet, open Settings > Network & internet > Ethernet and select the connected network. Beside IP assignment, select Edit. When you select Automatic (DHCP), the connection’s IP address settings and DNS server address setting are set automatically by your router or other access point, so any IP or DNS values you entered manually for this connection will no longer be used. Under Edit IP settings, select Automatic (DHCP), then select Save.
You can also configure automatic IPv6 addressing through the classic controls. Open Control Panel > Network and Sharing Center > Change adapter settings, right-click the connection, and select Properties. Double-click Internet Protocol Version 6 (TCP/IPv6).
Select Obtain an IPv6 address automatically and Obtain DNS server address automatically. Select OK, then close the adapter properties.
Renew and inspect the IPv6 configuration
If your adapter uses automatic IPv6 addressing on a DHCPv6 network, you can renew its configuration after restoring IPv6. Open Command Prompt using Run as administrator. Run the following command, replacing Wi-Fi with your adapter name:
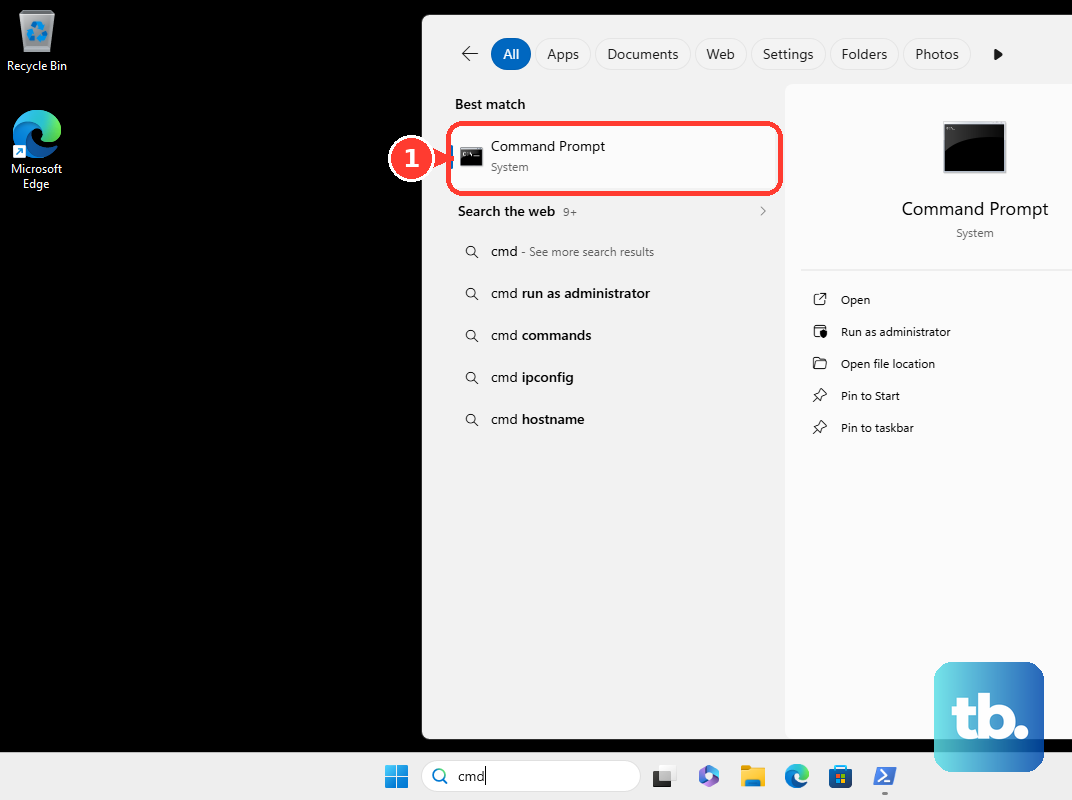
ipconfig /renew6 "Wi-Fi"Renewal updates DHCPv6 configuration; it does not enable a disabled adapter binding. To inspect the resulting configuration, run:
ipconfig /allRestore router discovery when it was disabled
If automatic IPv6 configuration was previously disabled, you may need to restore router discovery on the already-enabled IPv6 interface. Open Windows PowerShell using Run as administrator. Replace Wi-Fi with the actual interface alias and run:
Set-NetIPInterface -InterfaceAlias "Wi-Fi" -AddressFamily IPv6 -RouterDiscovery EnabledIf DHCP was separately disabled, restore it with the following command. Router advertisements determine whether stateful addressing is needed:
Set-NetIPInterface -InterfaceAlias "Wi-Fi" -AddressFamily IPv6 -Dhcp EnabledYou can alternatively restore router discovery through Command Prompt, opened using Run as administrator. First, identify the appropriate interface name:
netsh interface ipv6 show interfacesSubstitute that interface name in the following command to enable router discovery persistently. This changes router discovery, so the adapter’s IPv6 binding must already be enabled:
netsh interface ipv6 set interface interface="Wi-Fi" routerdiscovery=enabled store=persistentRemove an existing system wide restriction
A DisabledComponents registry restriction can affect IPv6 separately from the adapter checkbox. If that restriction is in place, you can change the same setting through either Command Prompt or Registry Editor with administrator privileges. Use one of these methods only when that value restricts IPv6.
The following command replaces the existing DisabledComponents value with 0, so back up the registry before making the change. Open Command Prompt using Run as administrator, then run:
reg add "HKEY_LOCAL_MACHINE\SYSTEM\CurrentControlSet\Services\Tcpip6\Parameters" /v DisabledComponents /t REG_DWORD /d 0 /fRestart Windows after running the command. Separately enable any unchecked adapter bindings using the checkbox or PowerShell method above.
For the Registry Editor alternative, back up the registry before replacing the existing DisabledComponents value. Open Registry Editor and navigate to HKEY_LOCAL_MACHINE\SYSTEM\CurrentControlSet\Services\Tcpip6\Parameters. If DisabledComponents exists, open it, set Value data to 0, and select OK. Restart Windows.
If DisabledComponents is absent, that already represents the default configuration and you can leave it absent. Check the adapter binding separately, since changing the registry setting does not check an unchecked adapter box.
Enter manual IPv6 values only when required
For a network that requires static IPv6 configuration, use the values supplied by your network administrator. These methods configure an already-enabled IPv6 interface. They do not override a disabled adapter binding or a DisabledComponents restriction.
For Wi-Fi, open Settings > Network & internet > Wi-Fi > Manage known networks and select the network. For Ethernet, open Settings > Network & internet > Ethernet and select the connected network.
Beside IP assignment, select Edit. Under Edit IP settings, select Manual, then turn on IPv6. Enter the supplied values in IP address, Subnet prefix length, Gateway, Preferred DNS, and Alternate DNS as applicable, then select Save.
For the PowerShell alternative, open Windows PowerShell using Run as administrator. Replace Wi-Fi with your interface alias and every placeholder with the network’s supplied values. Microsoft says adding an address with this command disables DHCP on the interface:
New-NetIPAddress -InterfaceAlias "Wi-Fi" -AddressFamily IPv6 -IPAddress "<assigned-address>" -PrefixLength <prefix-length> -DefaultGateway "<gateway-address>"Configure DNS separately if your network requires it. You can enter the supplied DNS values through the manual Settings controls above.
Frequently Asked Questions
Can you enable IPv6 on all adapters with one PowerShell command?
You can enable IPv6 on all matching exposed adapter bindings with Enable-NetAdapterBinding -Name "*" -ComponentID ms_tcpip6 in an administrator Windows PowerShell window. The adapters may briefly restart.
Can you renew DHCPv6 configuration for all adapters at once?
Run ipconfig /renew6 without an adapter name in an administrator Command Prompt to renew all applicable adapters. This applies to adapters using automatic IPv6 addressing on networks that use DHCPv6.
Does the IPv6 checkbox also apply to consumer editions of Windows 11?
The adapter’s Internet Protocol Version 6 (TCP/IPv6) checkbox also applies to consumer editions of Windows 11. You can use the Control Panel route to reach it for your Wi-Fi or Ethernet connection.
Should you use old IPv6 installation commands on Windows 11?
Use the adapter checkbox or PowerShell binding method to enable IPv6 on Windows 11. IPv6 is already an integral Windows component, and the historical installation and uninstallation instructions belong to the Windows XP era.