An external hard drive should be released by the operating system before you unplug it. That gives Windows, macOS, ChromeOS, Linux, or your mobile device a clean chance to stop using the drive first. Start with the method for your device below, then use the troubleshooting steps if the drive refuses to eject.
Eject from the Windows taskbar
Finish the file transfer to or from the external hard drive. Look at the system tray area of the taskbar. Select Show hidden icons when Safely Remove Hardware and Eject Media is not visible. Right-click Safely Remove Hardware and Eject Media.
Choose Eject for the external hard drive. Wait for Safe To Remove Hardware. Unplug the drive.
On Windows 11, to keep the icon visible next time, use Taskbar settings > Personalization > Taskbar > Other system tray icons and turn Safely Remove Hardware and Eject Media on.
On Windows 10, right-click the taskbar and select Taskbar settings, then under Notification area select Select which icons appear on the taskbar and make sure Windows Explorer: Safely Remove Hardware and Eject Media is switched On.
Use Windows Settings when the tray menu is missing
This fixes a connected drive that Windows lists under devices but does not show clearly in the tray menu. On Windows 11, open Start.
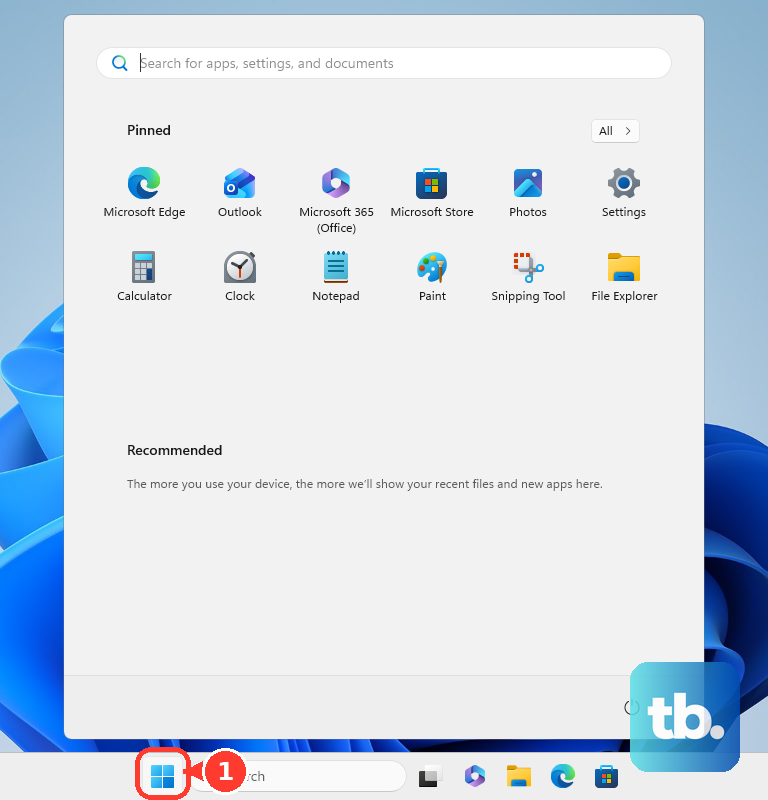
Select Settings. Open Bluetooth & devices. Select Devices. Go to Other devices.
Select the external hard drive. Next to Remove this device, select Remove. When the device disappears, unplug it.
On Windows 10, select Start > Settings > Devices, find the drive under Other devices in the Bluetooth & other devices window, select it, select Remove device, then select Yes. Microsoft still publishes this Windows 10 route, although Windows 10 reached end of support on October 14, 2025.
Try Mac eject options in Finder
Use these macOS options when the external drive appears in Finder, under Locations, or on the desktop. In Finder, find the drive under Locations. Click the Eject button next to its name.
Another route is to select the drive in Finder. Open File and choose Eject. With the disk or volume selected in Finder, press Command-E. From the desktop, drag the drive to Trash.
Fix a Mac disk that is in use
macOS can block ejecting because an app is using the disk. Quit the apps that are using the disk. Try to eject the drive again.
When you cannot quit an app, close the documents on the disk. Try the eject command again. If that fails, open the Apple menu, choose Log Out, log in again, and eject the disk again.
If logging out does not work, open the Apple menu, choose Shut Down, disconnect the disk after the Mac shuts down, then start up again.
Remove a drive from a Chromebook
Open Files. Find the external storage device in the left sidebar. Select Eject next to the device.
Unplug the external hard drive. The same Chromebook route covers USB hard drives, thumb drives, SD cards, USB CD-ROM drives, and read-only DVD-ROM devices.
Choose a Linux desktop or terminal eject
Use the desktop path on Ubuntu or GNOME Files when you want the normal graphical eject button. Use the terminal path on Linux systems with UDisks2 and udisksctl when you need a command-line release.
From Activities, open Files. Locate the device in the sidebar. Click the eject icon next to the device name. You can also right-click the device name in the sidebar and select Eject.
For the command line, identify the correct block device. When a filesystem is mounted, run udisksctl unmount --block-device /dev/sdXN. Run udisksctl power-off --block-device /dev/sdX, pointing it at the whole-disk device rather than a partition, because the command arranges for the drive itself to be safely removed and powered off.
Clear a busy Ubuntu volume
Ubuntu documents that you cannot safely remove the device while any of its files are open and in use by an application. Choose Cancel when Ubuntu says Volume is busy. Close all files on the device.
Click the eject icon again, or right-click the device name and select Eject. Use Eject Anyway only as a last resort, because Ubuntu warns it may cause errors in applications with open files.
Unmount storage on phones and tablets
On Samsung Galaxy phones and tablets using USB OTG storage, wait until the transfer is complete. Swipe down to the notification panel, tap the arrow-down control, then tap UNMOUNT.
Samsung also supports Settings > Device Care > Storage > Advanced, then tapping the eject icon beside USB drive. Samsung describes these routes for Australian variant Galaxy devices.
In the Samsung My Files app, select USB Storage 1, tap 3 dots, then choose Unmount. Once the drive is unmounted, remove the USB device.
On iPhone or iPad, finish using the drive in a supported app such as Files, then remove the drive or card reader from the charging port. Apple does not document a separate Eject button for external drives on this iPhone and iPad surface.
Set Windows Quick removal for frequent unplugging
This fixes repeated Windows eject friction by using Quick removal, which lets you unplug after drive activity stops. Connect the external drive. Right-click Start and open File Explorer.
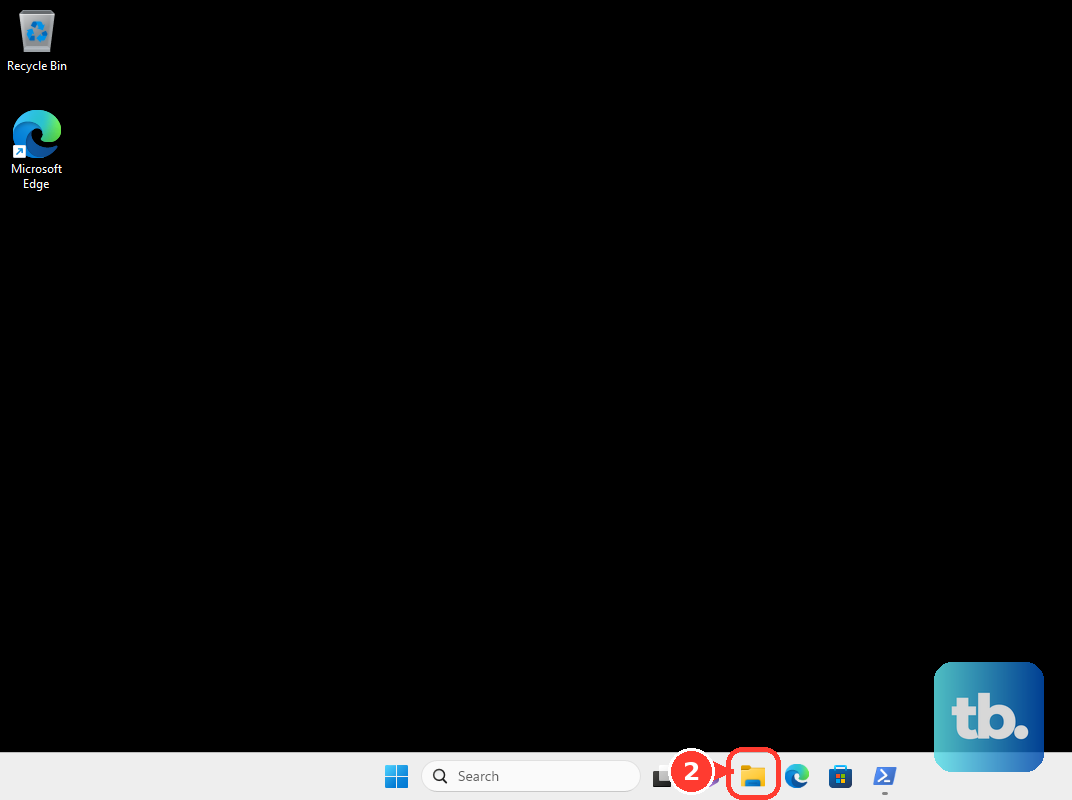
Identify the drive letter or label for the external drive. Right-click Start and open Disk Management. In the lower section, right-click the device label and open Properties. Open Policies.
If the Policies tab is not shown, select Hardware, select the removable drive in the All disk drives list, select Properties, then open Policies. Select Quick removal. Use the same port when you rely on Quick removal, because Windows stores the setting per device and per port. Unplug only after drive activity and file transfers stop.
Frequently Asked Questions
Can I unplug an external hard drive without ejecting it?
On Windows with Quick removal enabled, Microsoft says the device can be removed without Safely Remove Hardware after activity stops. Do not unplug during active file transfers.
Why does my Mac or Ubuntu computer say the drive is busy?
A file, document, or app is still using the drive. Quit the app or close files on the drive, then eject again.
Is there an Eject button for external drives on iPhone or iPad?
Apple documents finishing use in Files or another supported app, then physically removing the drive or card reader from the charging port. Apple does not publish a separate Eject button for that surface.
What if my drive is part of Windows Storage Spaces?
Use Storage Spaces rather than an ordinary eject. Choose Prepare for removal, wait for Ready to remove, then remove the drive from the pool before disconnecting it.