


To delete files or folders in Windows, select them in File Explorer and press Delete to send eligible local items to the Recycle Bin. This works on Windows 11 and Windows 10. Deleting from a synchronized OneDrive folder also removes the cloud copy and sends the change to your other connected devices.
The short version
- Everyday deletion: Delete sends eligible local files and folders selected in File Explorer to the Recycle Bin.
- Multiple items: Hold Ctrl while clicking individual items, or press Ctrl + A to select everything in the current folder.
- Permanent deletion: Shift + Delete removes selected items without placing them in the Recycle Bin.
- OneDrive storage: Free up space removes downloaded local copies while keeping the cloud originals.
| Method | Use it for | Result |
|---|---|---|
| Delete | Selected files and folders | Eligible local items go to the Recycle Bin |
| Ctrl + D | An alternative deletion shortcut | The same recycling action as Delete |
| Right-click or touch menu | Mouse or touch deletion in Windows 11 | Delete removes the selected items |
| Command-bar Delete | Selected items in Windows 11 | The trash-can button deletes your selection |
| Keyboard context menu | Opening deletion controls without a mouse | Shift + F10 opens the item's menu |
| Shift + Delete | Deleting without recycling | Selected items bypass the Recycle Bin |
| Open Recycle Bin window | Reviewing contents before emptying | Empty Recycle Bin permanently removes all contents |
| Desktop Recycle Bin menu | Emptying from the desktop | The same permanent removal of all contents |
| Delete in your OneDrive folder | Removing synchronized files | Deletion affects the PC, OneDrive, and other connected devices |
| OneDrive Free up space | Removing downloaded copies | Cloud originals remain available |
| Cleanup recommendations | Reviewing cleanup choices in Windows 11 | Selected entries are removed |
| Disk Cleanup | Removing categories of files | Files in selected categories are deleted |
| Storage Sense | Automatic cleanup | Content is deleted using your cleanup and retention settings |
Delete a file or folder in File Explorer
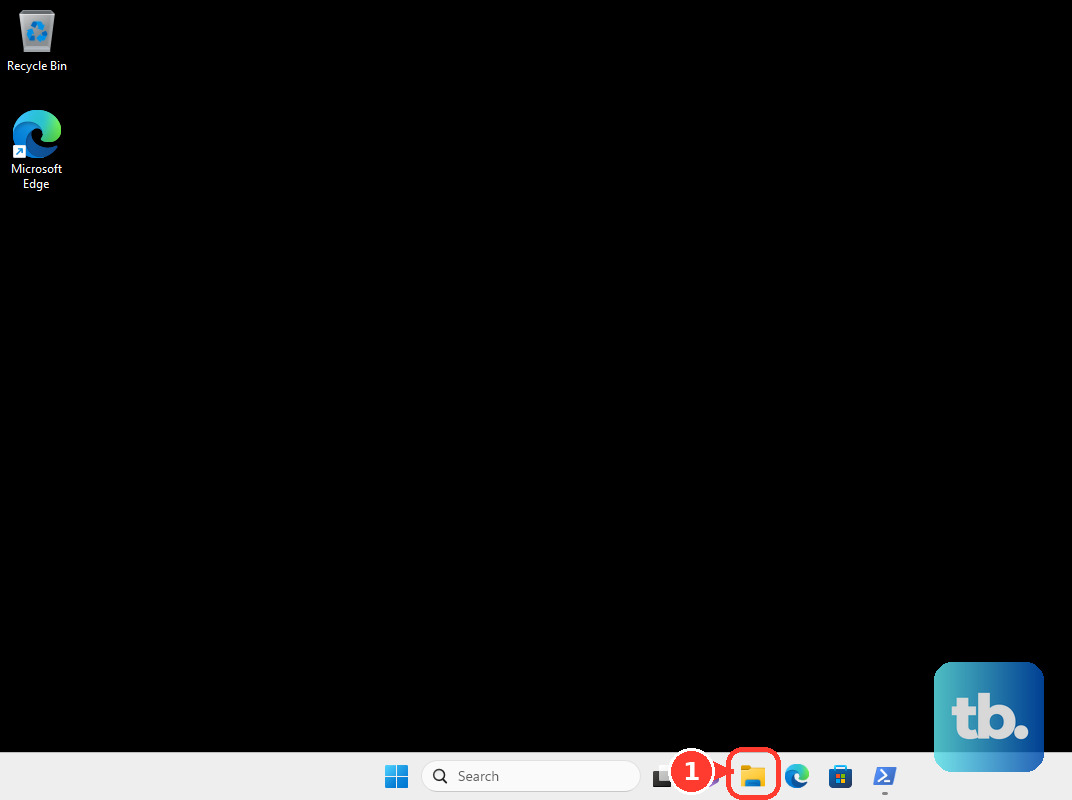
Press Windows + E to open File Explorer, then open the folder containing the item you want to remove. Click the file or folder to select it, and check that you have the right item.
Deletion removes the selected item from its location and sends eligible local items to the Recycle Bin. Press Delete, or press Ctrl + D for the same recycling action. Both shortcuts work on Windows 11 and Windows 10.
Select several files before deleting
To select separate items, hold Ctrl while clicking each file or folder you want to remove. For a range, click the first item, then hold Shift and click the last item. To select everything in the current folder, press Ctrl + A.
Check the selection, especially after selecting an entire folder's contents. Deletion removes every selected item, with eligible local items going to the Recycle Bin. Press Delete when the selection contains only what you want removed.
Use the mouse or touchscreen
On Windows 11, right-click the unwanted file or folder, or press and hold it on a touchscreen. Delete appears either as a trash-can icon or, after recent Windows 11 updates, as a labeled menu command. Where it appears as an unlabeled icon, hover over it to reveal its name.
The command removes the selected file or folder. Select Delete in the menu. On Windows 10, you can use the File Explorer keyboard shortcuts above.
On Windows 11, you can also select the item in its containing folder and use the top command bar. Its deletion button removes your selection. Click the trash-can Delete button.
Delete permanently or empty the Recycle Bin
Using Shift + Delete removes selected items without putting them in the Recycle Bin. Select the unwanted file or folder, then press Shift + Delete. This shortcut works on Windows 11 and Windows 10.
To review files already sent to the bin, double-click the desktop Recycle Bin. Emptying it permanently removes everything currently inside. Select Empty Recycle Bin.
The desktop menu offers the same action, permanently removing all current Recycle Bin contents. Right-click the desktop Recycle Bin, select Empty Recycle Bin, then select Yes.
Choose what to remove from OneDrive
Decide whether you want to delete a OneDrive file or remove only its downloaded copy from this PC. On Windows 11, deleting from your synchronized OneDrive folder removes the item from the PC and OneDrive, and your other connected devices receive the change. Open File Explorer, open your OneDrive folder, select the unwanted files or folders, and press Delete.
With OneDrive Files On-Demand, removing a downloaded copy leaves the cloud original available. Right-click the OneDrive file or folder in File Explorer and select Free up space.
If you need to enable Files On-Demand, on Windows 11 open OneDrive Settings > Sync and back up > Advanced settings and enable Files On-Demand. Return to your OneDrive folder in File Explorer. The next action removes only the downloaded local copy. Right-click the item and select Free up space.
Review files that Windows recommends cleaning up
On Windows 11, open Start > Settings > System > Storage > Cleanup recommendations. Review Temporary files, Large or unused files, Files synced to the cloud, and Unused apps. Select the individual entries you want removed.
Cleanup removes your selected entries. Select Clean up for each applicable section.
For another cleanup option on Windows 11 or Windows 10, search for Disk Cleanup and open it. Choose a drive and select OK. To include system-file categories, select Clean up system files, choose the drive, and select OK before choosing categories.
Review the categories and check those you want removed, such as Temporary Internet Files. Disk Cleanup deletes the files in the categories you select. Select OK, then select Delete files.
Set up automatic cleanup with Storage Sense
Storage Sense operates on the system drive and uses settings specific to the signed-in user. It automatically deletes content covered by your cleanup and retention settings. On Windows 11, open Start > Settings > System > Storage and turn on Storage Sense.
Open Storage Sense and choose a frequency under Run Storage Sense. Configure the Recycle Bin and Downloads retention dropdowns for the content you want automatically deleted.
Enabling Storage Sense on Windows 10 also allows automatic deletion under your cleanup and retention settings. On Windows 10, open Start > Settings > System > Storage and turn on Storage Sense. Open Storage Sense, choose a frequency under Run Storage Sense, and configure the Recycle Bin and Downloads retention dropdowns.
Frequently Asked Questions
Does clearing download history in Microsoft Edge delete downloaded files?
Clearing Download history in Microsoft Edge does not delete the downloaded files themselves. You need to delete the actual files to remove them from storage.
How do you remove an installed app's files?
Uninstalling removes the app's installed components. On Windows 11, open Start > Settings > Apps > Installed apps, find the application, open More, and select Uninstall. Continue through that application's removal prompts.
What happens if you delete the previous Windows installation?
Removing the previous installation deletes Windows.old and the files needed to return to that installation. When those files are present on Windows 11 or Windows 10, you can find the Previous Windows Installation(s) checkbox under Temporary files.
What should you do with temporary files that are currently in use?
Leave temporary files that are currently in use. When manually cleaning temporary folders, delete unwanted contents rather than the Temp folders themselves.
How do you choose Delete from a menu using only the keyboard?
On Windows 11 and Windows 10, select the item and press Shift + F10 to open its context menu. If your keyboard has a Windows Menu key, you can use that instead. The deletion command removes the selected item. Navigate to Delete and press Enter.