


To change your primary monitor in Windows 11, open Settings > System > Display, select the monitor you want, expand Multiple displays, and check Make this my main display. These steps use Windows 11 menus and apply to a setup with multiple active displays.
The short version
- Main setting: Select your monitor in Display settings, expand Multiple displays, and check Make this my main display.
- Match the screens: Select Identify to match the numbered tiles to your physical monitors.
- Keep both screens usable: Press Windows + P and select Extend for a desktop spanning both displays.
- Automatic change: Windows applies the main display checkbox change automatically.
| Option | What you can do | Requirement |
|---|---|---|
| Windows Settings | Choose your main monitor | Multiple active displays |
| Run dialog | Open Display settings with a command | Windows 11 |
| NVIDIA Control Panel | Select Make Primary | Compatible graphics and available display controls |
| NVIDIA app | Select Make primary | Compatible hardware, drivers, and multiple-display controls |
| NVIDIA app download | Get the app for its display controls | A PC meeting the app’s requirements |
| AMD Radeon configuration | Choose your main monitor in Windows Settings | A Windows 11 PC with AMD Radeon graphics |
| Windows + P | Use only the external screen | A connected external display |
| Voice access | Operate Display settings by voice | Configured Voice access and a supported language |
| MultiMonitorTool interface | Select the desired monitor, then press Ctrl + F9 inside the utility | An extended desktop and the current release |
| MultiMonitorTool commands and configurations | Target a display, cycle displays, or restore an arrangement | Matching monitor identifiers on an extended desktop |
| MultiMonitorTool download | Get the portable utility | The appropriate package for your system |
| DisplayFusion configuration | Select Set as Primary | Current DisplayFusion on Windows 11 |
| DisplayFusion profiles and shortcuts | Save and restore a monitor setup | DisplayFusion Pro Monitor Profiles |
| DisplayFusion title bar button | Load a profile from a window button | Pro profile and title bar button features |
| DisplayFusion command or startup shortcut | Restore a profile on demand or at sign-in | DisplayFusion Pro and a saved profile |
| DisplayFusion download | Get the application and review licensing | A system meeting its current requirements |
| Windows display API | Build custom primary-display automation | A correctly implemented desktop utility or wrapper |
Choose your main monitor in Settings
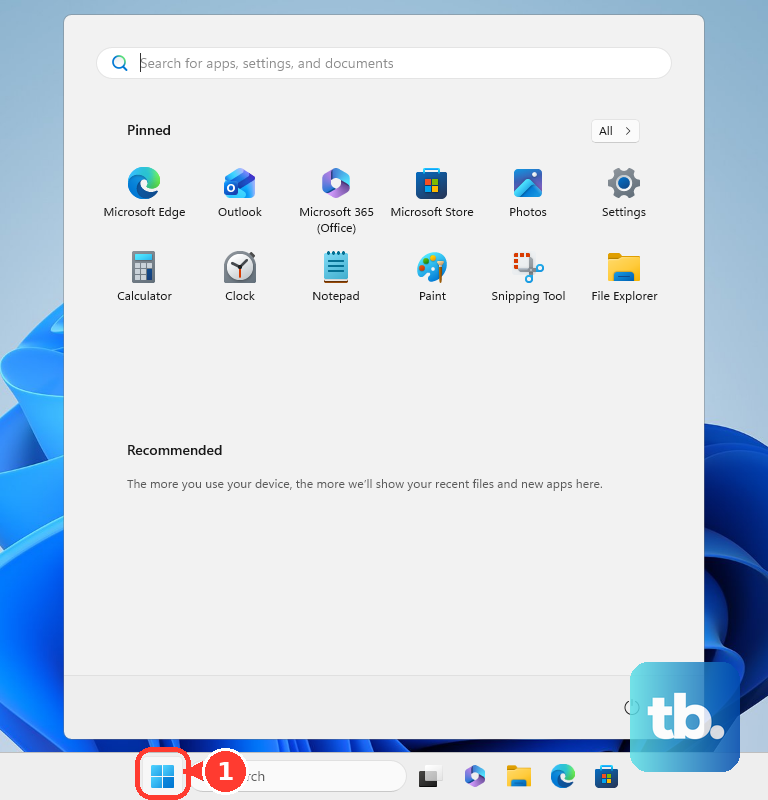
Open Start, select Settings, then choose System > Display.
Select Identify to match each numbered tile to its physical screen. Select the tile for the monitor you want to make primary, then expand Multiple displays. Check Make this my main display, and Windows applies the change automatically.
Use an extended desktop when you want both screens to remain independently usable. Press Windows + P and select Extend, then return to Display settings to choose your main monitor.
Open Display settings with a command
You can also reach the same page through the Run dialog. Press Windows + R, enter the following command, then press Enter:
ms-settings:displaySelect the desired display, expand Multiple displays, and check Make this my main display. The command opens the settings page; selecting the monitor and checking the box changes your primary display.
Use only your external screen
If you want your laptop’s external monitor to be the only active display, press Windows + P and select Second screen only. This changes which displays are active, rather than selecting a primary monitor within an extended desktop.
To return to a desktop spanning both screens, press Windows + P and select Extend. To use only the PC screen, press Windows + P and select PC screen only.
Change the primary display with NVIDIA controls
On a compatible NVIDIA-equipped PC, open NVIDIA Control Panel. Under Display, select Set up multiple displays, then use the display icon’s Identify command if you need to match it to a physical monitor. Right-click the desired display icon and select Make Primary, then select Apply.
If NVIDIA Control Panel does not show these display controls on your PC, open Settings > System > Display, select the desired monitor, expand Multiple displays, and check Make this my main display.
If you prefer the NVIDIA app and need to obtain it, visit the official NVIDIA app page and review its system requirements. On a compatible setup with its multiple-display controls available, open NVIDIA app > System > Displays. In Display Settings, point to the desired display, open its three-dot menu, and select Make primary. If your setup does not show those controls, use Windows Settings instead.
Select your main display with Voice access
With Voice access configured, enabled, and using a supported recognition language, you can operate the existing display controls by voice. Open Settings > System > Display, then say show numbers. Speak the displayed number for the monitor tile you want to select.
Next, speak the number for Multiple displays if it is collapsed, then check Make this my main display by speaking the checkbox’s displayed number. If a control lacks a number, say show grid, use the displayed grid numbers to move the pointer over it, then say click. This lets you make the same selections through Voice access.
Switch monitors with MultiMonitorTool
For repeated switching on an extended desktop, download the current release from the official MultiMonitorTool page, choosing the appropriate package for your system. The utility is portable and does not require installation.
Run MultiMonitorTool.exe and select the desired monitor in the upper pane. Choose Set As Primary Monitor, or press Ctrl + F9. That keyboard shortcut operates inside MultiMonitorTool.
To target a monitor with a command, first identify it in the utility. Run the following command, replacing 2 with your target monitor’s identifier:
MultiMonitorTool.exe /SetPrimary 2You can also cycle through available displays with a separate command. Run the following command directly, or invoke it from a shortcut or automation:
MultiMonitorTool.exe /SetNextPrimaryTo save a working arrangement, choose Save Monitors Configuration, then choose Load Monitors Configuration when you want to restore it. Use the current release, which includes Windows 11 24H2 workarounds added in version 2.15. NirSoft says that if all actions fail on Windows 11 24H2, changing a Windows display setting or reconnecting a monitor can restore operation.
Save a preferred setup with DisplayFusion
DisplayFusion provides a monitor configuration window, with saved monitor profiles available through DisplayFusion Pro. If you choose this method, get the application from the official DisplayFusion download page and review its requirements and licensing.
Right-click the DisplayFusion tray icon and select Monitor Configuration. Select your desired monitor, select Set as Primary, then select Apply. You can also reach that window through DisplayFusion’s Settings > Options > Monitor Configuration.
With DisplayFusion Pro, configure your preferred primary monitor, then open Monitor Configuration > Save Profile > New Profile. Enter a name and select OK. Loading that profile restores its monitor configuration.
To assign a keyboard shortcut, open Manage Monitor Profiles, select the saved profile, then select Key Combination > Set Key Combination. Assign the keys you want to use for loading it. If your version labels the shortcut control HotKey, use that control to assign the keys.
Restore DisplayFusion profiles with buttons or commands
With DisplayFusion Pro’s profile and title bar button features, you can load a saved monitor setup from a window’s title bar. Open DisplayFusion’s Settings > Functions and check Enable TitleBar Buttons. Select your saved profile under Monitor Configuration in the Functions list, then select Add TitleBar Button. Choose its image, select OK, then select Apply; the resulting button loads the profile.
For command-based switching, first save a DisplayFusion Pro profile containing your desired primary display. From the DisplayFusion installation directory, run the following command, replacing profile name with the saved name:
displayfusioncommand.exe -monitorloadprofile "profile name"To restore that configuration at sign-in, place a shortcut to this command in the startup folder. The command loads the saved monitor configuration, including its primary display.
Build custom switching with the Windows display API
If you are developing a Windows desktop utility, you can enumerate displays and their supported settings, then call ChangeDisplaySettingsEx with CDS_SET_PRIMARY for the chosen device. Use valid DEVMODE data and preserve the complete display arrangement. This route requires a correctly implemented utility or script wrapper; the API is a programming interface rather than a built-in PowerShell command.
Microsoft defines CDS_UPDATEREGISTRY for persisting the settings. The additional CDS_GLOBAL flag targets the global settings area.
Frequently Asked Questions
Which method should you use with AMD Radeon graphics?
AMD directs main-display selection to Windows Settings, including when AMD Software: Adrenalin Edition is installed. Open Settings > System > Display, select your monitor, expand Multiple displays, and check Make this my main display.
Should you install the old Intel Graphics Control Panel for this?
Use Windows Display settings for this Windows 11 task. Intel discontinued the old panel’s Microsoft Store distribution on March 16, 2021. Intel says the remaining Redeem Code option is inactive and that it supplies no download codes.
Do you need Windows 11 Pro to change your main monitor?
Microsoft’s multiple-monitor guidance applies to Windows 11 without listing an edition requirement, and the Windows Settings method uses the built-in Display settings page. The method requires multiple active displays.
Does DisplayFusion support Windows 11 on ARM64?
DisplayFusion lists Windows 11 support and ARM64 compatibility on its download page. It also lists x86 and x64 compatibility, so review the current requirements for your system before downloading.