

To change your power plan in Windows 11, open Control Panel > Hardware and Sound > Power Options, then select the radio button beside the plan you want. These steps use Windows 11 menus. Your available plans depend on your computer.
Windows also has a separate Power mode setting for choosing a balance between efficiency and performance. Use the classic plan selector to switch plans, or use Settings to change power mode.
The short version
- Switch plans: Open Power Options in Control Panel and select an available plan.
- Search shortcut: Search for Choose a power plan and select Open.
- Change power mode: Open Settings > System > Power & battery and choose a Power mode.
- Unavailable power mode: When a custom plan prevents you from changing power mode, select Balanced in Control Panel.
| Method or option | What you can do | Where it applies |
|---|---|---|
| Control Panel | Select a classic power plan | Windows 11, subject to hardware and restrictions |
| Windows Search | Open the classic plan selector | Windows 11 |
| Power mode in Settings | Adjust efficiency and performance | Windows 11, with controls varying by hardware and updates |
| Start context menu | Open power mode settings | Windows 11 |
| Taskbar battery icon | Access power mode settings | Battery-equipped ThinkPad L13 Gen 4 PCs |
| Change advanced power settings | Customize an existing plan | Available Windows 11 plan settings |
| Run | Open advanced plan settings directly | Windows 11 |
| Create a power plan | Build a separately named plan | PCs where plan creation is available |
powercfg /setactive GUID | Switch and confirm an existing plan | Supported plans and permitted changes |
| Plan duplication or import | Copy or load a plan, then activate it | Administrative use with compatible hardware |
| Individual command line settings | Change plugged-in or battery values | Advanced users and administrators |
| Custom plan removal | Delete an unwanted plan after switching away | Optional Windows 11 housekeeping |
| ARMOURY CRATE | Select a manufacturer operating mode | Supported ASUS ROG and TUF PCs with version 6.0 or later |
| fn + Q | Switch the active power mode | Lenovo Legion 5i, 16-inch generation 10 |
| Fn + T | Toggle Intelligent Cooling automatic operation | Applicable ThinkPad L13 Gen 4 Intel models with discrete graphics |
| Voice access | Operate existing power controls by voice | Windows 11 with Voice access configured |
| Group Policy | Enforce a default or custom plan | Administrators on supported Windows 11 editions |
| Device management | Deploy a power plan policy | Managed devices on supported Windows 11 editions |
Select a power plan in Control Panel
Open Control Panel, select Hardware and Sound, then choose Power Options. Select the radio button beside the available plan you want to use.
For a shorter route, search for Choose a power plan in Windows Search and select Open. Choose your desired available plan in the window that opens.
Your hardware and organizational restrictions affect your choices, so High performance and Power saver may not appear. Select an available plan, or use the separate Power mode control to adjust efficiency and performance.
Change power mode in Settings
Select Start > Settings > System > Power & battery. Under Power mode, choose Best power efficiency, Balanced or Best performance for Plugged in or On Battery. Available controls depend on your hardware and Windows updates.
You can also right-click Start and select Power Options. Choose the desired Power mode on the Settings page that opens. This route changes power mode rather than selecting a classic plan.
If a custom plan makes Power mode unavailable, open Control Panel > System and Security > Power Options and select Balanced. Return to Settings > System > Power & battery to choose your mode.
Customize settings within a plan
Search for Choose a power plan and select Open. Beside the desired plan, select Change plan settings, then select Change advanced power settings. Adjust the available settings and select Apply, followed by OK.
Your hardware and Modern Standby determine which advanced settings appear. Use the options shown on your computer.
To open advanced settings directly, press Windows + R to open Run. Enter the following command, then select OK.
control.exe powercfg.cpl,,3Select the plan to edit from the drop-down list, adjust its available settings, and select OK. Selecting a plan for editing does not confirm which plan is active. To switch plans, return to the main Power Options window and select the plan there.
Create a custom power plan
When plan creation is available, open Control Panel > Hardware and Sound > Power Options and select Create a power plan. Choose an existing plan as the basis, name the new plan, and complete the customization wizard. On a Modern Standby system, use Balanced as the basis.
Select the resulting plan in Power Options. To adjust it further, select Change plan settings, then Change advanced power settings. If plan creation is unavailable on your computer, select an existing available plan instead.
Switch and confirm a plan with commands
Open Command Prompt or PowerShell to switch between existing supported plans. Start by listing your plans with this command.
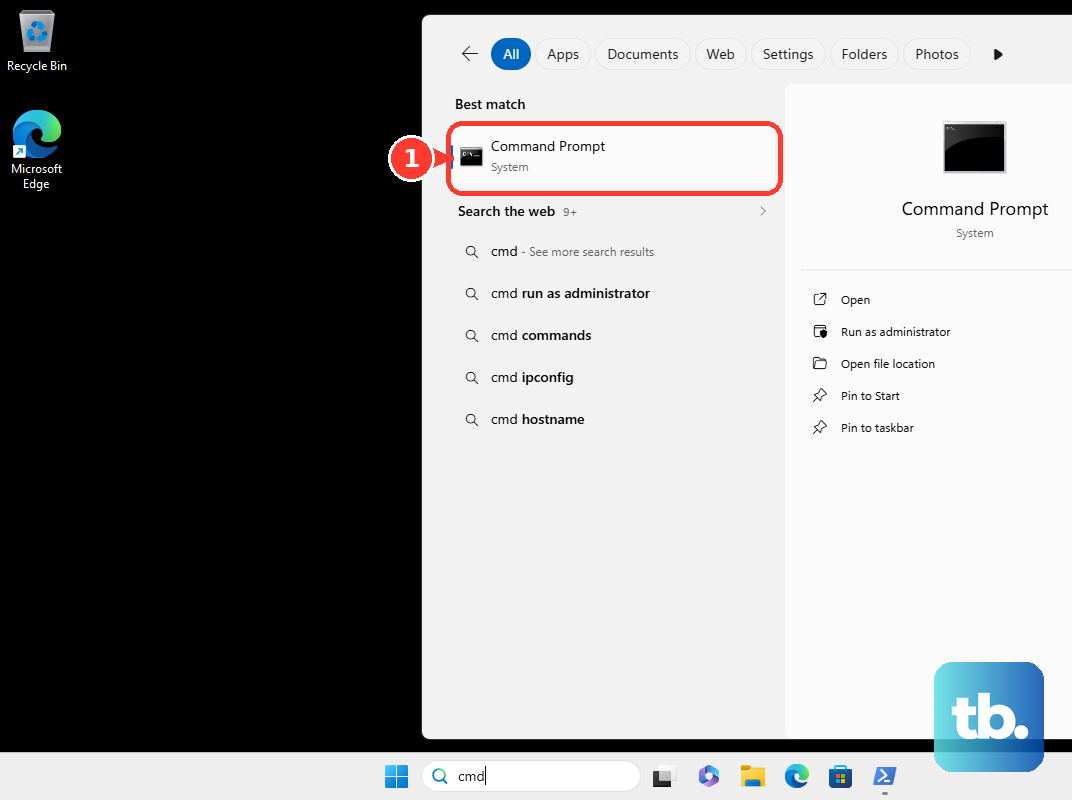
powercfg /listCopy the GUID for the plan you want to activate. Run the following command, replacing GUID with that identifier.
powercfg /setactive GUIDNext, check which plan is active with the command below. Confirm that its result identifies the plan you intended to select.
powercfg /getactiveschemePermissions or organizational policy can restrict changes. If you cannot activate the desired plan, return to Control Panel > Hardware and Sound > Power Options and select an available plan if permitted. A managed policy can prevent changes there too.
Duplicate import or remove a custom plan
For an administrative workflow, you can duplicate an existing plan or import a saved plan, subject to hardware compatibility and permissions. To duplicate a plan, use its identifier from powercfg /list in this command.
powercfg /duplicatescheme GUIDTo import a saved plan instead, use the following command. Replace the example file path with the path to your saved plan.
powercfg /import "C:\path\plan.pow"After either operation, run powercfg /list to find the new plan's identifier. Activate it with powercfg /setactive GUID, replacing GUID with that identifier.
Removing an unwanted custom plan is optional. Run powercfg /list, then activate the plan you want to retain with powercfg /setactive GUID. The next command deletes the unwanted plan, so replace GUID with that plan's identifier.
powercfg /delete GUIDEdit individual settings with commands
For advanced changes, open an elevated Command Prompt. List your plans with the following command.
powercfg -LISTFind the identifier of the plan you want to edit. Replace GUID with that identifier and activate it.
powercfg -SETACTIVE GUIDInspect the active plan's settings before changing a value. Run this command to see its settings and identifiers.
powercfg -QUERYFor a plugged-in setting, use the following command with the relevant plan, subgroup and setting identifiers and a supported value. Hardware determines which options you can change.
powercfg /setacvalueindex GUID SUB_GUID SETTING_GUID VALUEFor a battery setting, replace /setacvalueindex with /setdcvalueindex in that command. After changing a value, reapply the plan using its identifier.
powercfg -SETACTIVE GUIDChoose an ASUS operating mode
On supported ASUS ROG and TUF PCs with Armoury Crate 6.0 or later, open ARMOURY CRATE. On Home, use Operating Mode to select an available Windows®, Silent, Performance or Turbo mode. The Windows® mode uses your chosen Windows power plan, while Turbo availability depends on your model and external power.
At the power-mode synchronization prompt, select Yes. To change synchronization later, open Devices > System Configuration > Power mode synchronization.
Enforce a plan on managed computers
With administrator access, you can enforce a plan through Group Policy on Windows 11 Pro, Enterprise, Education and applicable IoT Enterprise editions. In Local Group Policy Editor, open Computer Configuration > Administrative Templates > System > Power Management. Open Select an active power plan, select Enabled, and choose the plan from Active Power Plan. Apply the policy.
To enforce an existing custom plan instead, open Specify a custom active power plan and select Enabled. Supply the existing plan's GUID, then apply the policy.
For device management on managed Windows 11 Pro, Enterprise, Education and applicable IoT Enterprise devices, configure the policy using Microsoft's documented SyncML format. Use ./Device/Vendor/MSFT/Policy/Config/ADMX_Power/InboxActiveSchemeOverride_2 for a default plan, or ./Device/Vendor/MSFT/Policy/Config/ADMX_Power/CustomActiveSchemeOverride_2 for a plan GUID.
Frequently Asked Questions
Can you open power settings from the battery icon?
On a battery-equipped Lenovo ThinkPad L13 Gen 4, right-click the battery icon on the taskbar to access power settings. Locate Power and choose the desired power mode. This changes power mode rather than necessarily changing the classic plan.
Can you change a power plan using your voice?
Yes, with Voice access configured and running, open Power Options or power settings and say Show numbers. Use Click <number>, replacing the placeholder with the displayed number for the desired control. Repeat for the plan radio button or power-mode selector and the desired option.
Does Lenovo have a keyboard shortcut for changing power mode?
On the Lenovo Legion 5i, 16-inch generation 10, press fn + Q to switch the active power mode. This shortcut applies to that model and is distinct from selecting a classic Windows power plan.
How do you toggle Lenovo Intelligent Cooling automatic operation?
On applicable ThinkPad L13 Gen 4 Intel models with discrete graphics, press Fn + T to enable or disable automatic operation. Lenovo recommends selecting Balanced in Windows power settings when you use automatic operation.
Can you reuse power plan commands in a shortcut or script?
Yes, you can reuse the plan-switching commands in scripts or shortcuts. Use powercfg /setactive GUID, replacing GUID with the identifier of an existing supported plan.