
When your ThinkPad X1 Carbon goes silent, it's usually a quick software or setting issue, not a hardware failure. The first few checks here solve the problem for most people.
If you are not sure whether it is the speakers or the software, run an online online speaker test first. Working test tones rule out a hardware fault in seconds.
Check the Volume and Output
Click the speaker icon in your system tray and make sure the slider isn't at zero or muted. More importantly, click the small arrow next to the slider to see the output device list. If you recently unplugged headphones, Windows might still be sending audio to that disconnected device. Select your laptop's internal speakers from the list.
Run the Windows Audio Troubleshooter
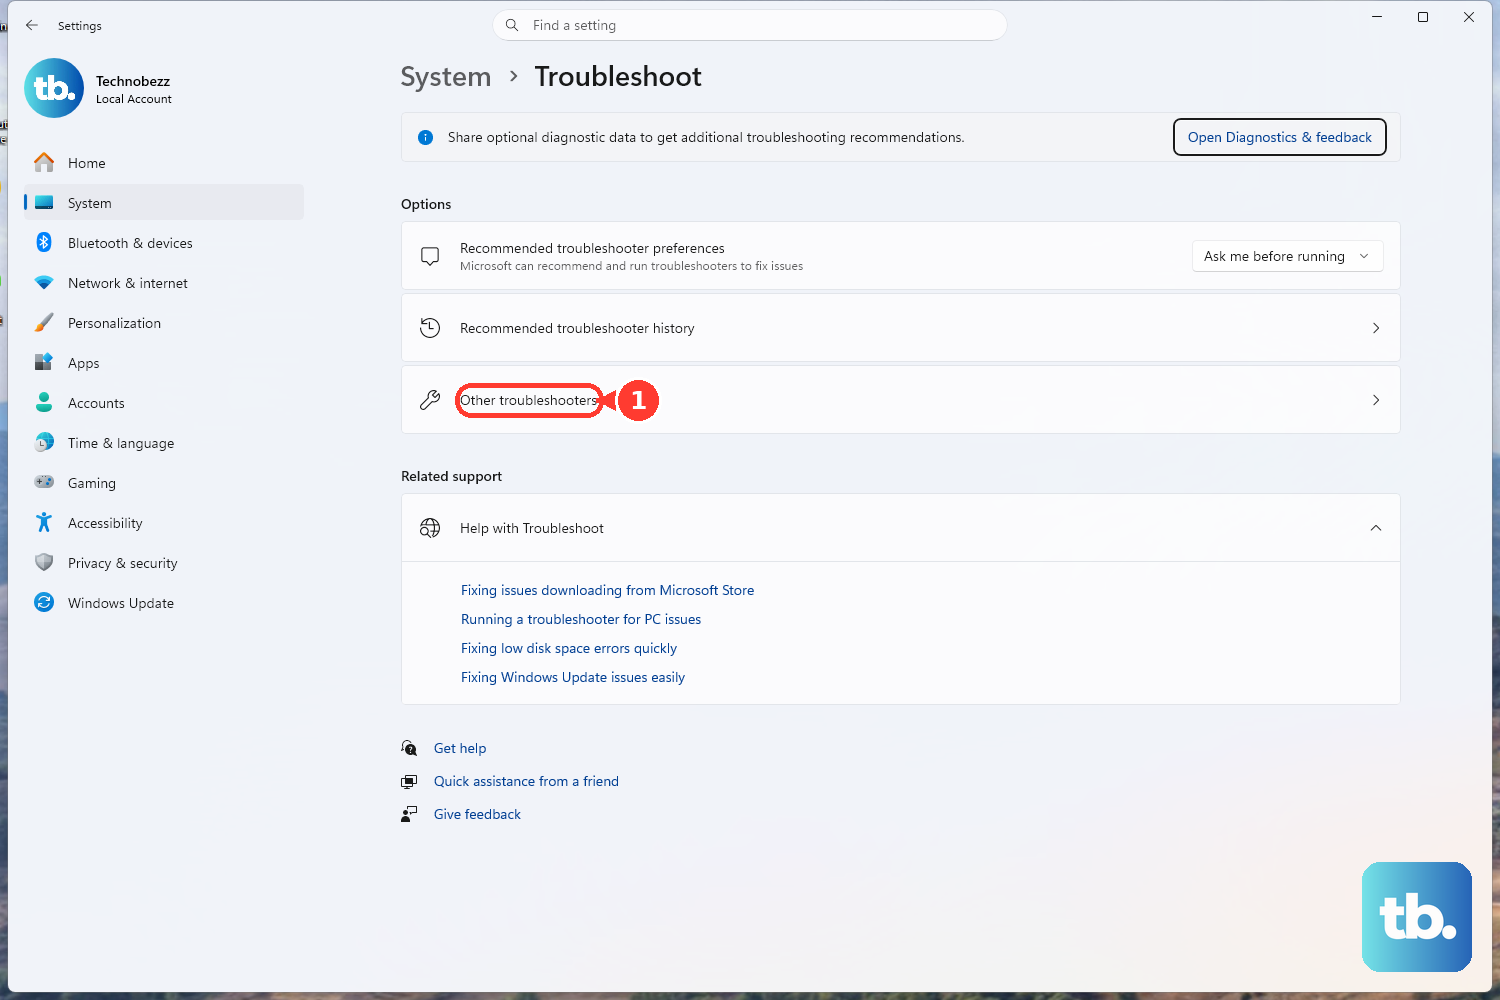
Go to Settings > System > Troubleshoot > Other troubleshooters. Find and run the Playing Audio troubleshooter. This tool automatically checks for common problems like disabled services or incorrect default devices and can often fix them with one click.
Restart Your ThinkPad
This is the classic fix for a reason. A full restart reloads all audio drivers and clears any stuck processes. Click Start > Power > Restart. I've seen this work countless times, especially if the sound cut out after the laptop woke from sleep or hibernation.
Update Drivers with Lenovo Vantage
For ThinkPads, Lenovo Vantage is your best bet for driver management. Open the app and check for updates in the System Updates section. It will find the correct, Lenovo-tested audio drivers for your specific X1 Carbon model, which is safer than using Windows Update alone for critical drivers.
Manually Check Audio Drivers
Press Windows Key + X and select Device Manager. Expand the Sound, video and game controllers section. Right-click on your audio device (often "Realtek Audio" or "Intel(R) Smart Sound Technology") and choose Update driver > Search automatically for drivers. If that doesn't help, try Uninstall device and then restart your laptop to force a clean reinstall.
Verify the Sound Settings
Go to Settings > System > Sound. Under "Output," ensure your ThinkPad's speakers are selected. Click on them and make sure the volume is up. While you're there, scroll down and set Audio enhancements to Off, as these can sometimes cause conflicts and mute the output.
Restart the Windows Audio Service
Press Windows Key + R, type services.msc, and hit Enter. In the list, find Windows Audio. Right-click it and select Restart. Do the same for the Windows Audio Endpoint Builder service. If either service was hung, this will get sound back immediately.
Check App-Specific Volume Mixer
Right-click the speaker icon in the taskbar and select Open Volume mixer. Every application has its own independent volume slider here. Make sure the specific app you're using (like your web browser or media player) isn't muted or turned all the way down.
Test with Lenovo Diagnostics
You can run a hardware test on your audio system. Restart your X1 Carbon and press F10 repeatedly as it boots to enter Lenovo Diagnostics. Navigate to Audio tests. If the diagnostic test fails, it points more definitively to a hardware issue.
Roll Back a Problematic Driver Update
If the sound disappeared right after a driver update, you can revert it. Open Device Manager, double-click your audio device, go to the Driver tab, and click Roll Back Driver. This will revert to the previous driver version that was working.