
Seeing the "SIM Not Provisioned" message on your iPad mini can stop you from getting online right when you need it. This error means your iPad can't connect to your cellular carrier's network, so you're stuck without mobile data or the ability to make calls.
It's a common hiccup that usually has a simple fix. I'd start by checking if the SIM card is activated, as that's the most frequent cause for a new line.
Restart Your iPad mini
A quick restart can clear out any temporary software glitches that might be blocking the network connection. It only takes a minute and is always worth trying first.
To restart your iPad mini (7th generation), press and hold the Top button and either volume button until the power slider appears. Slide it to turn off, wait 30 seconds, then press the Top button again to turn it back on.
Check Your SIM Card Activation Status
If you just got this iPad or a new SIM card, it might not be active on your carrier's network yet. This is the number one reason you'll see this error.
You'll need to contact your mobile provider directly. They can check their system to see if the SIM is properly provisioned and activate it if it isn't. Have your account information and the SIM card number ready when you call.
Toggle Airplane Mode
Switching Airplane mode on and off forces your iPad to completely disconnect from and then reconnect to all wireless networks, including cellular. It's a great way to refresh the connection.
Swipe down from the top-right corner of the screen to open Control Center. Tap the airplane icon to turn it on, wait about 15 seconds, then tap it again to turn it off. You should see the cellular signal bars reappear if it worked.
Reinsert the SIM Card
The SIM card might not be making a good connection inside the tray. Dust or a slight misalignment can cause the "Not Provisioned" error.
First, turn off your iPad. Find the SIM tray on the side, you'll need the small ejector tool that came in the box or a paperclip. Gently push into the tiny hole to pop the tray out, remove the SIM card, and then carefully place it back in. Make sure it's seated flush and the tray is fully inserted before turning your iPad back on.
Update iPadOS
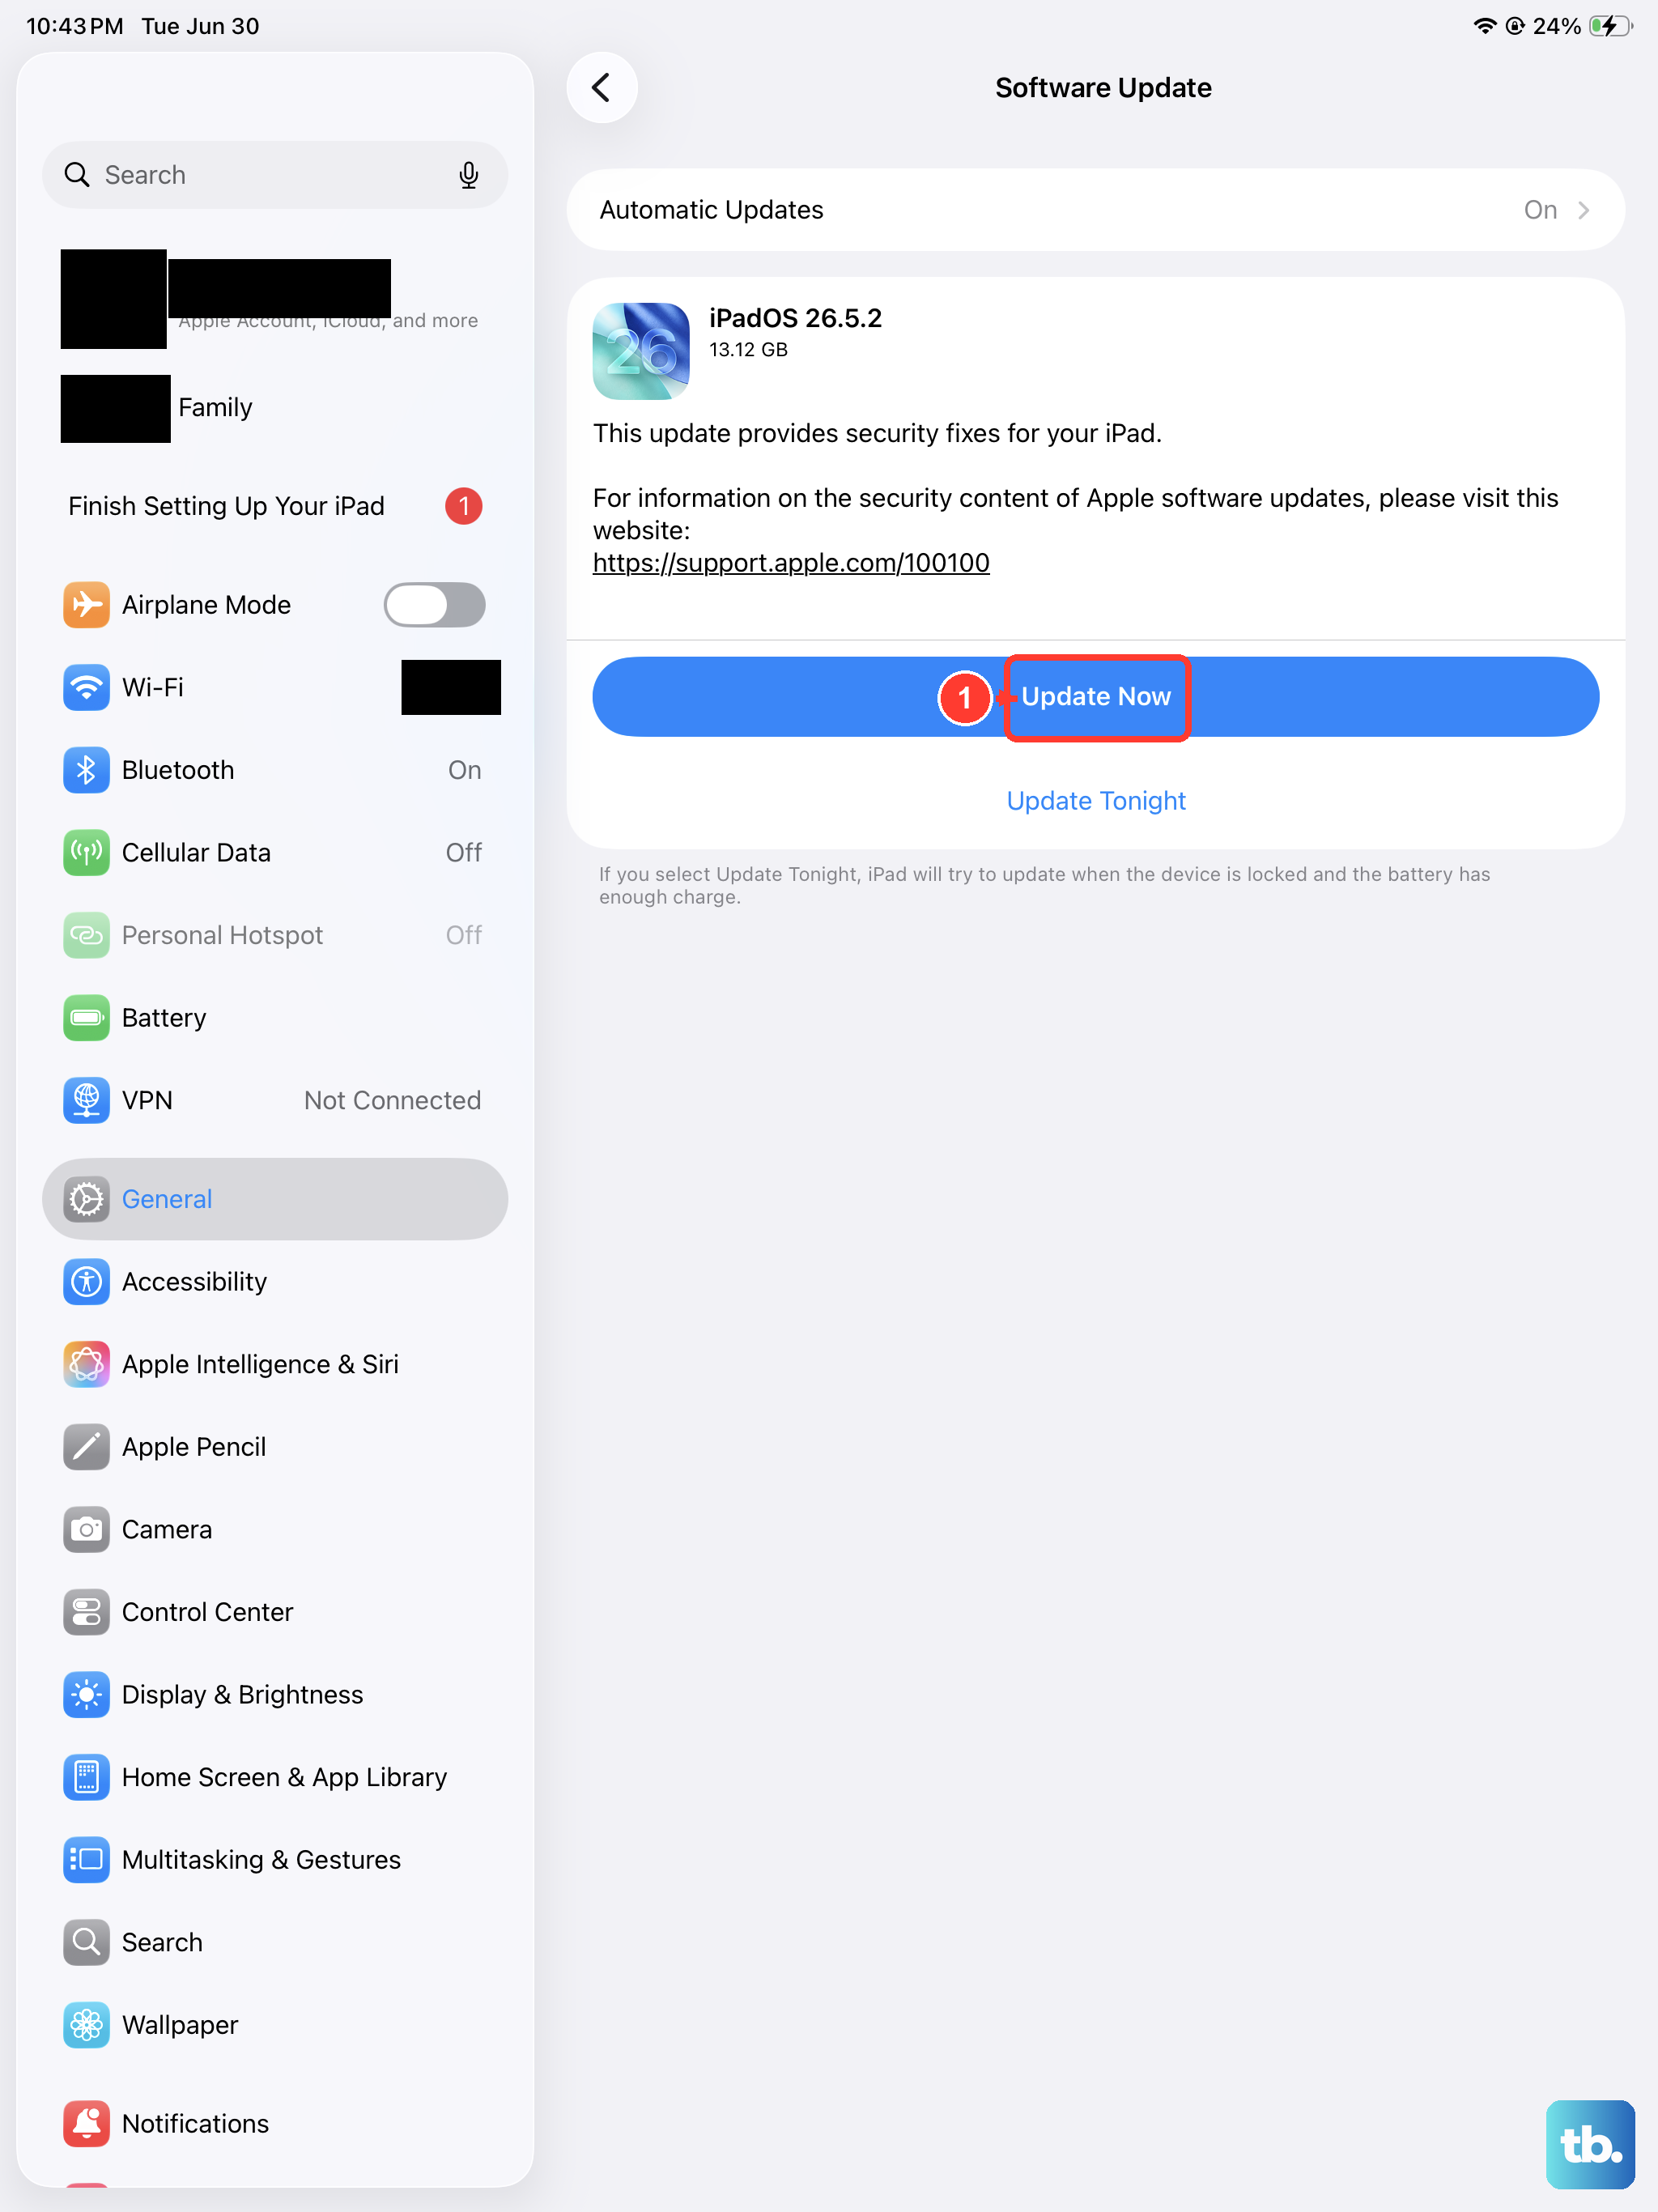
An outdated version of iPadOS can sometimes have bugs that affect cellular connectivity. Apple regularly releases updates that include fixes for network-related issues.
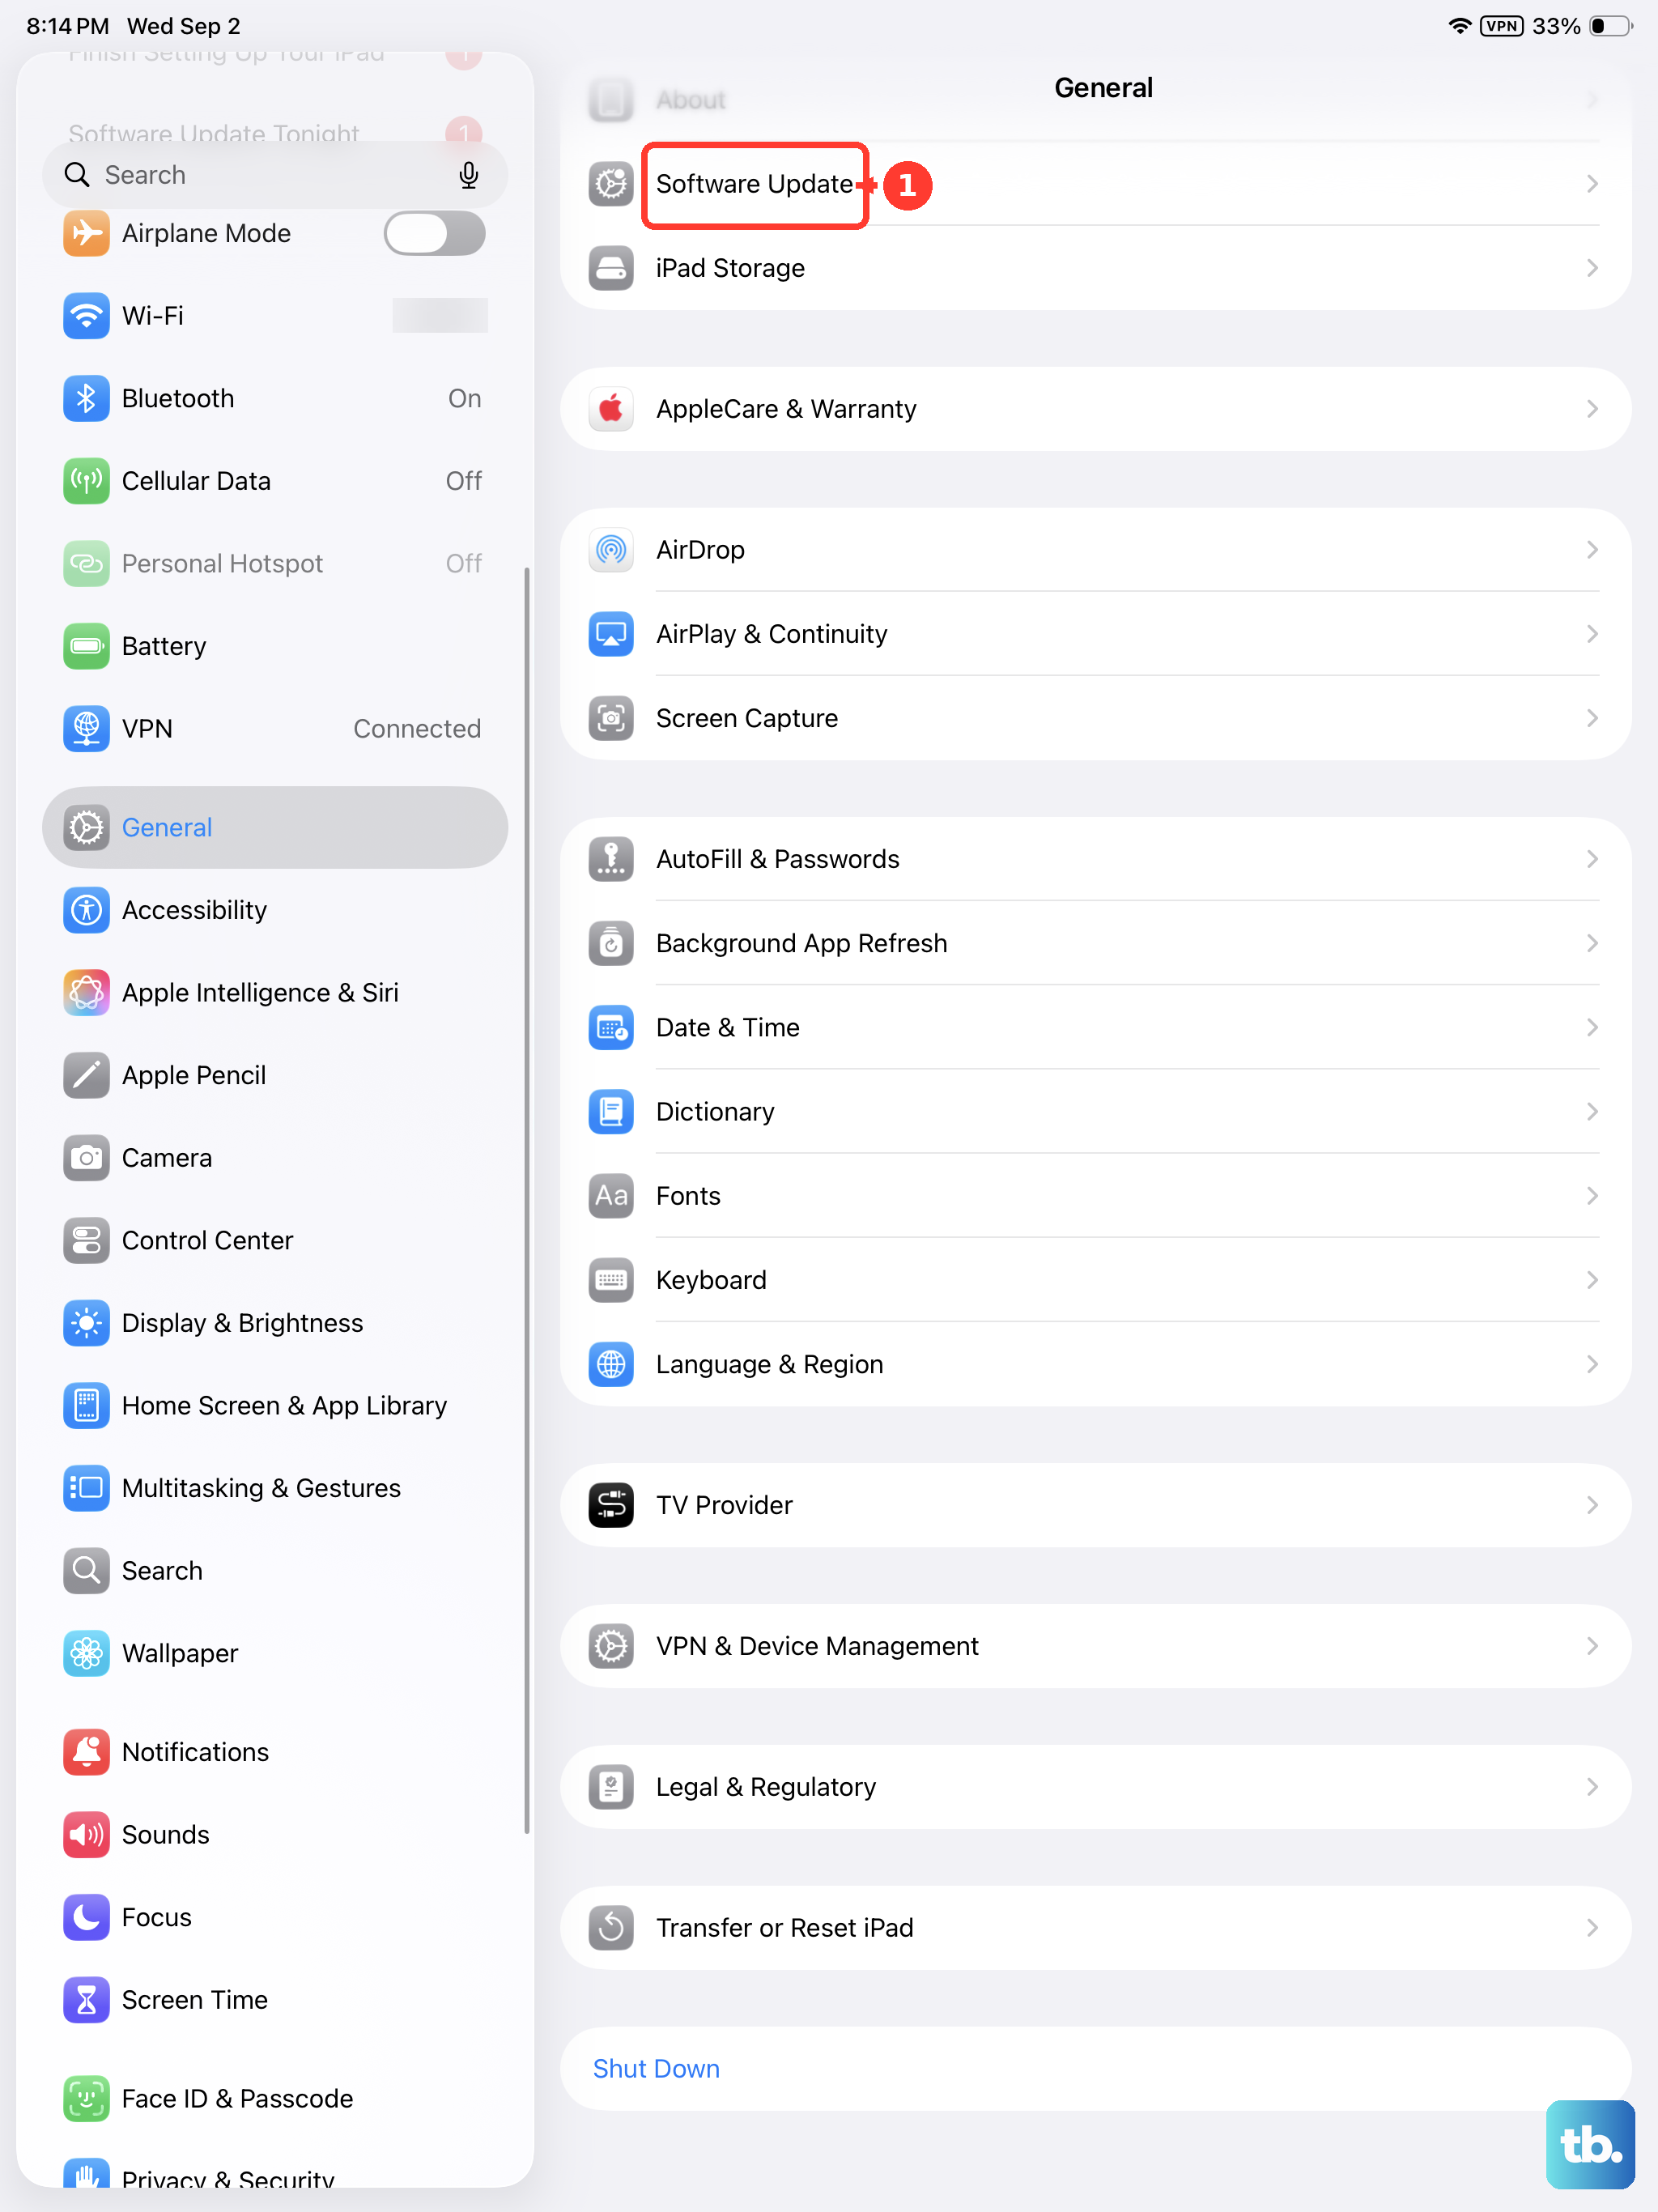
Go to Settings > General > Software Update. If an update is available, tap "Download and Install." Make sure your iPad is connected to Wi-Fi and has sufficient battery life or is plugged into a charger using an official Apple 20W+ USB-C power adapter.
Reset Network Settings
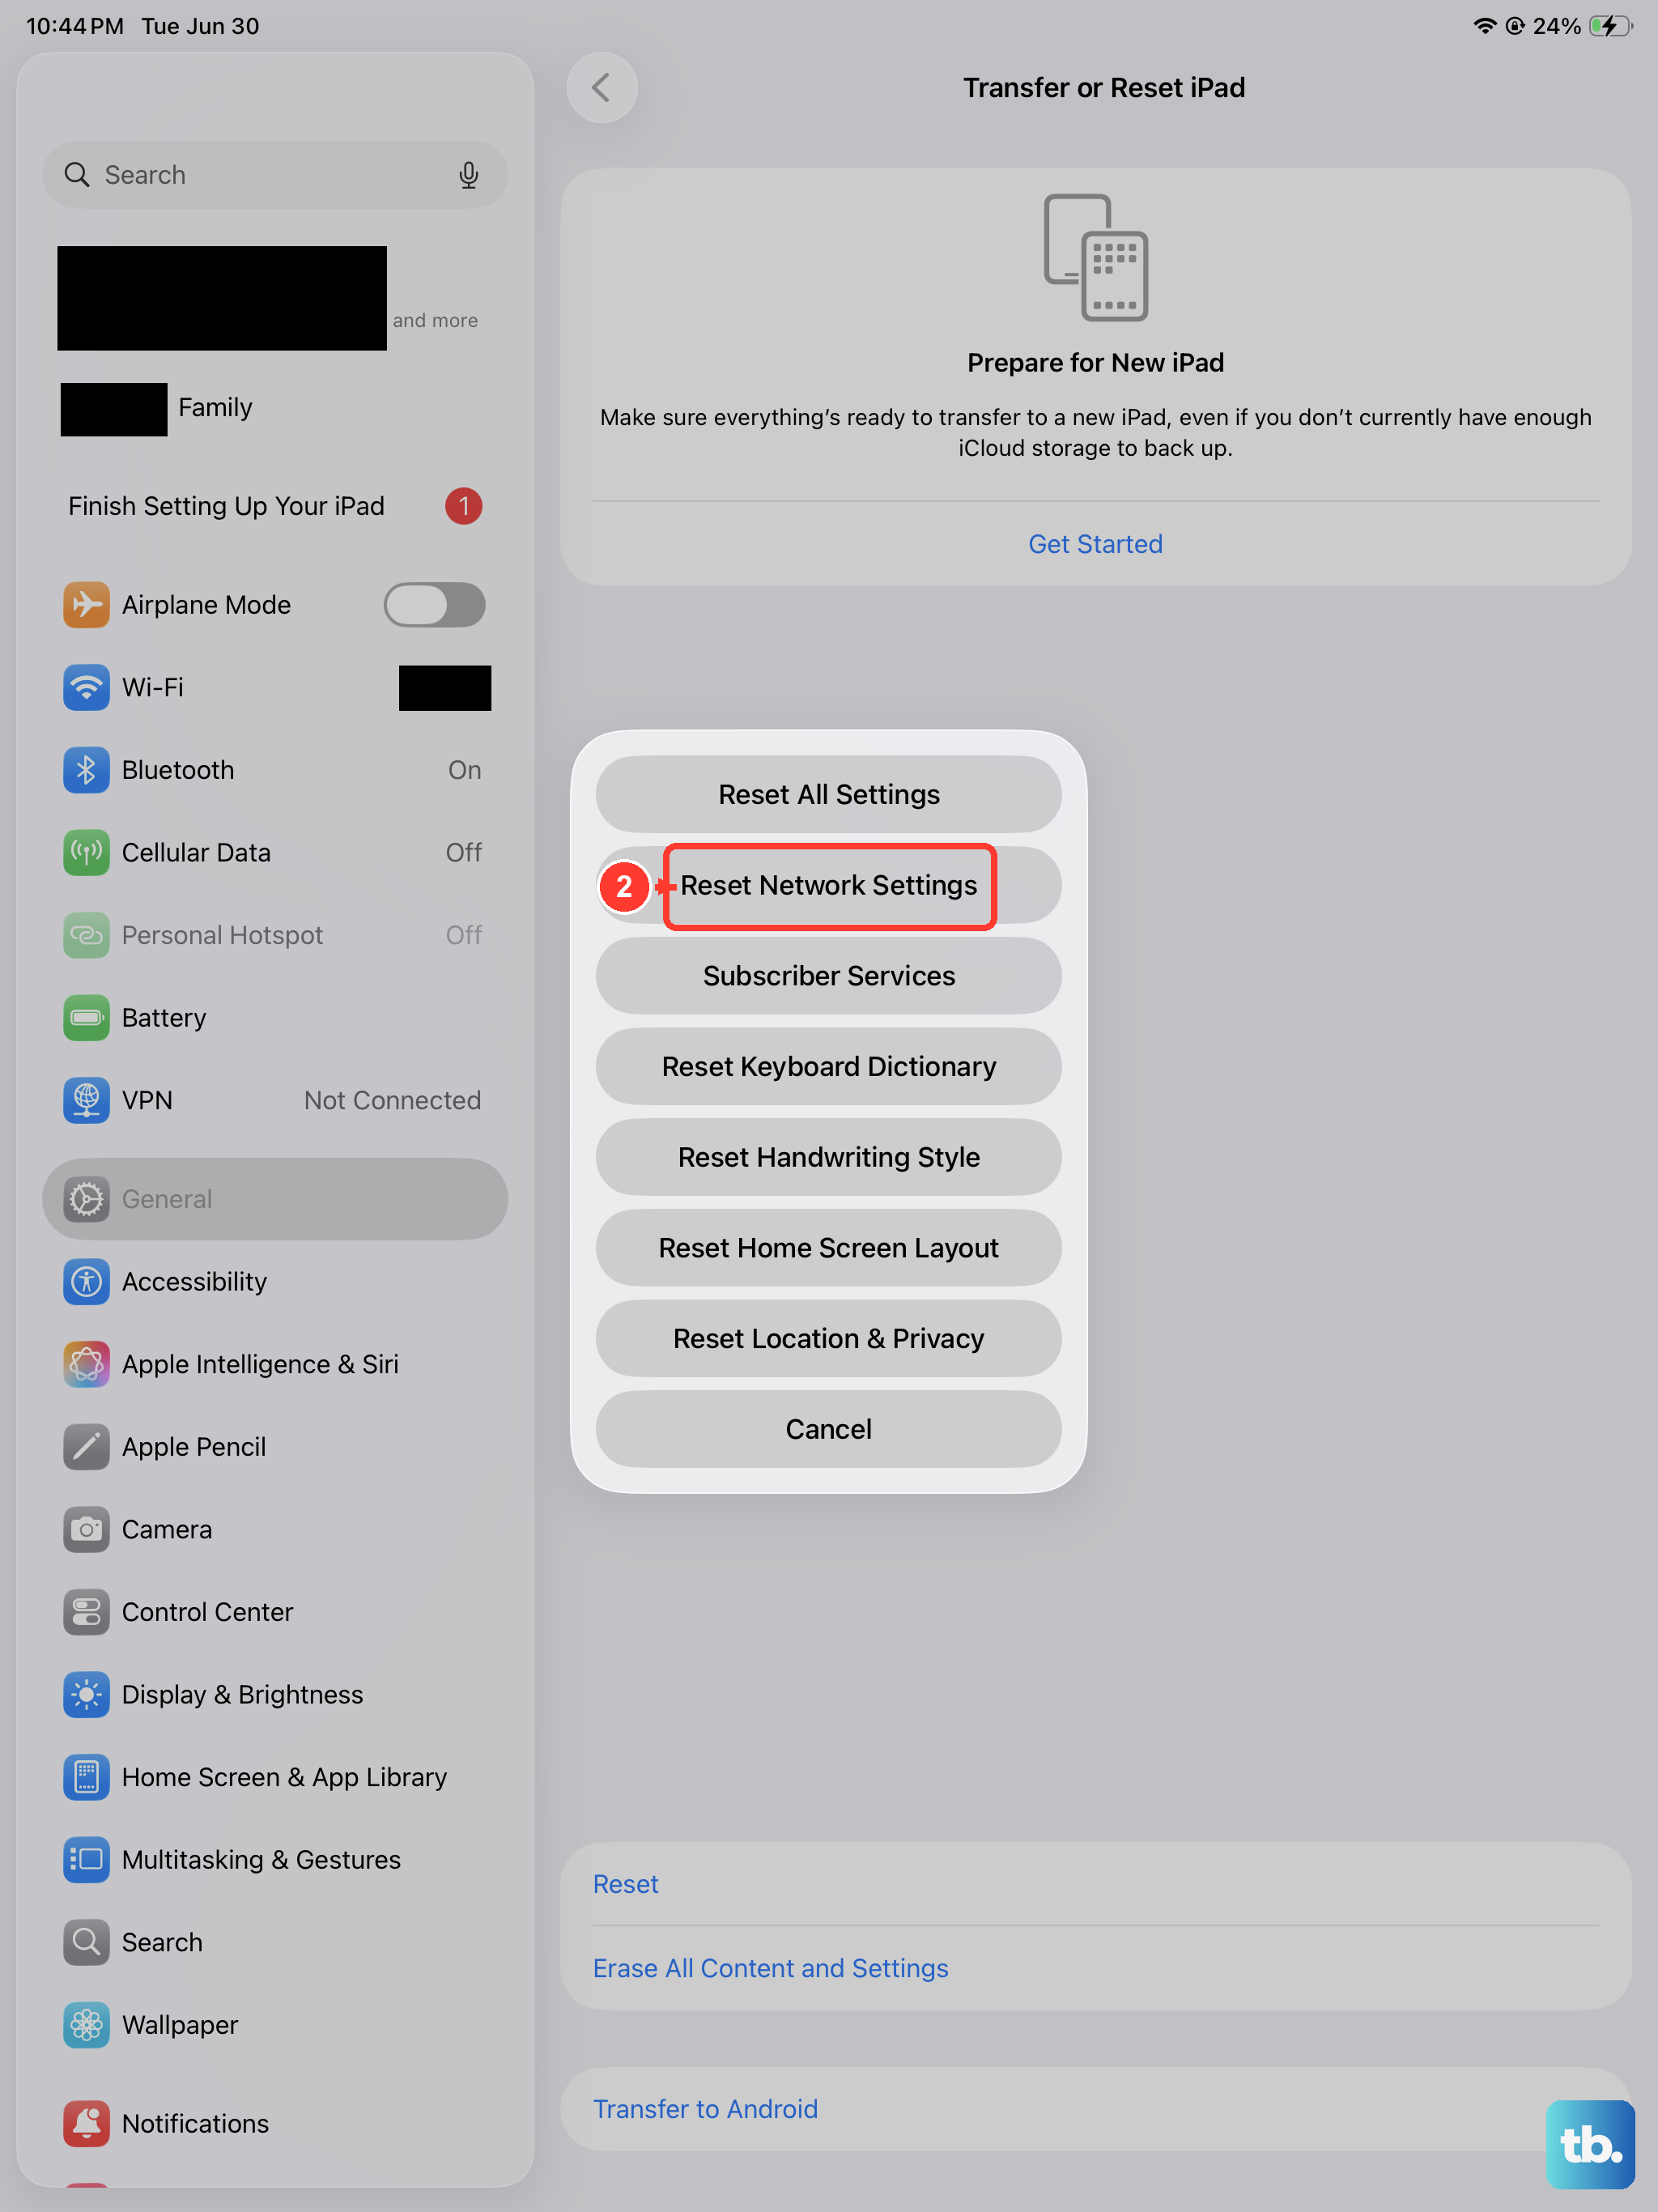
This will clear all your saved Wi-Fi passwords, Bluetooth pairings, and cellular network settings, forcing your iPad to start fresh. It often resolves persistent provisioning errors.
Before you do this, note that you'll need to re-enter Wi-Fi passwords afterward. Go to Settings > General > Transfer or Reset iPad > Reset. Then, tap "Reset Network Settings" and enter your passcode to confirm.
Check for a Carrier Settings Update
Carrier settings are small files that help your iPad communicate properly with your specific mobile network. These updates are pushed out by your carrier and installed automatically, but sometimes you need to trigger a check.
Make sure you're connected to Wi-Fi. Go to Settings > General > About. If a carrier settings update is available, a pop-up notification will appear asking you to update. Just tap "Update."
Verify Your Account and Plan
Your cellular service might be suspended. This can happen if you're on a prepaid plan and your balance ran out, or if there's a billing issue on a postpaid account.
Log into your carrier's account portal using their app or website, or give their customer service a call. Confirm that your account is in good standing and that your data plan is active and compatible with your iPad mini.
Try the SIM Card in Another Device
This test tells you if the problem is with the SIM card itself or with your iPad. You'll need another cellular-enabled iPad or an unlocked iPhone that uses the same size SIM card (nano-SIM).
Insert your SIM into the other device. If you get the same "Not Provisioned" error, the issue is definitely with the SIM or your carrier account. If it works perfectly, then the problem is isolated to your iPad mini.
Contact Your Cellular Carrier
If you've tried everything else, your carrier's support team needs to investigate. There could be a problem on their network end, or your specific SIM card might be faulty and need replacing.
Explain all the steps you've already tried. They can run deeper diagnostics on your line and, if necessary, mail you a replacement SIM card to activate. For the iPad mini, ensure they know you're using a cellular + Wi-Fi model to get the correct support.