Recall in Windows 11 saves snapshots on supported Copilot+ PCs so you can return to something you saw earlier. That also means you need clear controls for what gets saved, what gets filtered, and how to shut it down. Here is the clean path to turn Recall on, search it, pause it, delete snapshots, reset it, or remove it from Windows.
1. Check Whether Recall Can Run On Your PC
Use a Windows 11 Copilot+ PC that meets Microsoft’s Recall requirements. Turn on Device Encryption or BitLocker, then set up Windows Hello Enhanced Sign-in Security. Add at least one biometric sign-in option, and keep at least 50 GB of free storage before enabling Recall.
Recall settings apply per Windows user account, so each person on the PC manages their own setup.
2. Turn On Recall Snapshot Saving
Open Settings, then go to Privacy & security. Select Recall & snapshots, turn Save snapshots on, and authenticate with Windows Hello when prompted.
3. Start Recall For The First Time
First launch gives you another way to enable snapshot saving. Open Recall, choose to allow snapshots when Windows asks, then authenticate with Windows Hello. To change that choice later, use Settings > Privacy & security > Recall & snapshots.
4. Open Recall And Find Something You Saw Earlier
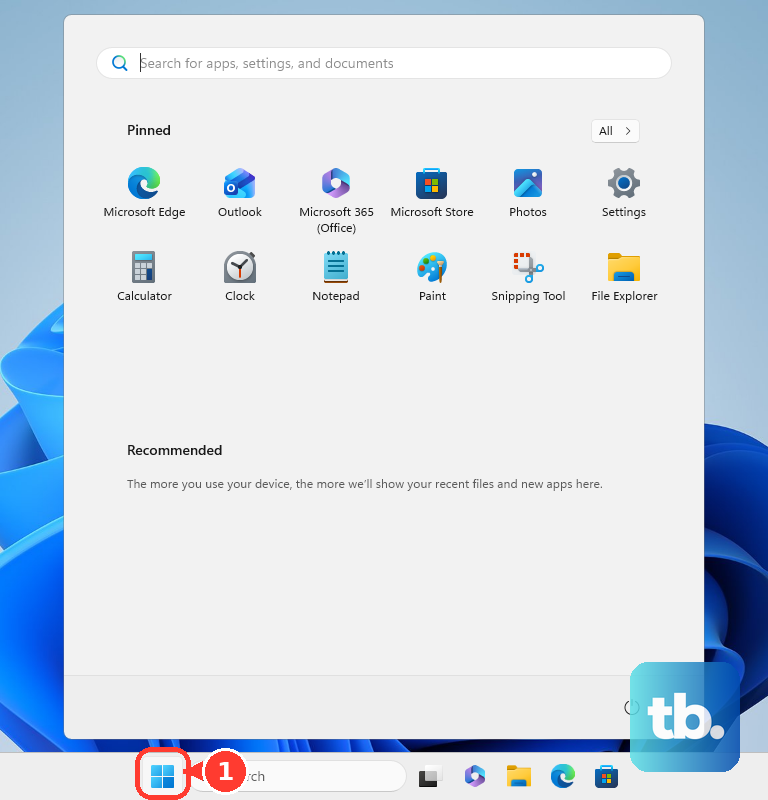
Press Windows key + J. Alternatively, open Start, select All Apps, and choose Recall. Authenticate with Windows Hello.
Type what you remember in the search box, or select the microphone and speak your search query. Select a result to open the saved snapshot.
To browse instead, select the timeline from Recall’s navigation bar. Next, hover over the timeline to preview activity, then choose a timeline location or preview window.
5. Use Click To Do Inside Recall
Open Recall, then select a search result or timeline snapshot. Select text or an image in the snapshot, then choose an available action, such as Copy, Open with, Search the web, Save as, Share, Visual search with Bing, or Ask Copilot.
Select Hide Click to Do at the bottom of Recall to turn off the overlay for that Recall view. Click to Do actions vary by region, language, installed apps, account type, and Microsoft 365 licensing.
6. Pause Or Turn Off New Recall Snapshots
This stops Recall from saving new snapshots. Select the Recall icon in the system tray, then select Pause until tomorrow.
To resume before the pause ends, select the Recall icon in the system tray. Choose Resume snapshots, then authenticate with Windows Hello.
For turning snapshot saving off, open Settings and go to Privacy & security. Select Recall & snapshots, turn Save snapshots off, and authenticate with Windows Hello when prompted.
7. Delete Recall Snapshots You Do Not Want
Open Settings, then go to Privacy & security. Select Recall & snapshots, then expand Delete snapshots settings.
Choose Delete all to remove every saved snapshot. Otherwise, choose a timeframe from the drop-down list and select Delete snapshots. The available timeframes are past hour, 24 hours, 7 days, and 30 days.
To delete one snapshot, open a Recall result or snapshot, select … on the snapshot, and choose Delete. To copy one snapshot instead, open a Recall result or snapshot, select … on the snapshot, and choose Copy.
For removing saved snapshots for one app or website, open a Recall result or snapshot, select …, choose Delete all the snapshots that contain the selected website or app, then confirm after Recall shows the count.
8. Filter Apps Websites And Sensitive Info
This keeps selected apps, websites, private browsing activity, and detected sensitive information out of future Recall snapshots. Website and private browsing filtering only work in a supported browser, and a filtered website is skipped only while it is in the foreground or in the currently opened tab.
Parts of it can still land in snapshots: content from that site embedded in another page, its name in the tab strip when the tab is open but not in focus, or its entry in your browser history. To keep all of a browser’s activity out, add the browser itself under Apps to filter.
Open Settings, go to Privacy & security, and select Recall & snapshots. Under Websites to filter, select Add website, then type the website and select Add.
Under Apps to filter, select Add app, then choose the installed app. Use a private browsing window when you do not want browser activity saved. Leave Sensitive information filtering on to reduce saving snapshots when passwords, credit cards, national ID numbers, or similar sensitive information are detected.
9. Remove Recall Completely Or Reset It
Select the search box on the taskbar, then type Turn Windows features on or off. Open Turn Windows features on or off, uncheck Recall, and restart your PC.
To add Recall back later, open Turn Windows features on or off, select Recall, and restart your PC. To reset Recall instead, open Settings, go to Privacy & security, and select Recall & snapshots.
Open Advanced settings, select Reset Recall, then select Reset and authorize with Windows Hello. Skip older instructions that point to Activity history or Installed apps; Microsoft’s current consumer controls are Recall & snapshots and Turn Windows features on or off.
Frequently Asked Questions
Does turning off Save snapshots delete old Recall snapshots?
No. Turning off Save snapshots stops new snapshots from being saved. Delete existing snapshots separately, or use Reset Recall to delete all Recall snapshots and reset Recall settings.
Can I use Recall without saving snapshots?
Yes. Open Recall and select Now. Recall takes a current-screen snapshot for Click to Do, analyzes it locally, and does not save it when Save snapshots is off or paused.
Which browsers support specific website filtering in Recall?
Specific website filtering works in Microsoft Edge, Firefox, Opera, and Google Chrome. Other Chromium-based browsers version 124 or later filter private browsing only, not specific websites.
What if Recall settings are missing on a work or school PC?
Managed commercial and education devices require admin policy before Recall is available. Your organization controls which Recall settings are allowed.