A Dell PC that will not boot, needs Windows reinstalled, or has damaged recovery files still has clear official recovery paths. Dell OS Recovery Tool creates USB recovery media from a working Windows computer, while SupportAssist OS Recovery handles resets on supported factory-installed Windows 10 and Windows 11 Dell systems. Start with the route that matches the machine in front of you, then move to the fallback only when that route does not apply.
1. Pick the right Dell recovery route
This fixes wasted time in the wrong recovery tool. Use Dell OS Recovery Tool when you need to create a recovery USB on a working Windows computer for a Dell PC. One exception: Dell says you cannot create a recovery image for a Dell computer with a Qualcomm Snapdragon processor using this tool, and to use Windows Push Button Reset on those devices instead.
Use For this computer when the working computer is the Dell you are recovering. Use Select For another computer when the broken Dell cannot run the tool and you need to enter its Service Tag or Express Service Code. Use SupportAssist OS Recovery when your supported Dell system can start the recovery environment and you want Dell's current Windows 10 or Windows 11 recovery flow. Use Windows Reset this PC when SupportAssist OS Recovery is unsupported, including on Dell computers with Qualcomm processors.
2. Download and install Dell OS Recovery Tool
On a working Windows 10 or Windows 11 computer with .NET Framework 4.8 or newer, go to Dell's OS Recovery Tool download page. Select the version that matches the working computer architecture, either Windows x64 or Windows ARM64. Choose Download OS Recovery Tool, then install Dell OS Recovery Tool on the working computer.
3. Create a recovery USB for the same Dell PC
This fixes recovery-media creation on the Dell you are restoring. Launch Dell OS Recovery Tool, select For this computer, and click NEXT.
Select the available recovery image. The Automated by SupportAssist image is selected by default, and Dell notes that Windows 11 only supports the Automated by SupportAssist option. Where Dell also lists a Non-Automated by SupportAssist Image for your Service Tag, that is the larger image that lets you format the drive and install a clean copy of Windows, so pick it if you want a clean install. Take whichever of the two the tool actually offers.
Click DOWNLOAD. Insert a USB drive that is 16 GB or larger, then under USB drive, select the USB drive. Check I understand that the selected drive will be reformatted and existing data are deleted. Click Download, and when the process finishes, click Close.
4. Make recovery media for another Dell using its Service Tag
Launch Dell OS Recovery Tool on the working Windows computer. Choose Select For another computer, then enter the Service Tag or Express Service Code of the Dell computer that needs recovery. Click the magnifying glass icon. After the computer is identified, click NEXT.
Select the recovery image, then click DOWNLOAD. Under USB drive, select the USB drive. Check I understand that the selected drive will be reformatted and existing data are deleted. Click Download.
5. Burn an existing ISO with Advanced Mode
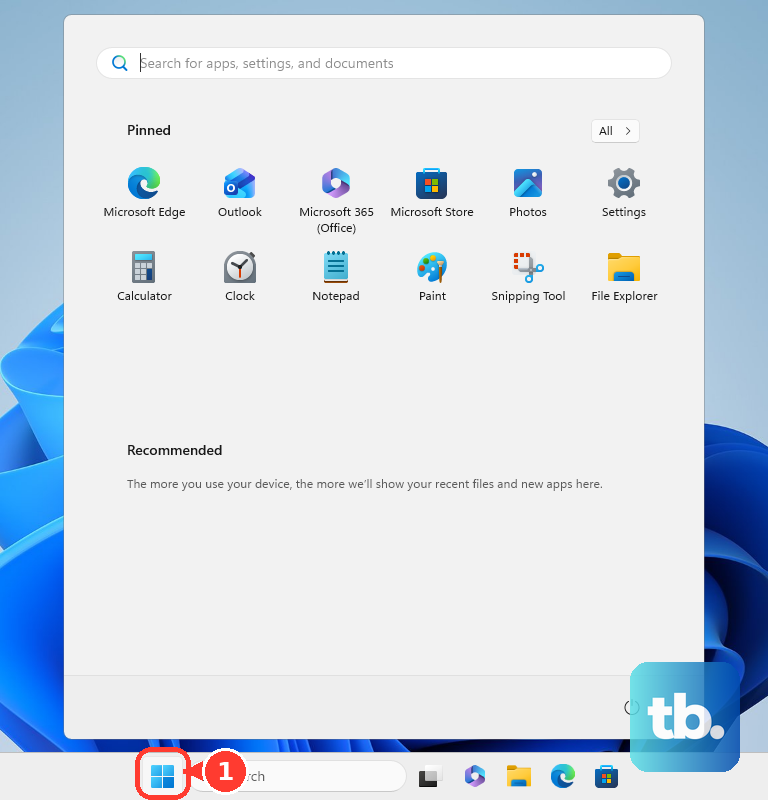
This fixes USB creation when the ISO was downloaded separately. Install Dell OS Recovery Tool on a Windows computer. Click Start, then open Dell OS Recovery Tool. Click Search.
Browse to the folder containing the operating system ISO. Select the .iso file and click Open. Click Next. Insert a USB flash drive of at least 16 GB.
Under USB drive, select the USB flash drive. Check I understand that the selected drive will be reformatted and existing data are deleted. Select GPT for Windows 10 or Windows 11. Select MBR for other operating systems, then click Burn operating system.
6. Use SupportAssist OS Recovery on newer Dell PCs
On supported Dell systems with a Dell factory-installed Windows 10 or Windows 11 image, Dell's current recovery path is SupportAssist OS Recovery. Start it from F12 > One Time Boot Menu > SupportAssist OS Recovery. Approve system information access when prompted, then choose Start Reset. Use Reset and update for Cloud Restore or Reset to factory settings for Local Restore.
Back up first. Dell warns that either option permanently deletes all data on the hard drive, uninstalls any programs or drivers you installed, and will require you to re-enter product or license keys. Both options are also conditional: Local Restore is only available on Dell, Inspiron, Vostro, XPS, and Alienware products, and Dell says that if the computer is irreparable or SupportAssist OS Recovery cannot detect the factory-installed operating system, only Reset and update is displayed.
7. Recover when the local recovery files are missing
This fixes recovery when Windows will not start or the local recovery partition is corrupted, missing, or the drive was replaced. BIOSConnect is built into modern Dell systems, and Dell says most models from 2018 onward have it, but it has to be switched on first.
In BIOS Setup, under a section such as Update, Recovery or Maintenance, set BIOSConnect to On. Confirm SupportAssist OS Recovery is enabled as well, then save and restart. On a Dell that does not support BIOSConnect, use the USB recovery media from the earlier sections instead.
Turn on the computer and tap F12. Select SupportAssist OS Recovery. Connect to Wi-Fi when prompted. Let BIOSConnect download the recovery program, then continue in SupportAssist OS Recovery after it starts.
8. Update SupportAssist OS Recovery Tools when recovery misbehaves
Open Dell SupportAssist for Home PCs. Click Update Software. Click Start to check for updates. Choose SupportAssist OS Recovery Tools from the recommended list.
Click Install. Keep the computer on and connected to power while the update installs. For managed or prosumer Dell PCs, Dell Command Update > Check can also surface Dell SupportAssist Remediation as SupportAssist OS Recovery Tools.
9. Reset Windows when Dell recovery is not available
For a standard Windows reset, use Settings > System > Recovery > Recovery options > Reset PC on Windows 11, or Start > Settings > Update & Security > Recovery > Get started on Windows 10. Choose Keep my files or Remove everything. Dell says Qualcomm-processor Dell computers are not supported by SupportAssist OS Recovery and should try Windows Push-Button Reset first.
This is not a Dell factory-image reset, and Dell notes that it normally removes Dell-installed apps, though some Dell tablets may be configured to add Dell factory-installed software during the process.
Frequently Asked Questions
Can I use Dell OS Recovery Tool on a non-Dell computer?
Dell says the recovery image is for the Dell computer identified by its Service Tag and is not designed or tested for non-Dell computers.
How large does the USB drive need to be?
Use a USB drive that is at least 16 GB. Dell OS Recovery Tool reformats the selected drive and deletes existing data on it.
Do I need the Service Tag?
You need the Service Tag or Express Service Code when creating recovery media for another Dell computer. If you are creating media for the same Dell PC, use For this computer.
Can I make Dell recovery media from a Mac?
Dell's Mac recovery information describes older Boot Camp or virtualization workarounds. For current consumer use, run Dell OS Recovery Tool from a working Windows computer.