System Protection is the Windows restore-point feature, and it can be off until you enable it. The fastest fix is to open System Protection, turn it on for the drive, and reserve disk space for restore points. Use the current Microsoft-supported paths below, which open the same System Protection window faster than the longer Control Panel route.
1. Turn on System Protection from Start search
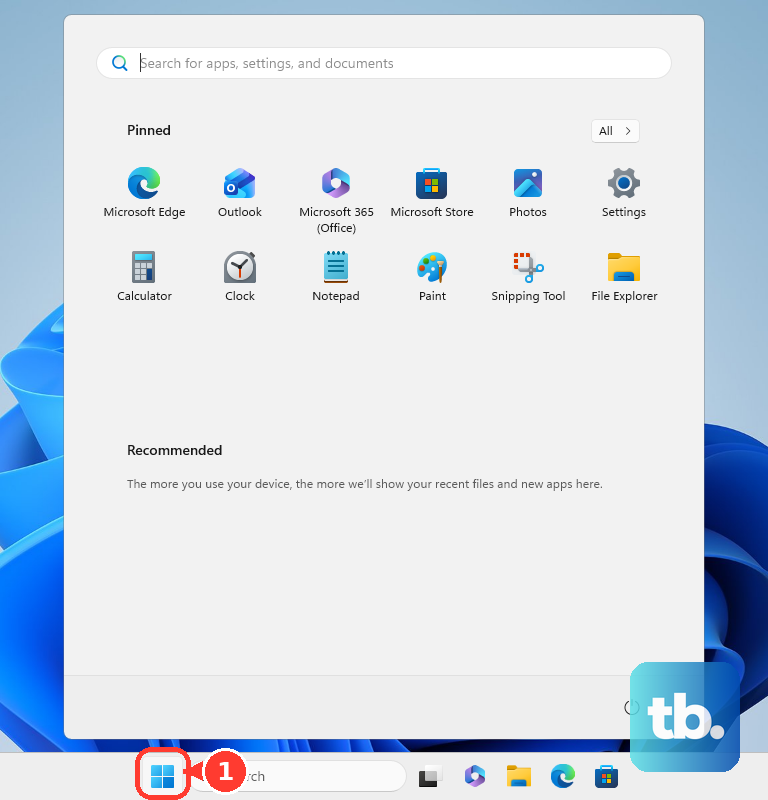
Select Start, then type Create a restore point in the search box. Select Create a restore point from the results.
In System Properties, select the System Protection tab. Select the drive you want to protect, then select Configure.... Select Turn on system protection.
Use the disk space slider to set the maximum space Windows can use for restore points, then select Apply. Use an account with local administrator rights before you change System Protection settings.
2. Open System Protection faster with Run
Press Windows logo key + R, type systempropertiesprotection.exe, then press Enter. In System Properties, select the System Protection tab.
Select the drive, then select Configure.... Select Turn on system protection. Use the disk space slider to set the maximum space Windows can use, then select Apply.
3. Use Settings for point-in-time restore in Windows 11
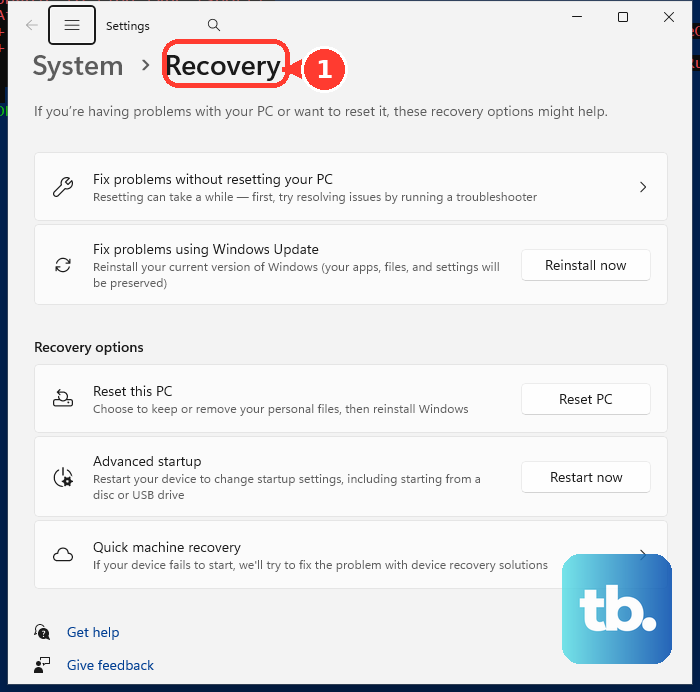
Point-in-time restore is a separate Windows recovery feature, not another way to configure System Protection. Microsoft's point-in-time restore documentation configures it in Settings and restores the full system state, including local files, while System Restore stays on the classic System Protection dialog above. It needs Windows 11 version 24H2 (build 26100.8737) or version 25H2 (build 26200.8737) or later, and it is rolling out gradually, so use the System Protection methods above if Point-in-time restore is not listed under Recovery.
- 1.Open Settings.
- 2.Go to System > Recovery > Point-in-time restore.
- 3.Select View or edit.
- 4.When User Account Control appears, select Yes.
- 5.Turn the point-in-time restore toggle to On.
4. Enable System Protection with PowerShell
Open Windows PowerShell with Run as administrator, then run Enable-ComputerRestore -Drive "C:\". To enable more than one eligible drive, run Enable-ComputerRestore -Drive "C:\", "D:\". Enable the system drive first or at the same time as any other drive.
5. Choose the right drive and disk space
Use System Protection for eligible local drives. Do not use external drives or remote network drives with Enable-ComputerRestore. Keep the system drive included when enabling protection for another drive.
Set the maximum disk space slider in Configure... before selecting Apply. The disk space slider controls how much storage Windows can reserve for restore-point protection.
6. Fix disabled System Protection options
This fixes System Protection controls blocked by administrator or device-management policy. Confirm you are using an account with local administrator rights.
Open Create a restore point from Start, or open systempropertiesprotection.exe from Run. Check whether Configure... or restore-point options are disabled. On a managed work or school PC, use the managed-device guidance below.
7. Check policy on work or school PCs
Managed Windows devices can have System Restore turned off or System Protection configuration disabled by policy. The policy path Microsoft lists is Computer Configuration > System > System Restore. On a work or school PC, contact the organization’s IT admin instead of changing policy tools yourself. On a personal PC, use the Start search, Run, Settings, or PowerShell method above.
8. Reach the same System Protection window faster
The older Control Panel > System and Security > System > System protection route is not deprecated, and Microsoft still lists Control Panel as the configuration method for System Restore. It is simply the long way around to the window the next two steps open directly.
Use Start search for Create a restore point. Use Windows logo key + R, then systempropertiesprotection.exe, to open the same protection window directly.
Frequently Asked Questions
Does System Protection work on Windows 11 and Windows 10?
Yes. Microsoft’s current System Protection steps apply to Windows 11 and Windows 10. Windows 10 general consumer support ended on October 14, 2025, except eligible ESU and LTSC scenarios.
Do I need administrator rights to turn on System Protection?
Yes. Changing protection settings requires local administrator rights, whether you open System Protection from Start search or the Run command.
Can I turn on System Protection for more than one drive?
Yes. PowerShell can enable multiple eligible drives with Enable-ComputerRestore, such as C:\ and D:\. The system drive must be enabled first or at the same time.
Can System Protection be enabled on external or network drives?
No. Microsoft’s PowerShell documentation says external drives and remote network drives are not eligible for System Restore protection.