Your PC’s drive is full, and you need room for your next download, game, or batch of photos. You have three options: clear unwanted files, move things elsewhere, or add more storage. Start with Windows 11’s storage breakdown to find the option that fits what you need to keep.
Find out what is filling your drive
Open Settings > System > Storage. Check Installed apps, Temporary files, and the other categories to see what is taking up room.
For a different drive, open Advanced storage settings > Storage used on other drives. Check whether another drive already has the space you need.
Cleanup increases available space on an existing drive. Adding or replacing a drive increases physical capacity. An external drive provides another place for files, but it does not automatically enlarge C:.
If the breakdown gives you nothing useful to remove, move personal files to external storage or consider an internal upgrade.
Clear space before buying hardware
Cleanup reclaims room occupied by unwanted files and unused apps. Open Settings > System > Storage > Cleanup recommendations. Review Temporary files, Large or unused files, Files synced to the cloud, and Unused apps.
Select only items you no longer need. Anything selected in Downloads is personal content, not disposable system clutter. For each section containing selected items, select Clean up.
For an app you no longer use, open Settings > Apps > Installed apps. Open the app’s More options (…) menu, then select Uninstall.
Check your Recycle Bin for files you still need. Empty the Recycle Bin when you are ready to permanently remove its contents and reclaim their space.
For automatic cleanup, open Settings > System > Storage > Storage Sense. Set the cleanup frequency under Run Storage Sense. Review the retention settings for Recycle Bin and Downloads before enabling automatic deletion. Turn on Storage Sense to apply those rules automatically on your system drive.
Move personal files to an external drive
Connect an external SSD, hard drive, or USB flash drive to a compatible port. You now have a separate storage destination without opening your PC.
Open File Explorer.
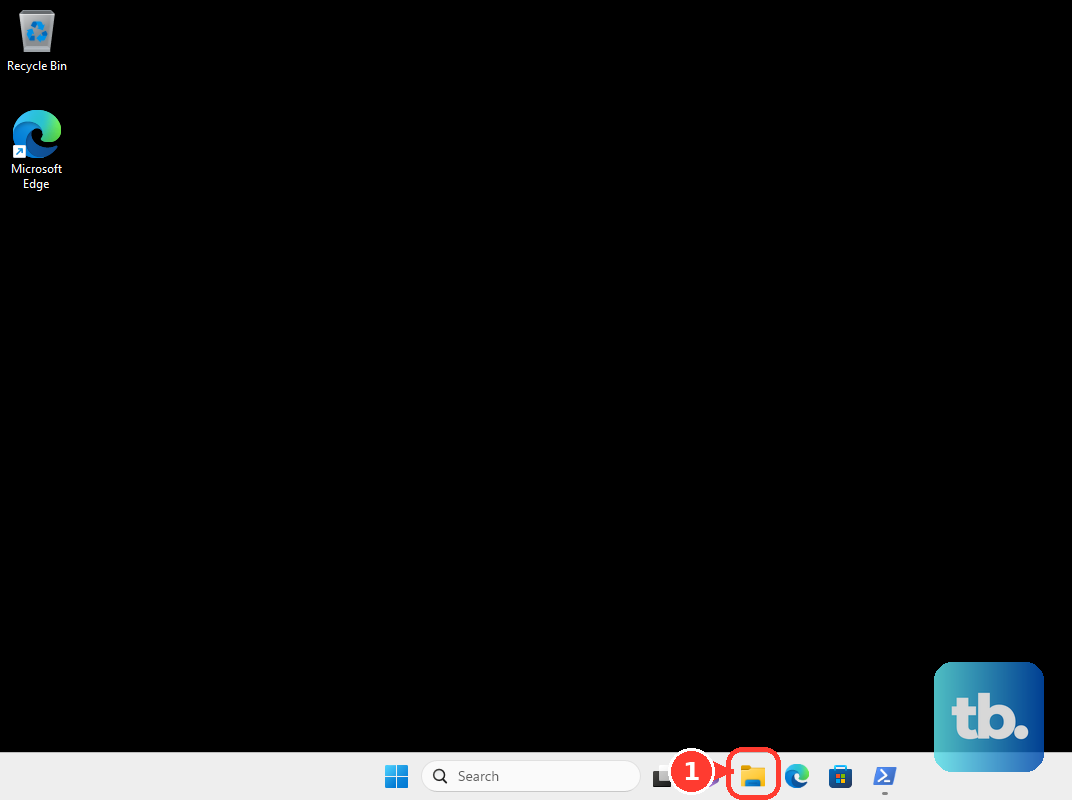
Select the personal files you want to move and choose Cut. Open the external drive in File Explorer, then choose Paste.
Verify the transferred files in their new location. Merely copying them leaves the originals taking up space on your PC.
For future content, open Settings > System > Storage > Advanced storage settings > Where new content is saved. Choose a destination drive for each content category you want to change, then apply your changes. This redirects future saves; it does not relocate all existing content.
Tip: A compatible SD or microSD card also holds personal files through a built-in or external reader, with supported card types and capacities determined by the reader.
If you use OneDrive, keep fewer local copies
Your cloud files do not all need a downloaded copy on your PC. OneDrive Files On-Demand lets you remove local copies while keeping the files online.
Open File Explorer. Right-click a downloaded file or folder inside OneDrive, then select Free up space.
Online-only files download when you open them. Use Free up space to keep the cloud copy; deleting a synced file also risks deleting it from OneDrive.
Buying more cloud storage alone does not increase local capacity. You still need to upload files and use online-only or selective-sync controls to reduce local usage.
If this does not free enough room, or you need your files stored locally, move them to an external drive or add internal storage.
More internal storage for files you need to keep
Files and apps you need to keep still occupy space after cleanup. Check your PC’s service manual for an available compatible storage slot or bay before buying a drive. For an M.2 SSD, confirm the supported dimensions and interface. M.2 describes the form factor; the slot must also support the drive’s SATA or PCIe/NVMe interface.
Back up your files before installation. Shut down the PC. Disconnect power and the battery as instructed by the manufacturer. Open the case using the service manual’s access procedure.
For a compatible M.2 SSD, insert the drive into its socket at an angle. Secure the SSD as directed by the manufacturer.
If you are installing a 2.5-inch SATA SSD instead, mount it in the compatible bay, using a mounting adapter if the desktop requires one. Connect the desktop SATA SSD’s data cable to the motherboard. Connect SATA power from the power supply to the drive. An internal SATA hard drive likewise needs a compatible bay, a data connection, and a power connection.
Reassemble the PC after installing your chosen drive. Prepare the new blank data drive in Disk Management using the final section below. If your laptop’s only storage bay is occupied and it has no other compatible storage slot, replace its existing drive using the next method.
Replace the system drive with a larger SSD
A larger SSD adds capacity when there is no room for a second internal drive. Check your PC’s service manual for a compatible replacement SSD and the required connection and replacement procedure. Back up the files you need to preserve.
Connect a supported larger destination SSD. The Samsung migration steps below require a Samsung destination SSD supported by its tool. Download Magician Software for Windows from Samsung’s Tools & Software page. Open the migration workflow in Samsung Magician.
Select your source system drive, then select the destination SSD. Migration overwrites that drive, so it must contain nothing you need to keep. Select the volumes to migrate.
Select Start. Shut down the PC after migration finishes. Replace the old drive following your PC’s service manual.
For a fresh installation instead of migration, create an installation USB before replacing the drive using the applicable Create Windows 11 Installation Media or ISO option on Microsoft’s Windows 11 download page. Install the compatible larger drive using the manufacturer’s procedure. Boot from the installation USB using the manufacturer’s boot procedure.
Select Install Windows 11 in Windows Setup. Follow the prompts until you reach Select location to install Windows 11. Select the intended blank replacement drive. A clean installation removes existing contents on the selected installation target.
Complete the remaining installation prompts. Restore your backed-up personal files.
When a new drive needs preparation
For a newly installed blank data drive that needs initialization or a volume, right-click Start and select Disk Management. These steps are for blank storage, not a drive containing files you want to keep.
If initialization is required, confirm the intended new disk, then right-click it and select Initialize Disk. Choose the appropriate partition style, normally GPT on modern PCs.
Right-click its Unallocated space and select New Simple Volume. Follow Next through size, drive letter, and Format Partition, then select Finish. Formatting removes existing contents from that volume without increasing physical capacity.
After a larger-drive upgrade, extend an existing NTFS or ReFS volume if unallocated space immediately follows it on the same basic disk. Open Disk Management as an administrator, right-click the volume, and select Extend Volume > Next. Specify the space on Select Disks, then select Next > Finish.
Frequently Asked Questions
Can adding RAM give my PC more storage?
No. Adding RAM does not increase physical file-storage capacity. Neither does defragmenting a drive or creating another partition.
Can I use an old SSD as an external drive?
Yes. Choose an enclosure matching the SSD’s form factor and interface. Install and secure the SSD while the enclosure is disconnected. Close the enclosure, then connect it to your PC and open the drive in File Explorer. Formatting is unnecessary when Windows already reads its filesystem and files.
Can I move Steam games to another drive?
Yes. Open Steam > Settings > Storage. Use + to add a library on the destination drive. Select the original drive, then select your games. Choose Move and select the destination library.
Why does Windows Update still need space after I connect an external drive?
Some updates require internal free space even when external storage supplies temporary workspace. When Windows Update offers its insufficient-space workflow, select Fix issues. Connect external storage with at least 10 GB free. Select it from the offered list, then choose Next and follow the remaining prompts.