The D3D11-compatible GPU error means the game or app cannot use Direct3D Feature Level 11_0 with Shader Model 5.0. Start by checking what your PC actually supports, then fix Windows, the graphics driver, and the game files in that order.
1. Check Feature Level 11_0 in DxDiag
Do this before downloading anything. The DirectX Version line alone does not prove your GPU meets the requirement; the key detail is under Feature Levels.
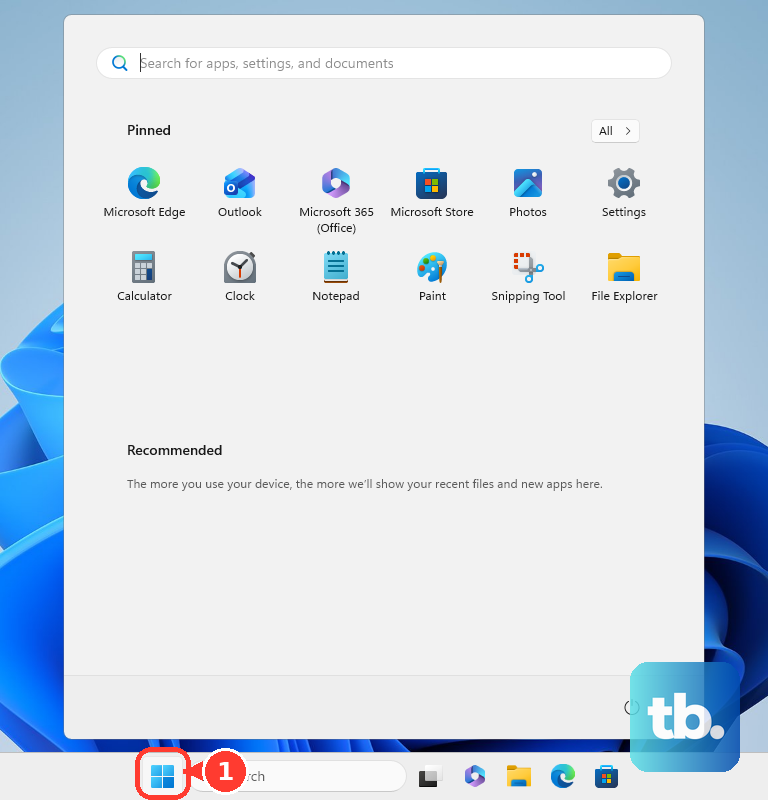
Open Start, type dxdiag, and press Enter. Open the Display tab, find Feature Levels, and look for 11_0 or a higher feature level. Then open the System tab and check DirectX Version.
If Feature Levels lists 11_0 or higher, your PC has the required graphics feature level and you can move to the fixes below. If 11_0 is still missing after installing the current graphics driver, use a different PC or replace the GPU with one that meets the game’s requirements.
2. Update Windows to refresh DirectX components
Open Start and go to Settings. Select Windows Update, then choose Check for updates. Install every available update and restart your PC.
Modern Windows gets DirectX runtime updates through Windows Update. There is no standalone DirectX runtime upgrade package for Windows 10 or Windows 11. Windows 10 steps still work, but Microsoft consumer support for Windows 10 ended on October 14, 2025.
3. Install the graphics driver through Windows
A capable GPU can still fail the D3D11 check when Windows is using a bad, old, or generic display driver.
In Device Manager, right-click Start and open Device Manager. Expand Display adapters, right-click your GPU, and choose Update driver. Select Search automatically for updated driver software. If Windows does not find one, choose Search for updated drivers on Windows update.
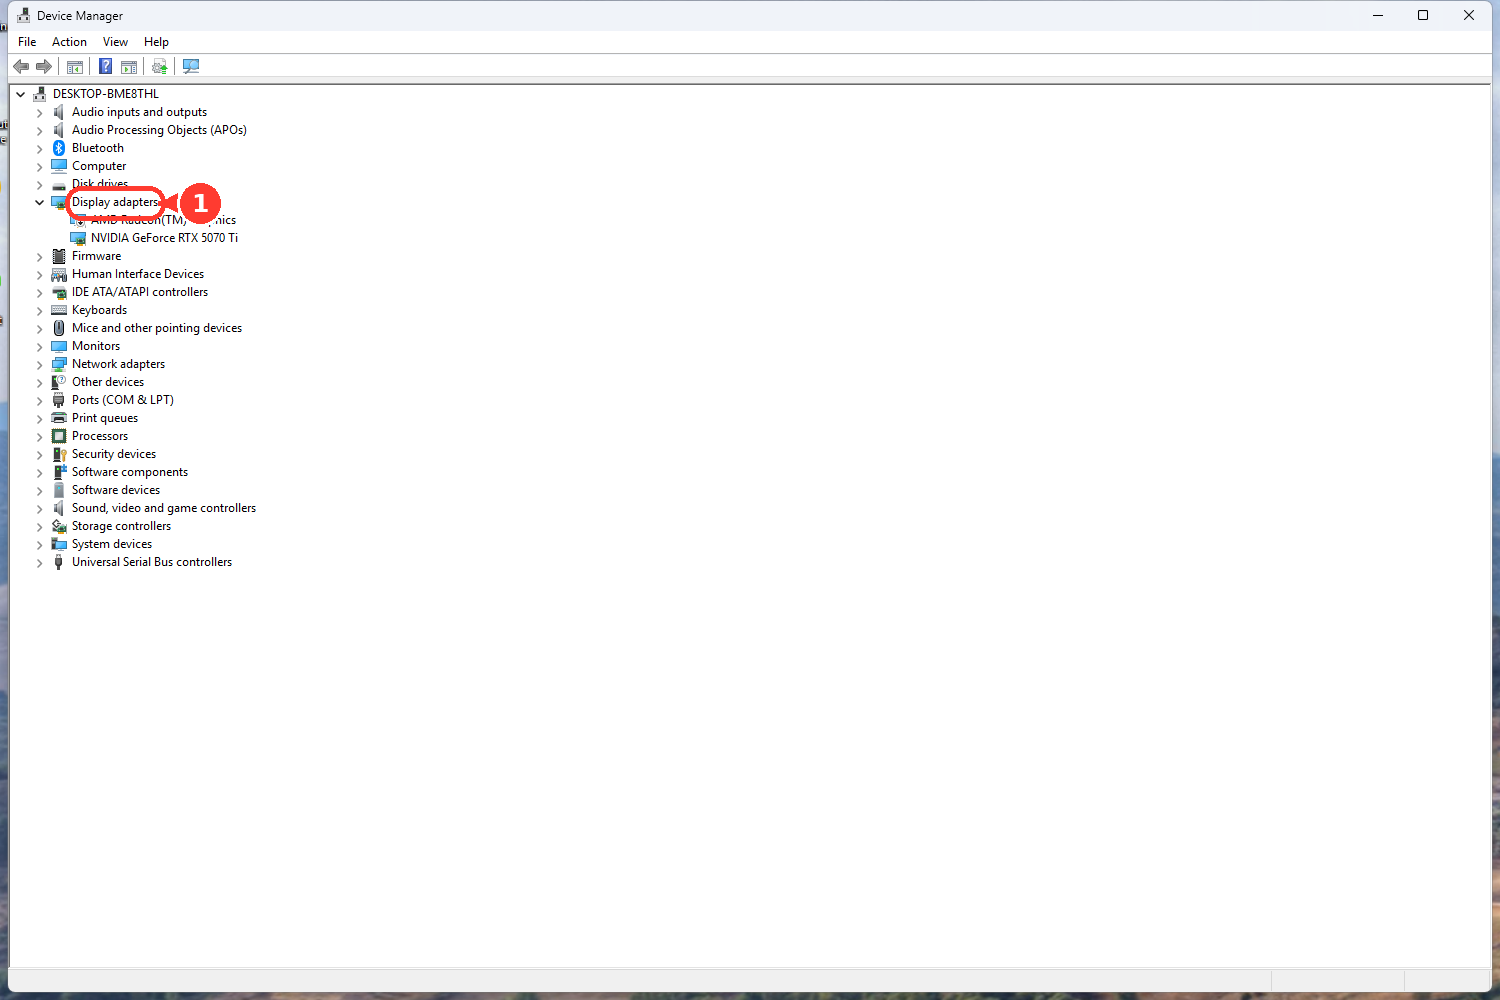
Then check optional updates through Settings > Windows Update > Advanced options > Optional updates. Select any listed display or graphics driver update, choose Download and install, and restart your PC.
4. Get the driver from NVIDIA AMD or Intel
NVIDIA users: open NVIDIA App > Drivers. Install the available GeForce Game Ready Driver or NVIDIA Studio Driver. You can also use the official NVIDIA Drivers page.
AMD users: open AMD Drivers and Support. Use Auto-Detect and Install Driver Updates or download AMD Software: Adrenalin Edition manually.
Intel users: install Intel Driver & Support Assistant. Launch it, choose Check for new drivers, and install the offered graphics update.
If Windows does not clear the error, install the current driver from the GPU maker. Use the official tool for your hardware. Restart when the installer asks for it.
If the error started right after a new driver, roll back that driver:
Right-click Start and open Device Manager. Expand Display adapters, right-click your GPU, and choose Properties. Open the Driver tab and select Roll Back Driver. Choose a reason, select Yes, and restart if prompted.
5. Reinstall a broken display driver
Use this when Device Manager shows driver errors, Windows lists Microsoft Basic Display Adapter, or driver updates did not fix the launch error.
Right-click Start and open Device Manager. Expand Display adapters, right-click your GPU, and select Uninstall device. Choose Uninstall, then restart the PC. Install the current driver through Windows Update or your GPU vendor’s official tool.
For AMD driver install problems, use AMD’s cleanup path:
Download AMD Cleanup Utility from AMD and run amdcleanuputility.exe. Choose Yes when it asks to reboot into Safe Mode, then select OK. Choose Finish, select Yes to reboot, and install the current AMD graphics driver again.
6. Force the game onto the high performance GPU
Open Start and go to Settings. Select System, open Display, and choose Graphics. Under Custom options for apps, select the game or app. Choose Options, set Graphics preference to High performance, select Save, and restart the game.
This one is for laptops and desktops with more than one GPU. Set the game to the stronger graphics adapter in Windows.
On Windows 11, use the same page for games that open but crash or render incorrectly: select the game. Choose Options, turn off Optimizations for windowed games, select Save, and restart the game.
7. Repair the game and use the right launch option
Once the GPU, Windows, and driver check out, repair the game installation.
For Steam games, open Steam and go to Library. Right-click the game, choose Properties..., and open Installed Files. Select Verify integrity of game files.
For games that support DirectX 11 launch arguments, add the correct one:
Unreal Engine games: use -dx11 or -d3d11. Unity games: use -force-d3d11.
In Steam, open Library > right-click the game > Properties... > General > Launch Options. Enter the supported argument.
For a non-Steam shortcut, right-click the game shortcut. Open Properties, select the Shortcut tab, and add a space plus the supported argument at the end of Target. Choose OK, then launch from that shortcut.
These launch options do not add Feature Level 11_0 to unsupported hardware. They only help games that already honor those DirectX 11 command-line arguments.
8. Install older game prerequisites correctly
For old DirectX side-by-side components, use Microsoft’s DirectX End-User Runtime Web Installer. It covers legacy components such as D3DX9, D3DX10, D3DX11, XAudio 2.7, XInput 1.3, XACT, and Managed DirectX 1.1.
For Microsoft runtime files, install the latest supported Microsoft Visual C++ Redistributable. Match the package to the game’s architecture, not the Windows install: most 64-bit games need the X64 package, but a 32-bit game needs the X86 package, and Microsoft also offers an ARM64 package.
For Unreal Engine installations, open Engine/Extras/Redist/en-us. Run the prerequisite installer, or let Epic Games Launcher install prerequisites automatically.
Older games need extra runtime components even when Windows already has modern DirectX. Use the current Microsoft and engine-supported installers, not random DLL downloads or the legacy DirectX SDK.
Do not install the legacy DirectX SDK as a consumer fix. Microsoft describes that SDK as legacy and end-of-life; for older games, use the DirectX End-User Runtime instead.
Frequently Asked Questions
Why does DxDiag show DirectX 12 but the game still says D3D11 is missing?
The System tab shows the installed DirectX version. The game also needs the Display tab to list Feature Level 11_0 or higher for the GPU and driver.
Does the DirectX End-User Runtime fix the D3D11-compatible GPU error?
It only helps older games that need legacy side-by-side DirectX SDK components. It does not change the DirectX runtime installed in Windows and does not add Feature Level 11_0 to a GPU.
What should I do when DxDiag does not list Feature Level 11_0?
Install the current graphics driver first. If Feature Level 11_0 is still missing after that, use a different PC or replace the GPU with one that supports Direct3D Feature Level 11_0 and Shader Model 5.0.
Should I use -dx11 or -force-d3d11?
Use the argument the game supports. Unreal Engine lists -dx11 and -d3d11. Unity lists -force-d3d11. These options only work when the game honors those launch arguments.