
If your iPhone 17 is locked to a single carrier, you can unlock it to use any network. Here’s how to request the unlock and complete it.
What You Need to Know First
- The unlock is carrier-specific. It’s tied to your iPhone 17’s unique IMEI number and your original carrier.
- Your carrier is the first and best source. If you’ve paid off your device and your account is in good standing, they will typically provide the unlock.
- A SIM or eSIM from another carrier is the easiest way to finish the unlock. The phone activates on the new network once the unlock is applied. If you don’t have another SIM, back up your iPhone, erase it, then restore it from the backup.
- You don’t type a code into an iPhone. Unlike many Android phones, iPhones have no unlock code to enter. Your carrier flags your IMEI as unlocked on Apple’s activation servers, so there’s nothing to key in and no risk of locking the phone by mistyping a code.
Getting a carrier unlock for your iPhone 17 is a straightforward process if you go through the official channels. Start with your current provider. The whole point of the lock is to keep you on their network during a contract or installment plan, so once those obligations are met, they will usually unlock it.
Request the Unlock from Your Carrier
This is the standard method. Carriers like AT&T, T-Mobile, and Verizon have dedicated unlock request pages online, which is often faster than calling.
First, find your iPhone 17’s IMEI number. You can get it by going to Settings > General > About and scrolling down. You can also dial *#06# from the Phone app. Have this 15-digit number ready.
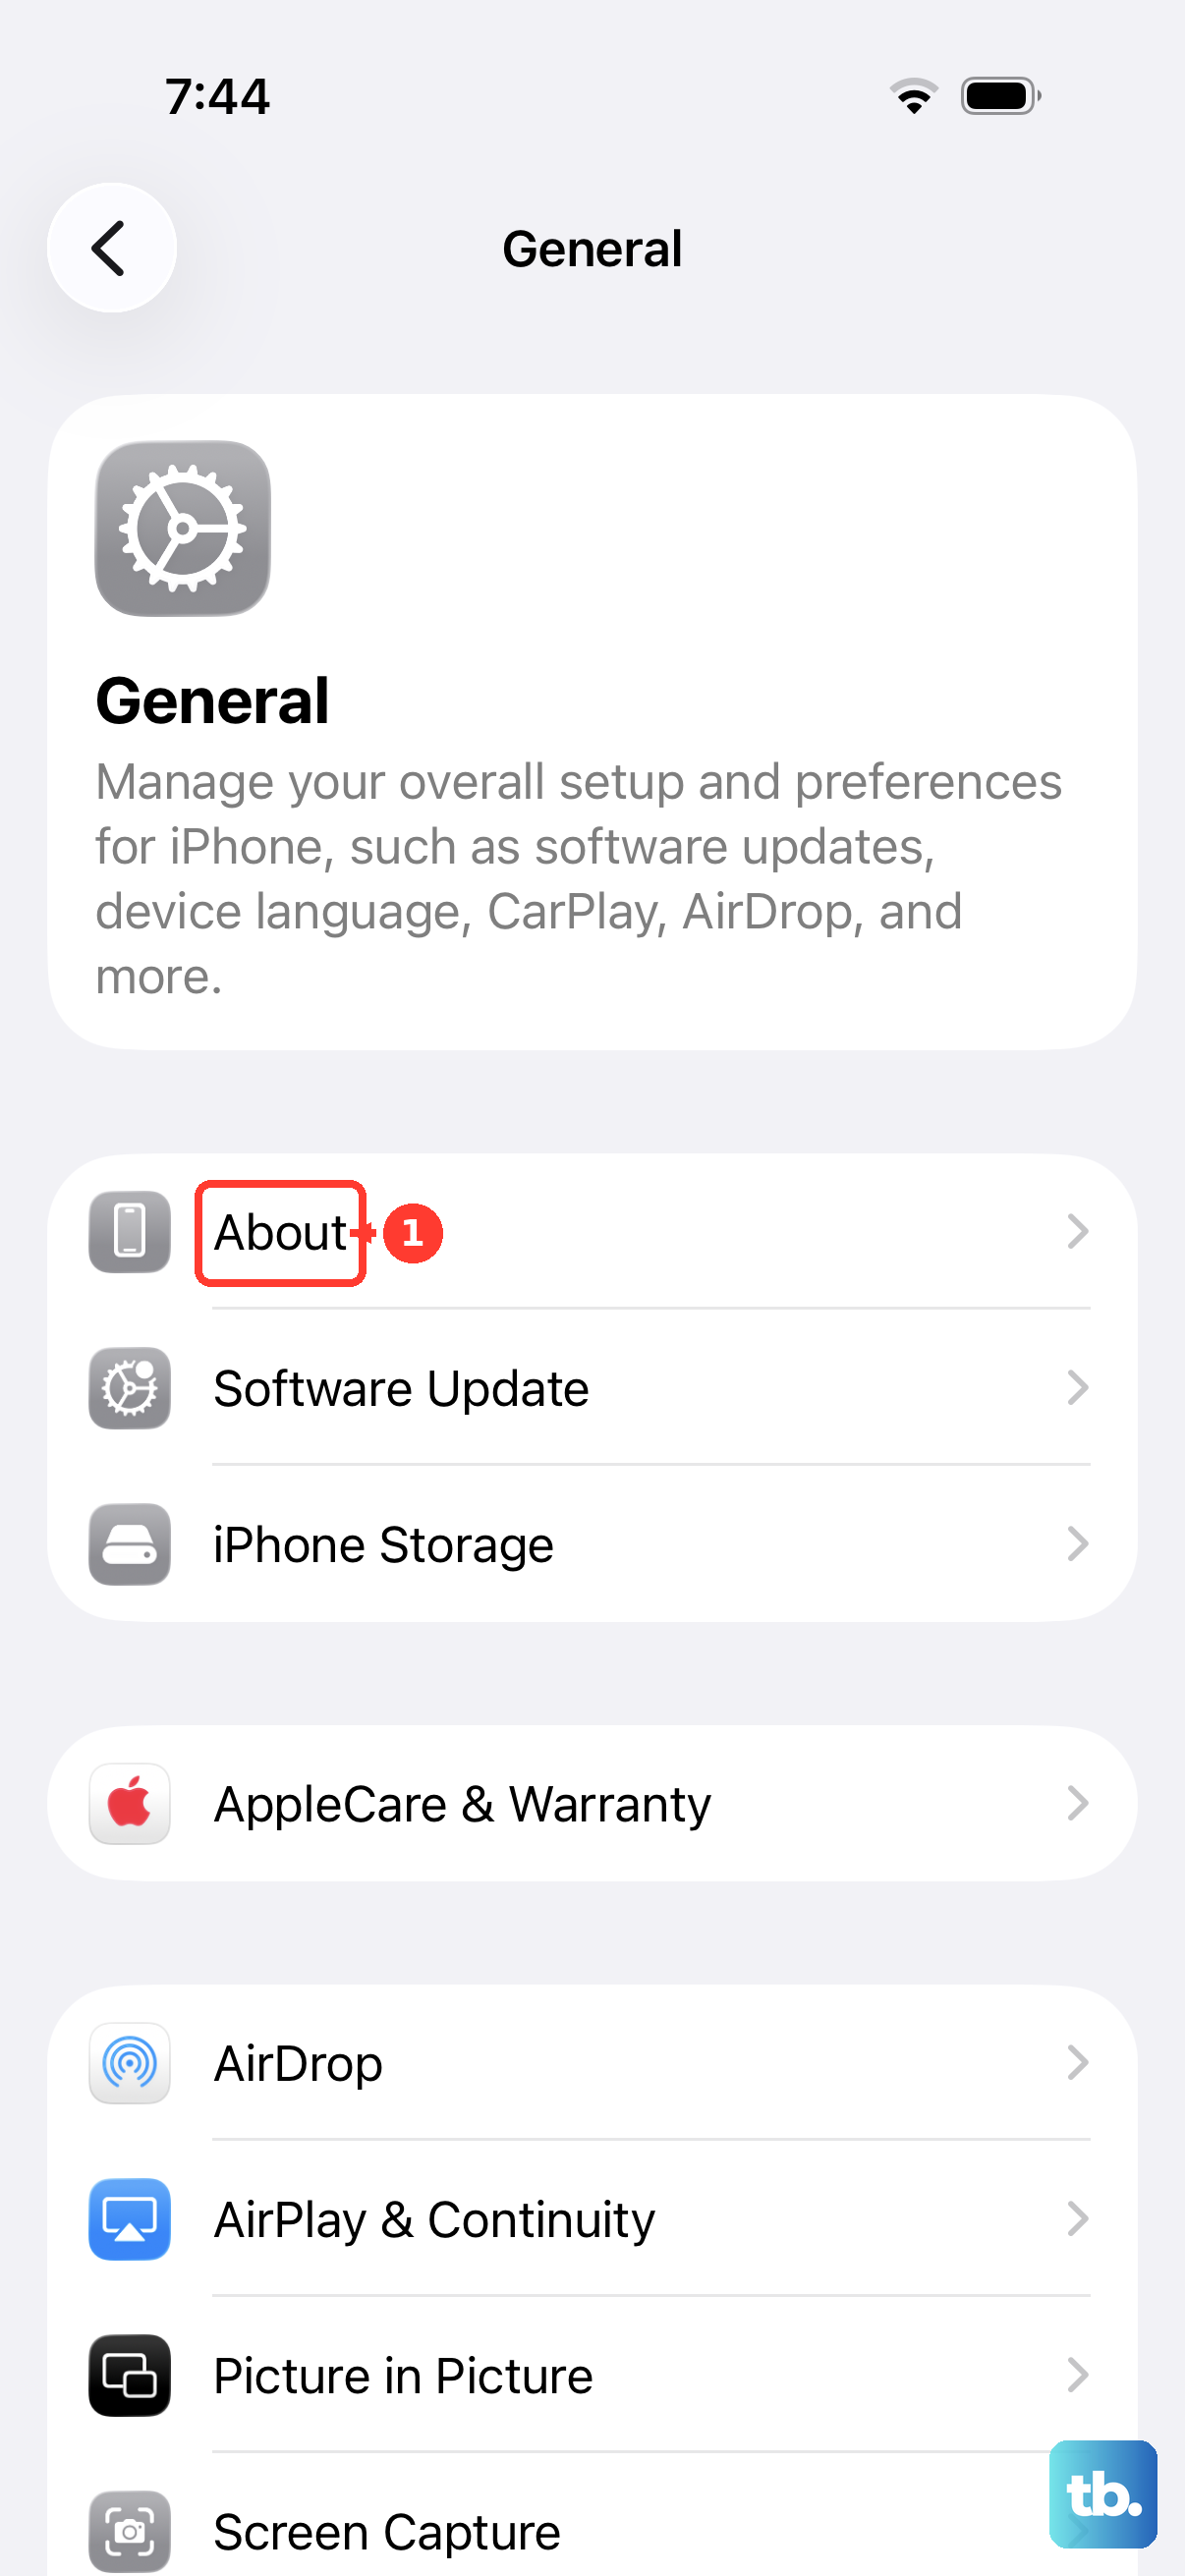
Next, check your account standing. Your device must be fully paid off, not reported lost or stolen, and you should have completed any service contract term. If you’re on a no-contract plan, the phone often needs to have been active on the network for a set period, like 60 days.
Then, submit the request. For most carriers, you do this on their website. Log into your account, find the device unlock section, enter your IMEI, and submit. You’ll usually get a confirmation by email, and the unlock itself can take a few business days.
Complete the Unlock on Your iPhone 17
Once your carrier confirms the unlock is processed on their end, you need to apply it to the phone. The method can vary slightly depending on your carrier and iOS version.
The most common way is to set up a line from a different carrier. U.S. iPhone 17 models are eSIM-only with no SIM tray, so add the other carrier’s eSIM under Settings > Cellular > Add eSIM. On models that still have a tray, power off the iPhone, insert a SIM from another network, and turn it back on.
If the iPhone is unlocked, it connects to the new network. If it’s still locked, you’ll usually see a “SIM Not Supported” or activation error instead. iPhones don’t use a typed unlock code, so you won’t be asked for a “SIM Unlock PIN” or “Network Unlock Code.” If you don’t have another SIM or eSIM, back up your iPhone, erase it, then restore it from the backup to finish the unlock.
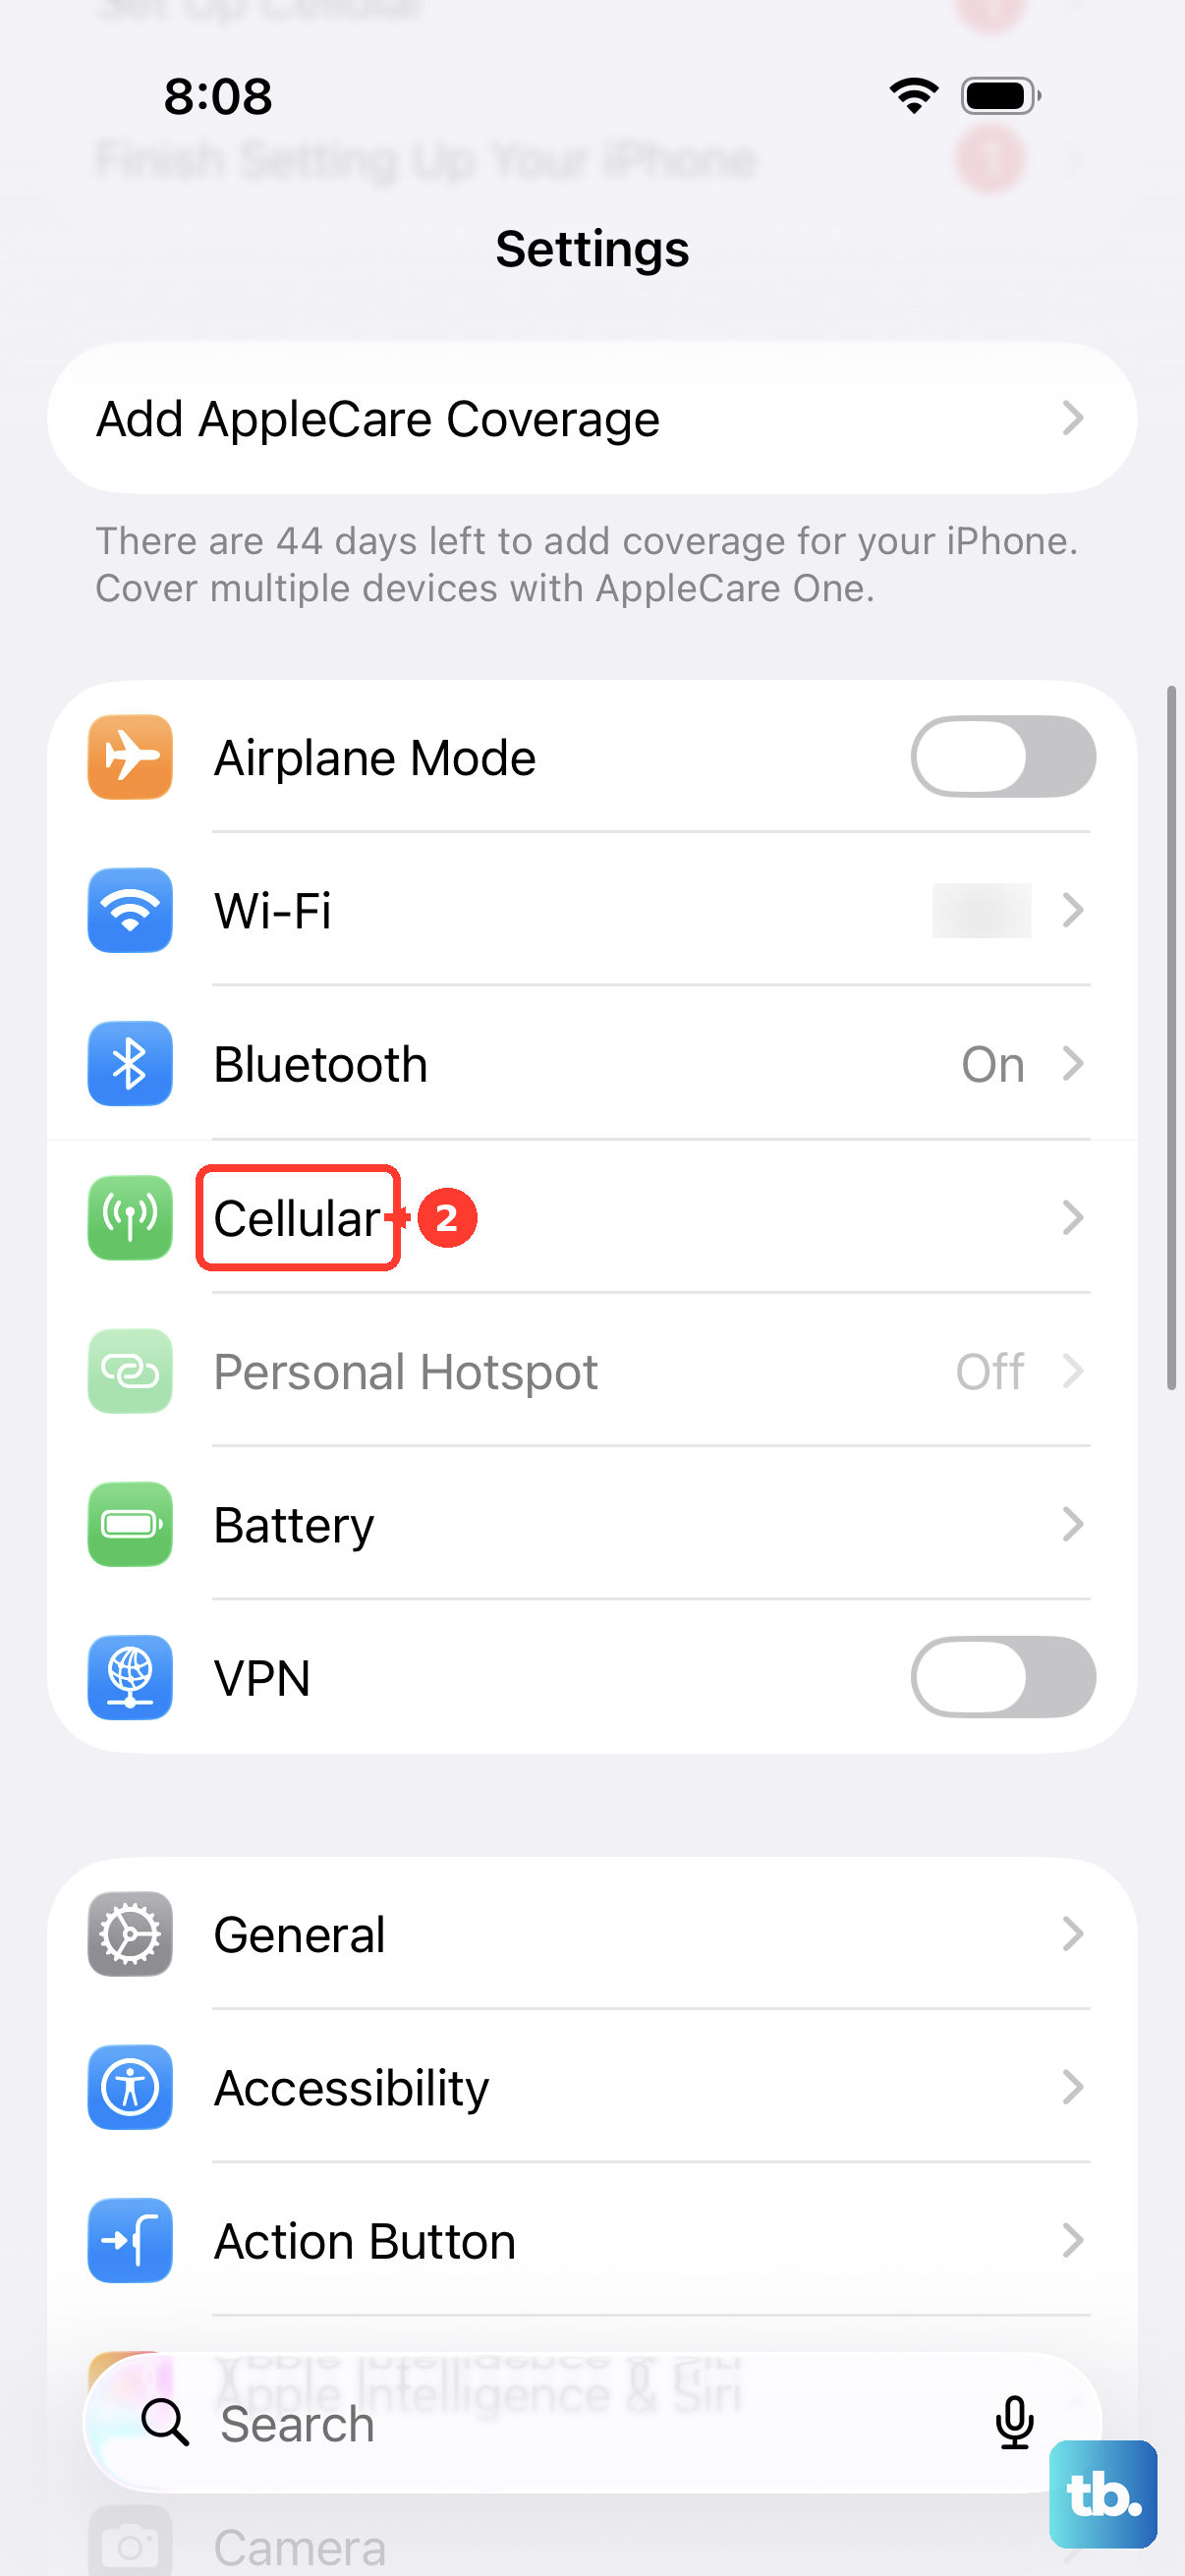
Connect to Wi-Fi and give it a moment. To confirm, go to Settings > General > About. If you see “No SIM restrictions” under Carrier Lock, the process is complete.
If Your Carrier Can’t or Won’t Help
Sometimes you might buy a used iPhone 17 where the original owner can’t be reached, or a carrier denies the request. In these cases, third-party unlocking services are an option. It’s important to choose carefully.
Look for a service with strong reviews and a clear guarantee. They will ask for your iPhone 17’s IMEI number and the original carrier. Only the carrier can actually unlock an iPhone, so a legitimate service has to get the unlock applied to your specific IMEI. Be wary of any site promising “instant” or “free” unlocks, as those are often scams.
These services aren’t free, and how long they take varies. Once the unlock is applied, you finish it the same way as a carrier unlock, by adding a different carrier’s eSIM or inserting its SIM.
Fix Common Unlock Problems
You might run into a few hiccups. If you get a “SIM Not Supported” or “Invalid SIM” message after adding a new line, don’t panic. It usually means the unlock hasn’t fully propagated. First, ensure you’ve received the official confirmation from your carrier. Then, try a full restart: press and quickly release the Volume Up button, press and quickly release the Volume Down button, then press and hold the Side button until you see the Apple logo.
If the phone still won’t activate after the carrier confirms the unlock, stop and check Carrier Lock under Settings > General > About. If it doesn’t say “No SIM restrictions,” contact the provider (your carrier or the third-party service) to verify the unlock was applied to your specific IMEI.
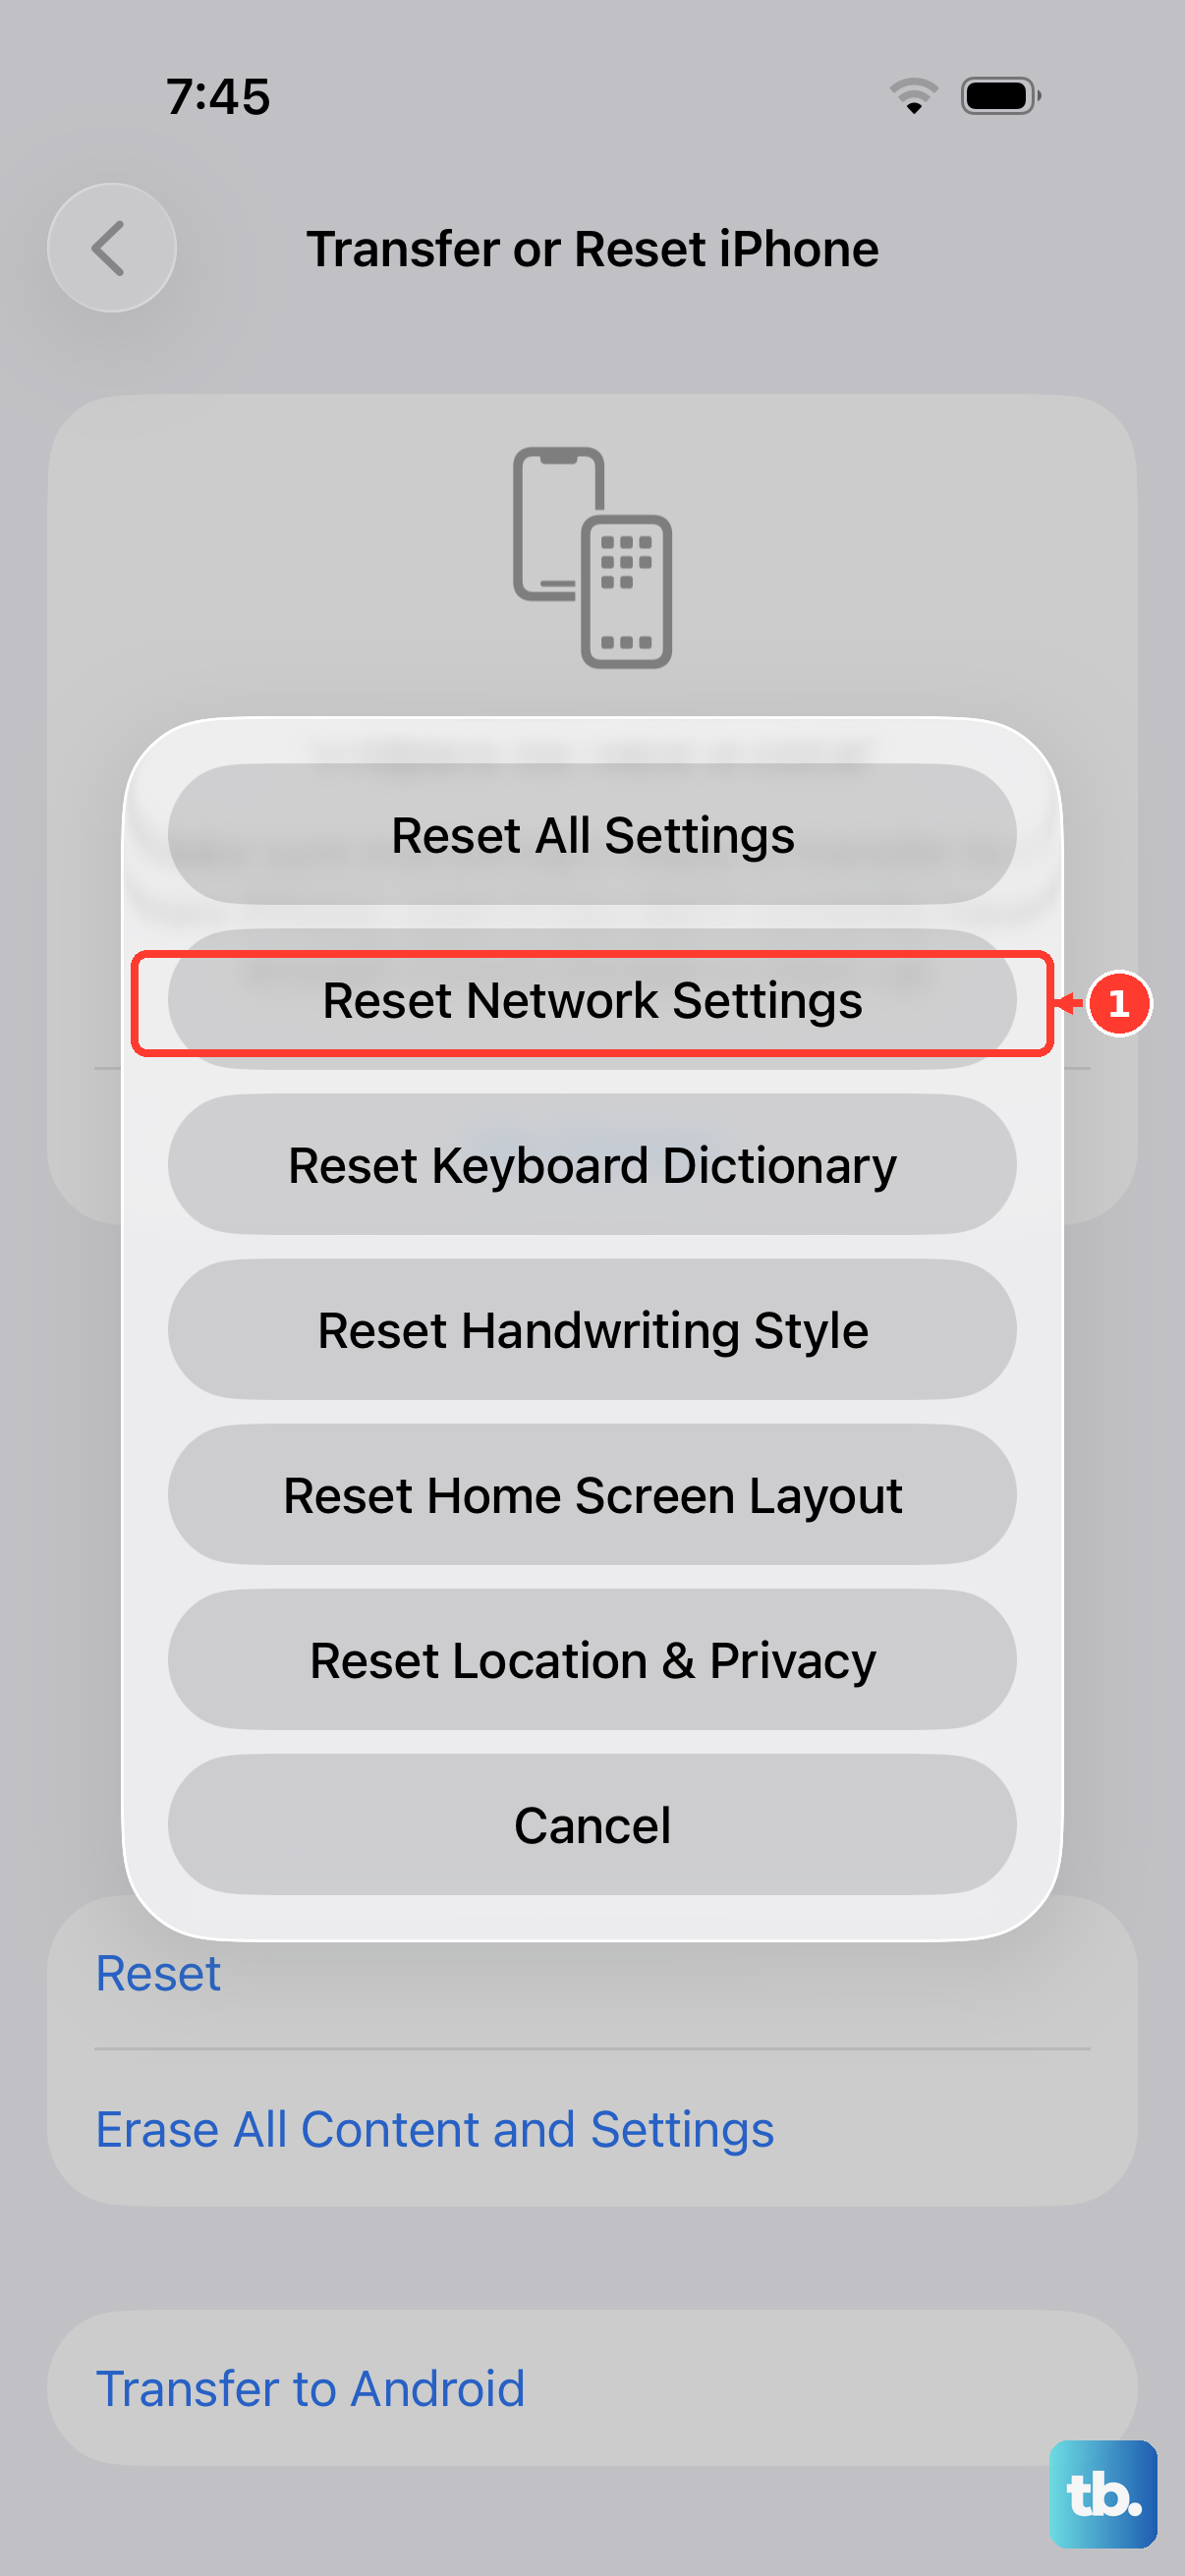
If the phone still won’t connect to the new network, a simple network settings reset often works. Go to Settings > General > Transfer or Reset iPhone > Reset > Reset Network Settings. This will erase Wi-Fi passwords, so be ready for that.
Remember, the unlock is tied to the phone itself, not your Apple Account or iCloud account. Once it’s done, it’s permanent, even through future iOS updates or factory resets. This gives you the freedom to switch carriers, use local SIMs while traveling, and generally increases the resale value of your iPhone 17.