That "No SIM" or "Invalid SIM" message on your iPhone 17 can stop you in your tracks. It's usually a quick fix, though, and you can often get your service back in a minute or two.
I'd start with a force restart. It's the single most effective step for clearing the temporary glitches that cause this error on iOS 26. Press and quickly release the Volume Up button, then quickly press and release the Volume Down button. Immediately after, press and hold the Side button. Keep holding it until you see the Apple logo appear, then let go.
If that doesn't do it, check if Airplane Mode got turned on by accident. Swipe down from the top-right corner of the screen to open Control Center and tap the airplane icon. Wait about ten seconds, then tap it again to turn it off. This forces your phone's cellular modem to reconnect to the network from scratch.
Check Your SIM Card and Tray
Grab the SIM ejector tool that came with your iPhone 17 or use a small paperclip. Turn the phone off completely before you start. Gently push the tool into the small hole on the left side of the frame to pop out the SIM tray.
Take a close look at the SIM card itself. The gold contacts should be clean and free of any scratches, dirt, or corrosion. If you see any debris, gently wipe the contacts with a soft, dry cloth. Blow any dust out of the SIM tray slot on the phone as well.
When you reinsert the tray, make sure the SIM card is seated correctly and the tray goes in smoothly. Don't force it. A misaligned SIM is a common culprit for the "No SIM" error. If you have access to another phone, try your SIM card in it to rule out a faulty SIM.
Update Your Carrier Settings and iOS
Sometimes, the software that tells your iPhone how to talk to your carrier's network needs an update. Go to Settings > General > About. If a carrier settings update is available, a prompt will appear right on this screen. Just tap "Update" if you see it.
Next, check for a full iOS update. Head to Settings > General > Software Update. If iOS 26.1 or a newer version is waiting, install it. Major updates can sometimes introduce temporary bugs that affect cellular connectivity, and a subsequent point release often fixes them.
Reset Your Network Settings
This is a more thorough step that clears out all your saved Wi-Fi passwords, Bluetooth pairings, and cellular network configurations. It won't delete your photos or apps, but you will have to reconnect to Wi-Fi networks and re-pair Bluetooth devices afterward.
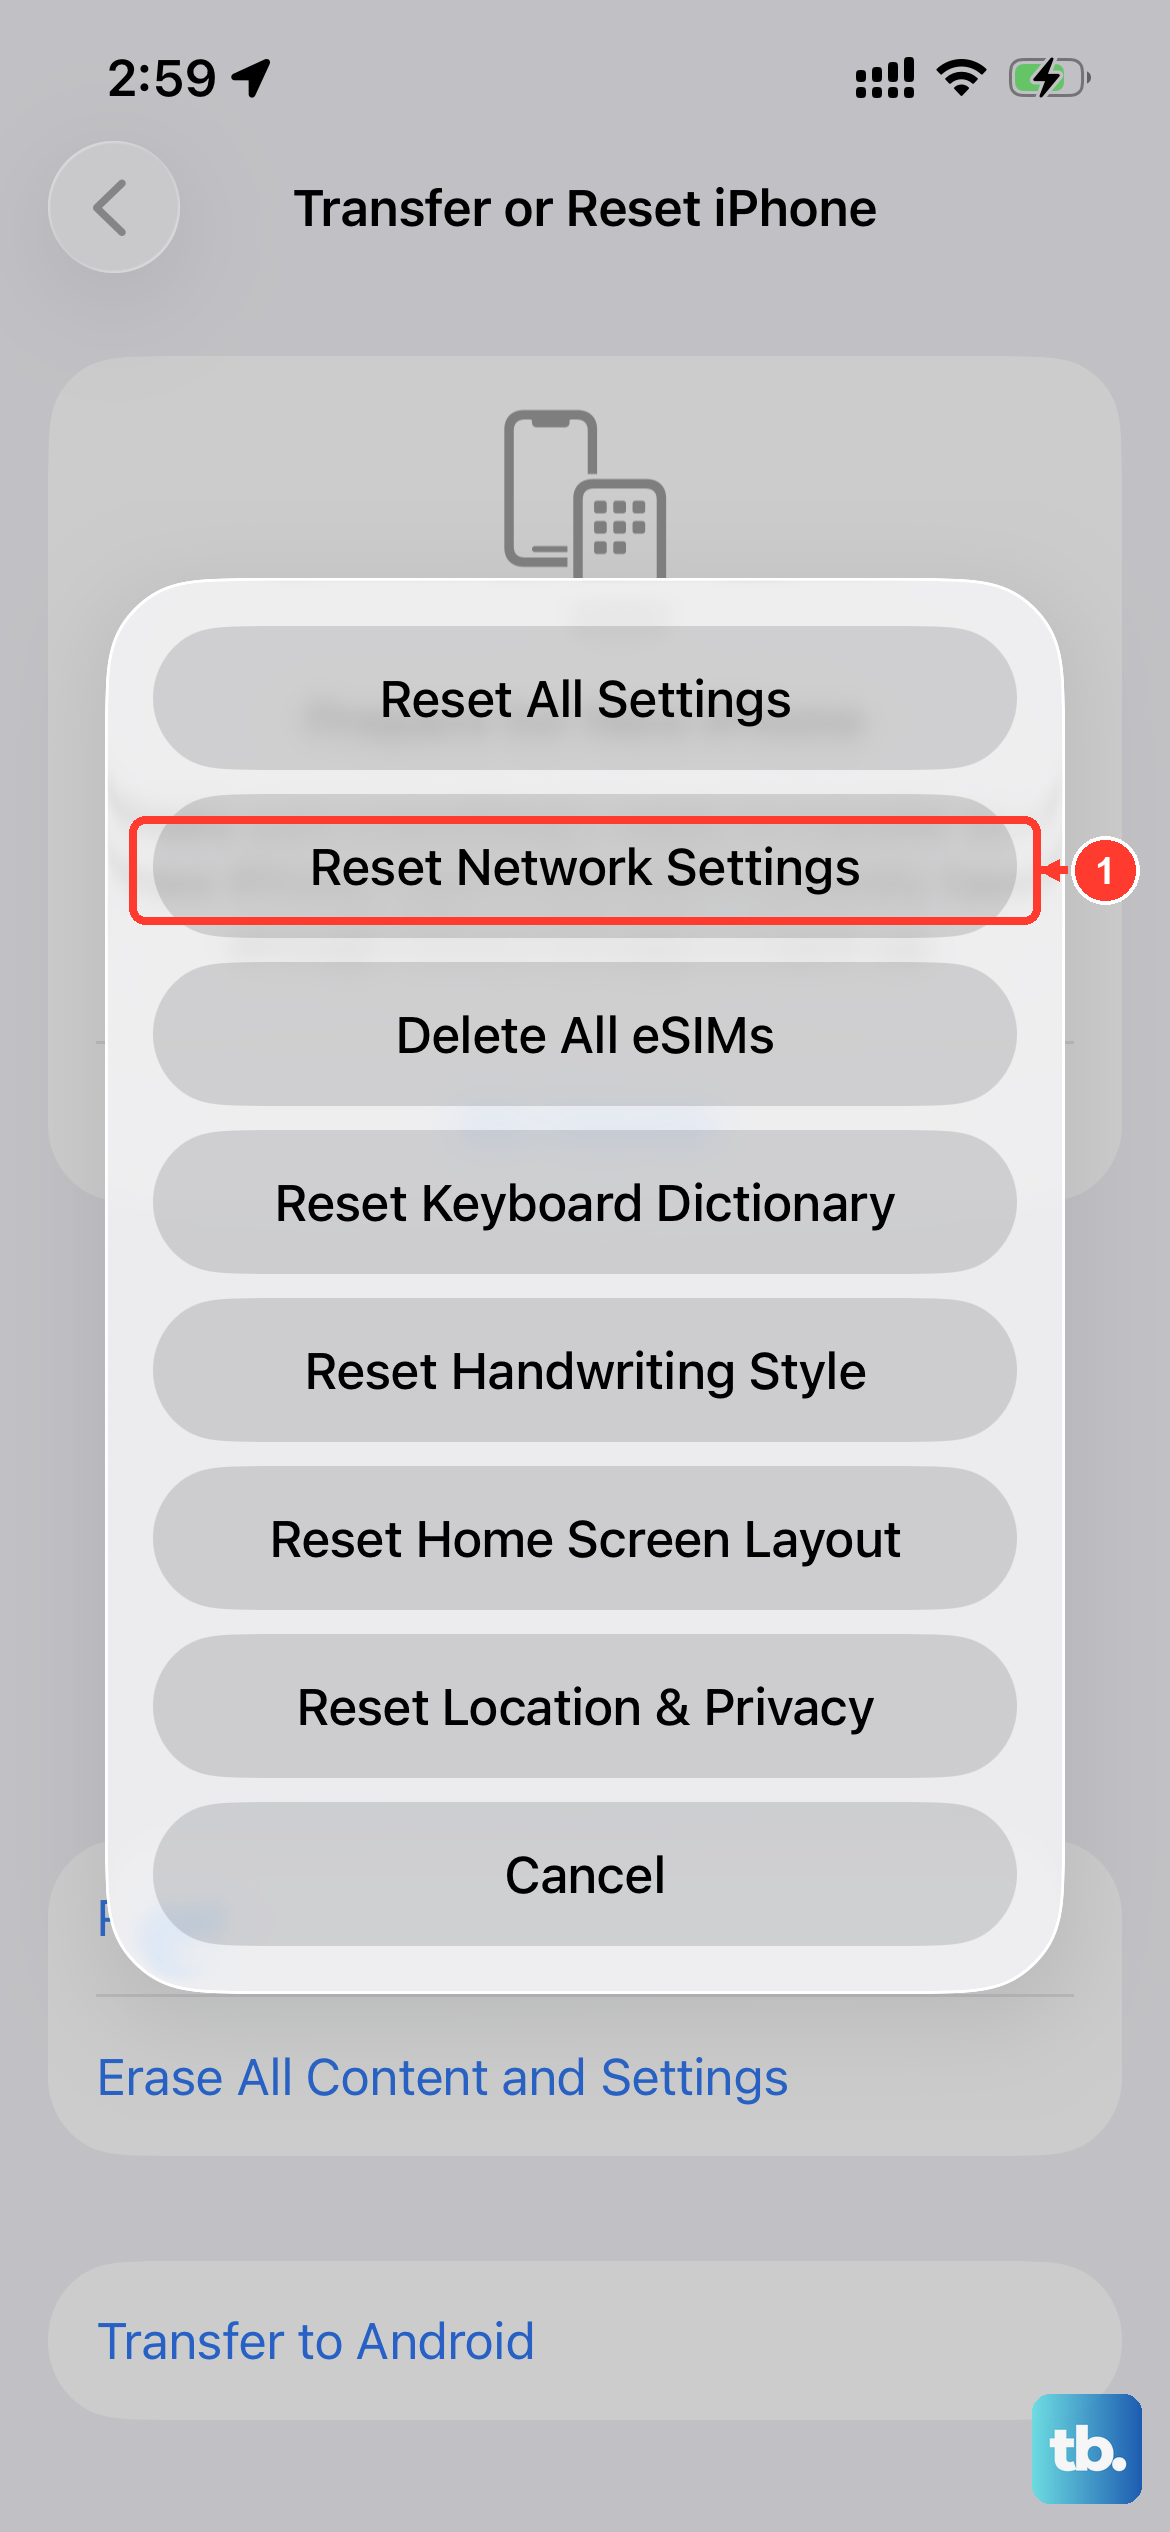
To do it, open Settings, go to General, and scroll down to Transfer or Reset iPhone. Tap on Reset, and then select Reset Network Settings. Enter your passcode when prompted and confirm. Your iPhone 17 will restart, and this often resolves persistent SIM detection issues.
Check for a Physical SIM Tray Issue
The SIM tray on the iPhone 17 is quite slim. If it's bent even slightly from a drop or impact, it might not make a proper connection. Inspect the tray itself for any warping. Also, look inside the phone's SIM slot with a flashlight to check for any visible damage or packed-in lint.
If you've recently switched from a physical SIM to an eSIM on your iPhone 17, make sure the old physical SIM is completely deactivated with your carrier. Having two lines trying to use the same number can cause conflicts and errors.
Try Manually Selecting Your Network
Your iPhone usually picks the best network automatically, but sometimes this process gets stuck. You can give it a nudge by going to Settings > Cellular. Tap Network Selection and turn off the "Automatic" toggle.
Your phone will search for available networks for a moment. When the list appears, select your carrier's name from it. Wait a minute, then go back and turn "Automatic" selection back on. This manual refresh can kickstart a connection.
Consider Switching to an eSIM
If you keep having trouble with a physical SIM card, moving to an eSIM is a very reliable solution. The iPhone 17 fully supports eSIM, and it eliminates the potential for tray or contact problems. Contact your carrier's support and ask them to help you convert your physical SIM to a digital eSIM profile.
The process usually involves scanning a QR code provided by your carrier in your phone's settings. Once activated, your eSIM works just like a physical one but is built directly into the phone's software.
Review Your Cellular Plan and Settings
It's worth a quick call or online chat with your carrier to make sure there's no outage in your area and that your account is in good standing. Sometimes a billing issue can suspend service, which can appear as a SIM error on the phone.
Also, double-check your cellular settings on the phone. Go to Settings > Cellular and ensure your line is turned on. Tap on your cellular plan and make sure "Turn On This Line" is enabled and that Voice & Data is set to a suitable option like "5G Auto."
Perform a Clean Restore via a Computer
If you suspect deep software corruption, restoring your iPhone 17 through a computer can help. This is a last resort before looking at hardware. First, make a full backup to iCloud or your computer.
Then, connect your iPhone to a Mac or PC with a cable. On a Mac with macOS or a PC with iTunes, put your iPhone into Recovery Mode. For the iPhone 17, you do this by pressing and quickly releasing the Volume Up button, then the Volume Down button, then pressing and holding the Side button until you see the Recovery Mode screen.
In Finder or iTunes, choose the "Restore" option. This will install a fresh, clean copy of iOS 26. After it's done, you can set up the phone as new to test the SIM, or restore from your backup.


