A DNS cache problem makes websites fail to load, open the wrong destination, or behave differently on one device than another. The fix depends on where the stale DNS answer is stored: the router, the device, or the browser. Start by narrowing that down, then use the matching reset below.
1. Find where the DNS problem starts
Test the same website on two devices connected to the same Wi-Fi network.
When both devices fail the same way, restart the modem and router before changing settings on a laptop or phone.
Unplug the router power.
Unplug the modem power. If the modem lights stay on, remove the backup battery.
Wait at least 30 seconds.
Replace the battery if you removed one.
Plug the modem back in and wait for the lights to stop blinking.
Plug the router back in.
When the problem stays on one device, use that device's DNS reset. When the problem appears in only one browser, skip to the browser section.
2. Flush DNS on Windows
Windows has the fastest direct DNS cache reset, and it works on Windows 11 and Windows 10.
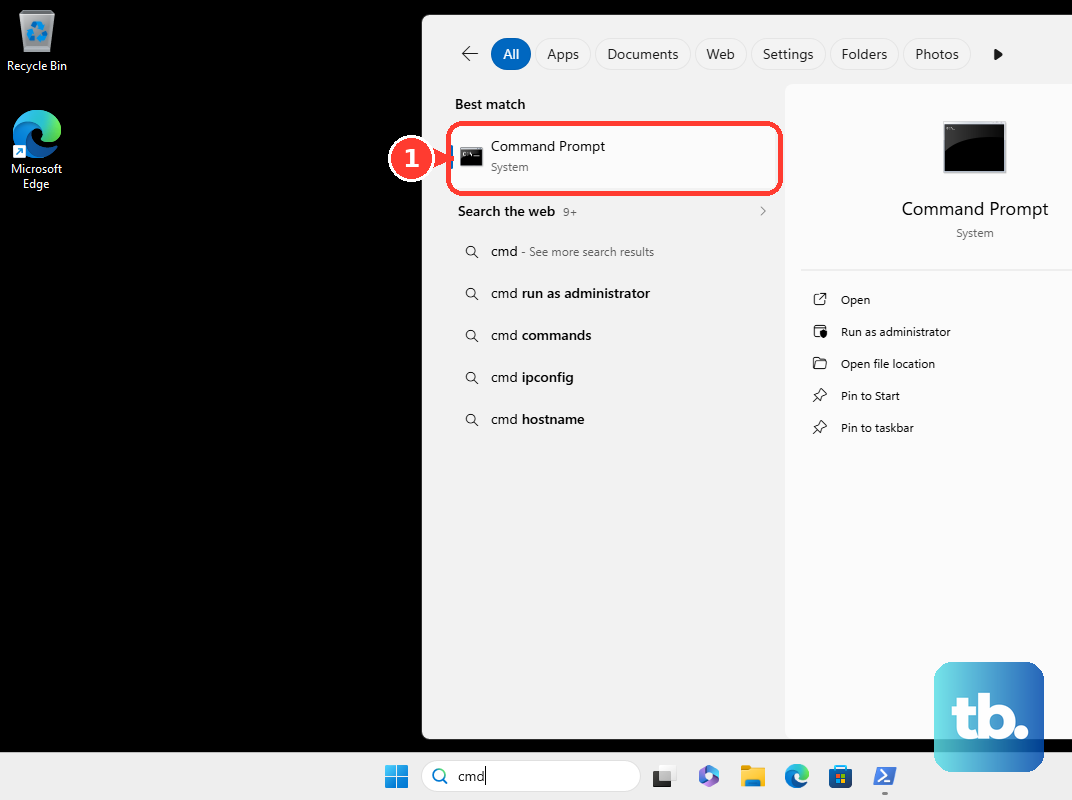
- 1.Open Search on the taskbar.
- 2.Type Command Prompt.
- 3.Select Run as administrator.
- 4.Select Yes.
- 5.Type ipconfig /flushdns, then press Enter.
You can do the same job from PowerShell. Open Windows PowerShell or Terminal as administrator, then run Clear-DnsClientCache.
When DNS trouble is part of a wider Windows connection failure, open Command Prompt as administrator and run these in order: netsh winsock reset, netsh int ip reset, ipconfig /release, ipconfig /renew, and ipconfig /flushdns.
3. Refresh DNS on Mac
Open Applications > Utilities > Terminal, or press Command-Space and open Terminal.
Run sudo dscacheutil -flushcache; sudo killall -HUP mDNSResponder.
Enter the administrator password when prompted.
macOS clears its DNS cache from Terminal, then lets you refresh the network details received from the router. If the same Wi-Fi network keeps failing, renew the DHCP lease. Open Apple menu > System Settings > Network, select the network service, open Details > TCP/IP, choose Renew DHCP Lease, then select OK.
For one bad saved Wi-Fi network, open Apple menu > System Settings > Wi-Fi > Details for the connected network, choose Forget This Network, then reconnect.
4. Reset DNS behavior on phones and tablets
iPhone and iPad do not provide a dedicated DNS-cache flush button in Apple's consumer settings. Restart first, then reset network settings only when the restart does not fix the DNS behavior.
On iPhone X or later, press and hold the side button and either volume button until the power-off slider appears, drag the slider, wait 30 seconds, then press and hold the side button until the Apple logo appears.
On iPhone 6, iPhone 7, iPhone 8, or iPhone SE (2nd or 3rd generation), press and hold the side button, drag the slider, wait 30 seconds, then press and hold the side button again. On iPhone SE (1st generation), iPhone 5, or earlier, press and hold the top button instead.
For a deeper iPhone reset, open Settings > General > Transfer or Reset iPhone > Reset > Reset Network Settings.
Reset Network Settings removes network settings, saved Wi-Fi networks and passwords, non-profile VPN settings, and APN settings, then turns Wi-Fi off and back on.
On Android, swipe down from the top of the screen, touch and hold Internet, then tap Reset. For one bad saved network, open Settings > Network & internet > Internet, touch and hold the saved network, tap Forget, then reconnect.
5. Fix DNS on a Chromebook
Make sure the Chromebook is connected to Wi-Fi.
Select the time at the bottom right.
Select the Wi-Fi Network.
Select the wireless network name.
Open Network.
Under Name servers, choose Google name servers, or choose Custom name servers and enter a DNS server address.
On ChromeOS, Google's DNS-error fix starts with name servers for the active Wi-Fi network. To reset a saved Wi-Fi network instead, select the time at the bottom right, open Settings > Network > Wi-Fi > Known networks, find the network, choose More > Forget, then reconnect.
6. Clear DNS inside the browser
A browser can keep its own DNS cache, separate from the operating system.
Chrome: enter chrome://net-internals/#dns in the address bar, then select Clear host cache. Open chrome://net-internals/#sockets and select Flush socket pools when reused connections keep the failure active.
Microsoft Edge: enter edge://net-internals/#dns in the address bar, then select Clear host cache. Open edge://net-internals/#sockets and select Flush socket pools for the socket reset.
Firefox: enter about:networking#dns in the address bar, then select Clear DNS Cache.
Use these steps when one browser fails and another browser works. Ignore old Chrome tutorials that tell you to inspect a full cached-host list on chrome://net-internals/#dns. That older event-viewer behavior is legacy; use the remaining Clear host cache control when it appears.
7. Change the DNS server path
Clearing a cache removes stored answers. Changing DNS servers fixes the path when the same resolver keeps handing bad answers back to the device.
On Windows, open Settings > Network & internet. For Wi-Fi, open Wi-Fi > Manage known networks and choose the network. For Ethernet, open Ethernet and select the connected network. Next to IP assignment, select Edit, set Edit IP settings to Manual, turn on IPv4 or IPv6, enter Preferred DNS and Alternate DNS, then select Save.
On Mac, open Apple menu > System Settings > Network, select the network service, open Details > DNS, then use Add or Remove under DNS Servers.
On Android, open Settings > Network & internet > Private DNS, choose Off, Automatic, or Private DNS provider hostname, enter the provider hostname when required, then select Save. Search Settings for Private DNS when the manufacturer uses a different menu path.
8. Check Secure DNS before resetting everything
Chrome: open More > Settings > Privacy and security > Security. Under Advanced, change Use secure DNS, then choose the current service provider or a custom service provider.
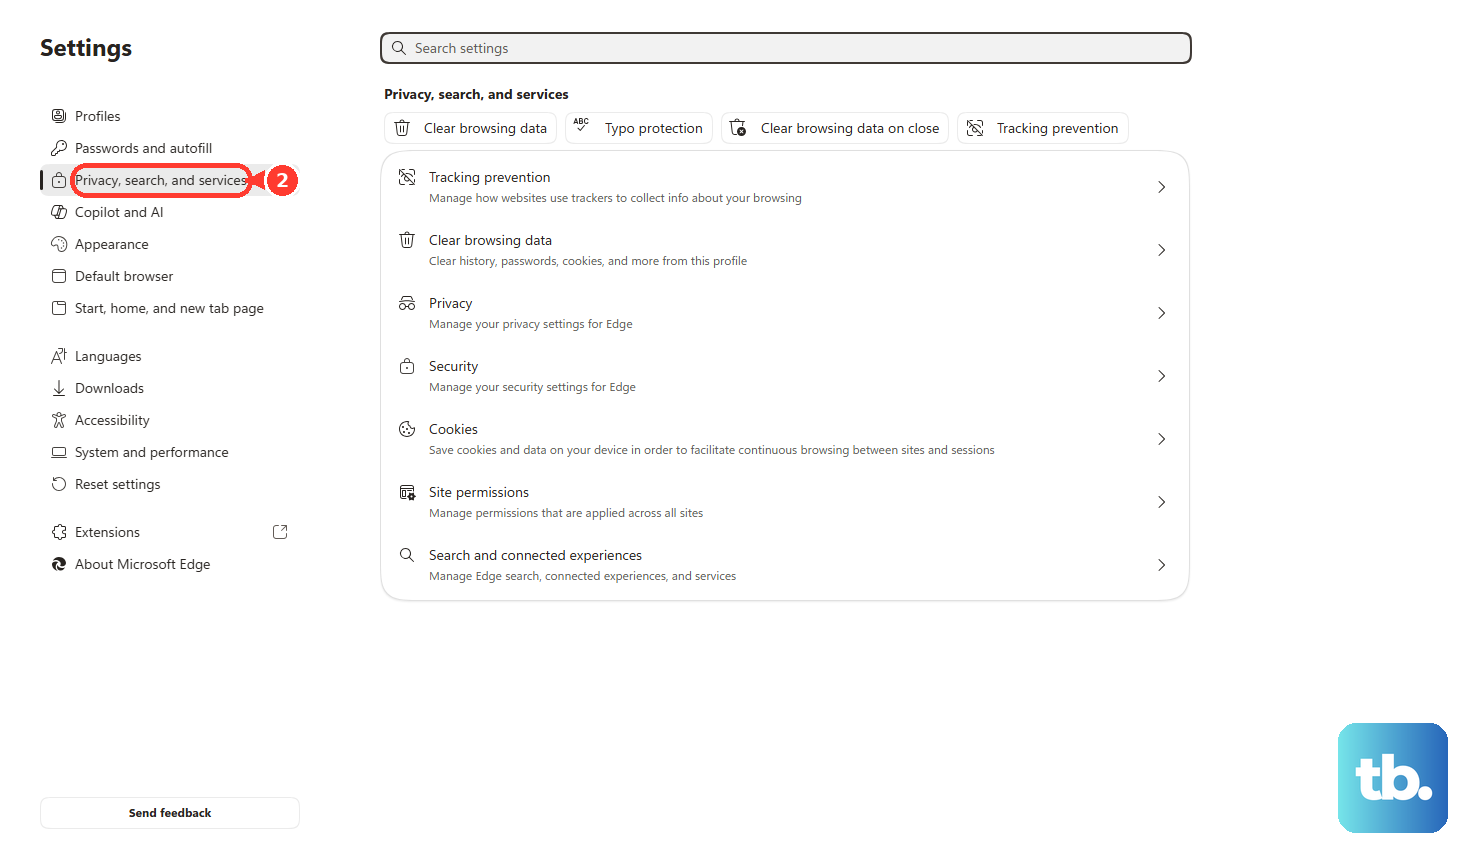
Microsoft Edge: open Settings and more > Privacy, search, and services > Security, then change Use secure DNS to specify how to lookup the network address for websites.
Firefox desktop: open Settings > Privacy & Security > DNS over HTTPS > Advanced settings, then choose Default Protection, Increased Protection, Max Protection, or Off.
Firefox for Android: open Settings > DNS over HTTPS, then choose Default Protection, Increased Protection, Max Protection, or Off.
Chrome, Edge, and Firefox can use Secure DNS or DNS over HTTPS, so browser DNS can differ from system DNS. Change this only for the browser where the DNS failure appears. School and work browsers can also enforce DNS-over-HTTPS by policy. In that case, the browser setting belongs to the administrator.
9. Escalate to full network repair
Use these repairs after router restart, DNS flush, browser cache clearing, and DNS-server changes fail.
On Windows 11, open Settings > Network & internet > Advanced network settings > Network reset. On Windows 10, open Settings > Network & Internet > Status > Network reset. Windows removes and reinstalls network adapters and resets networking components.
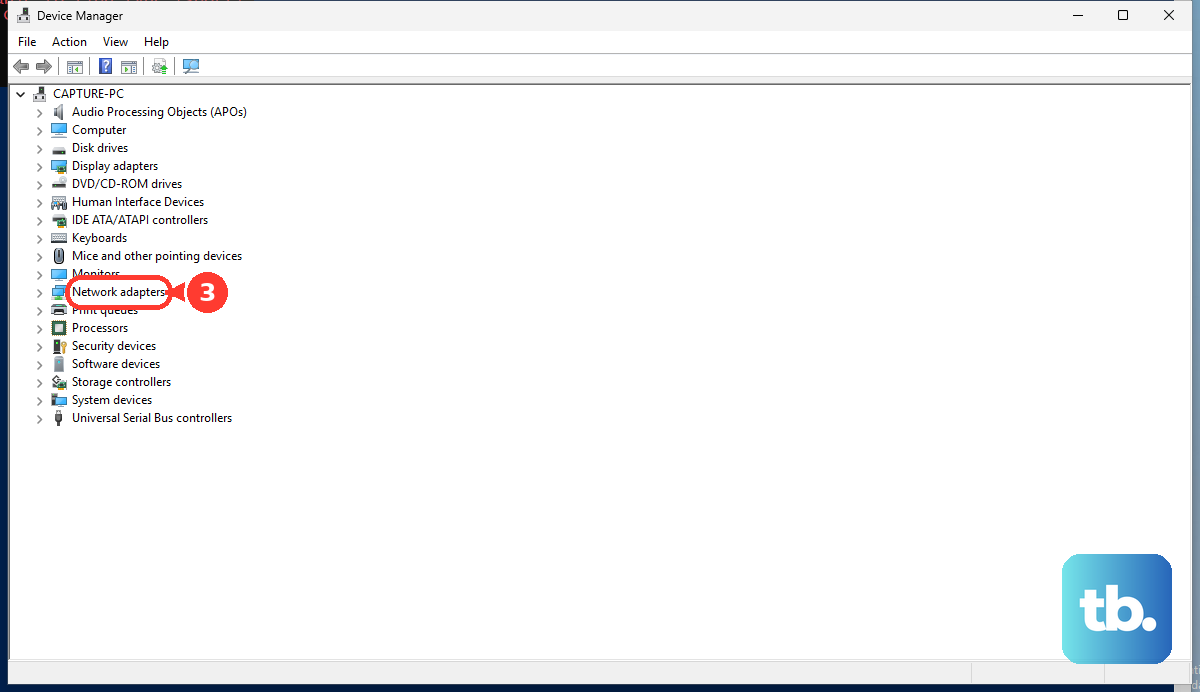
If DNS-like failures began after a driver or network update, open Device Manager, expand Network adapters, select the adapter, choose Uninstall device, then restart the computer. Windows automatically installs the latest driver after restart; keep a PC-maker driver backup available when the PC will be offline.
A stale Windows Hosts file also creates DNS-like failures. Create a new default hosts file in Notepad, save it as type All files (*.*) with file name hosts, search for %WinDir%\System32\Drivers\Etc, rename the existing Hosts file to Hosts.old, copy the new hosts file into that folder, then select Continue when prompted.
On iPhone or iPad, a DNS, VPN, filtering, school, or work profile can override normal DNS behavior. Open Settings > General > VPN & Device Management, select the configuration profile, then choose Remove Profile when it is a personal profile you control. Managed Apple devices can also receive DNS settings through device management, including DNS over HTTPS or DNS over TLS payloads.
Frequently Asked Questions
What is the fastest way to fix a DNS cache problem?
On Windows, run ipconfig /flushdns from an administrator Command Prompt. On Mac, run the mDNSResponder flush command in Terminal. If every device on the Wi-Fi has the same issue, restart the modem and router first.
Why does one browser still fail after I flush DNS on the computer?
Chrome, Edge, and Firefox keep browser-level DNS data and can use Secure DNS or DNS over HTTPS. Clear that browser's DNS cache, then check its secure DNS setting.
Does iPhone have a DNS cache flush button?
No. Apple's current consumer settings provide restart, Reset Network Settings, and profile removal paths, not a dedicated DNS-cache flush button.
When should I change DNS servers?
Change DNS servers after clearing the cache when the same network keeps returning bad DNS answers. Windows, Mac, Android, and Chromebook all expose DNS or name-server settings in the researched paths.
Should I use discoveryutil on a current Mac?
No. discoveryutil DNS commands belong to old OS X Yosemite 10.10.0 through 10.10.3 guidance. Current Mac steps use dscacheutil with mDNSResponder.