Windows 10 gives you plenty of options to customize your Start menu exactly how you want it. If you prefer a cleaner look without the full list of apps cluttering your view, you can easily hide the app list while keeping all your pinned tiles and shortcuts.
This simple setting change removes the alphabetical app list from the left side of your Start menu, giving you a more streamlined interface focused on the apps you use most.
Hide the App List in Start Menu Settings
Follow these steps to remove the app list from your Windows 10 Start menu:
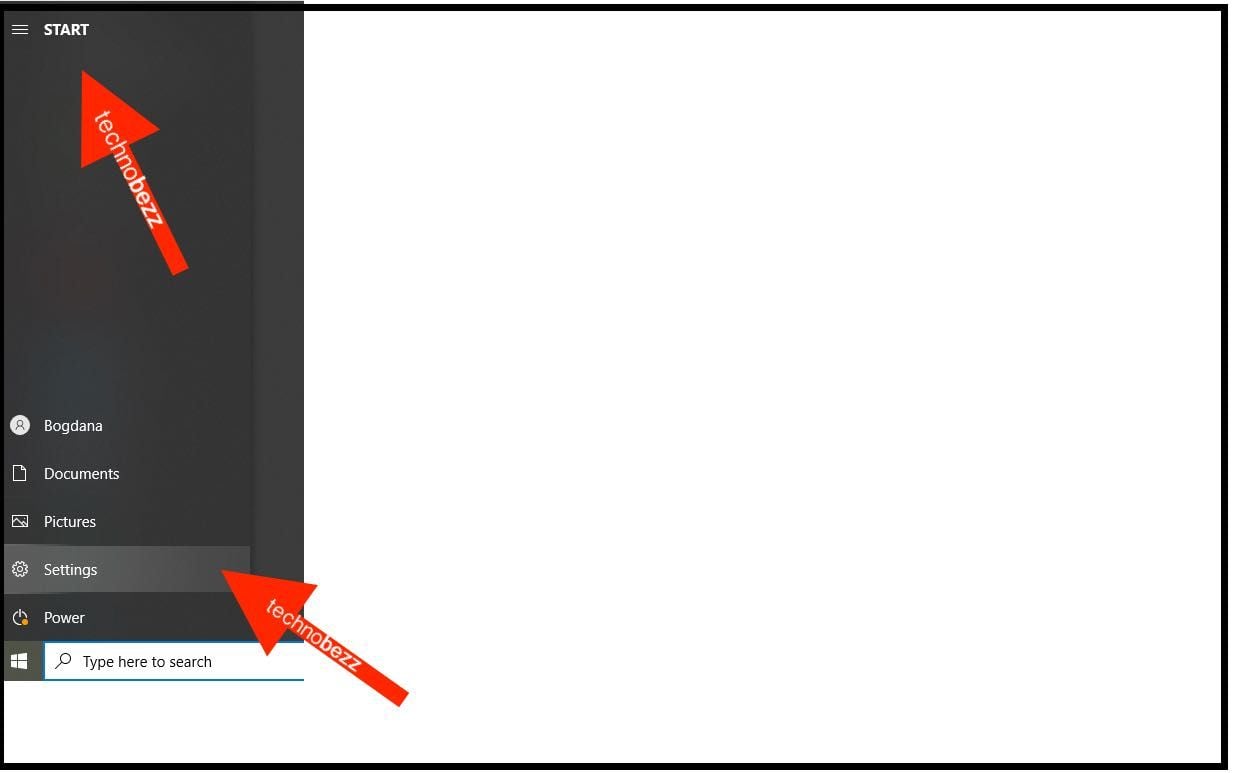
- 1.Click the Start button in the bottom-left corner of your screen
- 2.Select the gear icon to open Settings
- 3.
 Click to expand
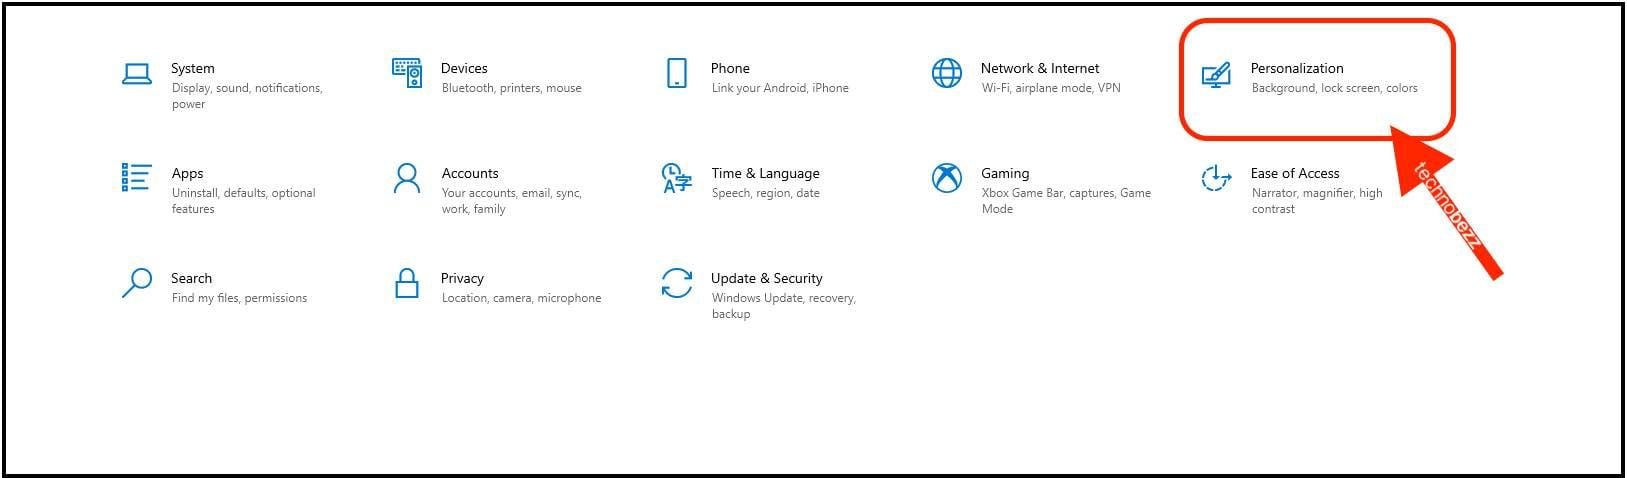
 - 4.Choose Personalization from the Settings menu
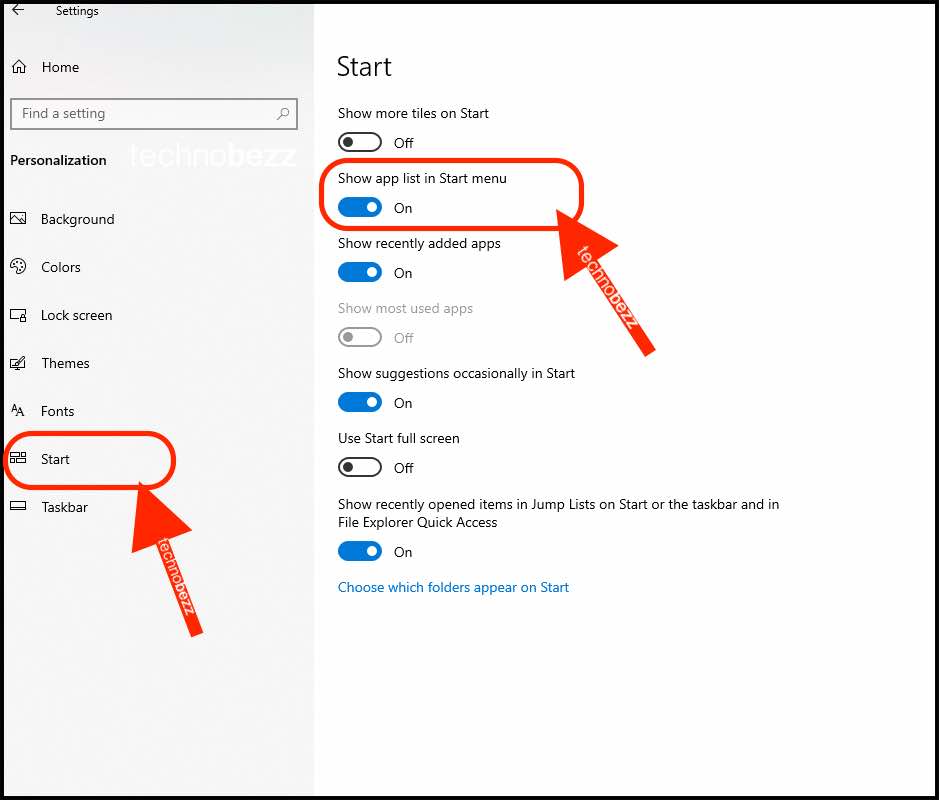
- 5.Click Start in the left sidebar
- 6.
 Click to expand
 - 7.Find the option labeled "Show app list in Start menu"
- 8.
 Click to expand
 - 9.Toggle the switch to Off position
That's all it takes. The next time you open your Start menu, you'll notice the alphabetical app list is gone, leaving just your pinned tiles and any folders you've added.
Bringing Back the App List
If you change your mind and want the app list back, simply return to Settings > Personalization > Start and toggle the "Show app list in Start menu" switch back to On.
This setting gives you control over your Start menu's appearance without affecting your installed applications. All your apps remain accessible through search or by pinning them to the Start menu as tiles.