You need to turn several files or a folder into one ZIP file so it is easier to upload, send, or store. Windows handles basic ZIP creation directly in File Explorer, and the built-in command-line tools cover repeatable jobs. Start with the fastest Windows option, then use the app or web method only when your files already live there or you need that tool's controls.
1. Create a ZIP from File Explorer
For a normal Windows ZIP, use the current File Explorer menu. It is the quickest path when the files are already on your PC.
- 1.Open File Explorer.
- 2.Select the file, files, or folder you want to compress.
- 3.Right-click the selection, or press and hold it on a touch device.
- 4.Choose Compress to.
- 5.Select ZIP File.

Windows creates the ZIP in the same location as the selected items. Rename it before you upload, email, or move it.
2. Use Send to when Compress to is missing
Open File Explorer, then select the file, files, or folder you want to zip. Right-click the selection, or press and hold it.
Choose Show more options, then choose Send to. Select Compressed (zipped) folder.
The Send to path is still Microsoft-documented and belongs in one situation: the newer Compress to menu is not available on the PC in front of you. Use Compress to > ZIP File first on current Windows 11 builds, and use Send to only as the fallback menu when that current option is not shown.
3. Open Additional options for archive controls
Use this route when you want the Windows compression wizard instead of the one-click ZIP command. Open File Explorer, then select the files or folders you want to archive.
Right-click the selection and choose Compress to. Select Additional options, choose ZIP or another available archive option, and create the archive.
Current Windows 11 builds with the expanded archive menu give you more choices from File Explorer. This applies to Windows 11 builds that include KB5039302 and later, including current Windows 11 24H2 and 25H2 builds.
4. Add forgotten files to an existing ZIP
Open File Explorer, then create the ZIP or open the existing zipped folder. Select the extra files or folders and drag them into the zipped folder.
You do not need to rebuild the archive when one file gets left out. File Explorer lets you add more items directly to an existing zipped folder, and the built-in Compressed Folders feature adds those items to the ZIP.
5. Run PowerShell for a repeatable ZIP
PowerShell is the cleanest Windows option when you want an exact source path and destination path. Open Windows Terminal or PowerShell, then run Compress-Archive -Path "C:\Path\To\Source" -DestinationPath "C:\Path\To\Archive.zip".
To zip the contents of a folder instead of the folder itself, run Compress-Archive -Path "C:\Reference\*" -DestinationPath "C:\Archives\Draft.zip". Compress-Archive is documented for Windows PowerShell 5.1 and PowerShell 7.x with the Microsoft.PowerShell.Archive module.
6. Build a ZIP with Windows tar
Open Command Prompt, PowerShell, or Windows Terminal. Change to the parent folder that contains the folder you want to zip, then run tar -caf archive.zip .\my-folder.
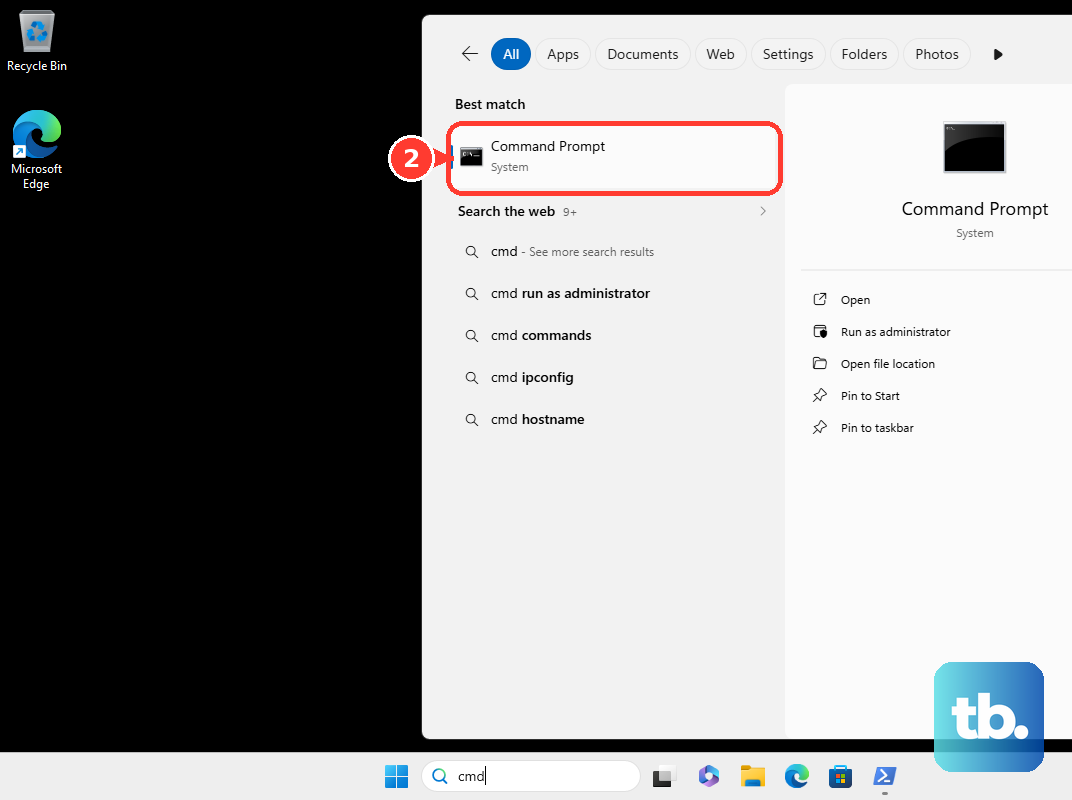
Windows also includes tar, and Microsoft documents it as able to create .zip archives. Use it when you are already working in a terminal. The command uses the name tar, but the -caf example above creates a ZIP file when the output name ends in .zip.
7. Pick a ZIP app for extra controls
Windows covers ordinary ZIP files. Choose a dedicated archive app when you already use one, prefer its interface, or need third-party archive features such as encrypted archive operations that Windows 11 built-in compressed folders do not support.
7-Zip is the direct choice for a free Windows ZIP utility. Download it from the official 7-Zip page, install the Windows package for your CPU type, then select your files in File Explorer, right-click, choose Show more options if Windows shows the compact menu, choose 7-Zip, select Add to archive..., set Archive format to zip, and choose OK. From the command line, 7-Zip can create a ZIP with 7z a archive1.zip subdir\.
WinRAR also creates ZIP files. Select the files or folders in File Explorer, right-click, choose WinRAR, select Add to archive..., choose Archive format > ZIP, and choose OK. For command-line ZIP creation, use WinRAR.exe, because the vendor FAQ notes that the separate RAR command-line tool does not support ZIP creation.
PeaZip works from the File Explorer menu or from the main app. With context-menu integration enabled, select the files, right-click, choose Show more options if Windows shows the compact menu, choose PeaZip, select Add to archive, choose ZIP, and create the archive. For a faster path, choose Add to .ZIP. In the PeaZip app, select files and folders, choose Add or Convert, set the archive format to ZIP, set the output name and path, and create the archive.
WinZip is another current Windows option. Open WinZip, select files in the Files pane, choose Add to Zip, select Save as in the Actions pane, choose a target location, type a name, and select Save. From File Explorer, select the files or folders, right-click the highlighted area, open the WinZip submenu, then choose Add/Move to Zip file or Add to [filename].zip(x).
8. Download Dropbox folders as a ZIP
Log in to dropbox.com, then hover over one item and click its checkbox. Click the checkboxes for the other files or folders you want, then choose Download.
When the files are already in Dropbox, use the Dropbox website and download them as one ZIP instead of pulling each item down separately. For a single folder, hover over the folder, click its checkbox, and choose Download. Dropbox documents folder downloads as compressed .zip files, with a limit of 250 GB uncompressed and fewer than 10,000 total files.
9. Repair the ZIP app association
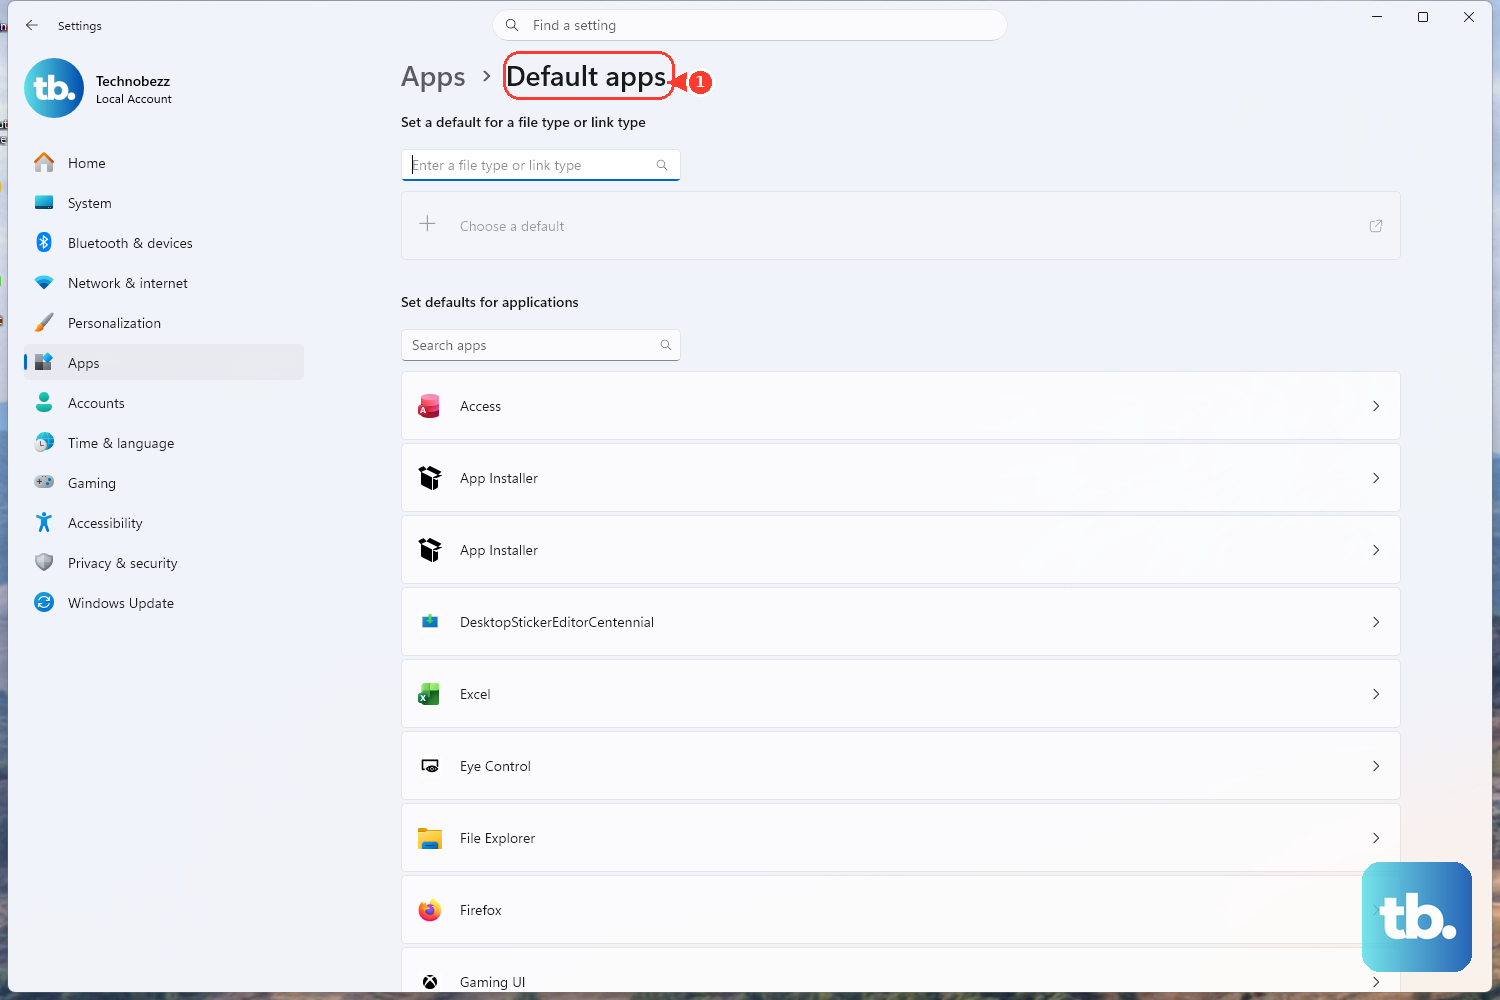
Use this only when ZIP files open in the wrong app or the expected Windows ZIP workflow is broken. It does not create a ZIP by itself; it restores the app Windows uses for .zip files.
Open Start, then choose Settings. Open Apps, select Default apps, and use the search bar to search for .zip.
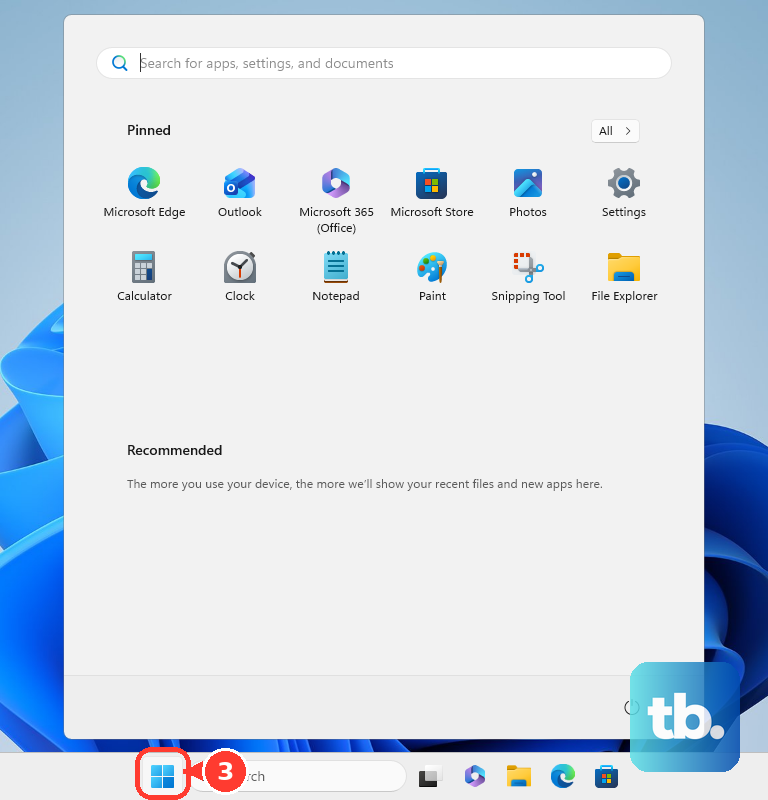
Select the result. Choose Windows Explorer or your preferred ZIP utility.
On managed PCs, administrators can deploy default app associations with DISM after configuring them on a reference PC. That is an IT deployment workflow, not a consumer ZIP-creation method.
Frequently Asked Questions
What is the fastest way to create a ZIP file on Windows 11?
Use File Explorer. Select the files or folder, right-click, choose Compress to, then select ZIP File.
Do I need 7-Zip, WinRAR, PeaZip, or WinZip to make a ZIP file?
No. Windows creates basic ZIP files without a separate app. Use a third-party ZIP app when you want that app's interface, command-line tools, or archive features such as encrypted archive operations.
Can I add files after the ZIP has already been created?
Yes. Open or create the zipped folder in File Explorer, then drag more files or folders into it.
Can Windows create a ZIP from the command line?
Yes. Use Compress-Archive in PowerShell, or use the built-in Windows tar command with an output name ending in .zip.