
When the Mail app on your iPad Pro (M4) stops working, it can leave you feeling disconnected. Whether you're missing important work messages or can't send a quick reply, getting your email flowing again is usually a matter of checking a few key settings. I'd start with the basics before moving to more involved fixes.
First, make sure your iPad has a solid internet connection, either through Wi-Fi or cellular data. It's also worth checking if your email provider, like Gmail or Outlook, is having a widespread service outage. A quick web search for "[Your Email Provider] status" can answer that.
Restart the Mail App and Check Your Connection
If emails aren't syncing, a simple app restart can clear out a temporary glitch. On your iPad Pro, swipe up from the bottom of the screen (or double-press the Home button if you have that gesture enabled) to enter the app switcher. Find the Mail app preview and swipe it up and off the top of the screen to close it completely. Wait a moment, then tap the Mail icon to reopen it.
Network issues are a common culprit. Try toggling Airplane mode on and off to reset all wireless connections. Swipe down from the top-right corner to open Control Center and tap the airplane icon. Wait about 30 seconds, then tap it again to turn Airplane mode off.
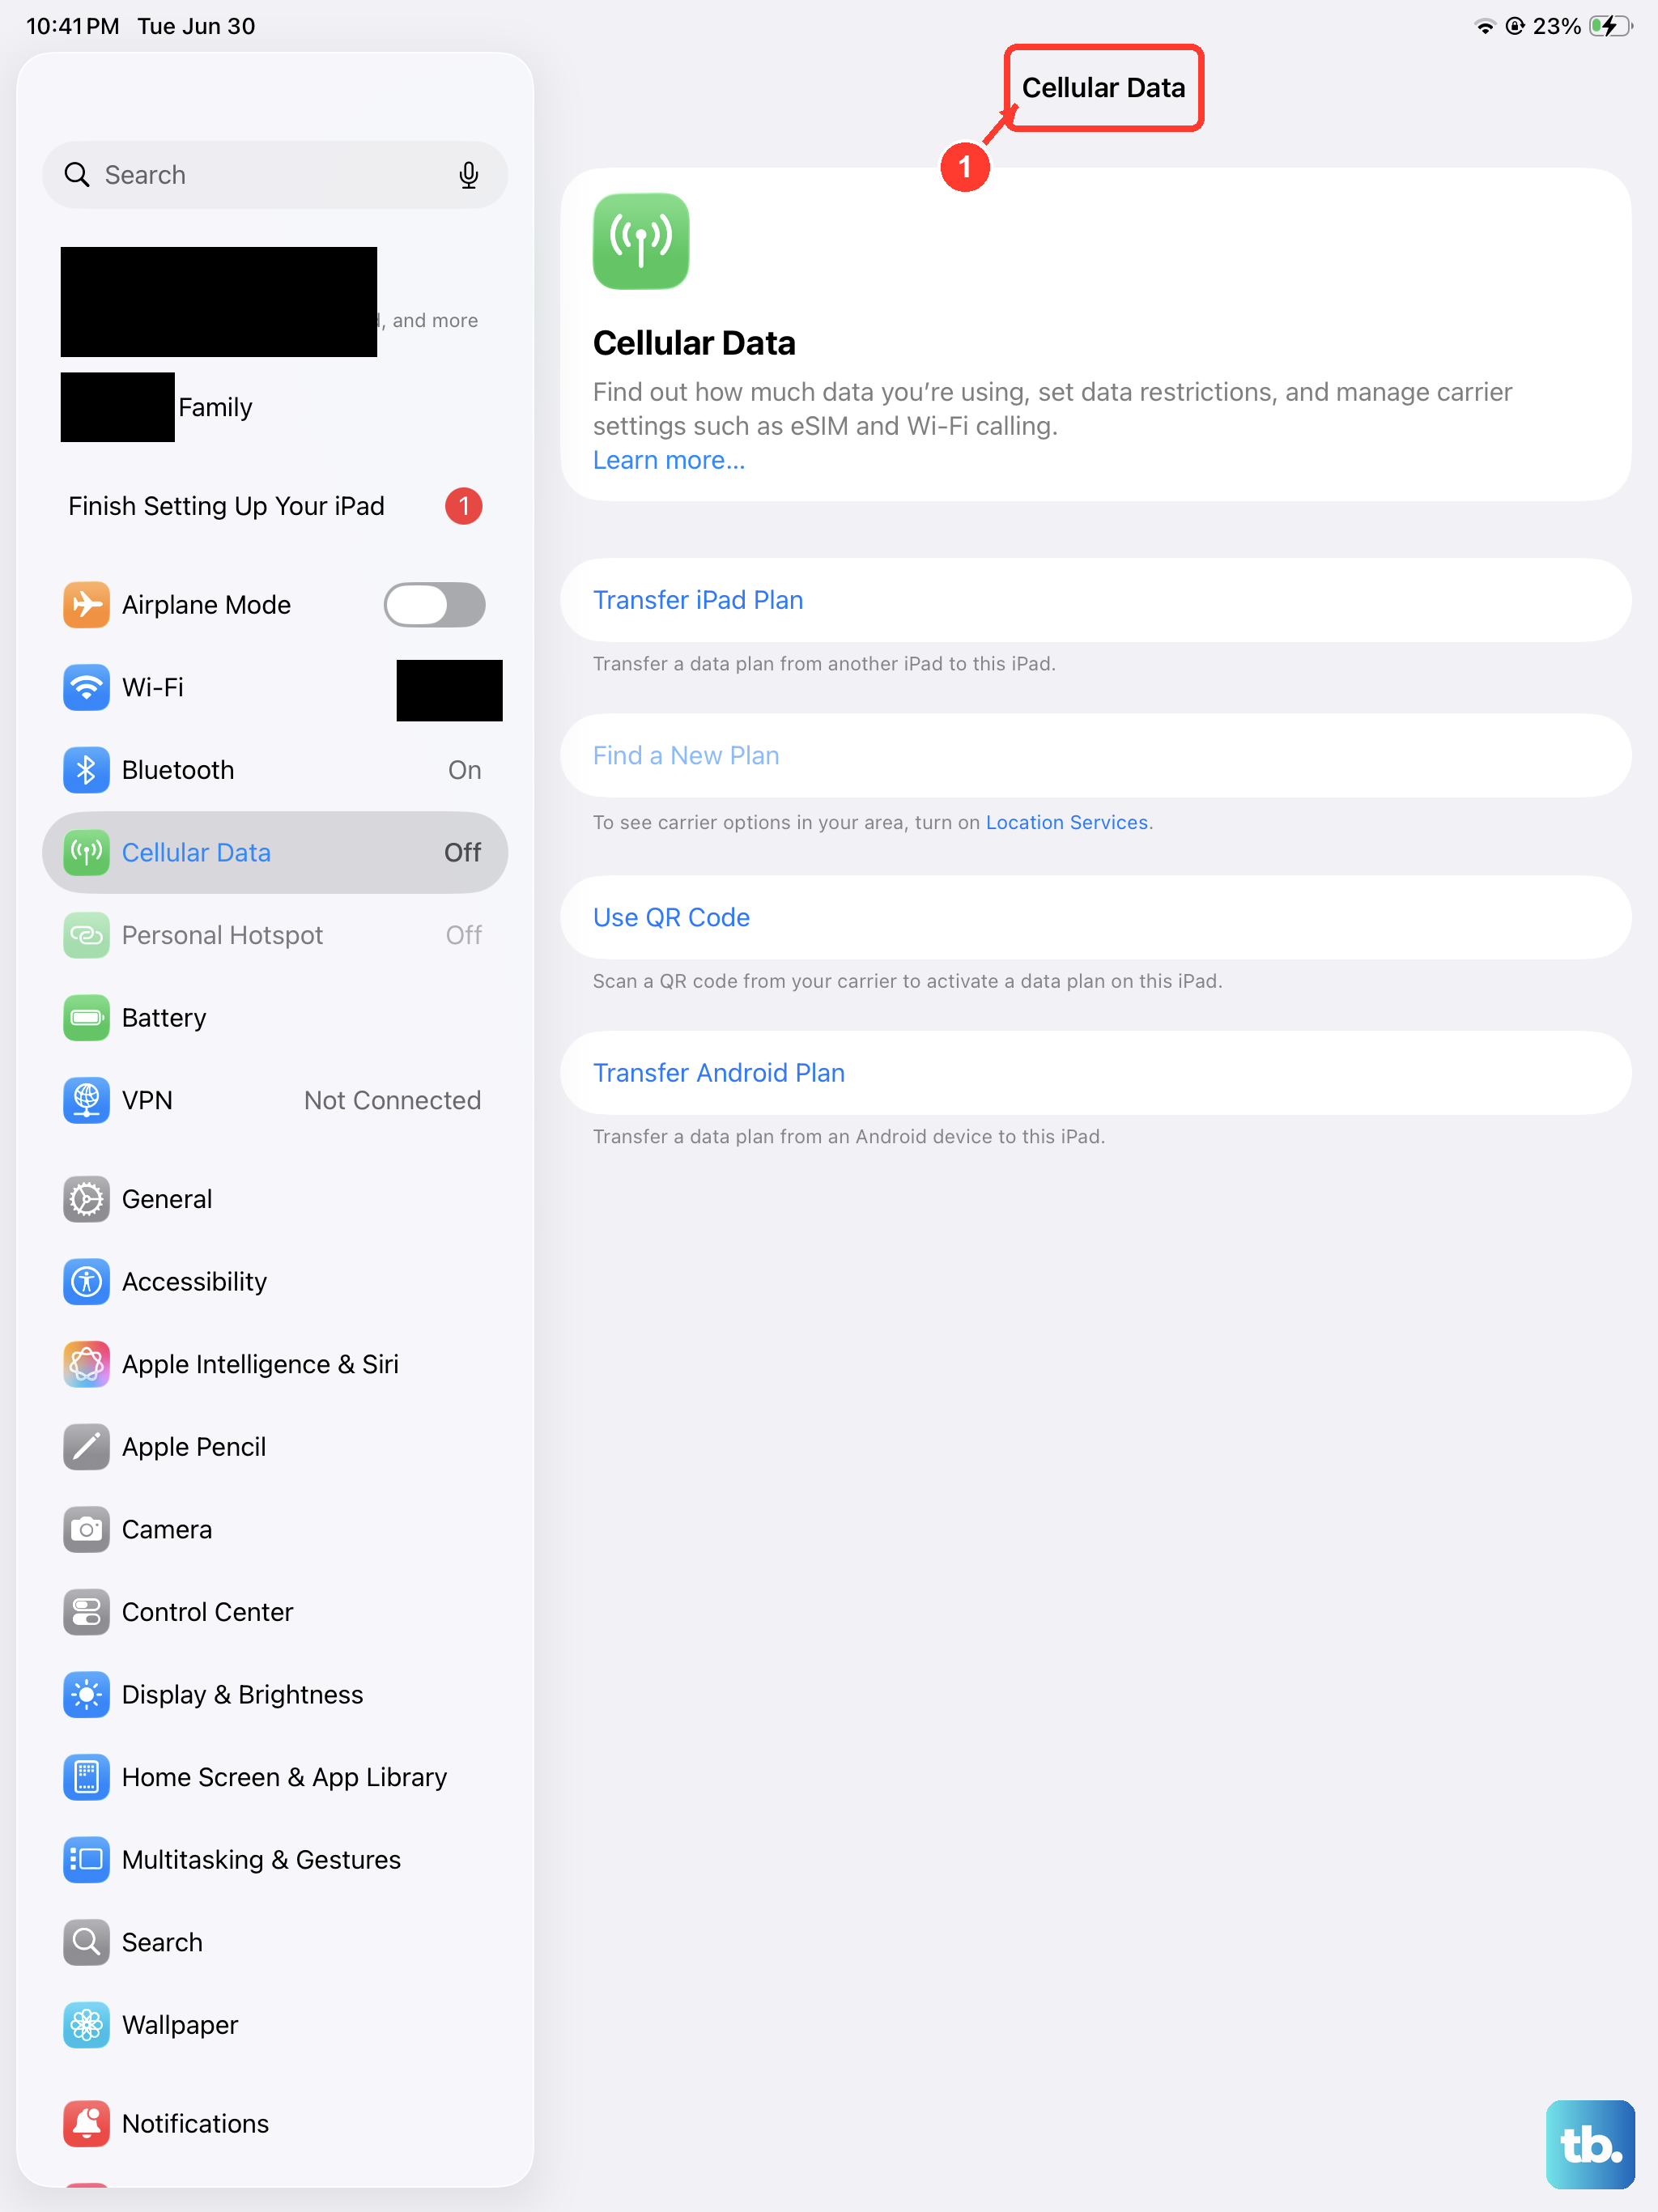
You can also try switching between Wi-Fi and cellular data. Go to Settings > Wi-Fi and turn it off, then check if mail works on cellular. If you're only on Wi-Fi, try forgetting the network and reconnecting to it.
Verify Your Mail Account Settings
Sometimes the account settings get out of sync. Head to Settings > Apps > Mail > Accounts. Tap on the account that's giving you trouble. Here, you can check that the incoming and outgoing mail server information is still correct, especially if your provider recently updated their security requirements.
A more thorough step is to delete and re-add the account. This often resolves persistent sync problems. In the same Accounts menu, tap the account and select Delete Account. Don't worry, this usually doesn't delete emails from the server. Then, tap Add Account and follow the prompts to set it up again.
Adjust Fetch and Notification Settings
Your iPad's fetch settings control how often it checks for new mail. Go to Settings > Apps > Mail > Accounts > Fetch New Data. If "Push" is available for your account type, make sure it's turned on. If Push isn't an option, set the Fetch schedule to Automatically for the most frequent checks.
If emails are arriving but you're not seeing alerts, your notification settings might be off. Go to Settings > Notifications > Mail. Select your specific account and ensure Allow Notifications is enabled. You can also customize the alert style and sounds here.
Enable Background App Refresh
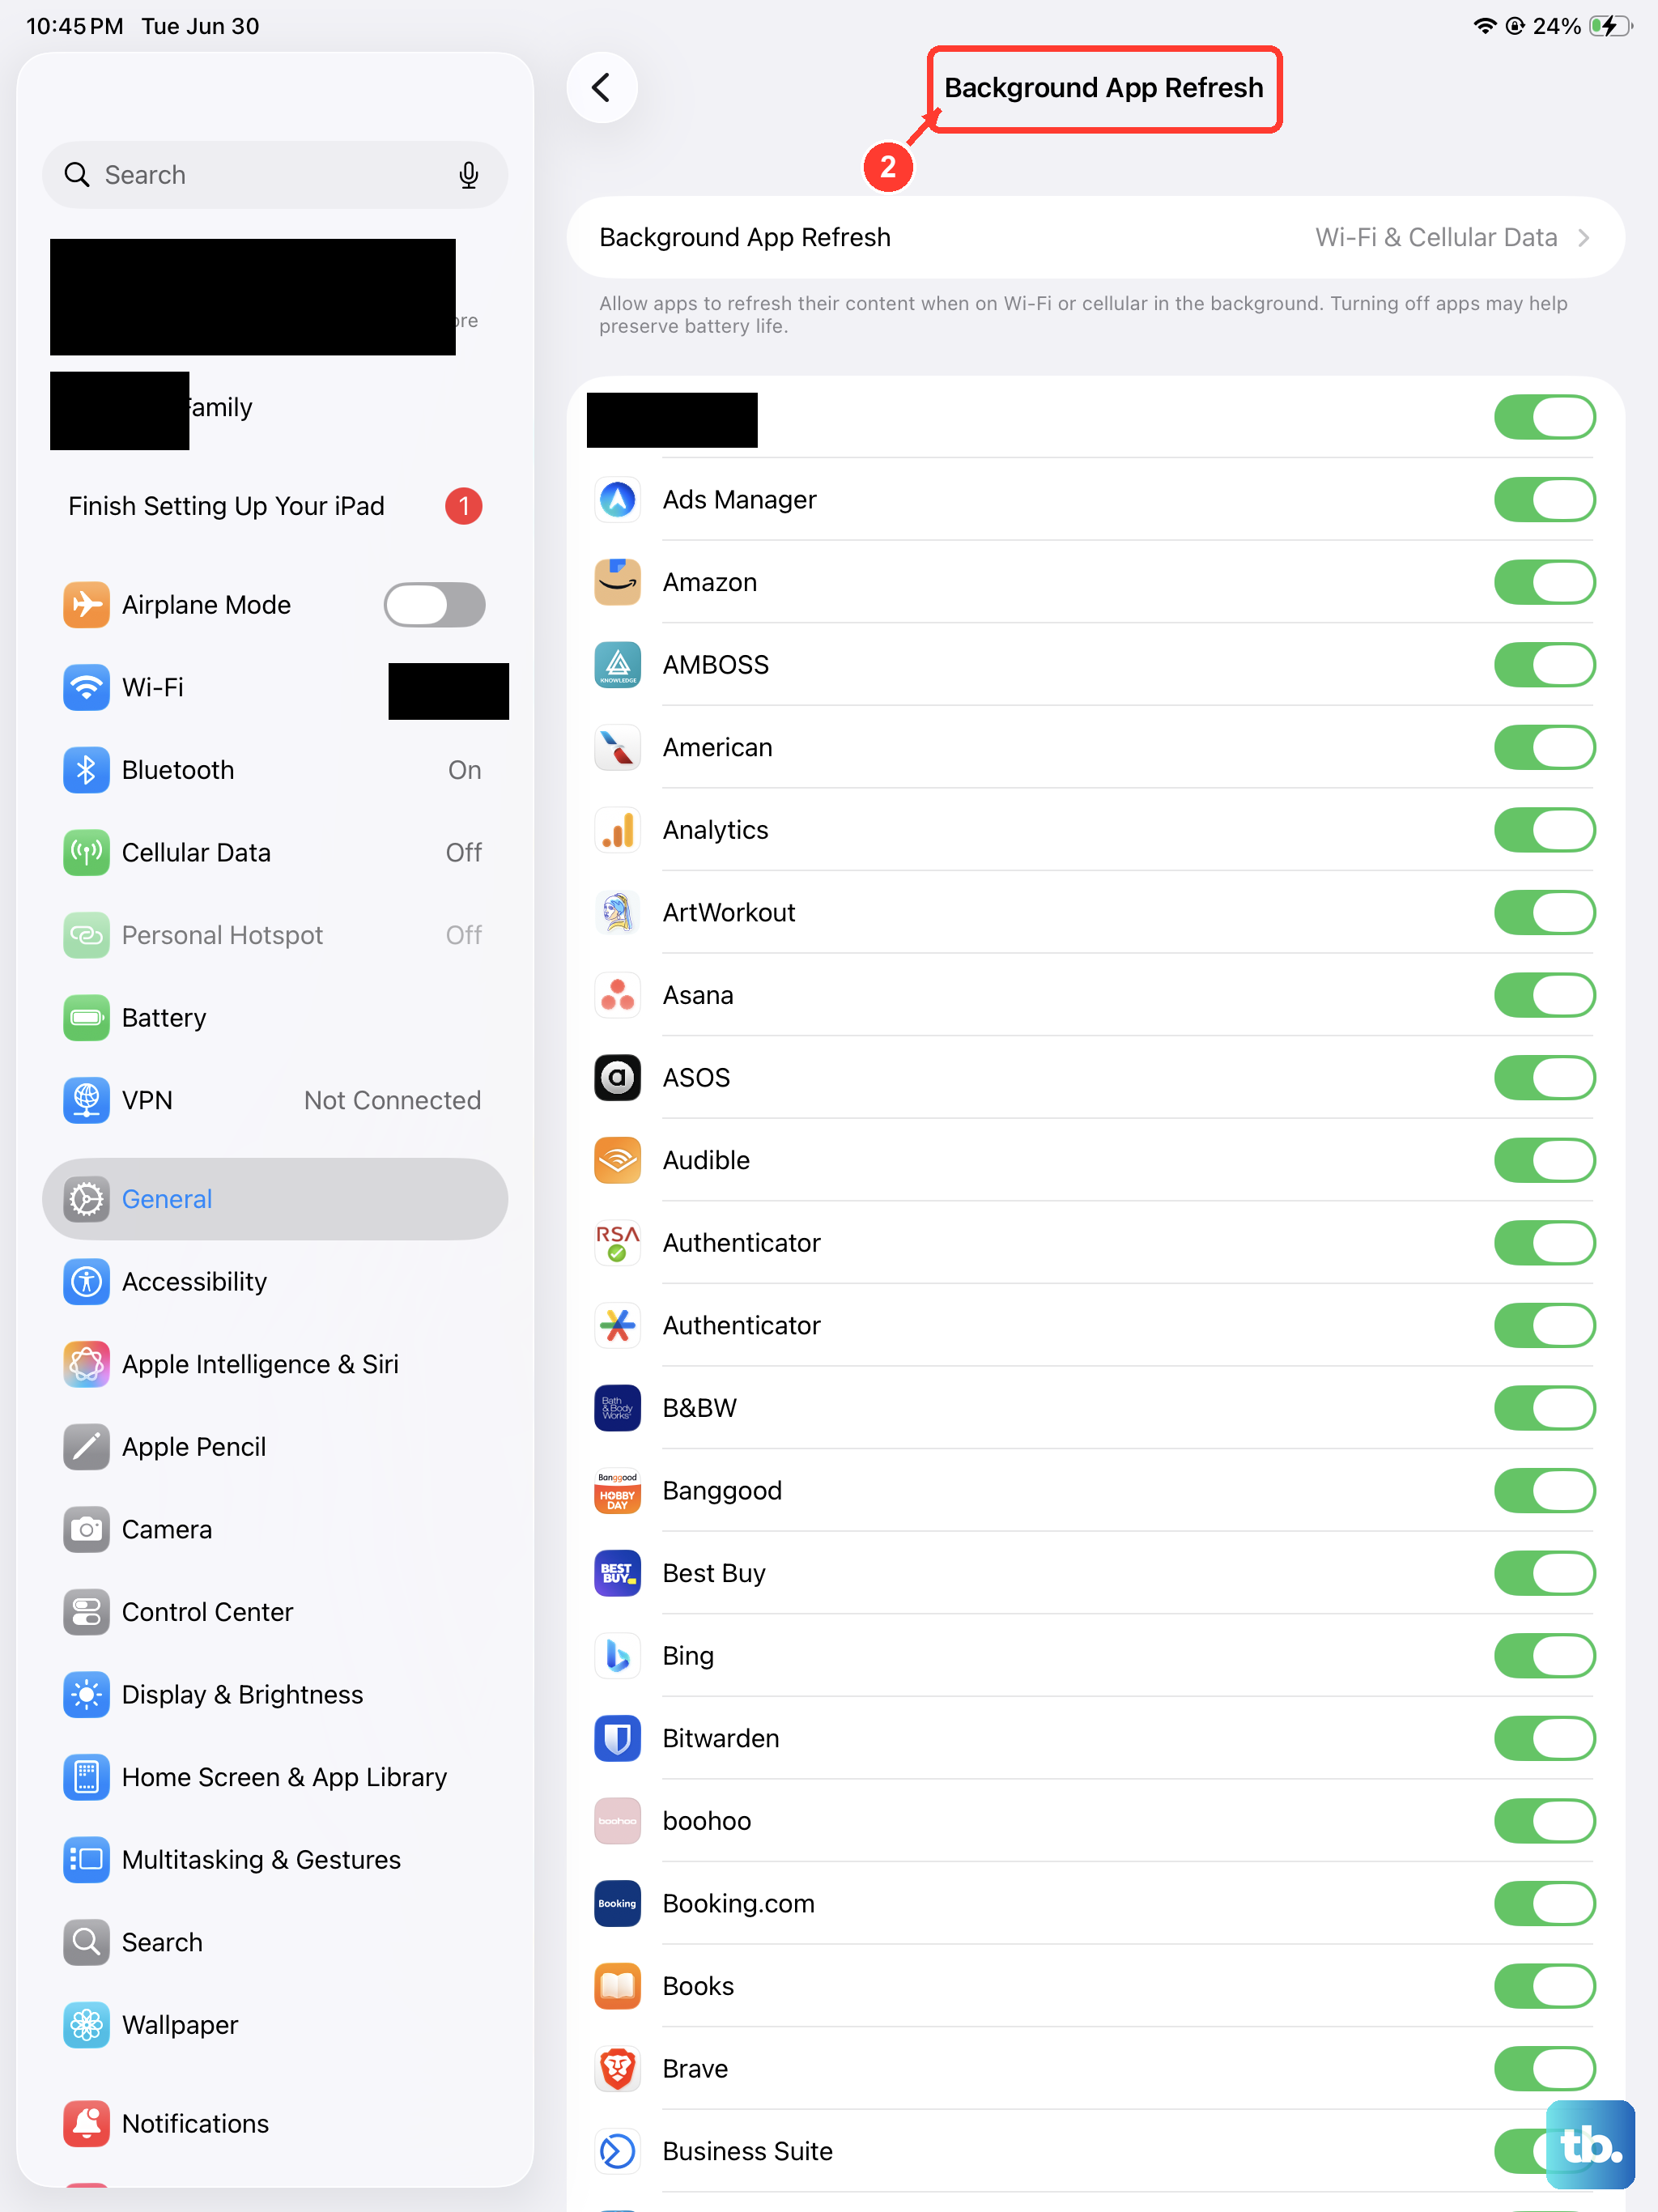
For the Mail app to update in the background, it needs the proper permissions. Open Settings > General > Background App Refresh. Make sure Background App Refresh is turned on at the top, either for Wi-Fi or Wi-Fi & Cellular Data. Then, scroll down and ensure the toggle next to Mail is green.
Check for iPadOS Updates
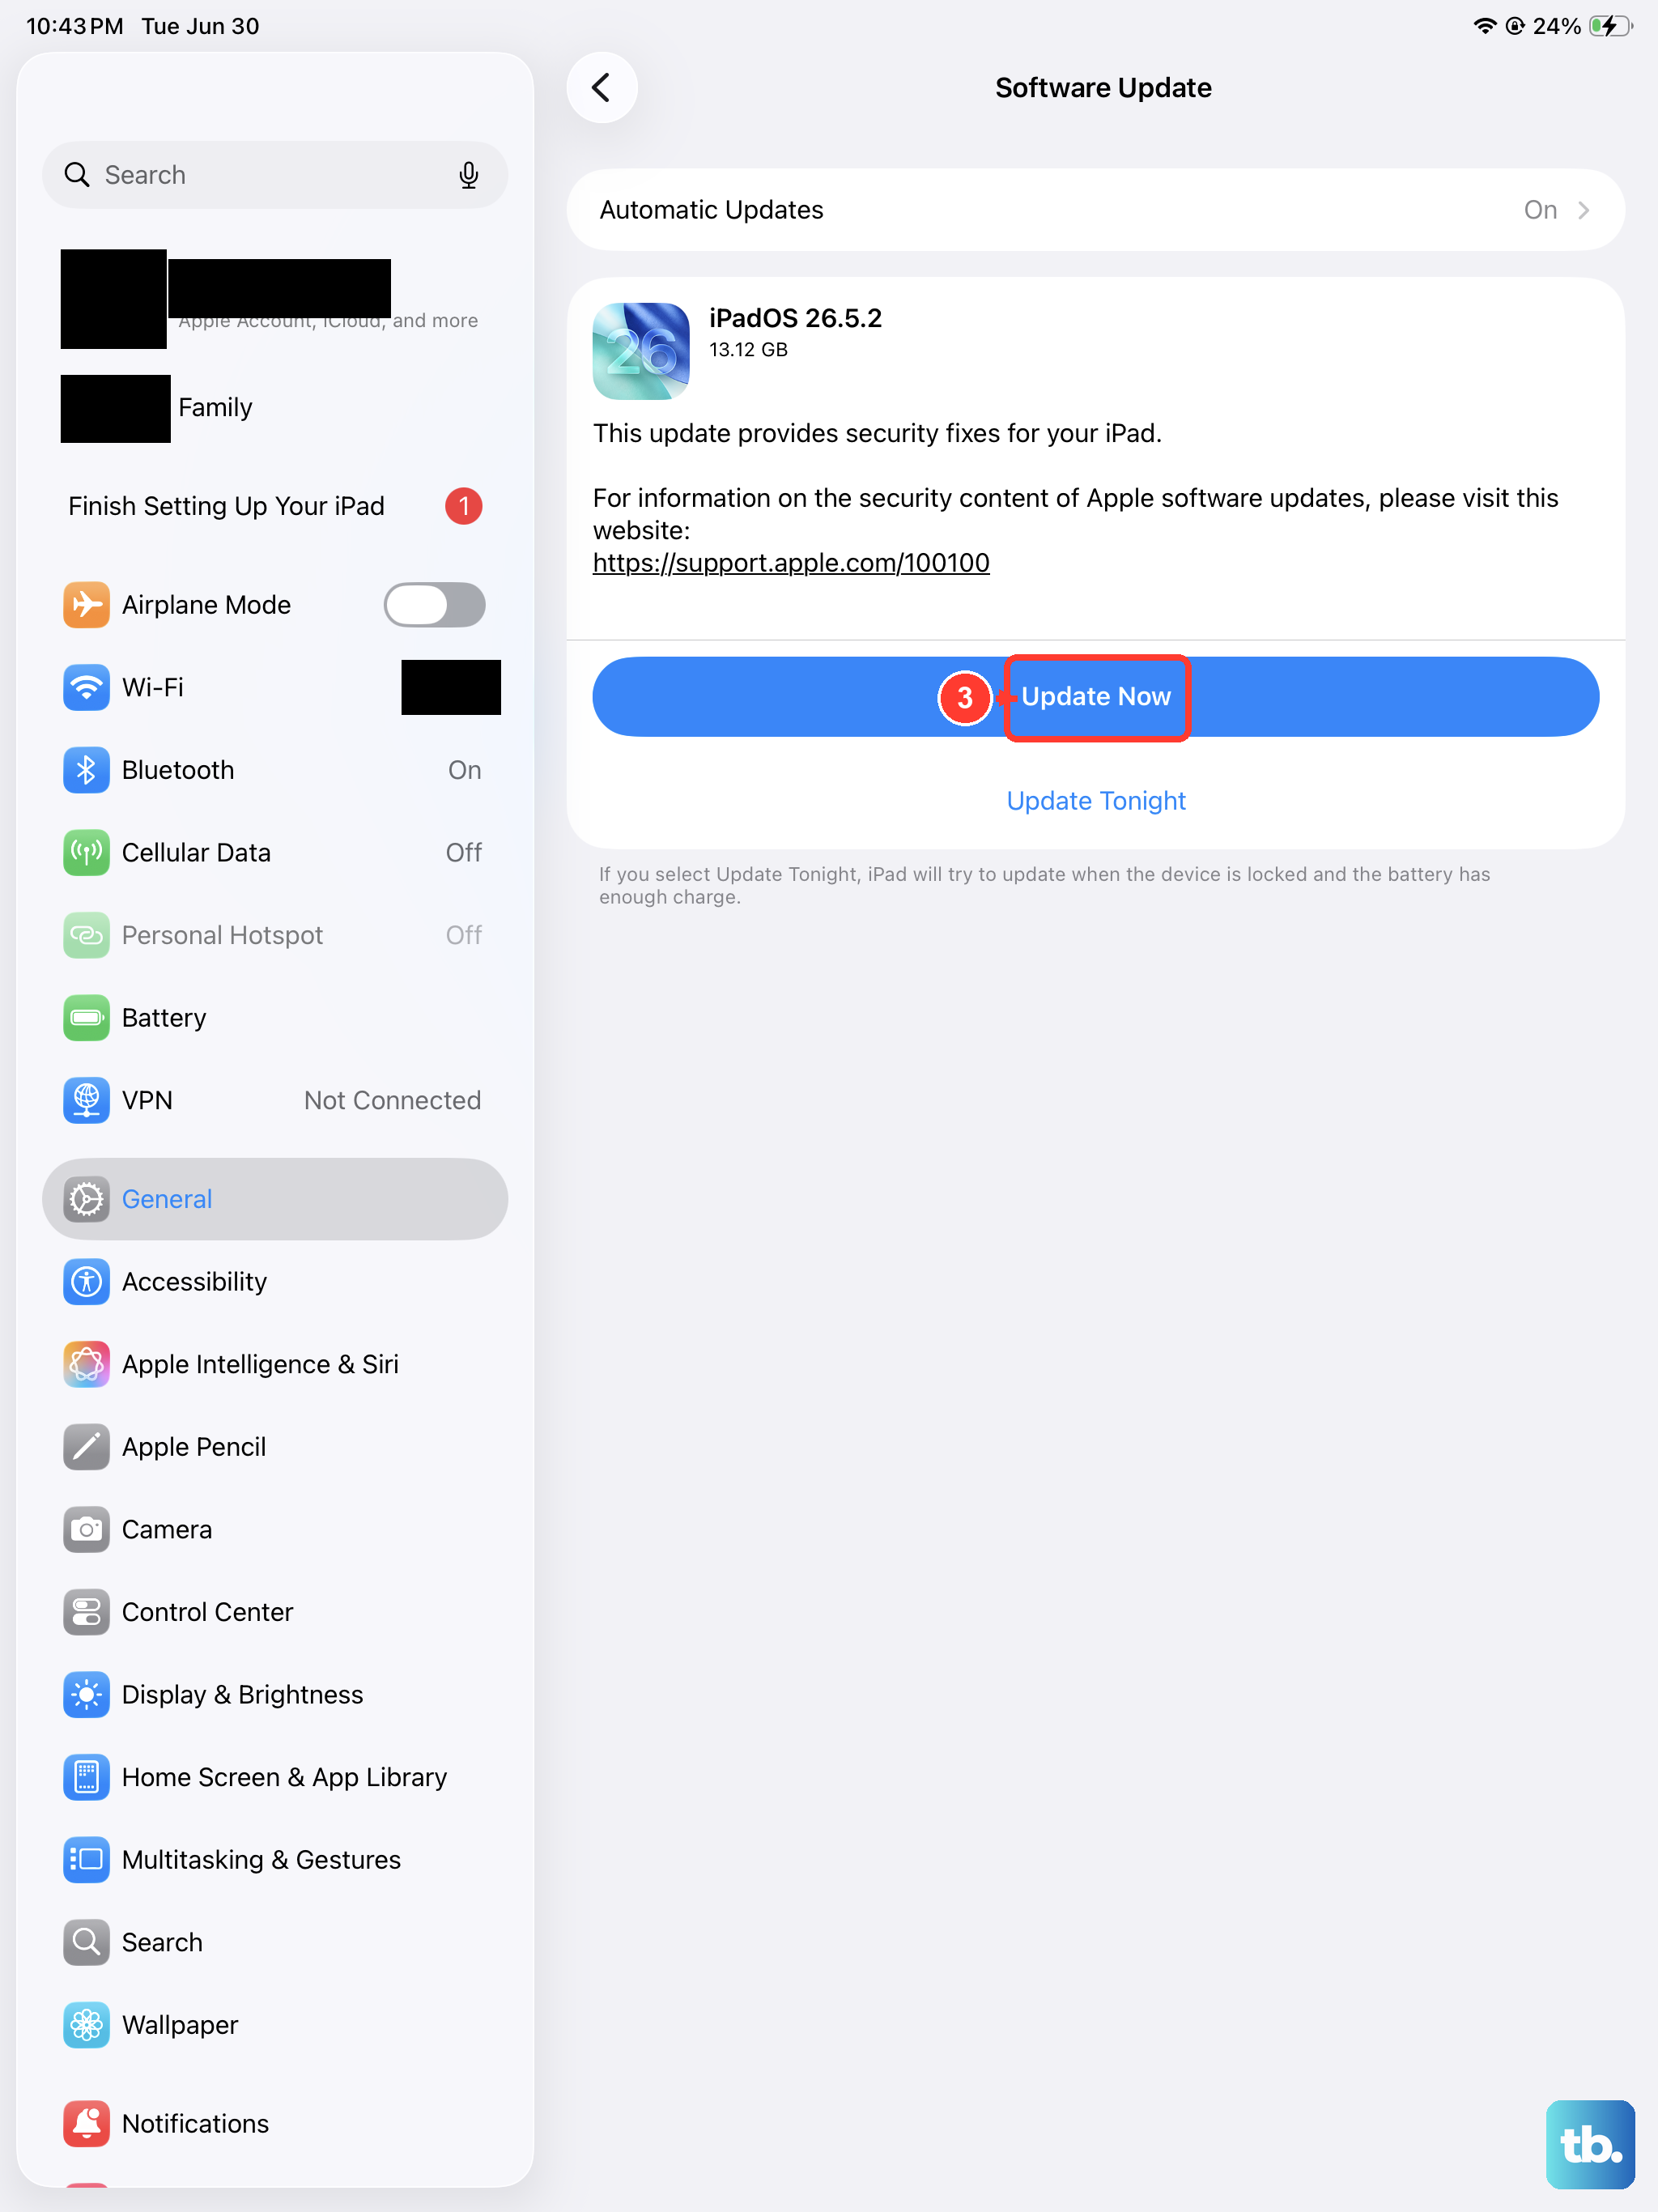
Software bugs can sometimes affect core apps like Mail. Apple frequently releases updates with fixes. Connect your iPad Pro to power and Wi-Fi, then go to Settings > General > Software Update. If an update for iPadOS 26 (or newer) is available, tap Download and Install.
Perform a Force Restart
A force restart can clear deeper system hiccups that a simple app close won't fix. On the iPad Pro (M4), quickly press and release the Volume Up button, then quickly press and release the Volume Down button. Finally, press and hold the top Power button until you see the Apple logo appear on the screen, then release it.
Review Date, Time, and VPN Settings
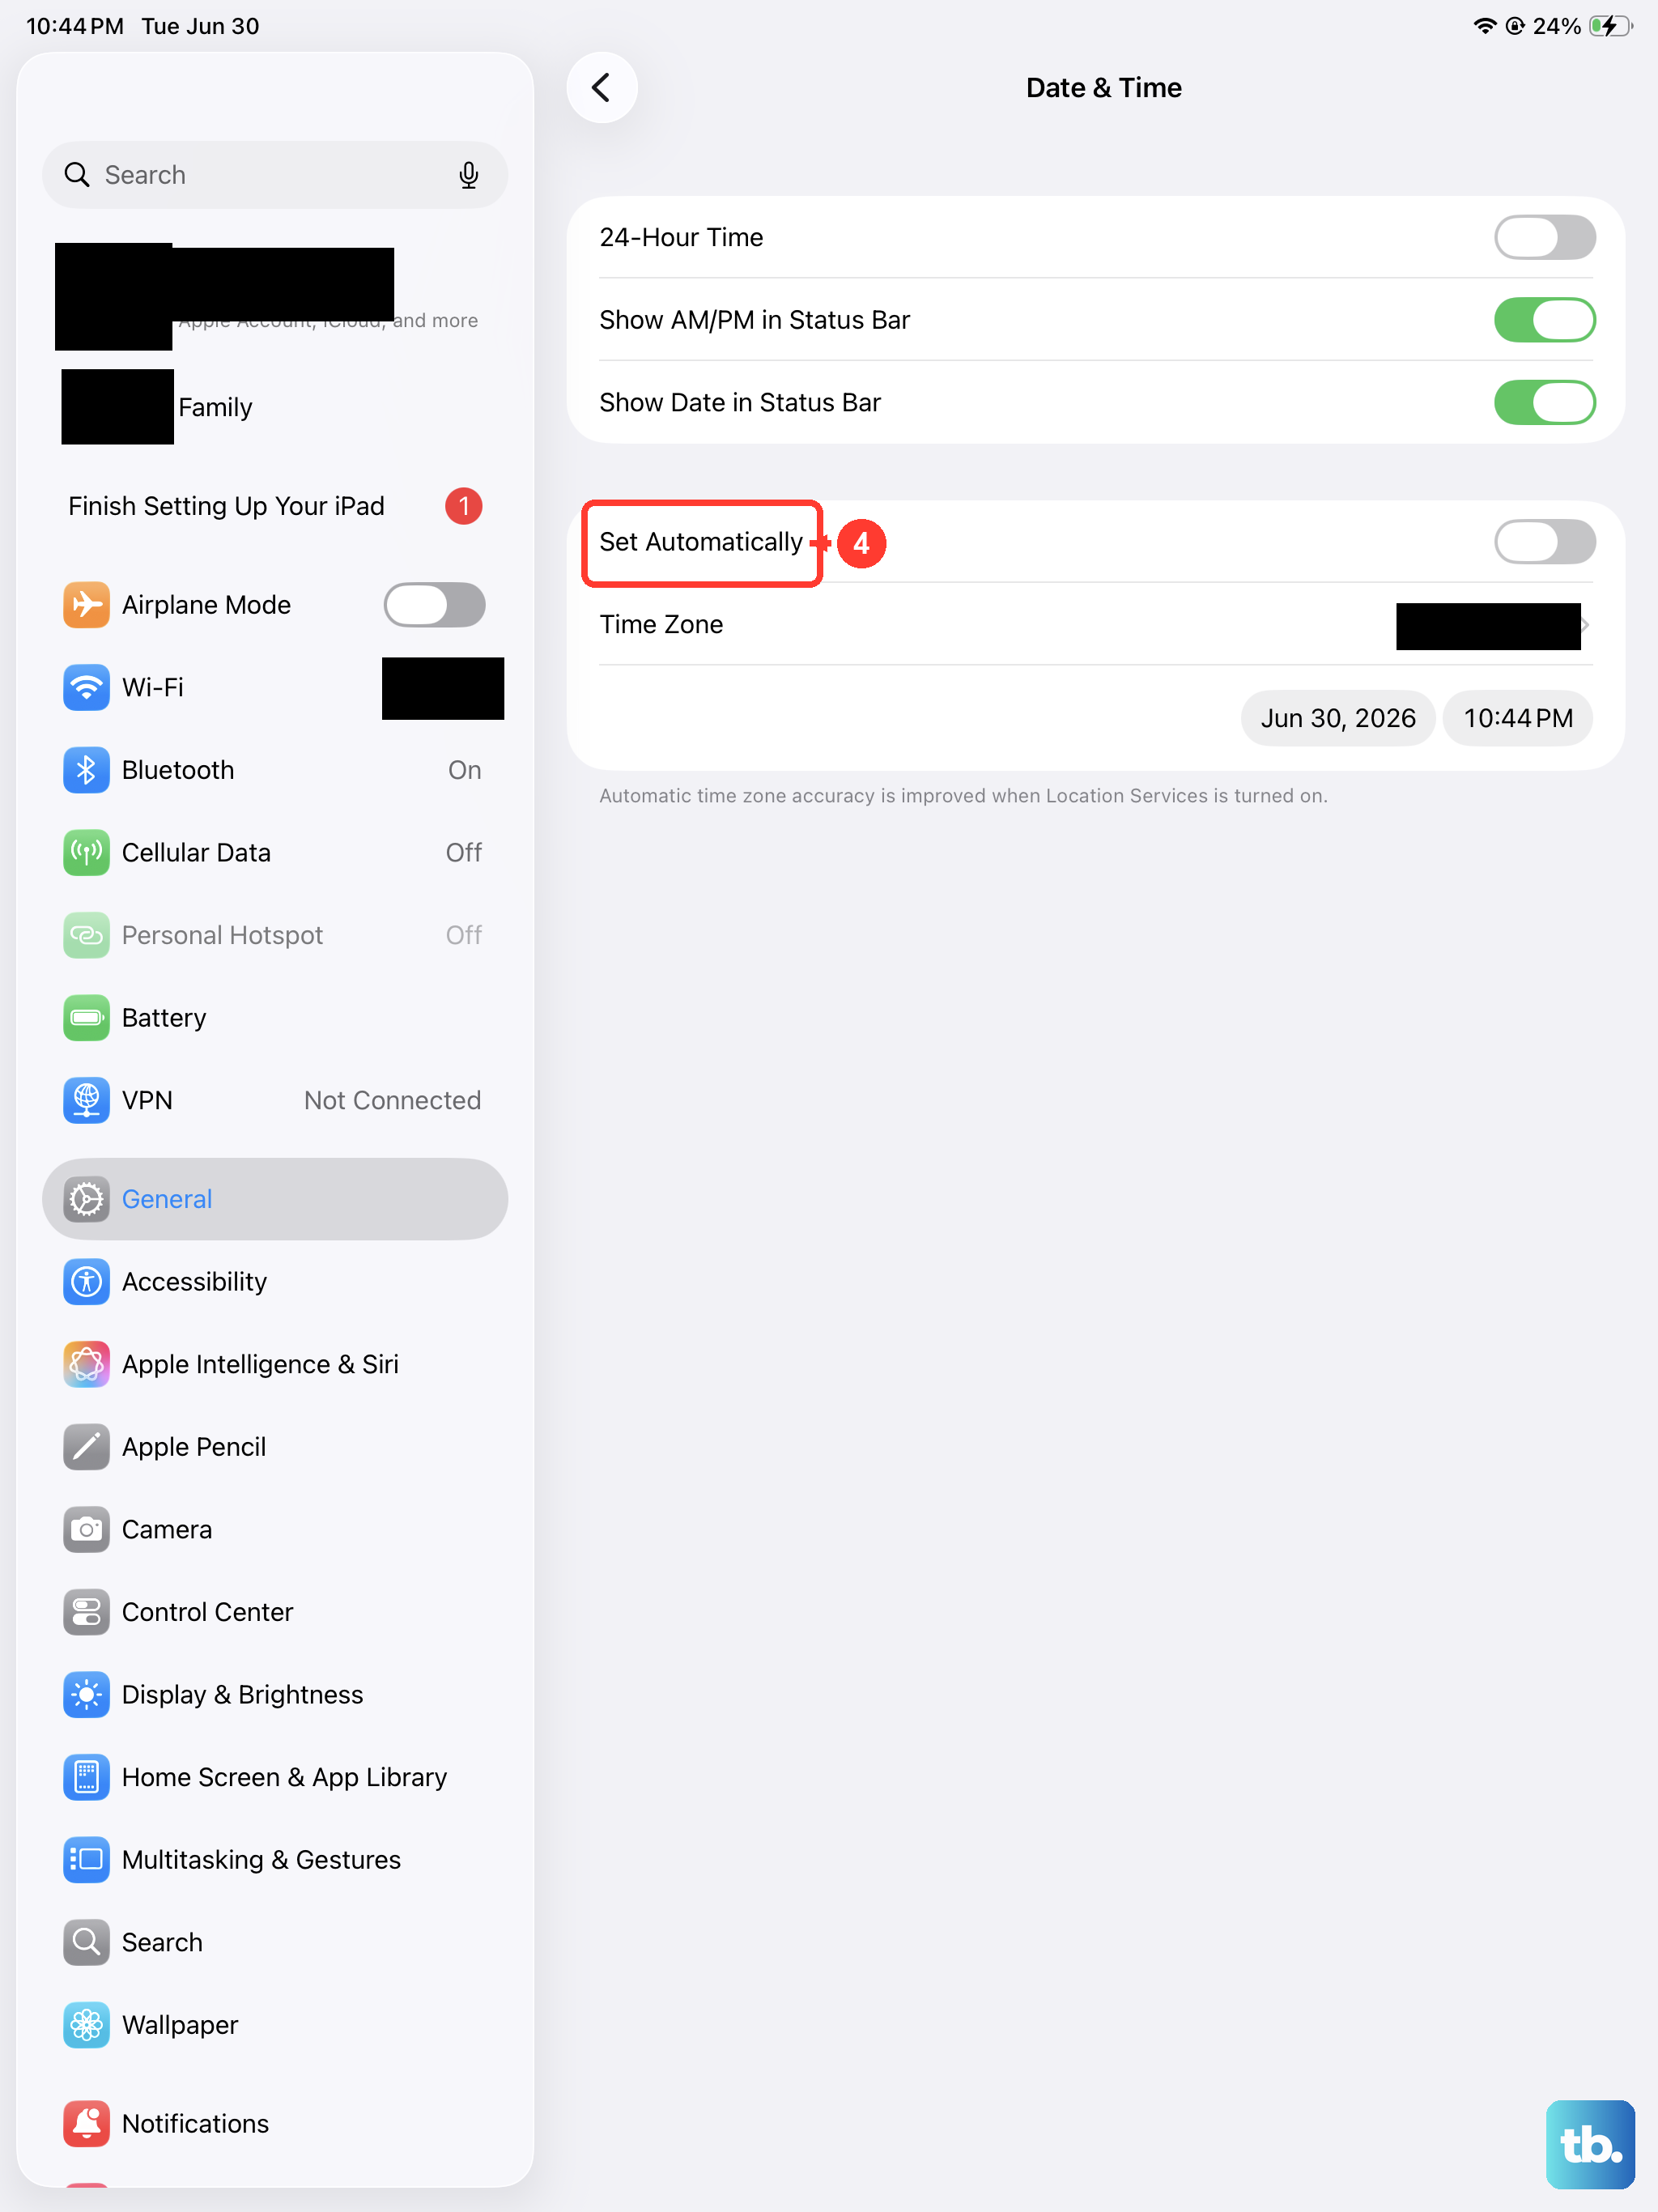
Incorrect date and time settings can interfere with email authentication. Go to Settings > General > Date & Time and make sure Set Automatically is switched on.
If you use a VPN, it might be interfering with the connection to your mail servers. Temporarily disable it by going to Settings and tapping the VPN option at the top (if active) and toggling it off. Try your mail again to see if that was the issue.
Reset All Network Settings
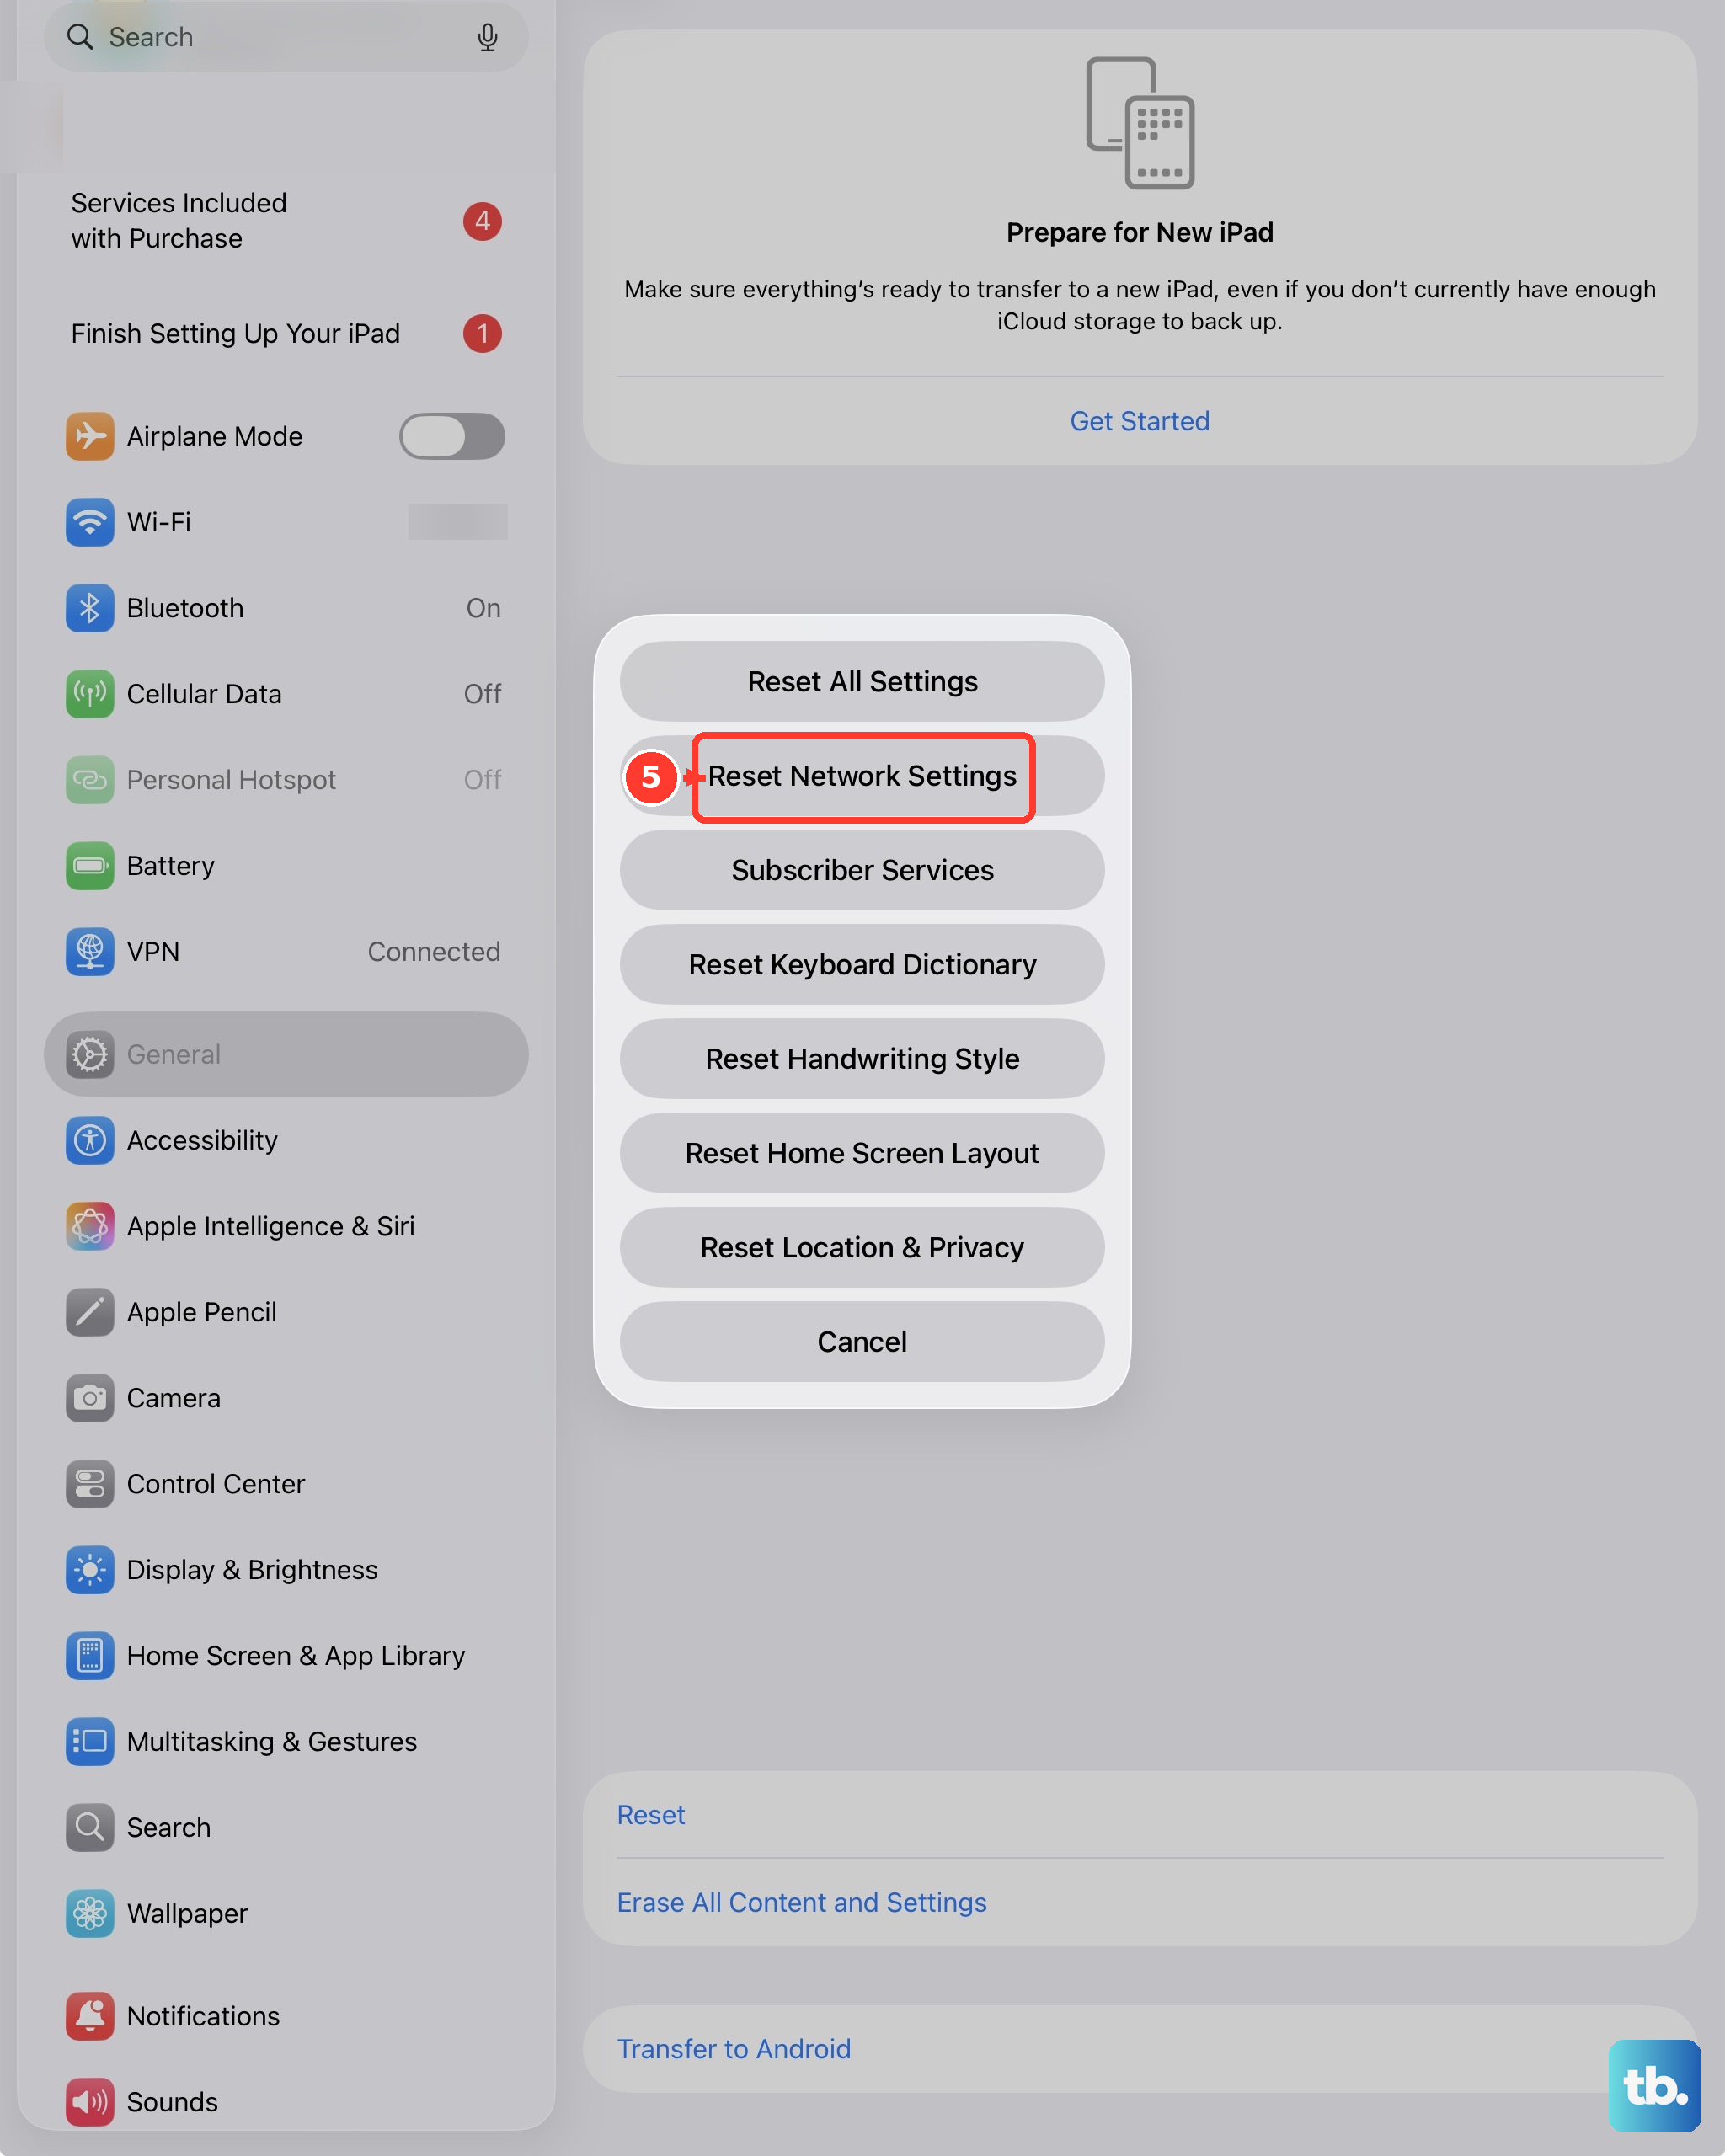
This step clears all saved Wi-Fi networks, passwords, and cellular settings, so you'll need to reconnect to your Wi-Fi afterward. It can resolve stubborn network-related mail problems. Go to Settings > General > Transfer or Reset iPad > Reset. Choose Reset Network Settings and enter your passcode to confirm.