A laptop USB port can stop responding because the cable is wrong, the accessory needs more power, the controller is disabled, or the operating system is blocking the connection. Start with the checks that prove whether the port, cable, device, or software is at fault. Then use the Windows, Mac, Chromebook, or laptop-maker steps that match what you are seeing.
1. Prove the port cable and device first
Start here before opening settings: a USB port that looks dead is often being dragged down by a hub, dock, weak cable, unpowered accessory, or the device itself.
- 1.Use the laptop power menu and select Restart.
- 2.Disconnect the USB device, then plug it into a different USB port on the same laptop.
- 3.Remove USB hubs, docks, adapters, and device chains. Connect the device directly to the laptop.
- 4.Try another cable with the same device.
- 5.Plug another USB device into the same laptop port.
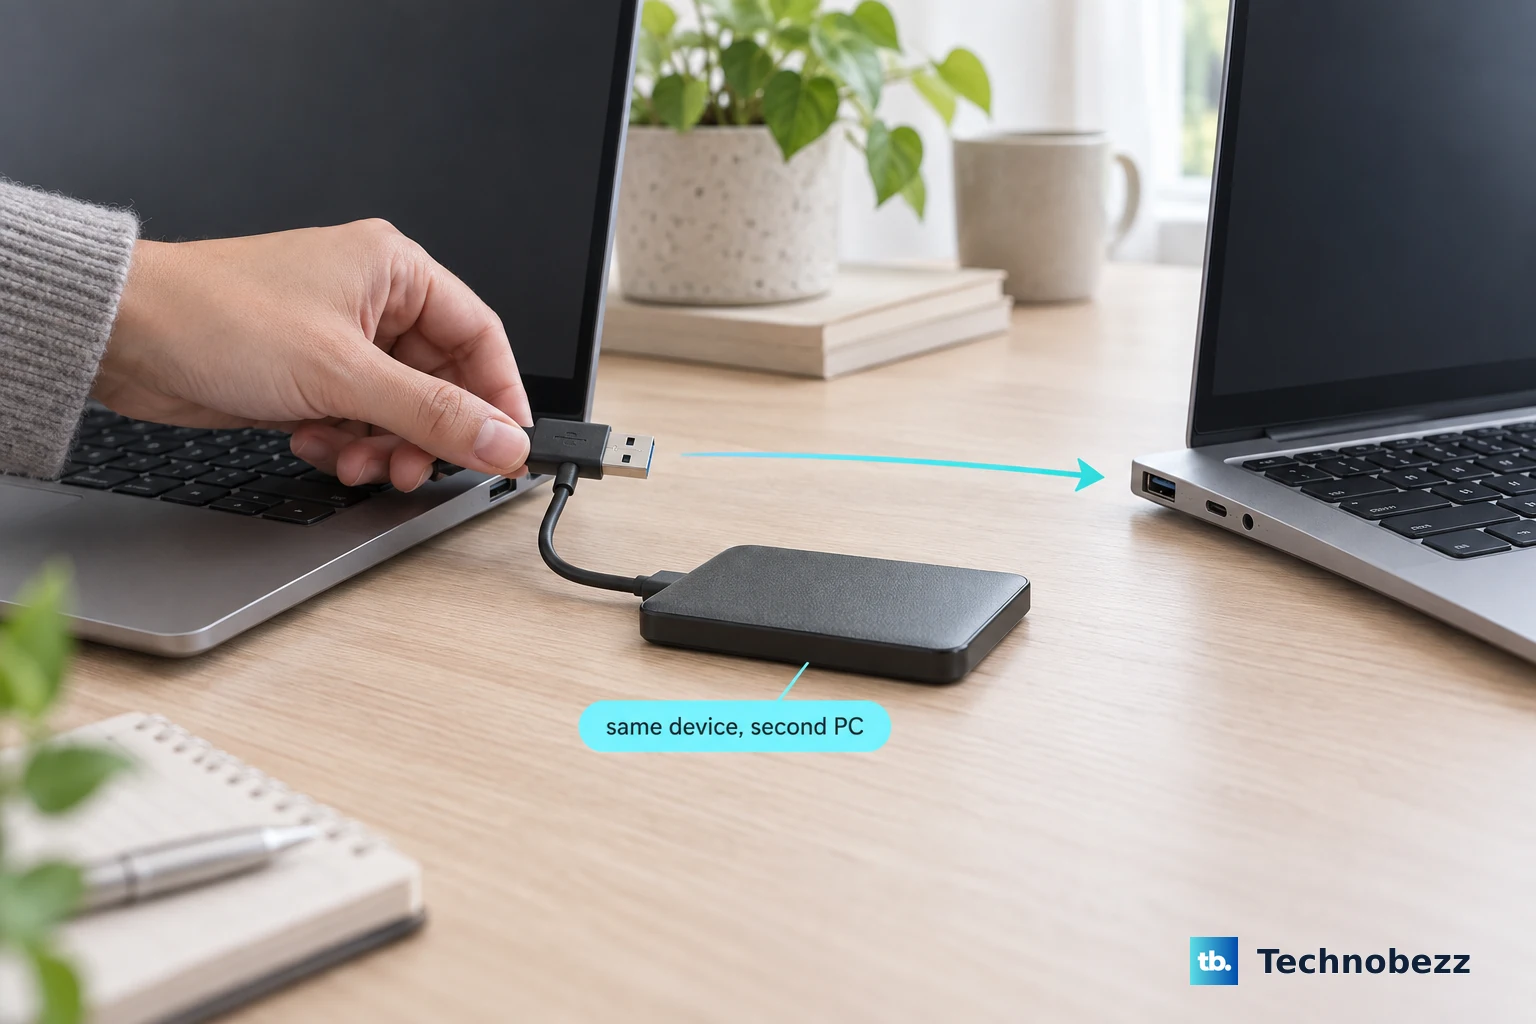
- 6.Test the original USB device on another computer.
For USB-C accessories, confirm that the accessory is turned on and the cable is fully seated.
On a Mac, also remove the device from a chain and connect it directly to the computer.
2. Read the USB-C warning before changing drivers
On Windows, select Search, type usb, open USB settings, and turn Connection notifications on.
If Windows shows USB device might need more power, plug the USB device into its own external power source, plug the laptop into external power, and disconnect USB devices you are not using.
If Windows shows USB device not recognized, open Device Manager, find the device's error code, and follow Microsoft's guidance for that error code.
On a Chromebook, replace the cable when ChromeOS shows Cable may not support displays, Cable may impact performance, Your USB-C cable does not support USB4, Your USB-C cable does not support Thunderbolt, or Your device supports a higher data rate than your cable.
Use a Thunderbolt 3 or higher cable, a USB4 cable, or a SuperSpeed USB 5 Gbps or faster cable that matches the accessory.
Microsoft's USB-C support page also offers Copilot prompts such as Why is the USB device not recognized? and Get the fastest fix for USB-C issues in Windows for guided Windows troubleshooting.
USB-C failures are often power or cable-capability problems, so let the laptop tell you what kind of failure it sees.
3. Rebuild Windows USB drivers and controllers
Use Device Manager when Windows detects USB hardware but the port or attached device still does not behave correctly.
Right-click Start and select Device Manager.
Expand Universal Serial Bus controllers.
If a USB entry shows a black down arrow or red X, right-click it and select Enable device.
Right-click the affected device or controller and select Update driver.
Select Search automatically for updated driver software.
If Windows does not find a driver, select Search for updated drivers on Windows update.
If the controller needs a clean reload, stay there, right-click the affected USB Root Hub, USB Host Controller, or USB controller entry, select Uninstall device, confirm with Uninstall, then restart from Start > Shut down or sign out > Restart.
Windows attempts to reinstall the driver after restart.
When the problem started immediately after a driver update, right-click the device in Device Manager, select Properties, open the Driver tab, select Roll Back Driver, choose a reason, select Yes, and restart if Windows asks.
4. Stop Windows from powering down USB hubs
Ports that fail after sleep, idle time, or a stretch on battery need the USB power settings checked.
Right-click Start and select Device Manager.
Expand Universal Serial Bus controllers.
Right-click USB Root Hub and select Properties.
Open the Power Management tab.
Clear Allow the computer to turn off this device to save power.
Select OK.
Repeat for every USB Root Hub, then select Start > Shut down or sign out > Restart.
Then check selective suspend.
Open Start, search for Edit Power Plan, select Change advanced power settings, expand USB settings, expand USB selective suspend settings, set it to Disabled, and restart.
Skip the old Hardware and Devices troubleshooter and the msdt.exe -id DeviceDiagnostic command.
Microsoft is retiring and removing MSDT and legacy inbox troubleshooters, so current Windows fixes belong in Device Manager, Windows Update, OEM update tools, and Microsoft support flows.
5. Install official laptop and Windows updates
Put drivers, firmware, and BIOS updates next because USB behavior can depend on the laptop maker's controller firmware as much as Windows itself.
On Windows 11, open Start > Settings > Windows Update > Advanced options.
Turn Receive updates for other Microsoft products on, select Optional updates under Additional options, choose available driver updates, select Download and install, then restart from Start > Shut down or sign out > Restart.
For Dell, open SupportAssist, choose the Home tab, select Update software, click Start, install driver and BIOS updates, and restart when prompted.
Dell's Drivers & Downloads page can also identify the computer by Service Tag, product ID, model, or product browsing.
For ASUS, use MyASUS or the ASUS Download Center to install BIOS, Windows packages, and drivers.
For HP, use HP Software and Drivers Downloads or HP Support Assistant.
For Lenovo, identify the product on Lenovo Support, then use Drivers & Software for that exact model.
On Microsoft Surface, unplug the USB-C device, select Start > Power > Shut down, wait 10 seconds, then hold Power for about 20 seconds until the Windows logo appears, disappears, and appears again.
Reconnect the USB-C device after the Surface restarts.
6. Approve and test USB devices on a Mac
A Mac laptop with Apple silicon can block a new USB, Thunderbolt, or SD accessory until you approve the connection.
Unlock the Mac while the accessory is connected, then click Allow in the alert asking whether you want to connect the USB accessory.
To change that approval behavior on a Mac laptop with Apple silicon, open Apple menu > System Settings > Privacy & Security > Accessories.
Use the menu next to Allow accessories to connect and choose the access level you want.
Next, check whether macOS sees the hardware.
Press and hold Option, choose Apple menu > System Information, then look under Hardware in the sidebar.
If the device appears there but still does not work, quit and reopen the app that uses the device, then restart the Mac if the app still fails.
Handle power, debris, liquid, and software updates according to what the Mac reports.
If you see USB Devices Disabled or another USB power message, disconnect and reconnect the device, try another port, and connect the device or hub to external power.
If the USB-C connection is unreliable, inspect the USB-C port for debris and make sure it is clean.
Use compressed air only for a debris check, not for a liquid alert.
If the Mac shows a liquid-detection alert, unplug the cable or accessory, click OK, shut down the Mac, disconnect power, wait at least a day, and verify the port is dry before trying again.
Do not use external heat, compressed air, cotton swabs, paper towel, or rice for that alert.
Update macOS from Apple menu > System Settings > General > Software Update, then click Update, Upgrade, or Restart Now when offered.
For a software-conflict test, start in Safe Mode.
On Apple silicon, choose Apple menu > Shut Down, hold Power until the system volume and Options appear, select a volume, hold Shift, then click Continue in Safe Mode.
On Intel Macs, turn on or restart the Mac and immediately hold Shift until the login window appears.
7. Reset Chromebook USB behavior
ChromeOS gives you two practical routes before a full reset: update the system, then reset the Chromebook hardware.
Connect to Wi-Fi, select the time at the bottom right, open Settings, select About ChromeOS, choose Check for updates, and restart when prompted.
Turn off the Chromebook, hold Refresh, tap Power, then release Refresh when the Chromebook starts.
Use the alternate hardware reset when it matches your model: hold Back + Refresh + Power for at least 10 seconds.
On a Chromebook tablet, hold Volume Up + Power for at least 10 seconds, then release.
Open the Diagnostics app, or go to Settings > About ChromeOS > Diagnostics, and run the available hardware tests before repair.
Diagnostics is available on ChromeOS version 90 and later.
Use Powerwash only after the simpler software steps fail and you are ready to erase local data.
Sign out, hold Ctrl + Alt + Shift + r, select Restart, then select Powerwash and Continue.
Use Chromebook recovery only for severe ChromeOS corruption after update or reset fails: remove connected accessories, hold Esc + Refresh, press Power, release Power, then release the other keys when the recovery message appears.
8. Check BIOS settings and hardware failure signs
Firmware settings can disable USB ports before the operating system even loads, so check them after software and cable steps have ruled out the common causes.
On Dell, turn on or restart the computer and press F2 repeatedly as it starts.
In BIOS settings, find USB Configuration or USB Ports, usually under Integrated Devices, make sure Enable USB Ports or Enable External USB ports is checked, then save and exit.
On ASUS notebooks, power off the device, press and hold F2, press the power button, and keep holding F2 until BIOS setup appears.
Restore BIOS settings to default values using ASUS's BIOS restore flow, then save and exit.
Older ASUS desktops may use Del, while ASUS gaming handhelds use Volume Down plus power.
On a Mac, run Apple Diagnostics when every cable, device, port, update, and Safe Mode check still points to hardware.
For Apple silicon, press and hold Power, release it when Options appears, then hold Command + D until the Mac restarts.
Review the reference codes and service instructions Apple provides.
Visible port damage, repeated liquid alerts, or the same failure with multiple known-good devices means the USB port needs service instead of more settings changes.
9. Ask IT about blocked USB storage
A work or school laptop can block USB storage by policy, especially when the drive shows as locked or access is denied while the port still provides power.
Ask the administrator to check removable-storage rules instead of treating it like a dead port.
For Windows Pro, Enterprise, Education, or domain-managed PCs, the relevant policy area is Computer Configuration > Administrative Templates > System > Removable Storage Access.
Policies such as Removable Disks: Deny write access need to be set to Not configured or Disabled by the administrator, followed by gpupdate /force.
For managed ChromeOS devices, the administrator can open Google Admin console > Devices > Chrome > Settings, go to Hardware, and allow External storage devices.
Frequently Asked Questions
Why does only one USB port fail while the others work?
A single bad port points to a port-specific problem such as debris, liquid detection, a disabled controller entry, a BIOS setting, or physical damage. Test the same device and cable in another port, then check Device Manager on Windows, System Information on macOS, or firmware settings on Dell and ASUS laptops.
Can a USB hub make a laptop USB port look broken?
Yes. Dell, Apple, and ASUS guidance all recommend removing hubs, docks, and chained devices, then plugging the USB device directly into the laptop before changing drivers or settings.
Should I factory reset my laptop to fix USB?
Not first. Chromebook Powerwash is a later step and erases local data. For Windows and Mac, use cable checks, power checks, Device Manager or System Information, software updates, Safe Mode, and diagnostics before any broad reset.
What should I do when a USB drive gets power but will not open?
Treat it as an access or storage issue, not a dead-port issue. On managed Windows or ChromeOS laptops, an administrator may have blocked external storage. On a personal laptop, check whether the operating system sees the device, update drivers or software, and test the drive on another computer.