

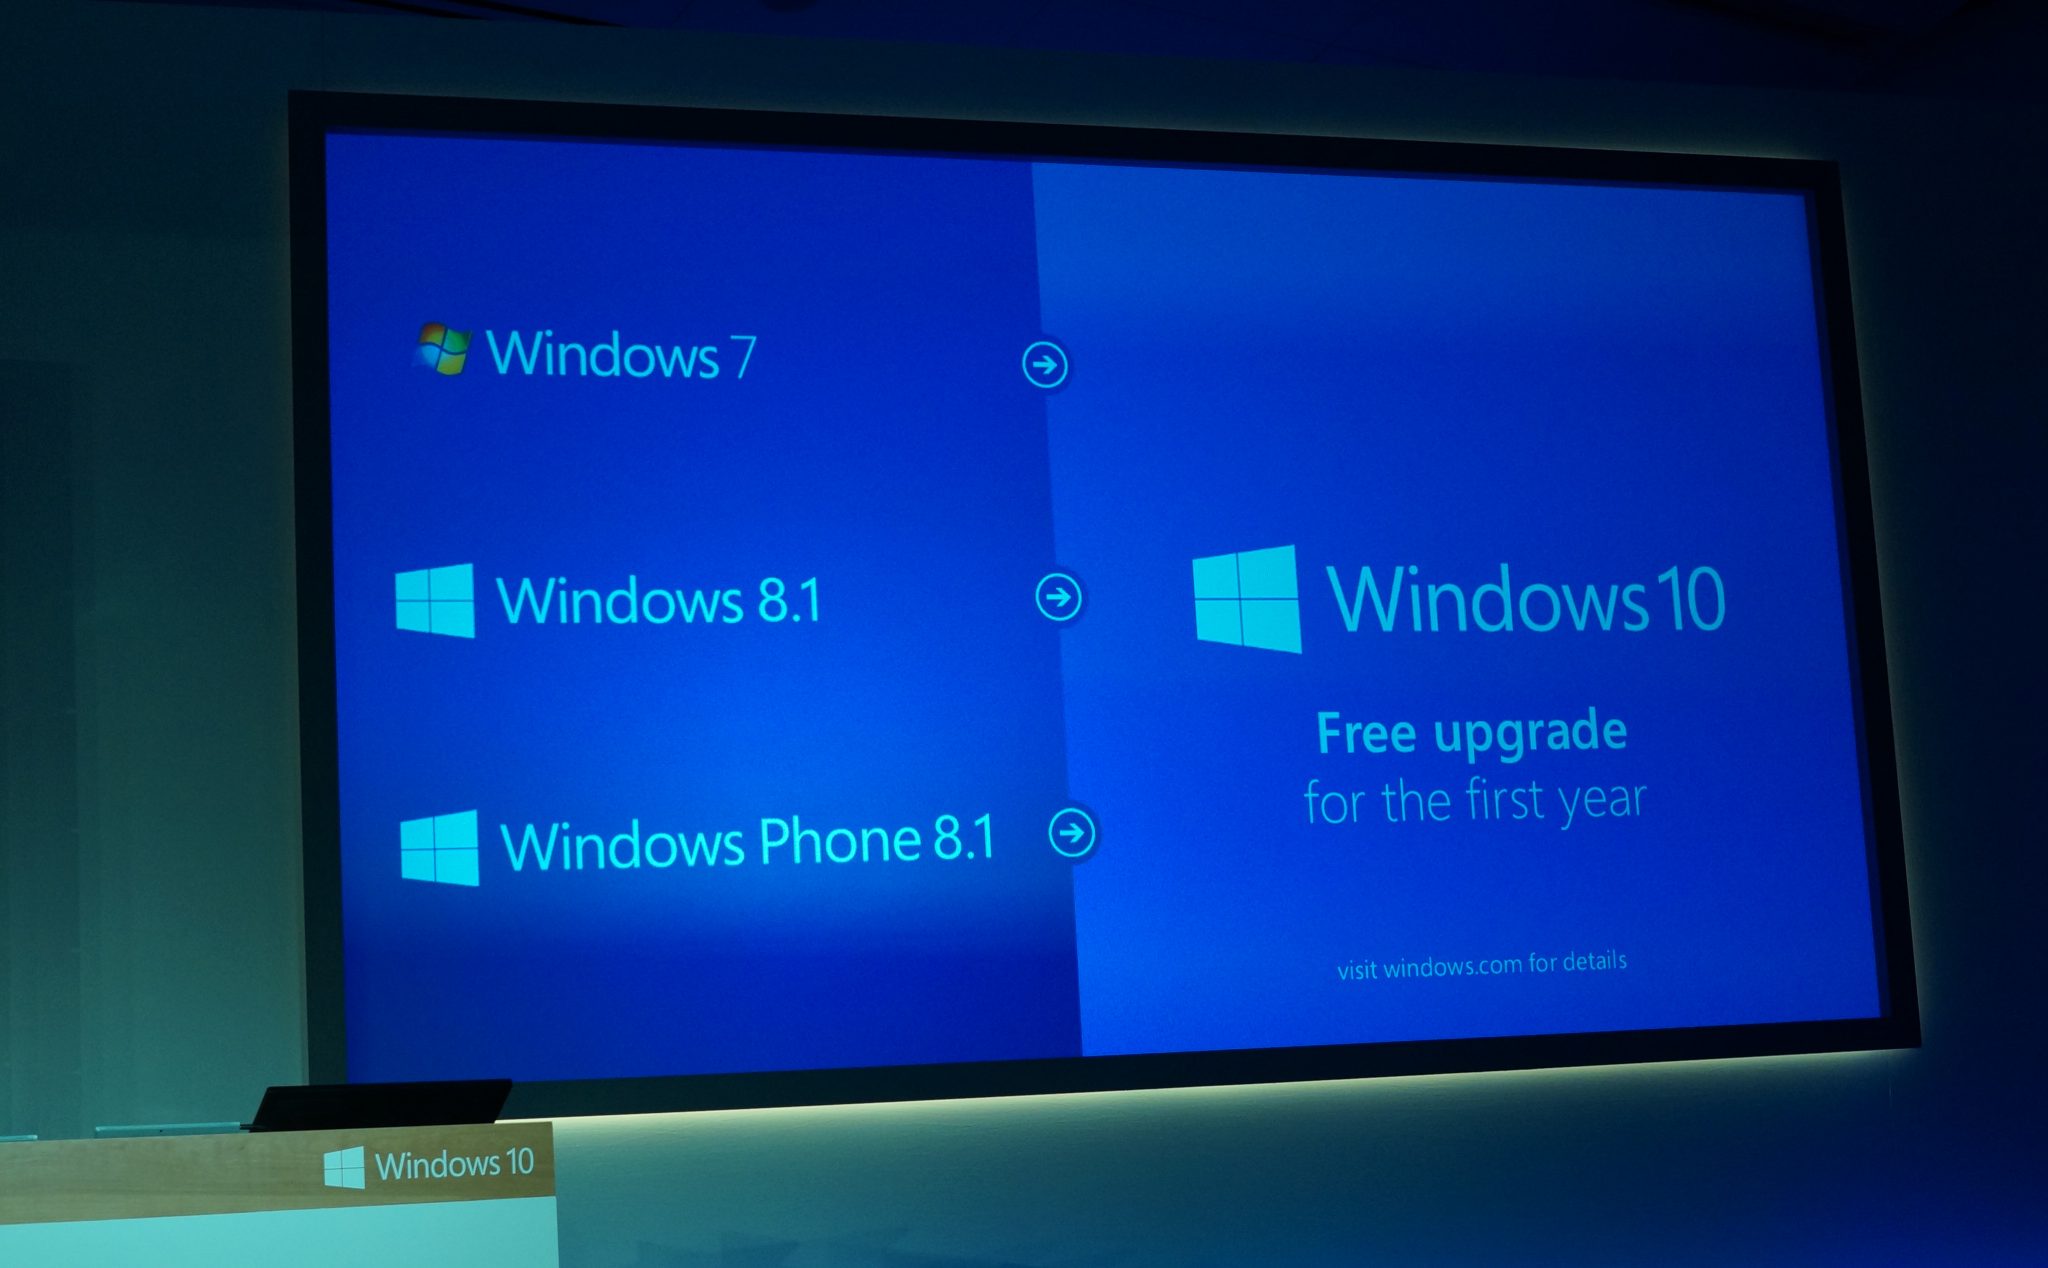
Microsoft officially announced the end of the free upgrade to Windows 10 from Windows 7 or Windows 8 and 8.1 on July 29th, 2016. This was exactly a year after the launch of Windows 10. But if you still want to upgrade from Windows 8.1 to Windows 10 and if you are using assistive technologies then you may still have the chance of upgrading your OS without having to pay a huge sum of money for the upgrade. For those curious to know the cost, Windows 10 Home is available for $119 while Windows 10 Pro costs $199 per license.
Microsoft had launched its anniversary update in August 2016. It is being speculated that the free upgrade option for those using Assistive Technologies will end after this update. Assistive technologies include the magnifier which helps you read text easily by magnifying the content, a narrator that can read out loud for you, keyboard shortcuts and the onscreen keyboard. These technologies assist the user to perform certain tasks on Windows OS with ease. They have been designed for people who may have certain disabilities, cognitive difficulties or impairments which may hinder them from using Windows OS without assistance.
See also: Windows 8.1 Tips and Tricks
Steps to upgrade windows 8.1 to windows 10
In order to upgrade from Windows 8.1 to Windows 10, you must have a properly licensed copy of Windows 8.1. You will also require your old product key in order to activate your upgraded OS. Here is how you go through the upgrade:
Step 1
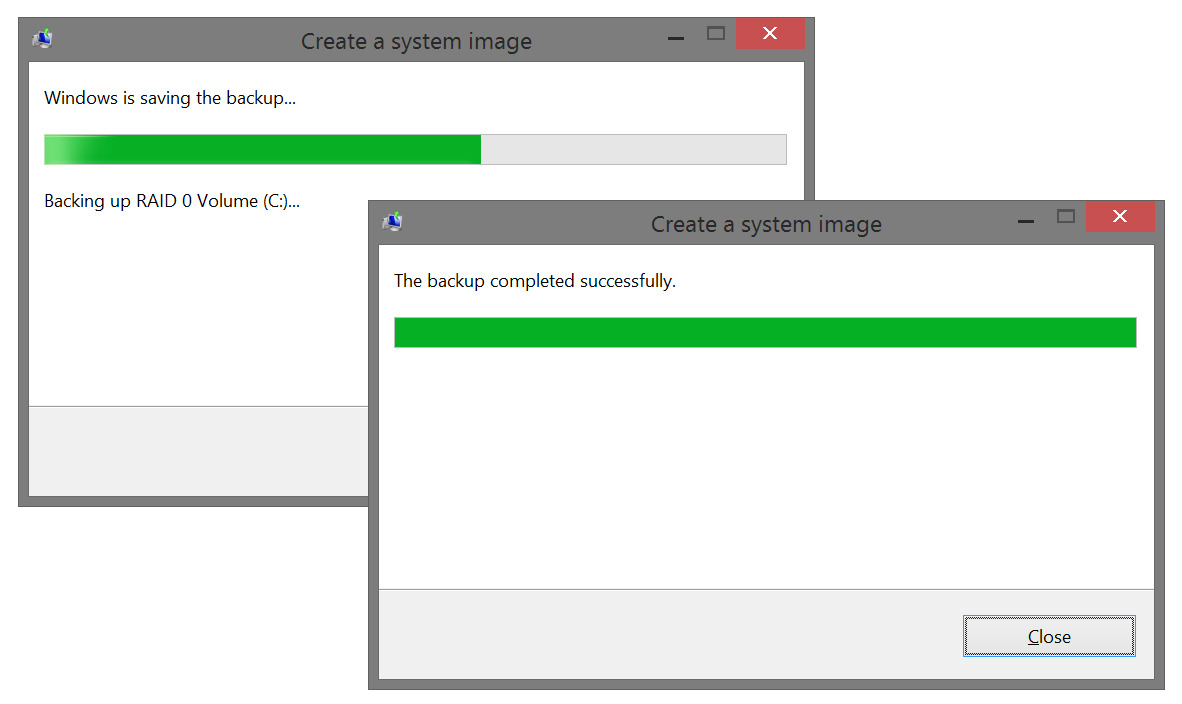
Begin by creating a backup of all your data. It is best to upgrade your device after creating a backup of all your files so that if anything goes amiss you will have a fallback option that you can rely on. Backup tools are available online to help you create a backup of all the files and folders on your computer. If your upgrade gets stuck or the rollback option doesn’t work then you have the ability to use the system image and return to your previous OS and continue using your device as normal. The Windows 10 OS upgrade will deactivate software that is incompatible so remember to update all your software and create a backup of the programs so that you do not end up losing important stuff on your computer.
Step 2
Once the backup is created you are ready to begin the new installation. The backup is a way of ensuring that you have the option to return to your previous OS if things don’t work as expected. With Microsoft trying to improve its OS experience and provide better customer experience, chances are that you may not have many problems with the upgrade.
Step 3
Visit the following link: https://www.microsoft.com/en-us/accessibility/windows10upgrade which takes you to Microsoft’s web page that offers a free upgrade to Windows 10 for customers who use assistive technologies. A handful of FAQs on this page will also help you clarify that you do not have to necessarily use one of Microsoft’s Assistive Technologies. You can be using any of the third-party ATs as wells and you will still qualify for the upgrade.
Step 4
Click on the Upgrade Now button and an executable file will be downloaded to your computer. Double click on the file once the download is completed or access it from the ‘downloads’ folder and open it to begin the installation process. It will run on Windows computers only.
Step 5
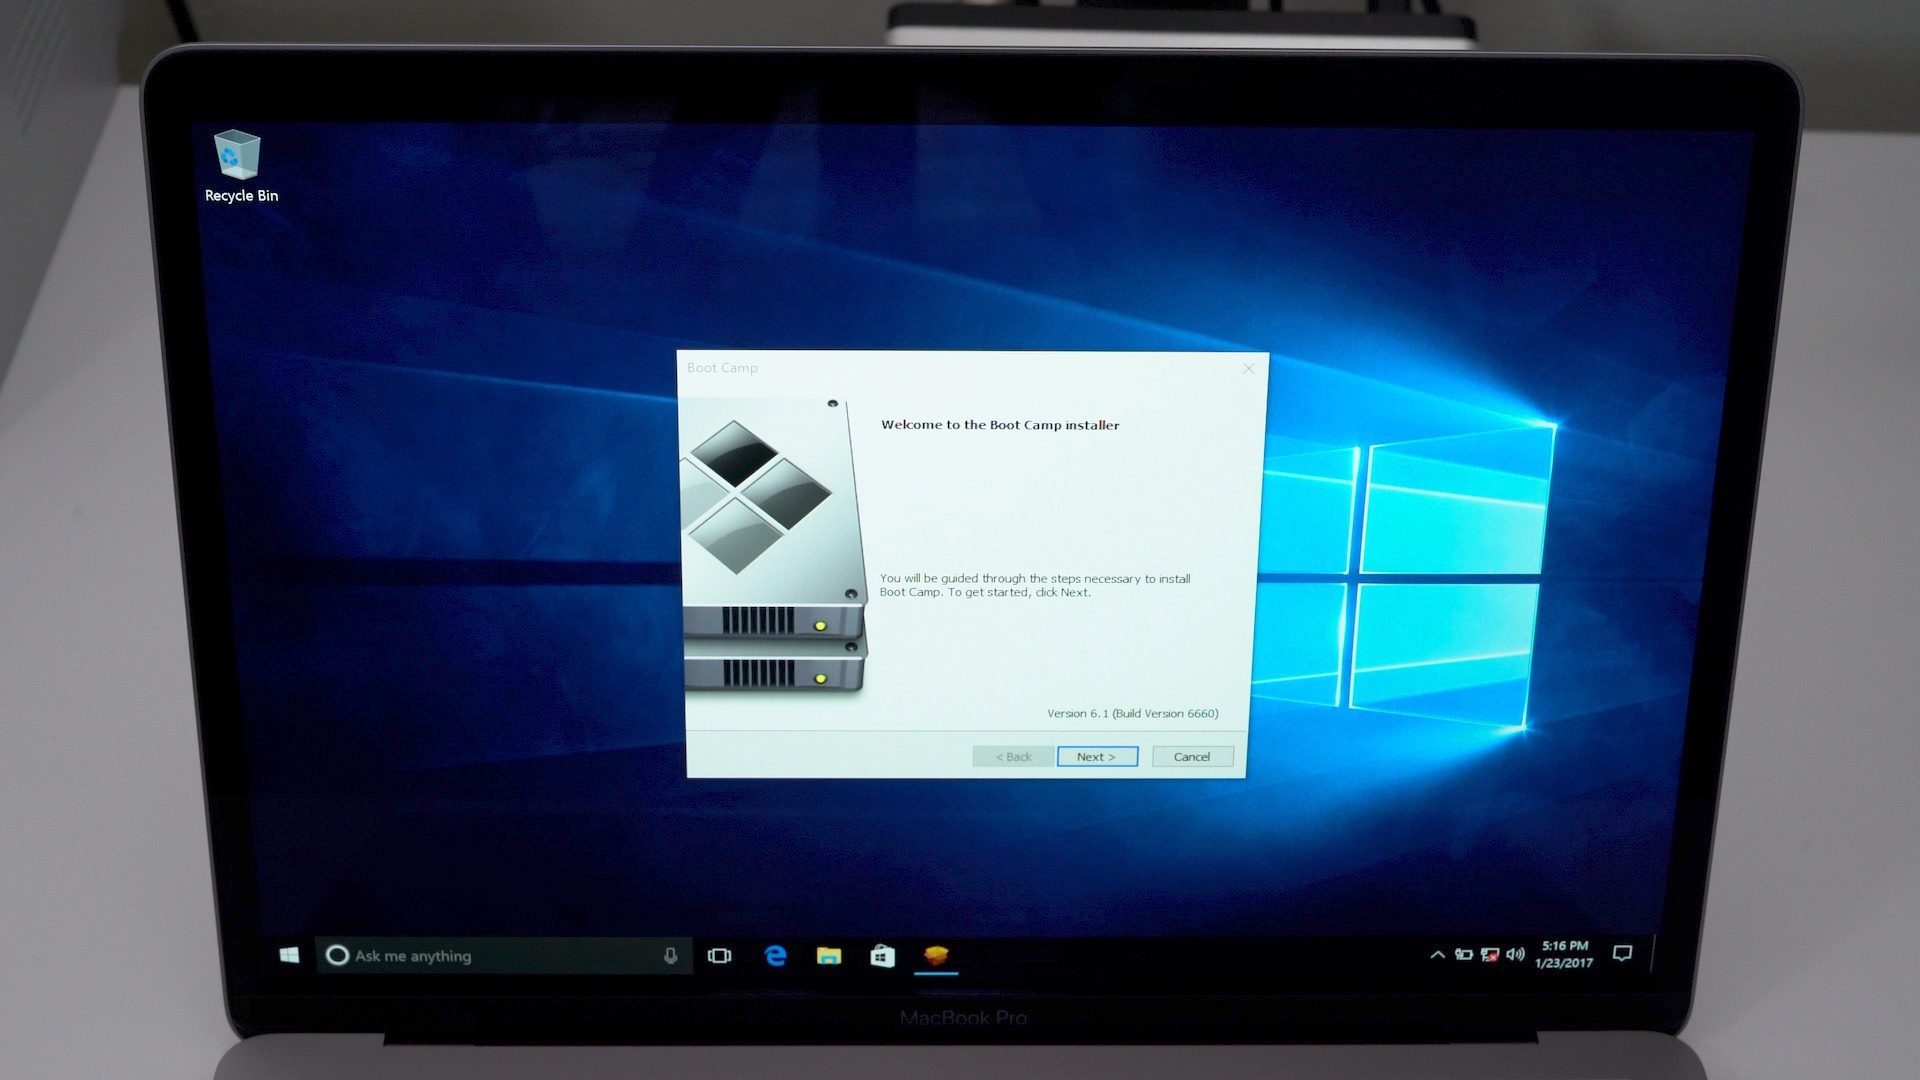
The Update Assistant will come up on your screen and you will be taken through a number of screens which will guide you step by step to complete the installation. Microsoft does not ask for any proof that you are using assistive technology, and for the morally conscious users, keyboard shortcuts like Ctrl + C to copy a file is also considered to be assistive technology. If you use keyboard shortcuts then you will still be one of the AT users.
The installation process is a time taking procedure and you may not be able to use your computer for a while. So if you have important work to do then you can download the file and keep it to use it when your computer is free. Once the upgrade begins your computer will restart and begin upgrading the OS. After a long wait, the computer will confirm that the upgrade is complete and you can begin using the latest version of Windows 10 (version 1511).
This method of upgrading from Windows 8.1 to Windows 10 is free and easy. It does not require many complex steps because the computer will automatically take you through the screens and steps required for the installation to be complete. Microsoft provides support through FAQs and forums to help you if you find yourself stuck on any of the steps.
Once the installation is complete and if you are happy with the latest Windows 10 version that you are using, you can go ahead and delete Windows.old file from your computer to increase space on your device. Keep this in mind that once you do this, you will not be able to go back to your old version of Windows OS any longer unless you install it from the installation media from scratch. So the rollback option will be taken away after you delete Windows.old. If you did, however, created a backup like we talked about in our first step, you can roll back to the previous version using the backup.
Many speculate that Microsoft continues to offer a backdoor to upgrading to Windows 10 for free to ensure that Windows 10 is used in maximum devices. Make hay while the sun shines, because once this backdoor is stopped there may not be any other option to upgrade the device for free.
If you have been waiting to upgrade till now or if you missed the free upgrade, then this is your chance to upgrade from Windows 8.1 to Windows 10 for free. Microsoft says that it will make an announcement before ending the free upgrade for Assistive Technology users and for now there is no end date.
See also: How To Install Windows Pro Tools 10 On Windows 8 Computer
