When your Samsung Galaxy S23's email stops syncing or sending, it can throw a wrench in your whole day. Missing work messages or not being able to reply is a common headache with a few clear paths to a fix. I'd start by checking the basics before moving to more involved solutions.
First, make sure you have a solid internet connection, either Wi-Fi or mobile data. It's also worth a quick check on your email provider's status page or social media to see if there's a widespread outage. Finally, double-check that you're using the correct email address and password, as a simple typo can be the culprit.
Restart the Samsung Email App
Force closing and reopening the app can clear out temporary glitches that might be preventing it from working properly. Swipe up from the bottom of your screen and hold to enter the recent apps view. Find the Email app and swipe it all the way up to close it. Wait a few seconds, then tap the app icon to launch it fresh.
Check Your Sync and Fetch Settings
Your S23's sync settings control how often it checks for new mail. If these are set incorrectly, emails might not arrive automatically. Open the Samsung Email app, tap the three-line menu icon, and go to Settings. Select your email account, then tap Sync settings.
Here, make sure "Sync Email" is turned on. You can also adjust the "Sync period" to determine how far back the app syncs and check the "Email check frequency" to set how often it looks for new messages. For the most reliable delivery, I'd set this to "Push" if your email provider supports it.
Toggle Airplane Mode
This quick trick resets all your phone's radio connections, which can resolve transient network issues blocking email. Swipe down twice from the top of your screen to open the full Quick Settings panel. Tap the Airplane Mode icon to turn it on, wait about 15 seconds, then tap it again to turn it off. Your phone will reconnect to Wi-Fi and cellular networks.
Switch Between Wi-Fi and Mobile Data
Sometimes the problem is isolated to one type of network. If you're on Wi-Fi, try turning it off to force the phone to use mobile data. You can do this from the Quick Settings panel. If emails start working, the issue might be with your Wi-Fi router or its internet connection.
Conversely, if you're on mobile data, try connecting to a known-good Wi-Fi network. This helps rule out a weak cellular signal or a data provisioning issue with your carrier that could be affecting email ports.
Verify Background Data Permissions
Android can restrict apps from using data in the background to save battery. If this is too restrictive for the Email app, it won't be able to check for new messages when you're not actively using it. Go to Settings > Apps, find and select "Email".
Tap Mobile data and ensure "Allow background data usage" is enabled. Also, go back and check Battery within the app's settings. Make sure it's not set to "Restricted," which would prevent it from working in the background entirely.
Update Your Email App and Software
Samsung and Google frequently release updates that fix bugs, including email-related ones. Open the Galaxy Store and check for updates to the Samsung Email app specifically. Then, go to Settings > Software update and tap "Download and install" to check for the latest One UI and Android security patches.
Since the Android 14 update, some users have reported various glitches that subsequent patches have addressed. Keeping your S23 updated is one of the best ways to ensure stability.
Re-add Your Email Account
This refreshes the connection between your phone and the email server, which can solve authentication or configuration corruption. Open the Email app, go to Settings, and select the problematic account. Tap "Remove account" at the bottom. Confirm, then go back to Settings and tap "Add account" to set it up again from scratch.
Check for Incorrect Date and Time
Email security certificates rely on your device having the correct time. If your phone's clock is off, it can break the secure connection to the mail server. Go to Settings > General management > Date and time. Make sure "Automatic date and time" is switched on, which sets the time via your network.
Disable Power Saving Modes
Aggressive battery saving features can severely limit background app activity, including email syncing. Swipe down to your Quick Settings and see if any power saving mode (like Power saving or Adaptive power saving) is enabled. If so, tap to turn it off. Also, check in Settings > Battery and device care > Battery to see your current mode.
Clear the Email App's Cache
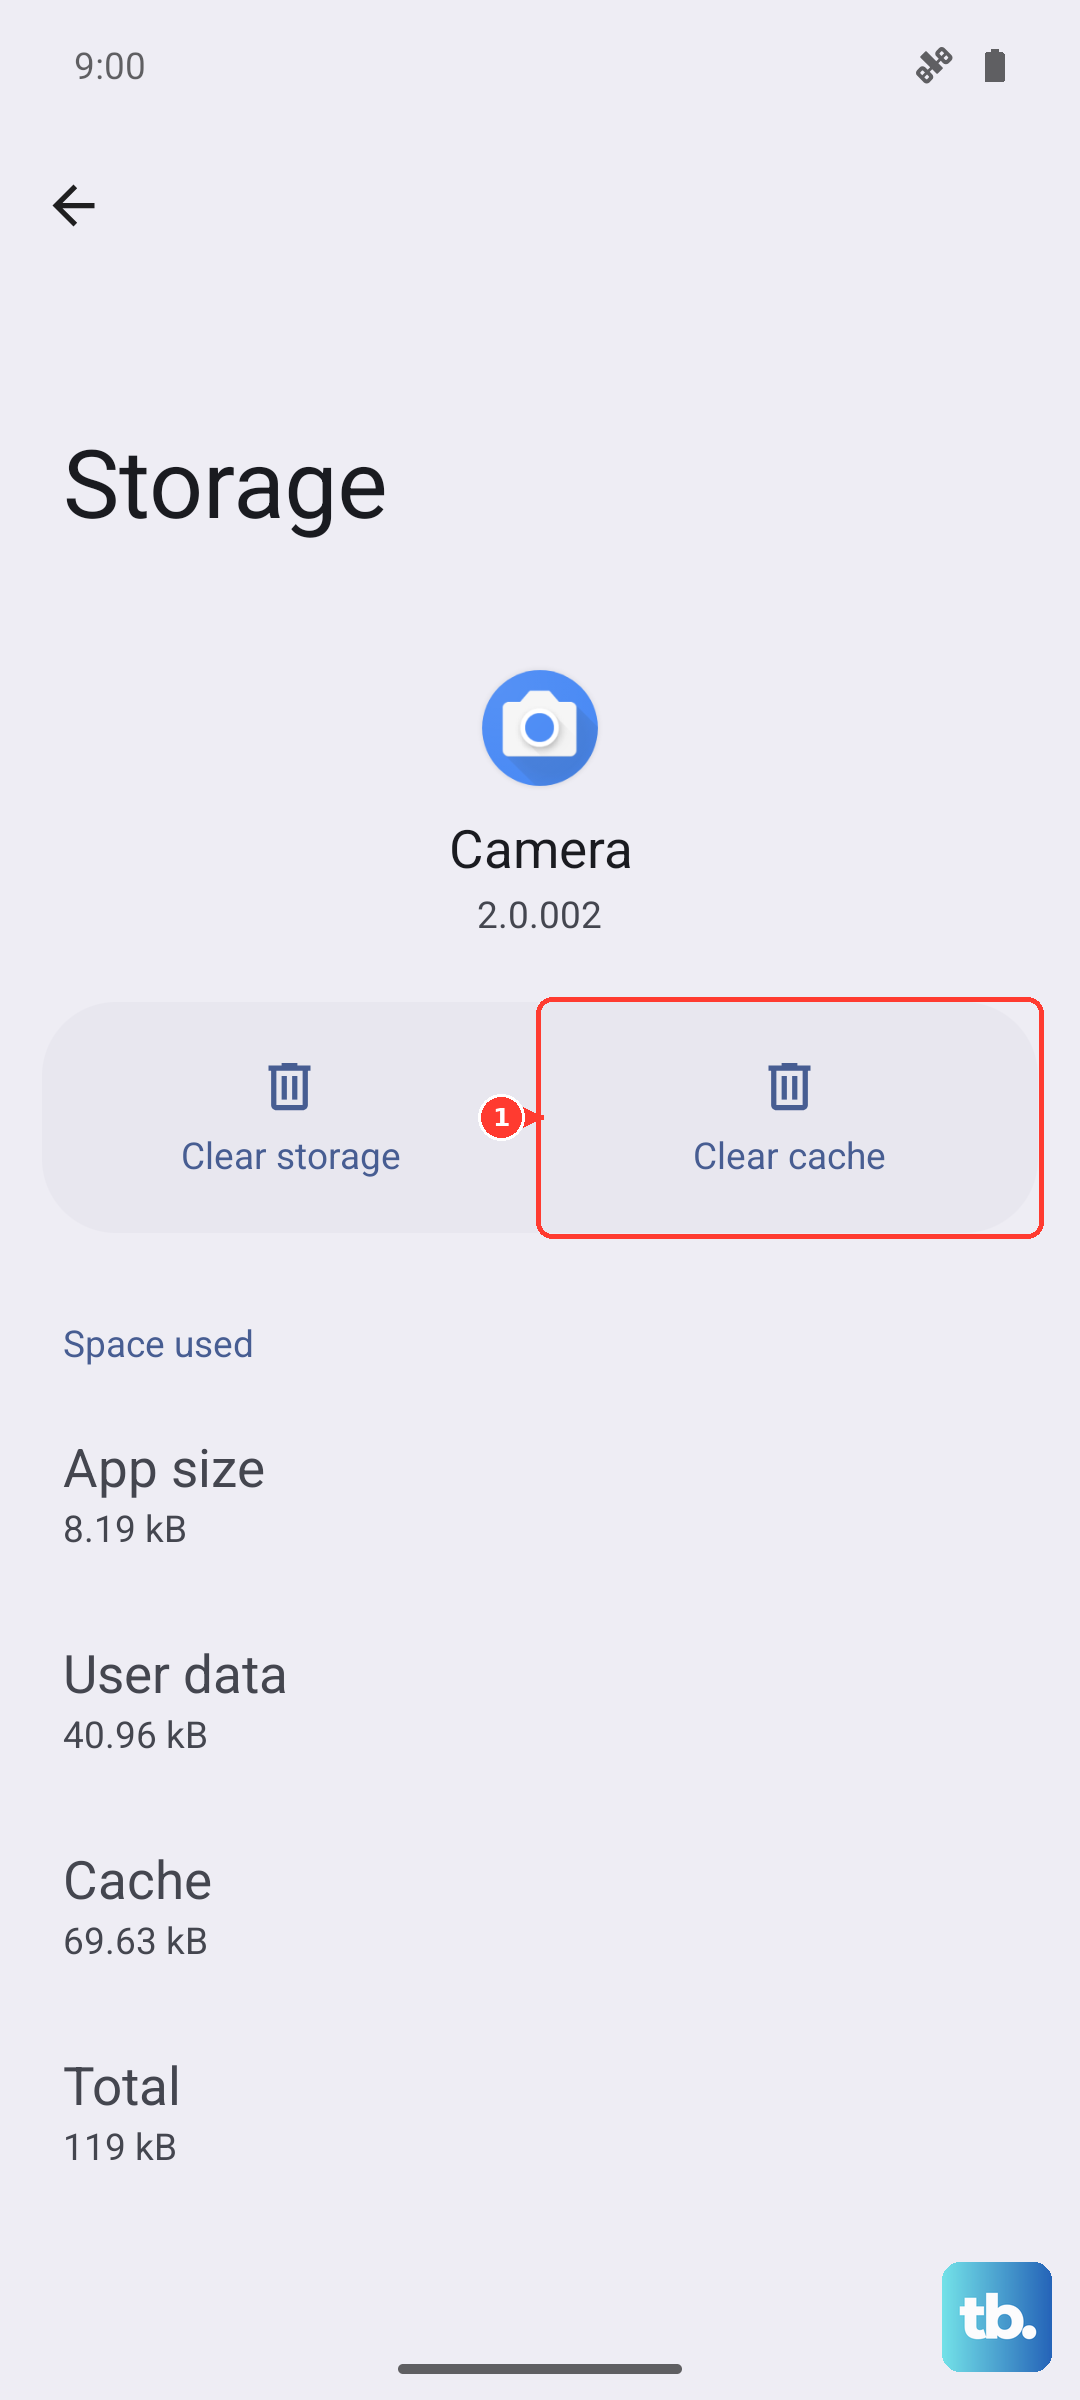
Corrupted temporary data (cache) can cause app malfunctions. Clearing it is safe and won't delete your emails or account. Go to Settings > Apps, find and select "Email". Tap Storage, then tap "Clear cache". After doing this, force close the app again and reopen it to see if performance improves.
Try Safe Mode
Booting into Safe Mode temporarily disables third-party apps, which helps identify whether a downloaded app is interfering with email. Open the power menu by pressing the Side button and Volume down together, or by swiping down from the top of the screen and tapping the Power icon. Touch and hold Power off, then tap Safe mode.
Test your email. To exit Safe Mode, restart the phone normally or use the Safe mode notification. If the problem is gone, uninstall recently downloaded or recently updated apps one by one until the issue stops returning.
Review Your Notification Settings
If emails are arriving but you're not getting alerts, the notification settings might be muted. Go to Settings > Notifications > App notifications, select Email, and make sure notifications are allowed. If you do not see per-category controls, go back to Settings > Notifications > Advanced settings and turn on Manage notification categories for each app, then return to the Email notification settings and check the relevant categories.
Check Account-Specific Security Settings
For Gmail, do not look for a "Less secure app access" toggle. Google says apps that sign in with only a username and password may be blocked; use Sign in with Google when the mail app offers it, or create a Google app password only if 2-Step Verification is on and the app does not support Google sign-in. For Microsoft accounts, an app password is only relevant when two-step verification is on and you are using the default Android mail app; the Outlook app for Android does not need one. For Yahoo Mail in third-party apps, generate an app password from Yahoo Account Security under External connections.
Perform a Network Settings Reset
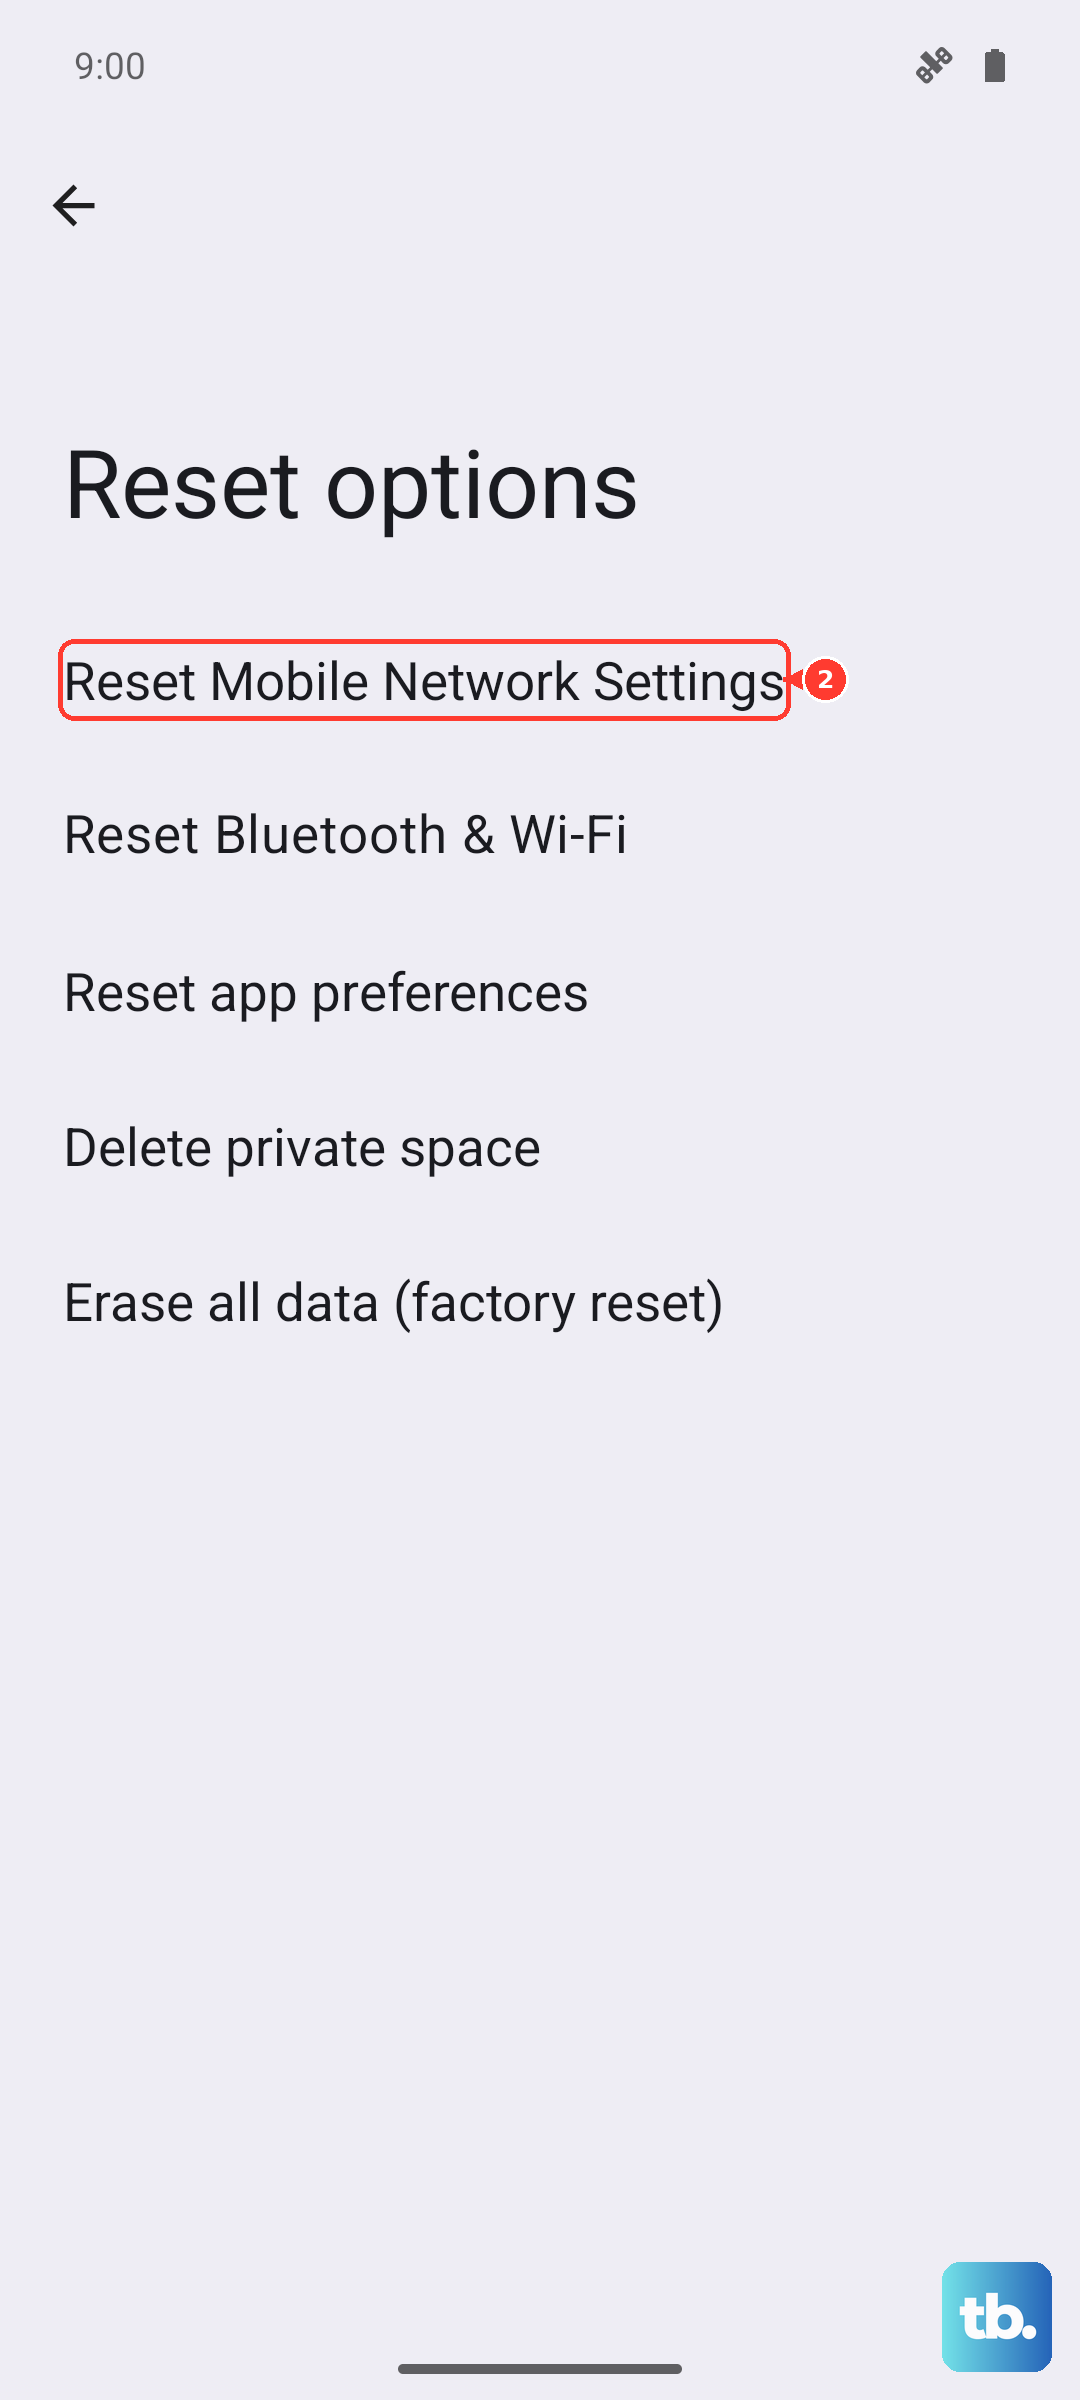
Samsung splits this into separate reset options on current Galaxy software. For Wi-Fi or Bluetooth issues, go to Settings > General management > Reset > Reset Wi-Fi and Bluetooth settings; this clears saved Wi-Fi networks and Bluetooth connections, so you will need to reconnect afterward. For cellular calling, texting, or mobile data issues, use Settings > General management > Reset > Reset mobile network settings instead. Neither option is meant to erase your apps or personal data.