You sit down to type and nothing happens. Keys feel dead, the cursor will not budge, and you are stuck staring at a blank line wondering whether the keyboard or the PC gave out. The good news is that most keyboard failures on Windows 10 and Windows 11 trace back to a loose connection, a sleepy USB port, or a driver that quietly broke, and all of those are fixable in a few minutes. Work through the fixes below in order, since the early ones are the fastest and least invasive.
If some keys seem unresponsive, run an online online keyboard tester first. Keys that register there but not in your app point to software rather than hardware.
Reseat the Connection and Switch USB Ports
Before assuming anything is broken, treat the physical link as the prime suspect. Windows can lose track of a device, and simply reconnecting it forces the system to reload the driver cleanly.
- 1.Unplug the keyboard, then wait a short while so Windows can unload the device driver.
- 2.Plug the device back in.
- 3.Try using a different USB port on your PC.
- 4.If you are using a USB hub, remove the hub and plug the keyboard directly into a USB port on the PC.
Moving to a different port rules out a single dead or underpowered connector, which is one of the most common reasons a keyboard appears to fail with no warning. Going hub-free gives the keyboard a direct, full-power line to the machine.
Inspect the Cable, Batteries, and Keys for the Obvious
A surprising number of keyboards that seem broken are physically compromised in a way you can spot in seconds. Look the hardware over before you start digging into software.
Make sure the cable on the keyboard is not damaged in any way, and confirm there is no dirt blocking keys or sensors. Debris under a keycap or across a sensor can stop input cold, so clear anything you find.
For battery-powered wireless keyboards, check that they are fully charged or have fresh batteries. If your wireless keyboard uses a USB receiver, unplug the receiver, wait a moment, then plug it back in to prompt Windows to reconnect the device.
Test the Keyboard on a Second PC
This single step tells you whether you are chasing a hardware fault or a software problem, which saves you from wasting time on the wrong fixes. It is the cleanest way to split the diagnosis in two.
Connect the keyboard to another PC and confirm whether it works there. Make sure the correct driver is installed on the test PC so you are giving it a fair trial. If the keyboard fails on a second PC too, the keyboard hardware is likely faulty, and your effort is better spent on a replacement than on more troubleshooting.
If it works perfectly on the other machine, the problem lives in your original PC, and the remaining fixes are where you want to focus.
Keep Working With the On-Screen Keyboard
You do not have to stop everything while you sort this out. Windows includes a built-in On-Screen Keyboard (OSK) that lets you type with your mouse, which is handy for entering passwords or running the steps that follow.
On Windows 11, go to Start, then select Settings > Accessibility > Keyboard and turn on the On-Screen Keyboard toggle. On Windows 10, go to Start, then select Settings > Ease of Access > Keyboard and turn on the toggle under Use the On-Screen Keyboard.
With the On-Screen Keyboard open, you can type passwords, fill in fields, and work through the rest of these fixes using only your mouse.
Install the Latest Windows Updates
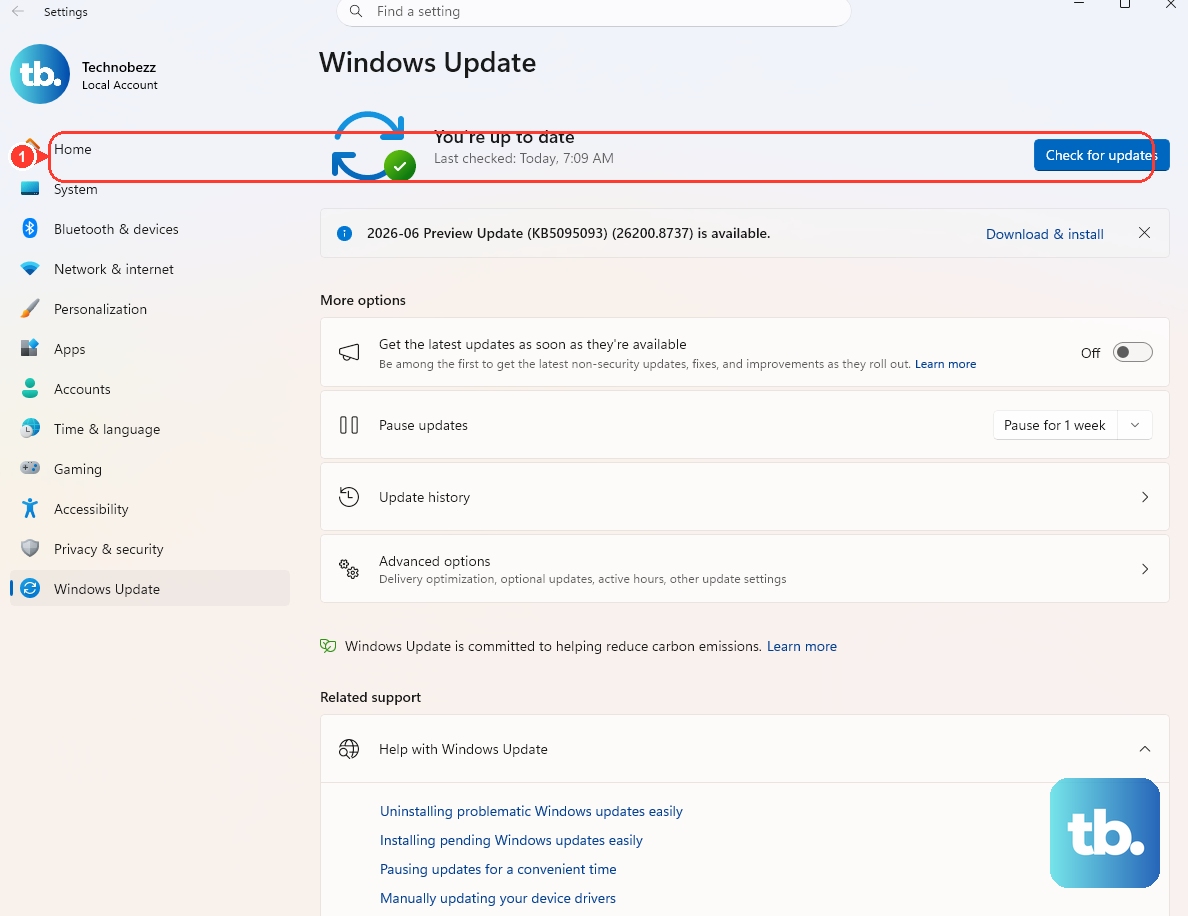
Windows updates can carry refreshed device drivers, and an update is sometimes all that stands between you and a working keyboard. This applies to both Windows 10 and Windows 11.
- 1.In the search box on the taskbar, type
check for updates. - 2.Select Check for updates from the results.
- 3.Under Windows Update, select Check for updates.
- 4.Install any available updates, which can include updated device drivers.
Once the install finishes, let the PC complete any pending restart so the new drivers can take effect.
Update the Keyboard Driver in Device Manager
If updates alone did not help, push a driver refresh directly through Device Manager. A corrupted or outdated keyboard driver is a classic cause of total input loss, and this targets it specifically.
- 1.In the search box on the taskbar, type
device managerand select Device Manager from the results. - 2.Locate the keyboard device, then double-click (or right-click) it.
- 3.On the Driver tab, select Update Driver and follow the instructions.
Windows will search for and apply a better driver if one is available, then walk you through any remaining on-screen prompts.
Reinstall the Driver With Uninstall and Rescan
When an update will not stick, a full reinstall gives the keyboard a clean driver from scratch. Removing the device and letting Windows rediscover it clears out a corrupted install.
- 1.In Device Manager, right-click the keyboard device and select Uninstall.
- 2.On the menu bar, choose Action and select Scan for hardware changes to reinstall the device.
You may be prompted for the driver path during reinstall. Windows often has the driver built in, but if it asks, you can download the correct one from the hardware vendor's website and point the wizard to it.
Run a Troubleshooter From the Get Help App

Windows now runs its built-in troubleshooters from inside the Get Help app, which can detect and suggest remedies for device problems automatically. It is worth letting Windows take a pass before you start changing power settings by hand.
Open the Get Help app and use the search bar to find the relevant troubleshooter, then follow the prompts. Get Help will report its findings and suggested remedies in the app itself. Run the closest available device troubleshooter for your hardware and let it guide you through the steps it recommends.
On Windows 11, you can also review and configure troubleshooting at Start > Settings > System > Troubleshoot.
Turn Off USB Power Saving

If your USB keyboard works fine but stops responding after the PC sleeps or sits idle, Windows may be powering down the port to save energy. Disabling that behavior keeps the connection alive.
To change the system setting, select Start, type power options, and select Power Options. Under the selected power plan, select Change plan settings, then select Change advanced power settings. In the Power Options dialog box, expand USB settings, then expand USB selective suspend setting and set it to Disabled.
You can also clear the per-device option in Device Manager. Expand Universal Serial Bus controllers, right-click USB Root Hub, select Properties, open the Power Management tab, and clear the Allow the computer to turn off this device to save power check box.
Frequently Asked Questions
How do I know if my keyboard is broken or if it is a Windows problem?
Connect the keyboard to another PC and confirm whether it works there, making sure the correct driver is installed on that test machine. If it fails on the second PC as well, the keyboard hardware is likely faulty. If it works on the other PC, the problem is on your original computer, so focus on the driver, update, and power fixes.
What can I do to keep typing while my keyboard is dead?
Turn on the built-in On-Screen Keyboard so you can type with your mouse. On Windows 11, go to Settings > Accessibility > Keyboard and enable the On-Screen Keyboard toggle; on Windows 10, go to Settings > Ease of Access > Keyboard and turn on the toggle under Use the On-Screen Keyboard.
Why does my keyboard stop working after the PC wakes from sleep?
Windows may be turning off the USB port to save power while the system is idle. Set USB selective suspend setting to Disabled in Power Options, or clear the Allow the computer to turn off this device to save power check box under the USB Root Hub's Power Management tab in Device Manager.
Will updating Windows fix a keyboard driver issue?
It can. In the taskbar search box, type check for updates, select Check for updates, then under Windows Update select Check for updates again and install what is offered. These updates can include refreshed device drivers that resolve keyboard problems on both Windows 10 and Windows 11.
Should I use a USB hub for my keyboard?
If your keyboard is acting up, remove the hub and plug the keyboard directly into a USB port on the PC. A direct connection rules out a hub as the point of failure and ensures the keyboard gets a reliable, full-power link to the machine.


