If your iPad Air's fingerprint sensor has suddenly stopped working, it can lock you out of your device or secure apps. The sensor is built right into the top button, and when it fails, you'll need to rely on your passcode. Let's get it working again.
Clean the Top Button
Dirt, oil, or lotion on your finger or the sensor itself is the most common culprit. The sensor needs a clean, dry surface to read your fingerprint accurately. Gently wipe the top button with a soft, lint-free cloth, like the one you'd use for the screen.
Make sure your finger is clean and dry, too. I've found that even a little hand sanitizer residue can cause recognition to fail. Give your finger a quick wipe on your pants before trying again.
Restart Your iPad
A quick restart can clear out temporary software glitches that might be confusing the Touch ID system. Press and hold the top button and either volume button until the power off slider appears. Slide to power off, wait about 30 seconds, then press the top button again to turn it back on.
If the iPad is completely unresponsive, you'll need to force restart it. Quickly press and release the volume up button, then quickly press and release the volume down button. Finally, press and hold the top button until you see the Apple logo appear on the screen.
Re-register Your Fingerprint
Over time, small changes to your fingerprint or a poor initial scan can cause problems. The fastest fix is often to delete the old print and add it again. Go to Settings > Touch ID & Passcode and enter your passcode.
Tap on the fingerprint that's giving you trouble and select Delete Fingerprint. To add it back, tap Add a Fingerprint and follow the on-screen prompts. Press and lift your finger slightly with each tap, covering the edges of your fingertip.
Check for iPadOS Updates

Apple frequently releases updates that include fixes for hardware recognition issues. An outdated version of iPadOS could be the reason your Touch ID stopped working. Connect to Wi-Fi and plug in your iPad with a 30W USB-C PD charger to ensure the update completes.
Then, head to Settings > General > Software Update. If an update is available, tap Download and Install. I'd recommend doing this regularly, as updates often contain important performance and security patches for new models.
Check Your Case or Screen Protector
A poorly designed case might be putting pressure on the edges of the top button, preventing the sensor from making proper contact with your finger. Try removing your case and testing Touch ID without it.
While screen protectors don't usually affect the top button sensor, a full-body skin or thick protective film that overlaps the button could cause issues. Make sure the area around the top button is completely clear of any obstructions.
Register Multiple Fingers
It's a good idea to have a backup. Register another finger, like your other thumb or index finger, in the Touch ID settings. This gives you an alternative if one finger is temporarily dirty, damp, or has a small cut.
You can store up to five fingerprints on the iPad Air. Having a couple registered also helps if the sensor is having trouble with a specific angle from your primary finger.
Reset All Settings
This is a more involved step, but it won't delete your personal data like photos or apps. It will reset your network settings, home screen layout, and privacy permissions, which can sometimes resolve deeper software conflicts affecting Touch ID.
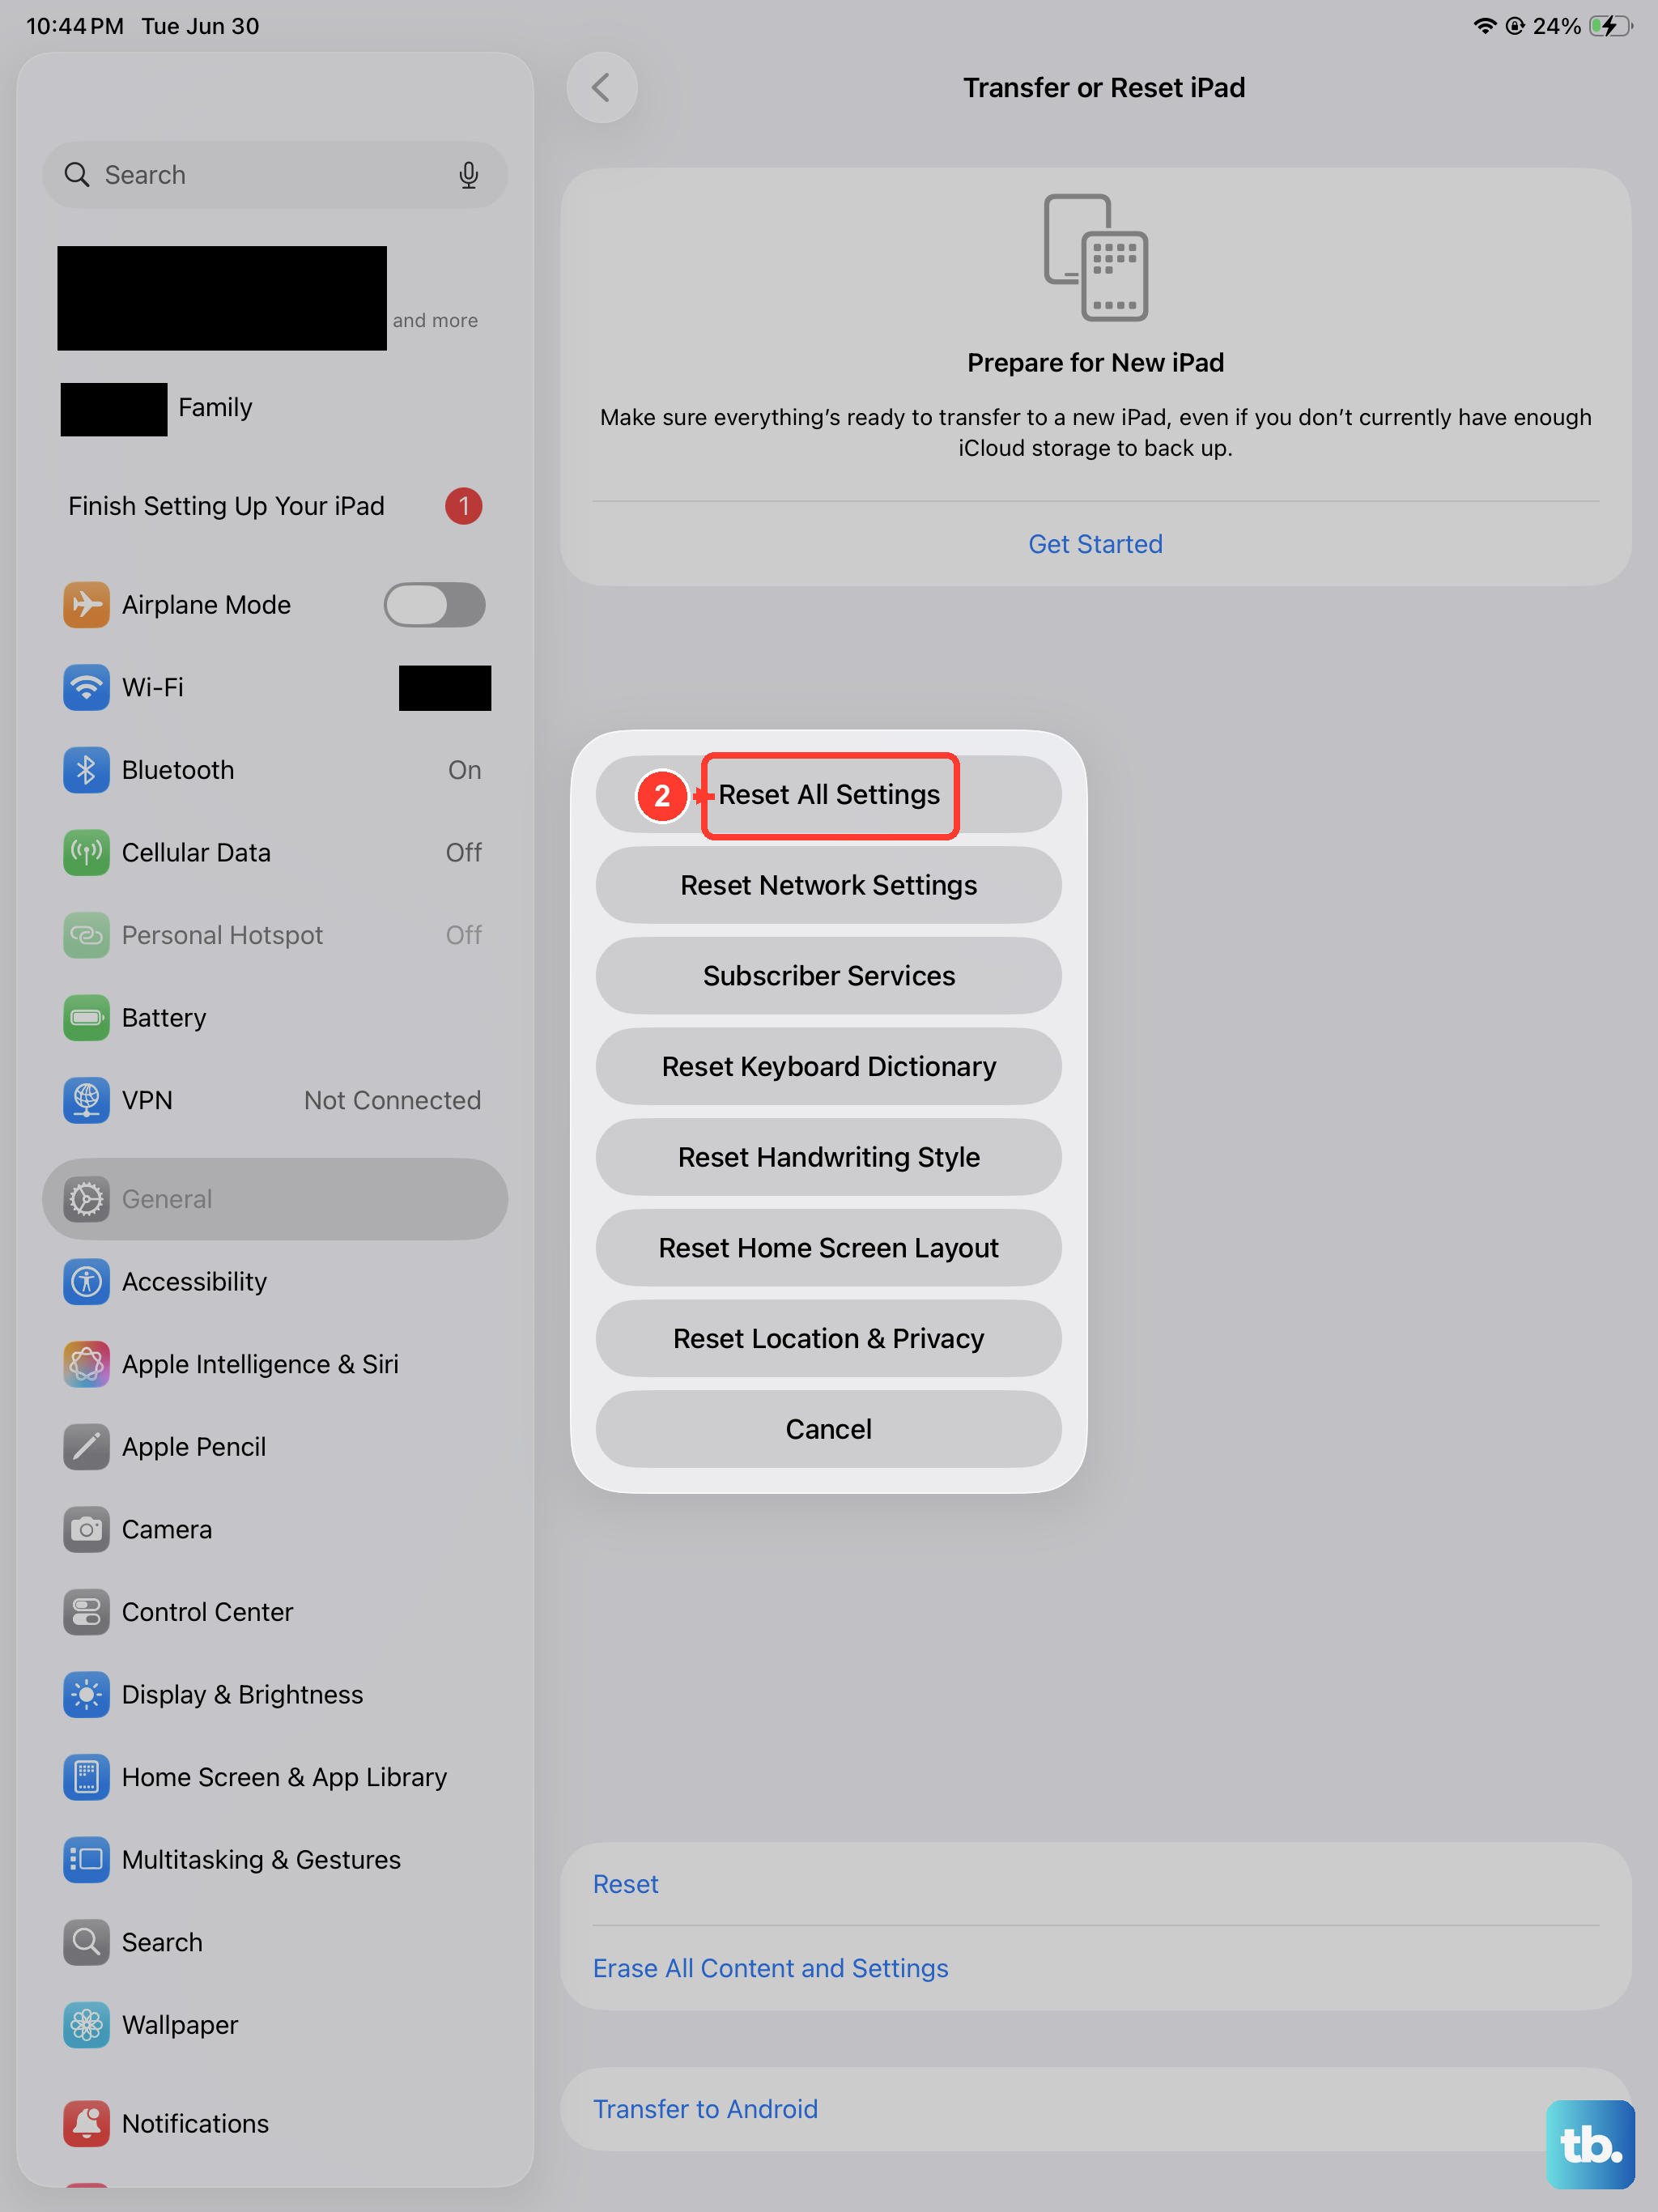
Go to Settings > General > Transfer or Reset iPad > Reset. Choose Reset All Settings and enter your passcode. After the iPad restarts, you'll need to re-enable Touch ID and re-add your fingerprints.
If you've tried all these steps and the sensor still doesn't recognize any fingerprint, even newly registered ones, the issue is likely with the hardware itself. The Touch ID sensor is paired securely with the iPad's logic board, and damage to the top button would require service from Apple or an authorized provider to diagnose and repair.


