

Need a Windows 11 USB installer or ISO and do not want a third-party tool in the middle? Microsoft’s Media Creation Tool is the official route for creating Windows 11 x64 installation media.
Download it from Microsoft, choose USB or ISO, then use that media for a repair install or clean install without following old Windows 10 instructions that no longer match Microsoft’s current Windows 11 page.
1. Download the official Windows 11 Media Creation Tool
Start on Microsoft’s Windows 11 download page. The tool is listed under Create Windows 11 Installation Media, and Microsoft’s current page labels the download as Windows 11 2025 Update | Version 25H2.
Go to Microsoft’s Windows 11 software download page and find Create Windows 11 Installation Media. Select Download Now, then run MediaCreationTool.exe as an administrator.
You need administrator rights, internet access, and a Windows 11 x64 PC workflow. Microsoft says this tool cannot create installation media for Arm-based PCs.
2. Make a bootable Windows 11 USB drive
Open MediaCreationTool.exe and select Accept. On What do you want to do?, choose Create installation media for another PC, then select Next.
Choose the language, edition, and 64-bit architecture for Windows 11. Select USB flash drive, attach a blank USB flash drive with at least 8GB of space, and continue through the prompts until the tool finishes.
This is the main Media Creation Tool path for most home users. Use it when you want a USB drive that can start Windows Setup on another compatible PC. The USB drive is deleted during this process, so use a blank drive or move its files somewhere else before selecting it.
3. Save a Windows 11 ISO file
Pick the ISO option when you want a file you can mount in Windows, use with a virtual machine, or burn to DVD later. Open MediaCreationTool.exe and select Accept.
Choose Create installation media for another PC, select Next, then choose the language, edition, and 64-bit architecture. Select ISO file, save the ISO file to your PC or external storage, and make sure the destination has enough free space before the download starts.
4. Burn the ISO to a DVD
If you still need DVD media, create the ISO first. After the download finishes, go to the folder where the ISO was saved or select Open DVD burner.
Use a blank DVD with at least 8GB of space and use a PC with a DVD burner. Follow the DVD burner instructions on screen, then use a higher-capacity Dual Layer DVD if the disc image is too large.
5. Reinstall Windows 11 from inside Windows
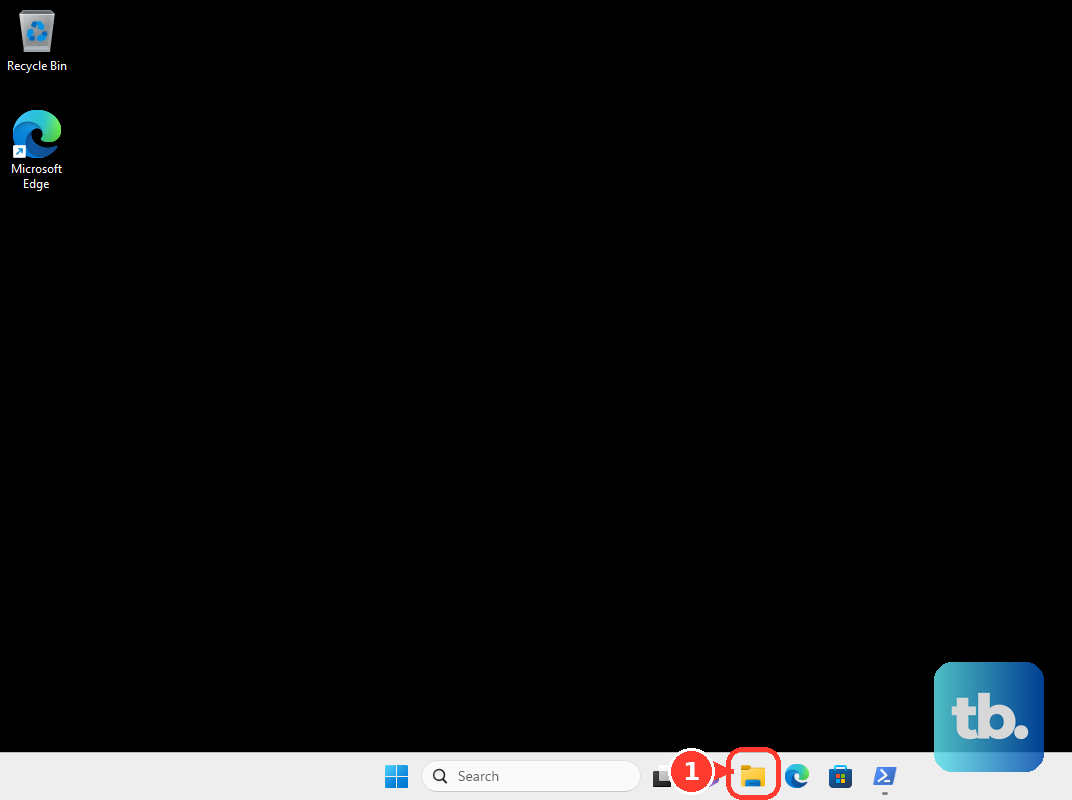
Connect the installation media to the PC, open File Explorer, and select the drive with the installation media. Open setup.exe from the root directory, then select Yes if User Account Control appears.
Select Change what to keep. Choose Keep personal files and apps, Keep personal files only, or Keep nothing, then select Next and select Install.
Use this route when the PC still starts and you want to run Windows Setup from the USB, DVD, or mounted ISO. Your Change what to keep choice controls what remains after the reinstall.
6. Clean install Windows 11 from USB or DVD
A clean install deletes personal files, apps, OEM customizations, and Settings changes. Use it when you are ready for a fresh Windows installation.
Create the installation media on a working PC. Connect the USB drive or insert the DVD on the target PC, then restart the PC.
Open the boot menu or change the BIOS or UEFI boot order if the PC does not start from the media. Press the manufacturer’s boot key. Microsoft lists F2, F12, Delete, and Esc as common keys.
In Windows Setup, choose your language and localization settings, then select Next. Choose your keyboard settings, then select Next.
On Select setup option, choose Install Windows 11. Select I agree everything will be deleted including files, apps, and settings, then select Next.
If Product key appears and the PC has a digital license, select I don’t have a product key, then choose the Windows edition that matches that license. On Applicable notices and license terms, select Accept.
On Select location to install Windows 11, delete every partition on Disk 0 that is not already listed as Unallocated Space. Do not delete partitions on any other disk.
Select Disk 0 Unallocated Space, then select Next. On Ready to install, select Install.
7. Use the direct ISO download when it fits better
For x64 devices, the Media Creation Tool is not the only official option on Microsoft’s Windows 11 download page. Microsoft also provides Download Windows 11 Disk Image (ISO) for x64 devices.
Open Microsoft’s Windows 11 software download page, then go to Download Windows 11 Disk Image (ISO) for x64 devices. Select an edition from the menu and select Download Windows 11 (multi-edition ISO for x64 devices).
Choose the product language, then download the ISO. Right-click the ISO file and select Mount, then open the mounted virtual disc and double-click setup.exe.
For Arm-based Windows 11 PCs, use Microsoft’s Windows 11 Arm64 ISO page instead. The Media Creation Tool is not the supported route for Arm installation media. That ISO can be used to manually create bootable USB media, but you may need drivers from the device manufacturer for the media to boot successfully.
8. Skip old Media Creation Tool advice
Older Windows 10 guides commonly point to Upgrade this PC now inside the Media Creation Tool. Do not use that as current Windows 11 guidance.
Microsoft’s current Windows 11 page documents the Media Creation Tool flow as Create installation media for another PC. For setup automation, Microsoft documents supported setup.exe options after media or an ISO exists, not a normal home-user command line for MediaCreationTool.exe.
Advanced users can create a bootable USB manually from an ISO with Windows tools: open Disk Management, format the USB drive as FAT32, then use File Explorer to copy the ISO contents to the flash drive. FAT32 has a 4GB file-size limit, so copying the full contents directly only works when the Windows image file (sources\install.wim) is 4GB or smaller.
If install.wim is larger than 4GB, copy everything except that file. Then run Dism /Split-Image /ImageFile:D:\sources\install.wim /SWMFile:E:\sources\install.swm /FileSize:3800 to create install.swm files in the USB drive’s Sources folder, and Windows Setup installs from the split files automatically.
Frequently Asked Questions
Does the Windows 11 Media Creation Tool erase my USB drive?
Yes. Creating a USB flash drive with the tool deletes the contents of that USB drive. Use a blank USB drive with at least 8GB of space.
Can I use the Media Creation Tool for an Arm-based Windows 11 PC?
No. Microsoft says the Windows 11 Media Creation Tool cannot create installation media for Arm-based PCs. Use Microsoft’s Windows 11 Arm64 ISO download page instead.
Can I keep my files during a Windows 11 reinstall from the media?
Yes. Start setup.exe from inside Windows, select Change what to keep, then choose Keep personal files and apps or Keep personal files only.
What key opens the boot menu for a Windows 11 USB install?
Microsoft lists F2, F12, Delete, and Esc as common startup keys. The exact key depends on the PC manufacturer.