A Windows 11 installer USB goes wrong fast when the ISO, USB drive, or boot layout is wrong. Use the current Rufus flow to download or select the Windows 11 ISO, write the installer, choose the right Windows User Experience options, and boot the target PC into Windows Setup.
1. Download Rufus and Windows 11 first
Start with the official files. Rufus is available from rufus.ie, and Microsoft provides the Windows 11 ISO from the Download Windows 11 page.
Go to rufus.ie and download the current Rufus build. As of July 2026, the verified stable release is Rufus 4.15, published June 30, 2026.
Next, open Microsoft’s Download Windows 11 page.
Then go to Download Windows 11 Disk Image (ISO) for x64 devices.
After that, Download the Windows 11 ISO. Microsoft’s page currently shows Windows 11 2025 Update, version 25H2.
You can also install Rufus from Microsoft Store by opening the Rufus listing and selecting Get or Install.
2. Pick a USB drive Rufus can erase
Use a USB flash drive that is 8 GB or larger. Rufus erases the selected drive when it creates the installer, so move your files off that USB before you press Start.
Plug the USB drive into the Windows PC where Rufus is running. Open Rufus as administrator when you are ready to create the installer.
3. Create the Windows 11 installer in Rufus
Open Rufus as administrator.
Set Device to the USB drive you want to erase.
Set Boot selection to Disk or ISO image.
Select Select, then choose the Windows 11 ISO.
Set Image Option to Standard Windows installation.
Set Partition scheme to GPT for a modern UEFI PC.
Confirm Target system shows UEFI (non CSM).
Leave File system on the Rufus default.
Select Start, then confirm the erase warning.
Choose MBR only for a target PC that specifically needs legacy or CSM boot.
4. Let Rufus download the ISO instead
Rufus also includes an ISO download flow. It requires internet access and Rufus update checks because Rufus uses a signed remote PowerShell script for ISO downloads.
Open Rufus settings and enable Check for updates.
Once that is set, close and reopen Rufus while the PC is online.
Use the Select split button and switch it to Download.
Select Download to open the Download ISO Image dialog.
Choose Version and select Continue; then Release and Continue; then Edition and Continue; then Language and Continue.
Choose Architecture, then select Download to fetch the ISO.
After the ISO downloads, select Start to create the USB.
5. Choose Windows User Experience options
After you select a Windows 11 ISO and press Start, Rufus opens the Windows User Experience dialog. Use only the options that match the install you want.
Remove requirement for 4GB+ RAM, Secure Boot and TPM 2.0 creates clean install media that bypasses those checks.
Remove requirement for an online Microsoft account creates media for the local-account setup path.
Disable data collection (Skip privacy questions) skips the privacy questions during setup.
Create a local account with username adds a local account name to the setup customization.
Set regional options to the same values as this user's copies the current PC’s regional options.
Disable BitLocker automatic device encryption stops automatic device encryption during installation.
QoL improvements applies one bundled set of tweaks rather than per-feature choices. It removes OneDrive, Outlook, and Teams; disables Copilot, Fast Startup, Start menu ads, and news content; skips Edge’s first-run dialog; and adjusts Start menu defaults.
Apply SkuSiPolicy.p7b on installation (See KB5042562) applies that policy during installation.
Use 'Windows CA 2023' signed bootloaders (Requires a compatible target PC) uses those signed bootloaders. This option needs Rufus 4.10 or later and a Windows 11 25H2 ISO; Windows 11 24H2 ISOs will not work.
For Remove requirement for an online Microsoft account on Windows 11 22H2 or later, keep the target PC disconnected from the Internet at the account creation page. If the network stays connected there, Windows Setup defaults to a Microsoft online account.
6. Boot the PC from the USB
Attach the USB flash drive to the PC where Windows 11 will be installed, then restart that PC. If it does not boot from the USB automatically, open the boot menu or change the boot order in BIOS or UEFI settings, choose the USB installation media, and continue Windows Setup.
Dell: connect the USB drive, turn on or reboot the PC, tap F12 until One Time Boot Menu appears, choose the UEFI USB or Windows installation media entry, then press Enter.
Lenovo: insert the USB drive, restart the PC, press F12 or Fn+F12 during power-on, select the USB disk, then press Enter.
Surface: turn Surface off and plug it in, insert the USB drive, hold volume-down, press and release power, then release volume-down when the Microsoft or Surface logo appears.
7. Avoid outdated Rufus advice
Do not turn Windows To Go into your normal Windows 11 installer method. Rufus still exposes Windows To Go-related UI, but Microsoft removed Windows To Go in Windows 10 version 2004 and later and says it does not support feature updates. Use Standard Windows installation for a current Windows 11 installer USB.
Do not follow old instructions that tell every Rufus user to disable Secure Boot for UEFI:NTFS media. Current Rufus guidance says Rufus 3.17 or later no longer requires that step for UEFI:NTFS booting.
8. Reuse the USB after installation
When you are done with the installer, Rufus can return the flash drive to normal storage use.
- 1.Open Rufus.
- 2.Set Device to the USB drive.
- 3.Set Boot selection to Non bootable.
- 4.Choose the file system you want.
- 5.Select Start.
Rufus removes extra boot partitions such as UEFI:NTFS and formats the drive for regular storage.
Frequently Asked Questions
Can Rufus make a Windows 11 USB without downloading the ISO first?
Yes. Enable Rufus update checks, reopen Rufus while online, switch the Select split button to Download, then choose the ISO options inside Rufus.
Should I choose GPT or MBR in Rufus for Windows 11?
Choose GPT for modern UEFI PCs. Choose MBR only when the target PC specifically needs legacy or CSM boot.
Why do Rufus Windows 11 bypass options appear only after Start?
Rufus shows the Windows User Experience options after you select a Windows 11 ISO and press Start. The TPM and Secure Boot bypass options require Rufus running on Windows 8 or later.
Can I remove Rufus after creating the USB?
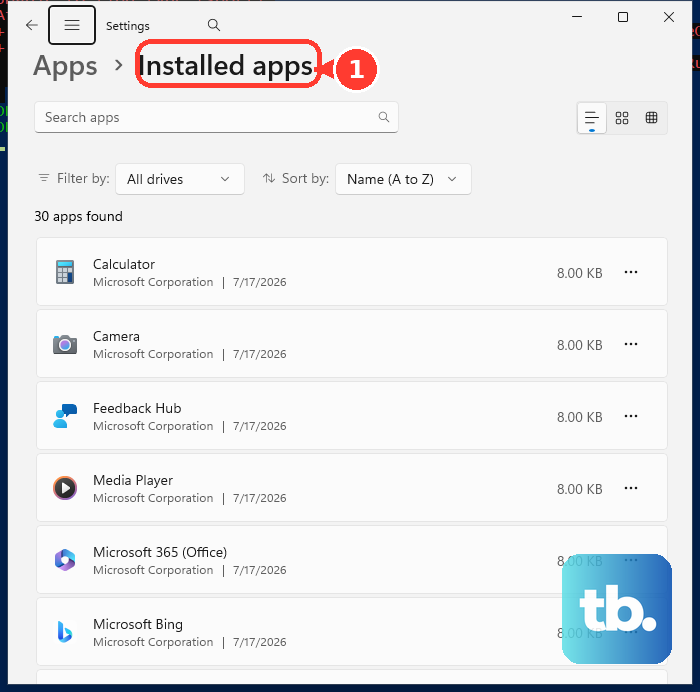
Yes. For portable Rufus, delete the Rufus executable. To remove Rufus registry keys while Rufus is running, press Alt-R. For the Microsoft Store version, open Settings, Apps, Installed apps, Rufus, More, then Uninstall.