Need to know which processor is inside your Windows PC before installing an app, checking a game requirement, or planning an upgrade? Windows already has the answer, and the fastest route depends on whether you need the CPU name, core count, or deeper hardware details.
Start with the built-in screens, then move to commands or official CPU utilities only when you need more.
1. Check Windows Settings first
For the CPU model name, this is the quickest everyday path. Select Start.
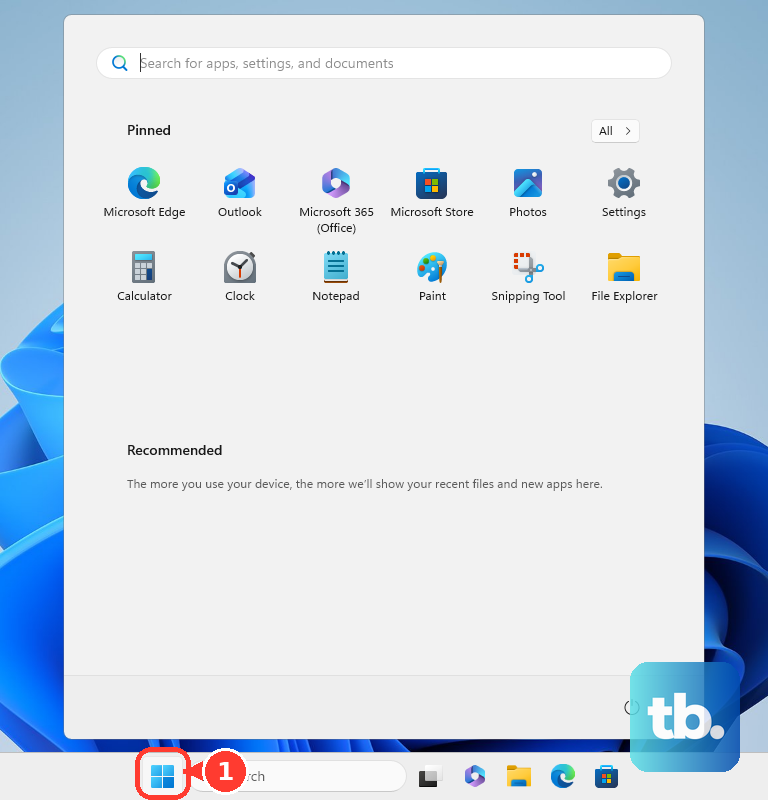
Open Settings. Select System. Select About. Under Device specifications, read Processor.
This works in current Windows 11 releases, including Windows 11 in S mode. The same path exists in Windows 10 22H2, but Windows 10 support ended on October 14, 2025.
2. Use Task Manager for cores and logical processors
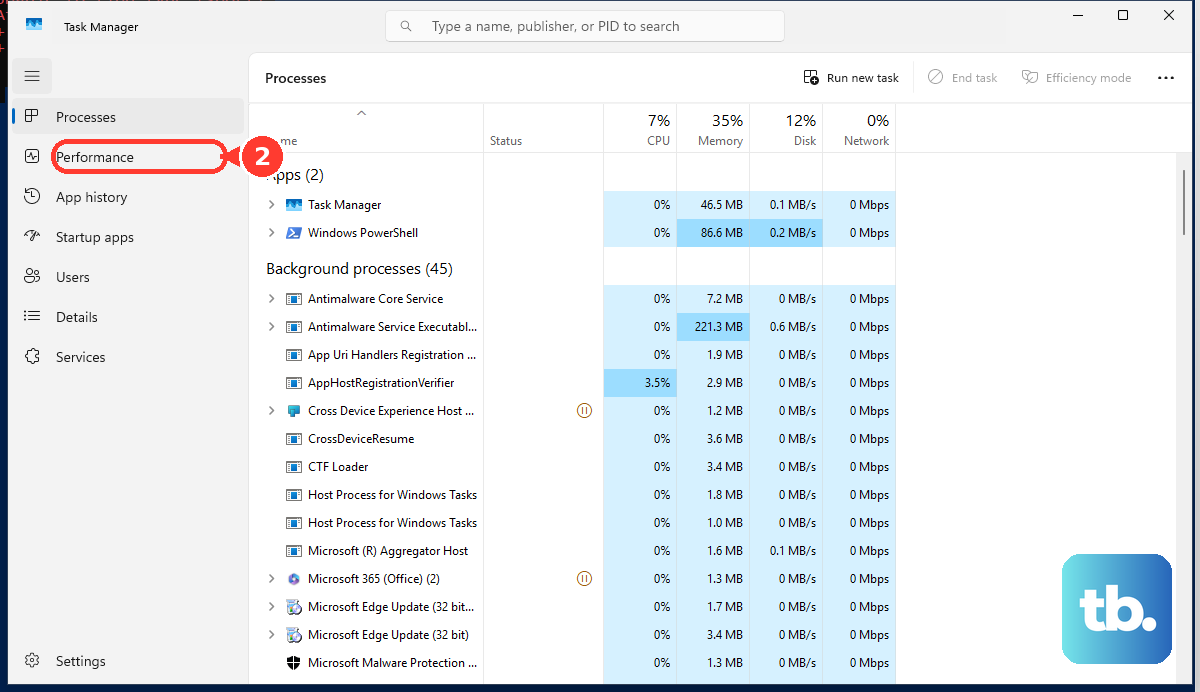
Right-click Start and select Task Manager, or press Ctrl + Shift + Esc. Select Performance. Select CPU. Read the CPU name at the top.
Read Cores and Logical processors on the same screen. Settings gives you the CPU name; Task Manager adds the details people usually need for games, creative apps, virtualization, and upgrade checks. Use this screen when you need the friendly processor name plus the core and logical processor counts in one place.
3. Open System Information for the full processor line
System Information is the cleanest built-in summary when you want the processor listed beside the rest of your PC details. Press the Windows key. Type System. Select System Information.
Select System Summary. Read Processor. You can open the same tool directly from Run.
Press Windows + R. Type msinfo32. Select OK or press Enter. In System Information, select System Summary and read Processor.
4. Run dxdiag while checking DirectX details
Select the Search box on the taskbar. Type dxdiag. Select dxdiag. Select the System tab.
Under System Information, read Processor. If you are already looking at display, graphics, or DirectX information, DirectX Diagnostic Tool also shows the CPU name. This is not the main CPU lookup screen, but it is useful when you want processor and DirectX information in the same window.
5. Pull CPU details from Terminal
Use commands when you want copyable output or a more structured list of CPU details. For Command Prompt, open Command Prompt, run systeminfo, and read the Processor(s) section.
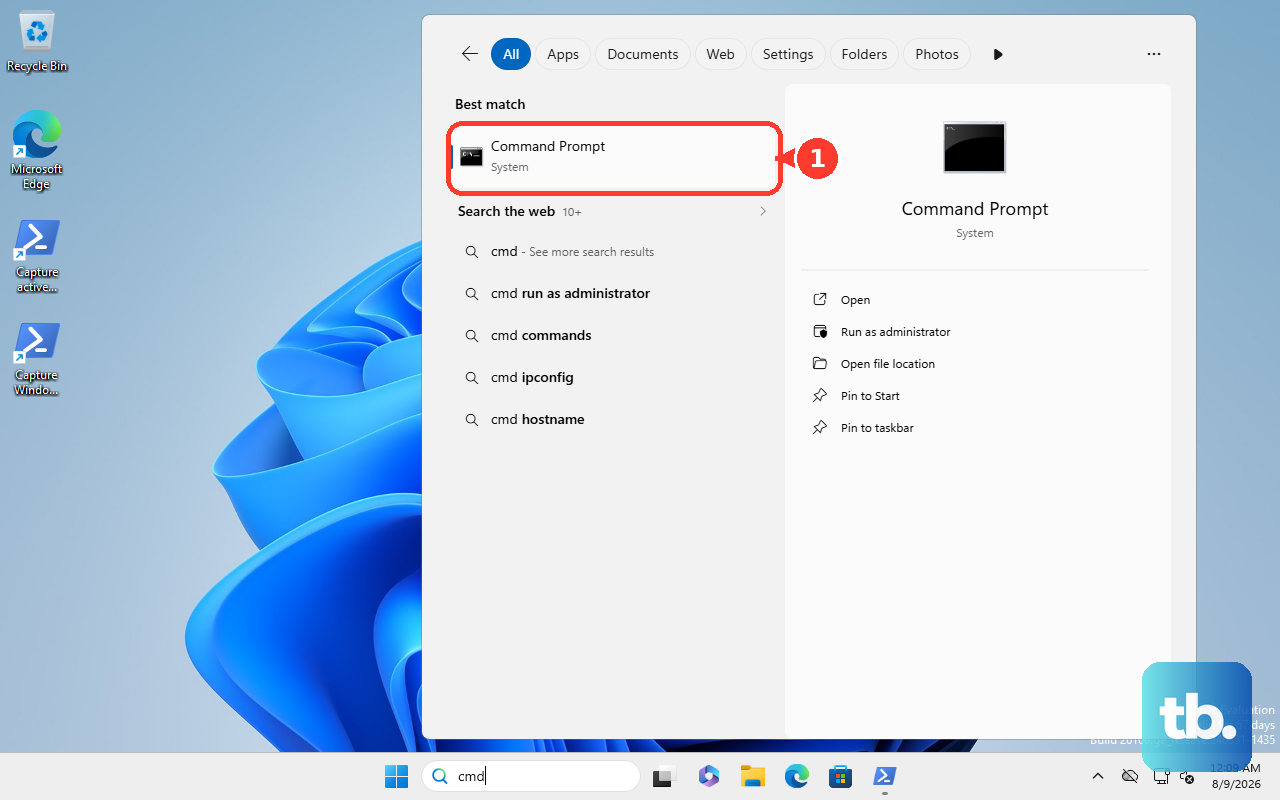
systeminfo can return processor identifiers and counts instead of a friendly retail CPU model name. For the cleanest name, manufacturer, core count, and logical processor count, use PowerShell.
Open PowerShell or Windows Terminal. Run Get-CimInstance -ClassName Win32_Processor | Select-Object Name,Manufacturer,NumberOfCores,NumberOfLogicalProcessors.
Read Name, Manufacturer, NumberOfCores, and NumberOfLogicalProcessors. You can also pull processor-related computer info with Get-ComputerInfo -Property CsProcessors,CsNumberOfProcessors,CsNumberOfLogicalProcessors.
6. Confirm the device name in Device Manager
Device Manager is good for confirming the processor device name, but it is the wrong place to count physical CPUs or cores. Right-click Start. Select Device Manager. Expand Processors.
Read the processor entry name. If you see the same processor listed several times, do not count those as separate physical CPUs. Device Manager can list one entry per logical processor or thread.
7. Choose official tools for deeper CPU specs
Built-in Windows screens are enough for most checks. Use a vendor or trusted utility when you need supported technologies, clocks, package information, cores, threads, or platform-specific CPU details.
Intel Processor Identification Utility - Download it from Intel's official page. It shows Intel processor name, number, technologies, graphics support, and related CPU details. Intel lists version 8.1.54 for 7th Gen and newer processors.
Intel Driver & Support Assistant - Use Intel's official DSA page when you want Intel hardware detection, driver and software update scanning, plus system and device information on supported Intel systems.
AMD Ryzen Master - Download it from AMD's official Ryzen Master page for supported AMD Ryzen desktop processors on Windows. Open Ryzen Master, select CPU, and read the CPU name in the CPU section.
CPU-Z - Download it from CPUID's official CPU-Z page. Open CPU-Z, select the CPU tab, and read the processor name, number, codename, process, package, clocks, cores, and threads.
Use the official Intel, AMD, or CPUID pages. Skip third-party download portals and direct installer links.
8. Skip outdated CPU shortcuts
Older instructions point to Control Panel > System or the wmic cpu get name command. Do not use those as current Windows CPU lookup methods.
For current Windows guidance, use Settings > System > About, Task Manager, System Information, or PowerShell. Microsoft says WMIC is deprecated, superseded by Windows PowerShell for WMI, not preinstalled starting with Windows 11 version 24H2, and uninstalled during the Windows 11 version 25H2 feature update.
Frequently Asked Questions
What is the fastest way to check what CPU my Windows PC has?
Open Start > Settings > System > About and read Processor under Device specifications. That is the fastest built-in path for the CPU model name.
Where can I see CPU cores on Windows?
Open Task Manager with Ctrl + Shift + Esc, select Performance, then CPU. The page lists Cores and Logical processors.
Why does Device Manager list my CPU more than once?
Device Manager can list one entry per logical processor or thread. Use Task Manager instead when you need core and logical processor counts.
What command shows my CPU name and core count?
Open PowerShell or Windows Terminal and run Get-CimInstance -ClassName Win32_Processor | Select-Object Name,Manufacturer,NumberOfCores,NumberOfLogicalProcessors.
Should I use WMIC to check my CPU?
No. Microsoft lists WMIC as deprecated and says PowerShell supersedes it for WMI. Use Settings, Task Manager, System Information, or Get-CimInstance instead.