You bought a wireless printer to escape the tangle of cables, yet your PC stubbornly refuses to see it. That blank Printers list is one of the most common Windows headaches, and the cause is almost always something small: the printer is on a different network, the auto-search timed out, or a stale setting is hiding the device. Adding a wireless printer in Windows 11 (and Windows 10) is a short process once you know the exact path, and this guide walks you through every step plus the fixes for when Windows simply will not cooperate.
Get the printer onto your Wi-Fi first
Windows can only find a printer that is already connected to the same wireless network as your PC. Before you touch any Settings screen, use the printer's own control panel to join your Wi-Fi. The exact menu wording varies by brand and model, but most machines offer either a wireless setup wizard or a WPS option that pairs with your router at the press of a button.
On many Brother machines, for example, the control-panel path is Menu > Network > WLAN > WPS, then enable wireless when WLAN Enable? appears and press the WPS button on your router. The LCD shows Connected once it succeeds. Button labels and menu names differ between models, so check your machine's own instructions if your wording does not match. Whatever brand you own, confirm the printer reports a successful connection before moving on; if the printer and PC sit on different networks, Windows will never list it.
Open Printers & scanners in Settings
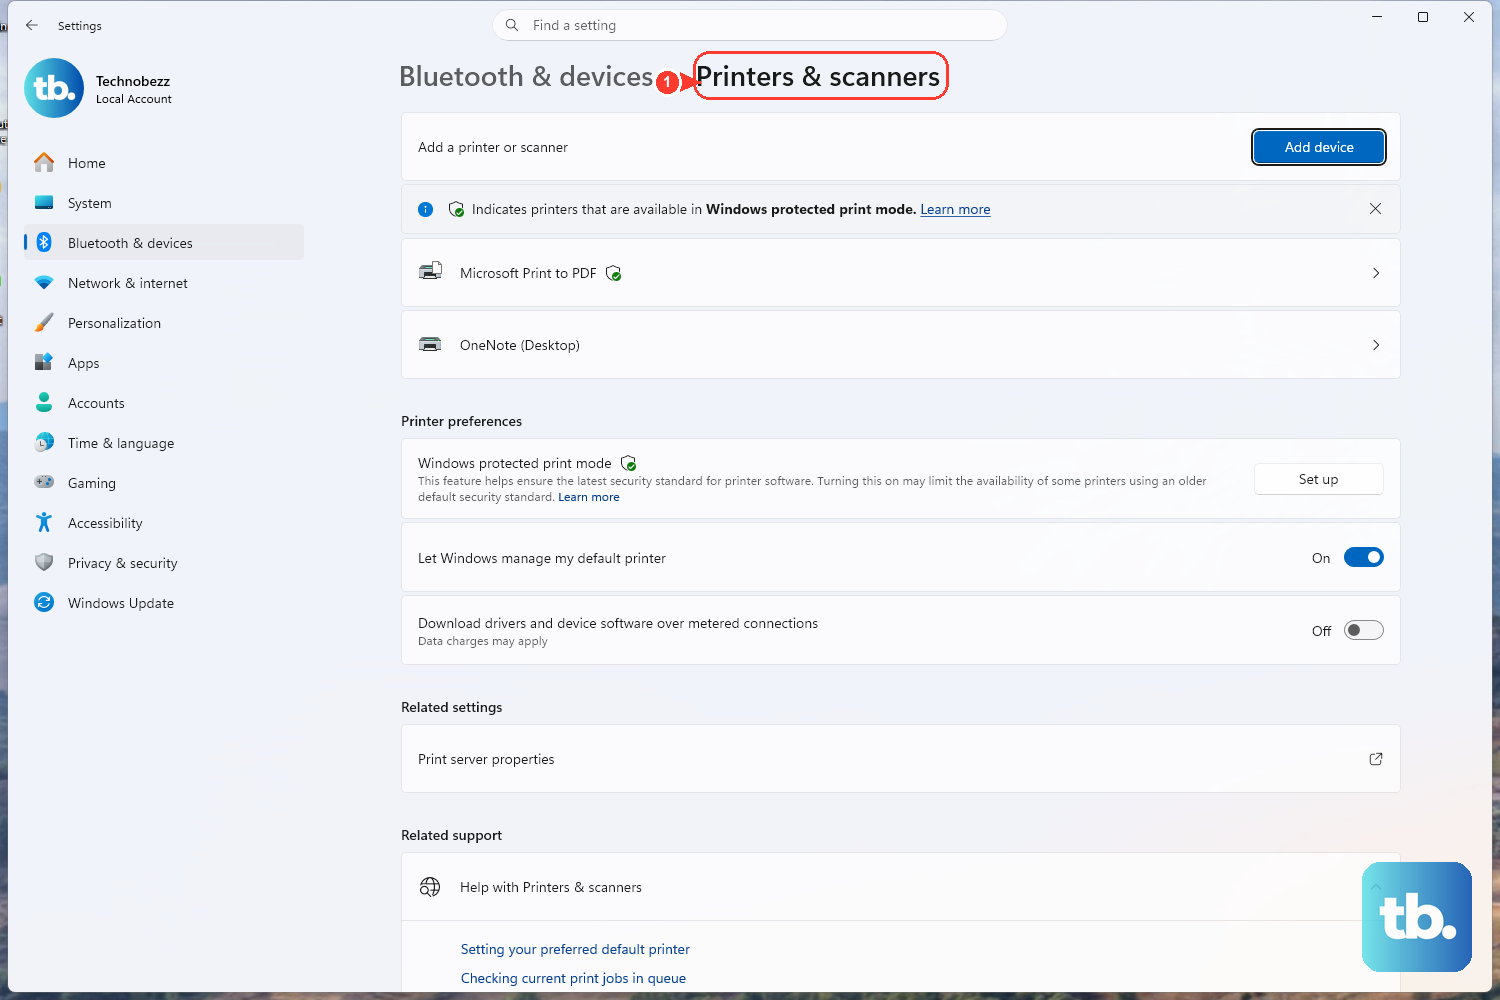
This is the screen where Windows lists installed printers and lets you add a new one. The location shifted slightly between the two Windows versions, so use the path that matches yours.
On Windows 11, select Start > Settings > Bluetooth & devices > Printers & scanners. On Windows 10, select Start > Settings > Devices > Printers & scanners. Keep this page open, because you will return to it for almost every fix below.
Add the wireless printer to Windows
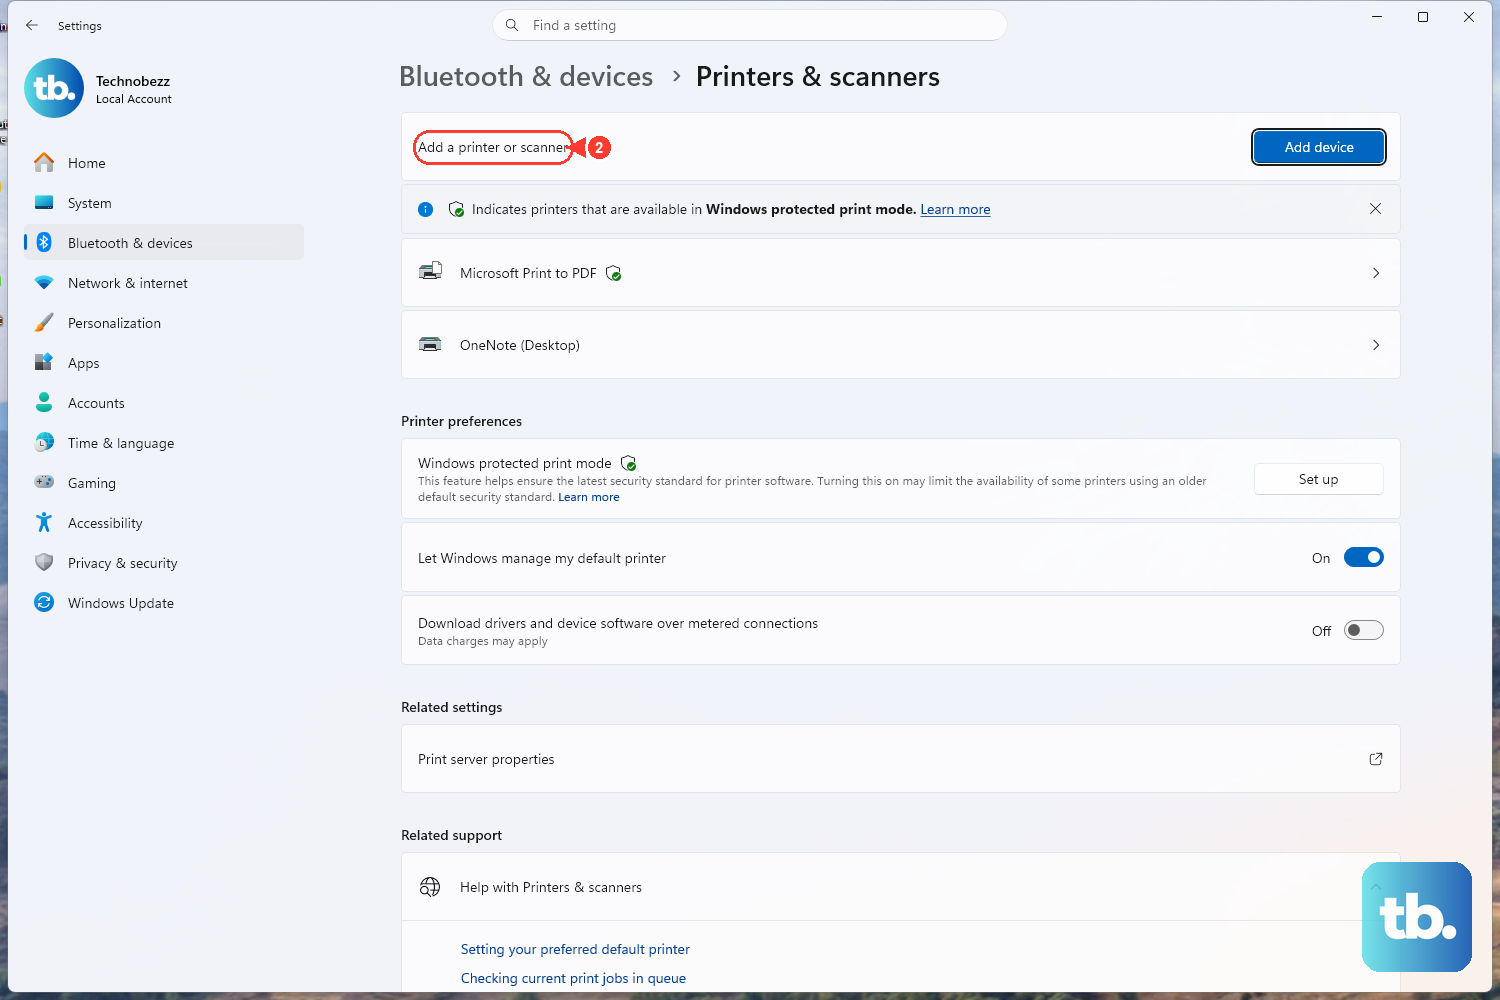
With the printer online and the right Settings page in front of you, you are ready to let Windows search the network and pull the device in.
- 1.On Windows 11, next to
Add a printer or scanner, selectAdd device. On Windows 10, selectAdd a printer or scanner. - 2.Wait while Windows searches the network for available printers. This can take a few minutes, so give it time before assuming it failed.
- 3.On Windows 11, when your printer appears, select
Add devicenext to it. On Windows 10, choose your printer from the list when it appears.
Once Windows finishes installing the device, it shows up on the Printers & scanners list and is ready to use. If it never appears in the search, the next section covers the manual route.
When the printer isn't listed, add it by hand
Auto-detection does not always catch wireless printers, especially on busy networks. Windows has a built-in fallback for exactly this situation, so you do not have to give up on the device.
If Windows does not find the printer, select The printer that I want isn't listed. On Windows 11, choose Add a new device manually, then follow the prompts in the Add Printer window. After the printer installs, check Windows Update for updated printer drivers, since a missing or outdated driver is a frequent reason a manually added printer behaves oddly.
Make it your default printer
If Windows keeps sending jobs to the wrong device, set your new wireless printer as the default. There is a catch: Windows manages defaults automatically out of the box, and you have to switch that behavior off before you can choose one yourself.
On Windows 11, go to Start > Settings > Bluetooth & devices > Printers & scanners, make sure Let Windows manage my default printer is turned Off, then select your printer and choose Set as default. Its status changes to Default once it takes.
On Windows 10, go to Start > Settings > Devices > Printers & scanners, make sure Let Windows manage my default printer is not selected, select your printer, choose Manage, then Set as default. If you do not see the Set as default option at all, the Let Windows manage my default printer option is probably still on.
Bring a printer back from "offline"
A wireless printer that is powered on and connected can still show as offline in Windows, usually because a checkbox got flipped. Microsoft documents a clear fix for this on Windows 10.
Go to Start > Settings > Devices > Printers & scanners, select your printer and select Open queue, then select Printer and clear Pause Printing and Use Printer Offline if either is selected. Clearing those two boxes is often all it takes to make the printer responsive again.
Let the automated troubleshooter take over
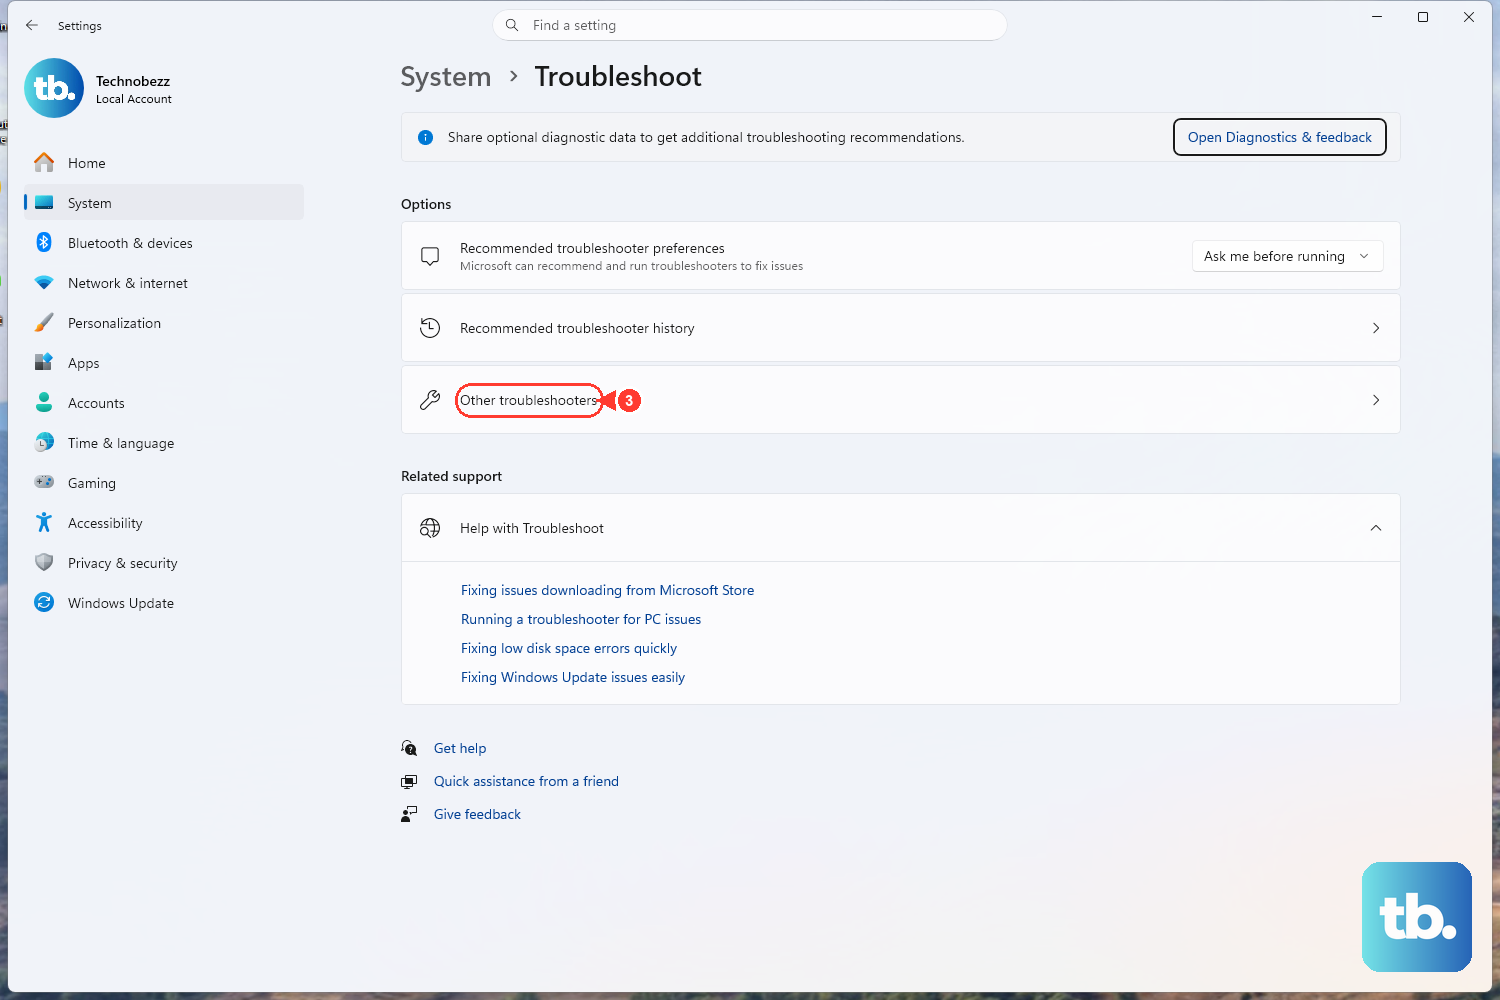
If the printer still will not connect or print after the steps above, hand the problem to Microsoft's automated diagnostic. It runs a series of checks and attempts to fix most printer problems for you, which saves a lot of manual poking around.
Open the printer troubleshooter in the Get Help app from the Run the troubleshooter in Get Help link, which points to aka.ms/PrinterConnection. This works on both Windows 11 and Windows 10. Follow the on-screen prompts and let it apply any fixes it recommends.
Clear a stuck print queue
Sometimes the printer is added correctly but a single jammed job blocks everything behind it. Emptying the queue clears that logjam.
On Windows 11, select Start > Settings > Bluetooth & devices > Printers & scanners, select your printer, then select Open print queue. On Windows 10, the path is Start > Settings > Devices > Printers & scanners, then Open queue. Right-click each print job and select Cancel to remove it.
Restart the Print Spooler service
The Print Spooler is the background service that manages every print job. When it gets wedged, restarting it often releases jobs that the queue will not clear on its own. This applies to both Windows 10 and Windows 11.
- 1.Press
Windows key + Rto open the Run dialog. - 2.Type
services.mscand press Enter to open the Services console. - 3.Scroll down and locate
Print Spooler. - 4.Right-click
Print Spoolerand selectRestart.
Delete leftover spooler files
If jobs are still stuck after a restart, there may be corrupted files left in the spool folder. Removing them gives the spooler a clean slate. Do this carefully and only in the order below, since the service must be stopped first or you risk losing in-progress jobs and confusing the spooler.
- 1.In the Services console, right-click
Print Spoolerand selectStop. - 2.Open File Explorer and go to
C:\Windows\System32\spool\PRINTERS(Microsoft also writes this path as%WINDIR%\system32\spool\PRINTERS). - 3.Delete all files inside that folder. Leave the folder itself in place.
- 4.Return to the Services console, right-click
Print Spooler, and selectStartso printing can resume.
Only the loose job files inside that PRINTERS folder should be removed. Deleting the folder itself or any other spool subfolder is not part of this fix, so leave everything else untouched.
Keep the driver current
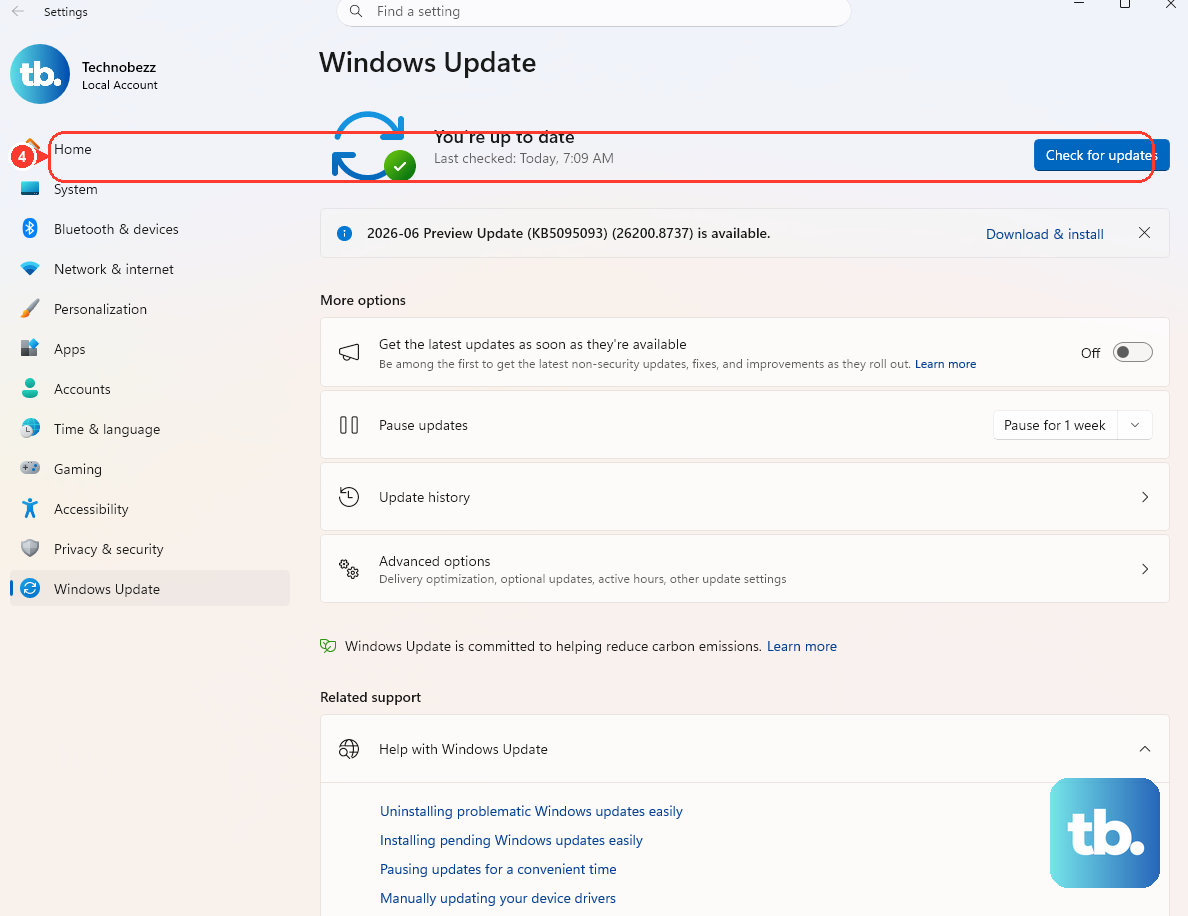
Most printers need the latest driver to work reliably, and a wireless model that connects but prints garbled pages is frequently running an outdated one. After installing the printer, check Windows Update for an updated driver. If that comes up empty, download the latest driver for your exact model from the printer manufacturer's official support site.
Frequently Asked Questions
Why can't Windows find my wireless printer?
The most common reason is that the printer is not on the same Wi-Fi network as your PC. Connect the printer to your wireless network using its own control panel first, then return to Printers & scanners and try the search again. If it still does not appear, select The printer that I want isn't listed to add it manually.
How do I set my new printer as the default?
On Windows 11, open Start > Settings > Bluetooth & devices > Printers & scanners, turn Off Let Windows manage my default printer, select your printer, and choose Set as default. On Windows 10, use Devices instead of Bluetooth & devices, then choose Manage followed by Set as default. If you do not see the option, the manage-default setting is likely still turned on.
My printer is on but shows as offline. What do I do?
On Windows 10, go to Start > Settings > Devices > Printers & scanners, select your printer, select Open queue, then select Printer and clear both Pause Printing and Use Printer Offline if either is checked. You can also run the automated troubleshooter at aka.ms/PrinterConnection to have Windows fix it for you.
How do I fix print jobs that are stuck in the queue?
First open the print queue from Printers & scanners and cancel each job. If they will not clear, press Windows key + R, type services.msc, locate Print Spooler, and select Restart. If jobs remain stuck, stop the Print Spooler, delete all files in C:\Windows\System32\spool\PRINTERS, then start the service again.
Do these steps work on both Windows 11 and Windows 10?
Yes. The process is the same on both versions; only the Settings navigation differs. Windows 11 uses Bluetooth & devices while Windows 10 uses Devices, and each step above gives both paths where they diverge. The troubleshooter, Print Spooler restart, and spool-folder cleanup are identical on both.


